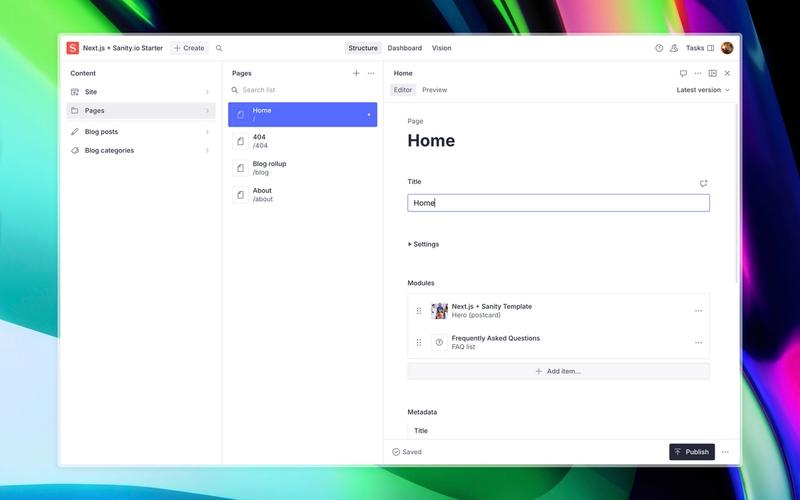
Clean Next.js + Sanity app
Featured contribution
Official(made by Sanity team)
A clean example of Next.js with embedded Sanity ready for recomposition.

Cody Olsen
Have a Sanity powered site up and running in minutes with best-practice projects.
New to Sanity? We recommend you get started with this handy guide.
Minimal examples to get you started with your favorite framework.
A clean example of Next.js with embedded Sanity ready for recomposition.
A minimal Astro site with a Sanity Studio.


A minimal SvelteKit site with a Sanity Studio.
A minimal Remix site with a Sanity Studio.
A minimal Nuxt site with a Sanity Studio.
A minimal Angular SPA with a Sanity Studio.
Complete examples with live previews and embedded Sanity Studio, ready to be deployed on Vercel.
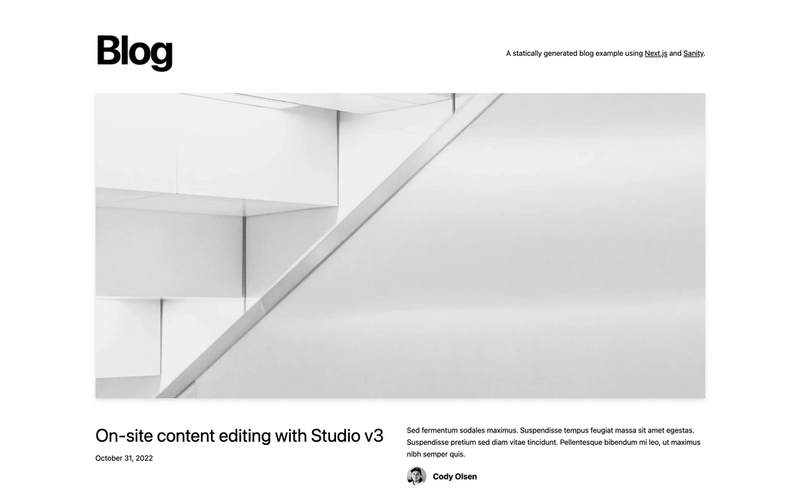
A Sanity-powered blog with built-in content editing and instant previews.


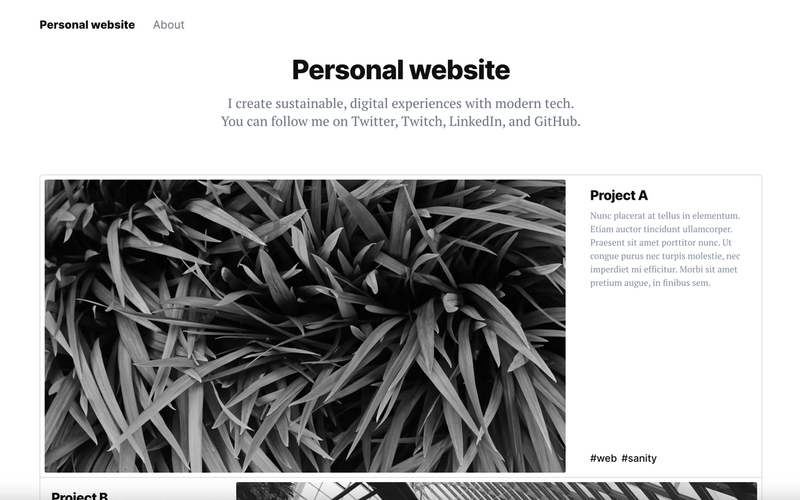
A Sanity-powered personal website with built-in content editing and instant previews.

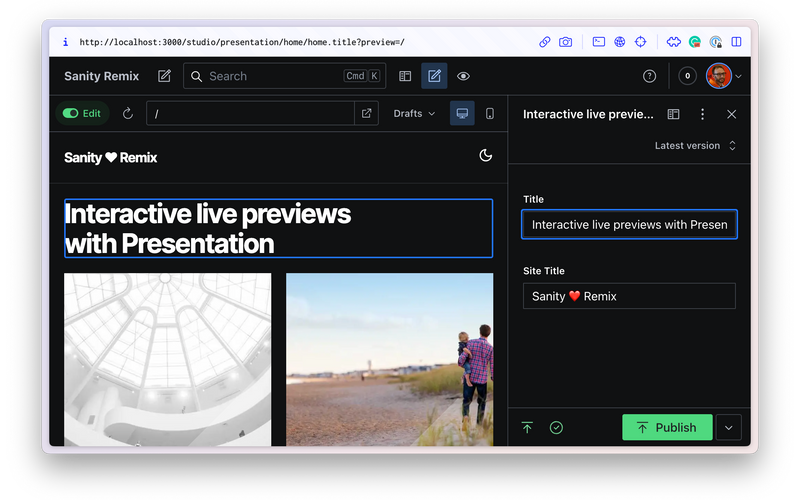
Batteries-included website template for a content-editable, interactive live-preview enabled Remix website powered by Sanity Studio.

Unify product and marketing with structured content. Tell stories, elevate your brand.

Customized Hydrogen starter that presents a real-world example of how Sanity and Structured Content can elevate your custom Shopify storefronts.


A multi-country ecommerce store built with Sanity Studio, Commerce Layer, Next.js, and deployed to Netlify.


Opinionated but unstyled starter template with Tailwind CSS for rapid website development.

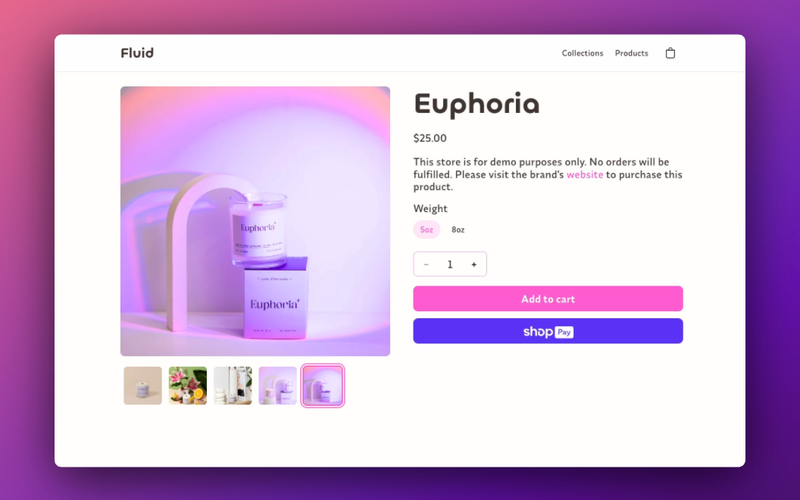
Fluid let's you easily build Shopify headless storefronts by organizing your content with Sanity.

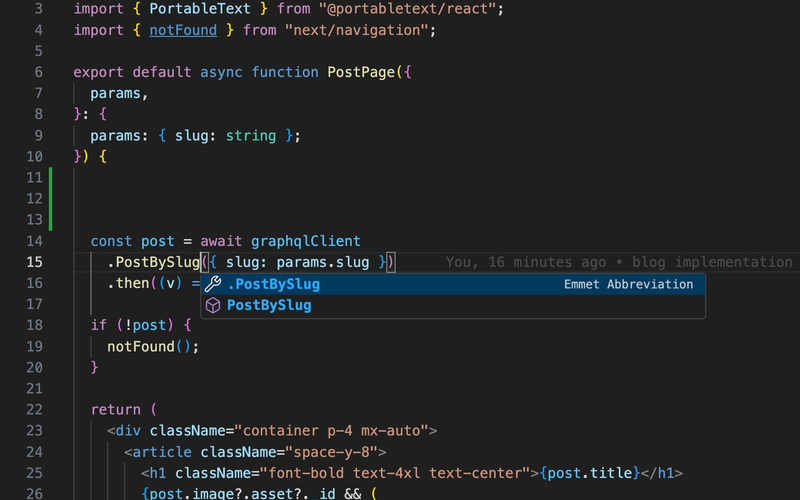
This starter has all the setup needed to generate code from your GraphQL queries.

new project on finance
Go to starter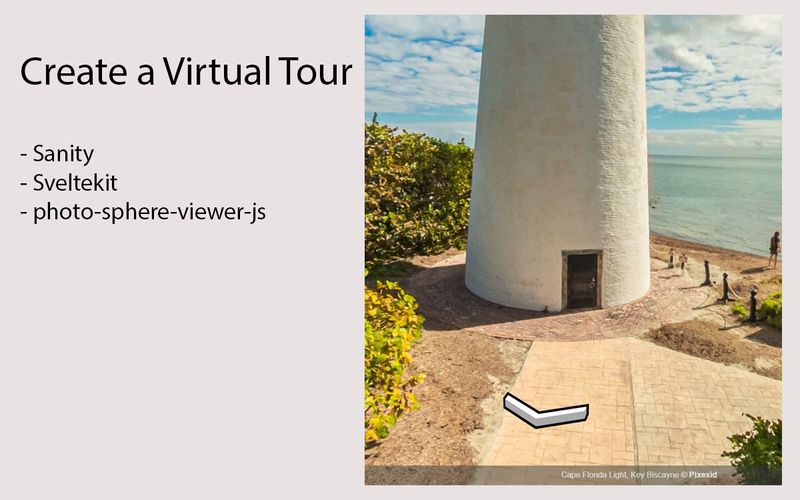
Create your own virtual tour using Sanity and Sveltekit using photo-sphere-viewer.js
Go to Virtual Tour Sanity + Sveltekit app
Streamline your blogging journey with our ready-to-use platform. Powered by Next.js v13.4, TypeScript, Tailwind, and Sanity.io v3, it offers advanced schema features for tags, categories, series, and multi-author support. Start your blog hassle-free!

A simple blog using Angular standalone components and Firebase Hosting

A clean example of Next.js with Sanity with live previews.

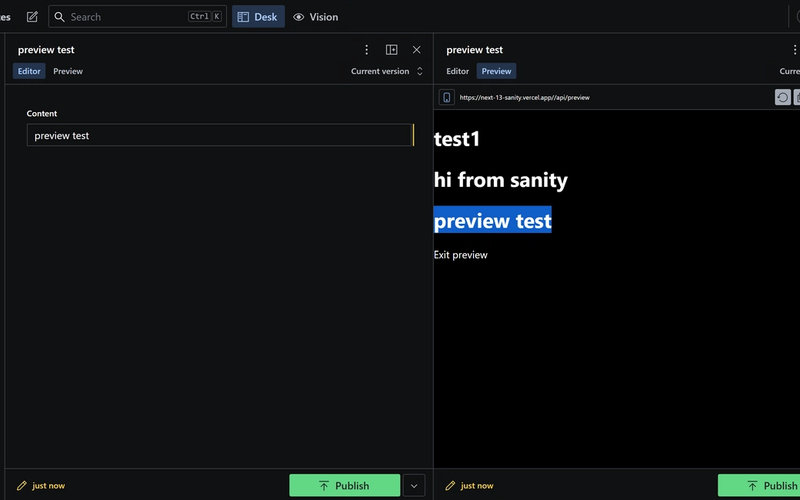
Next 13 template with Sanity and Sanity Studio integrated, making it easy to deploy on Vercel right away. All you need to do is add environment variables when deploying, and you get /studio route with preview mode enabled.
Go to next-13-sanity