# SEO schema types and metadata
https://www.sanity.io/learn/course/seo-optimization/seo-schema-types-and-metadata.md
Prepare useful, optional and reusable schema types specifically for SEO content and render them into page metadata the Next.js way.
For the benefit of content authors, fields relevant to SEO should not always be required. Instead, they should be used to override some existing content, when provided.
## Create an SEO schema type
No matter what document type you're applying SEO content to, the same data will be required. For example a title, description, image and more. So to easily re-use these fields you'll register a custom schema type to the Studio
1. **Create** a new schema type for SEO fields
```typescript:src/sanity/schemaTypes/seoType.ts
import { defineField, defineType } from "sanity";
export const seoType = defineType({
name: "seo",
title: "SEO",
type: "object",
fields: [
defineField({
name: "title",
description: "If provided, this will override the title field",
type: "string",
}),
],
});
```
1. **Update** your registered schema types to include `seoType`
```typescript:src/sanity/schemaTypes/index.ts
// ...all your other imports
import { seoType } from "./seoType";
export const schema: { types: SchemaTypeDefinition[] } = {
types: [
// ...all your other types
seoType,
],
};
```
1. **Update** your `page` and `post` document types to include the SEO fields
```typescript:src/sanity/schemaTypes/pageType.ts
export const pageType = defineType({
// ...all other configuration
fields: [
// ...all other fields
defineField({
name: "seo",
type: "seo",
}),
],
});
```
1. Throughout the rest of this course you'll be expected to keep both the `page` and `post` document schema types, GROQ queries and Next.js routes updated—but code examples may only be shown for the `page` type.
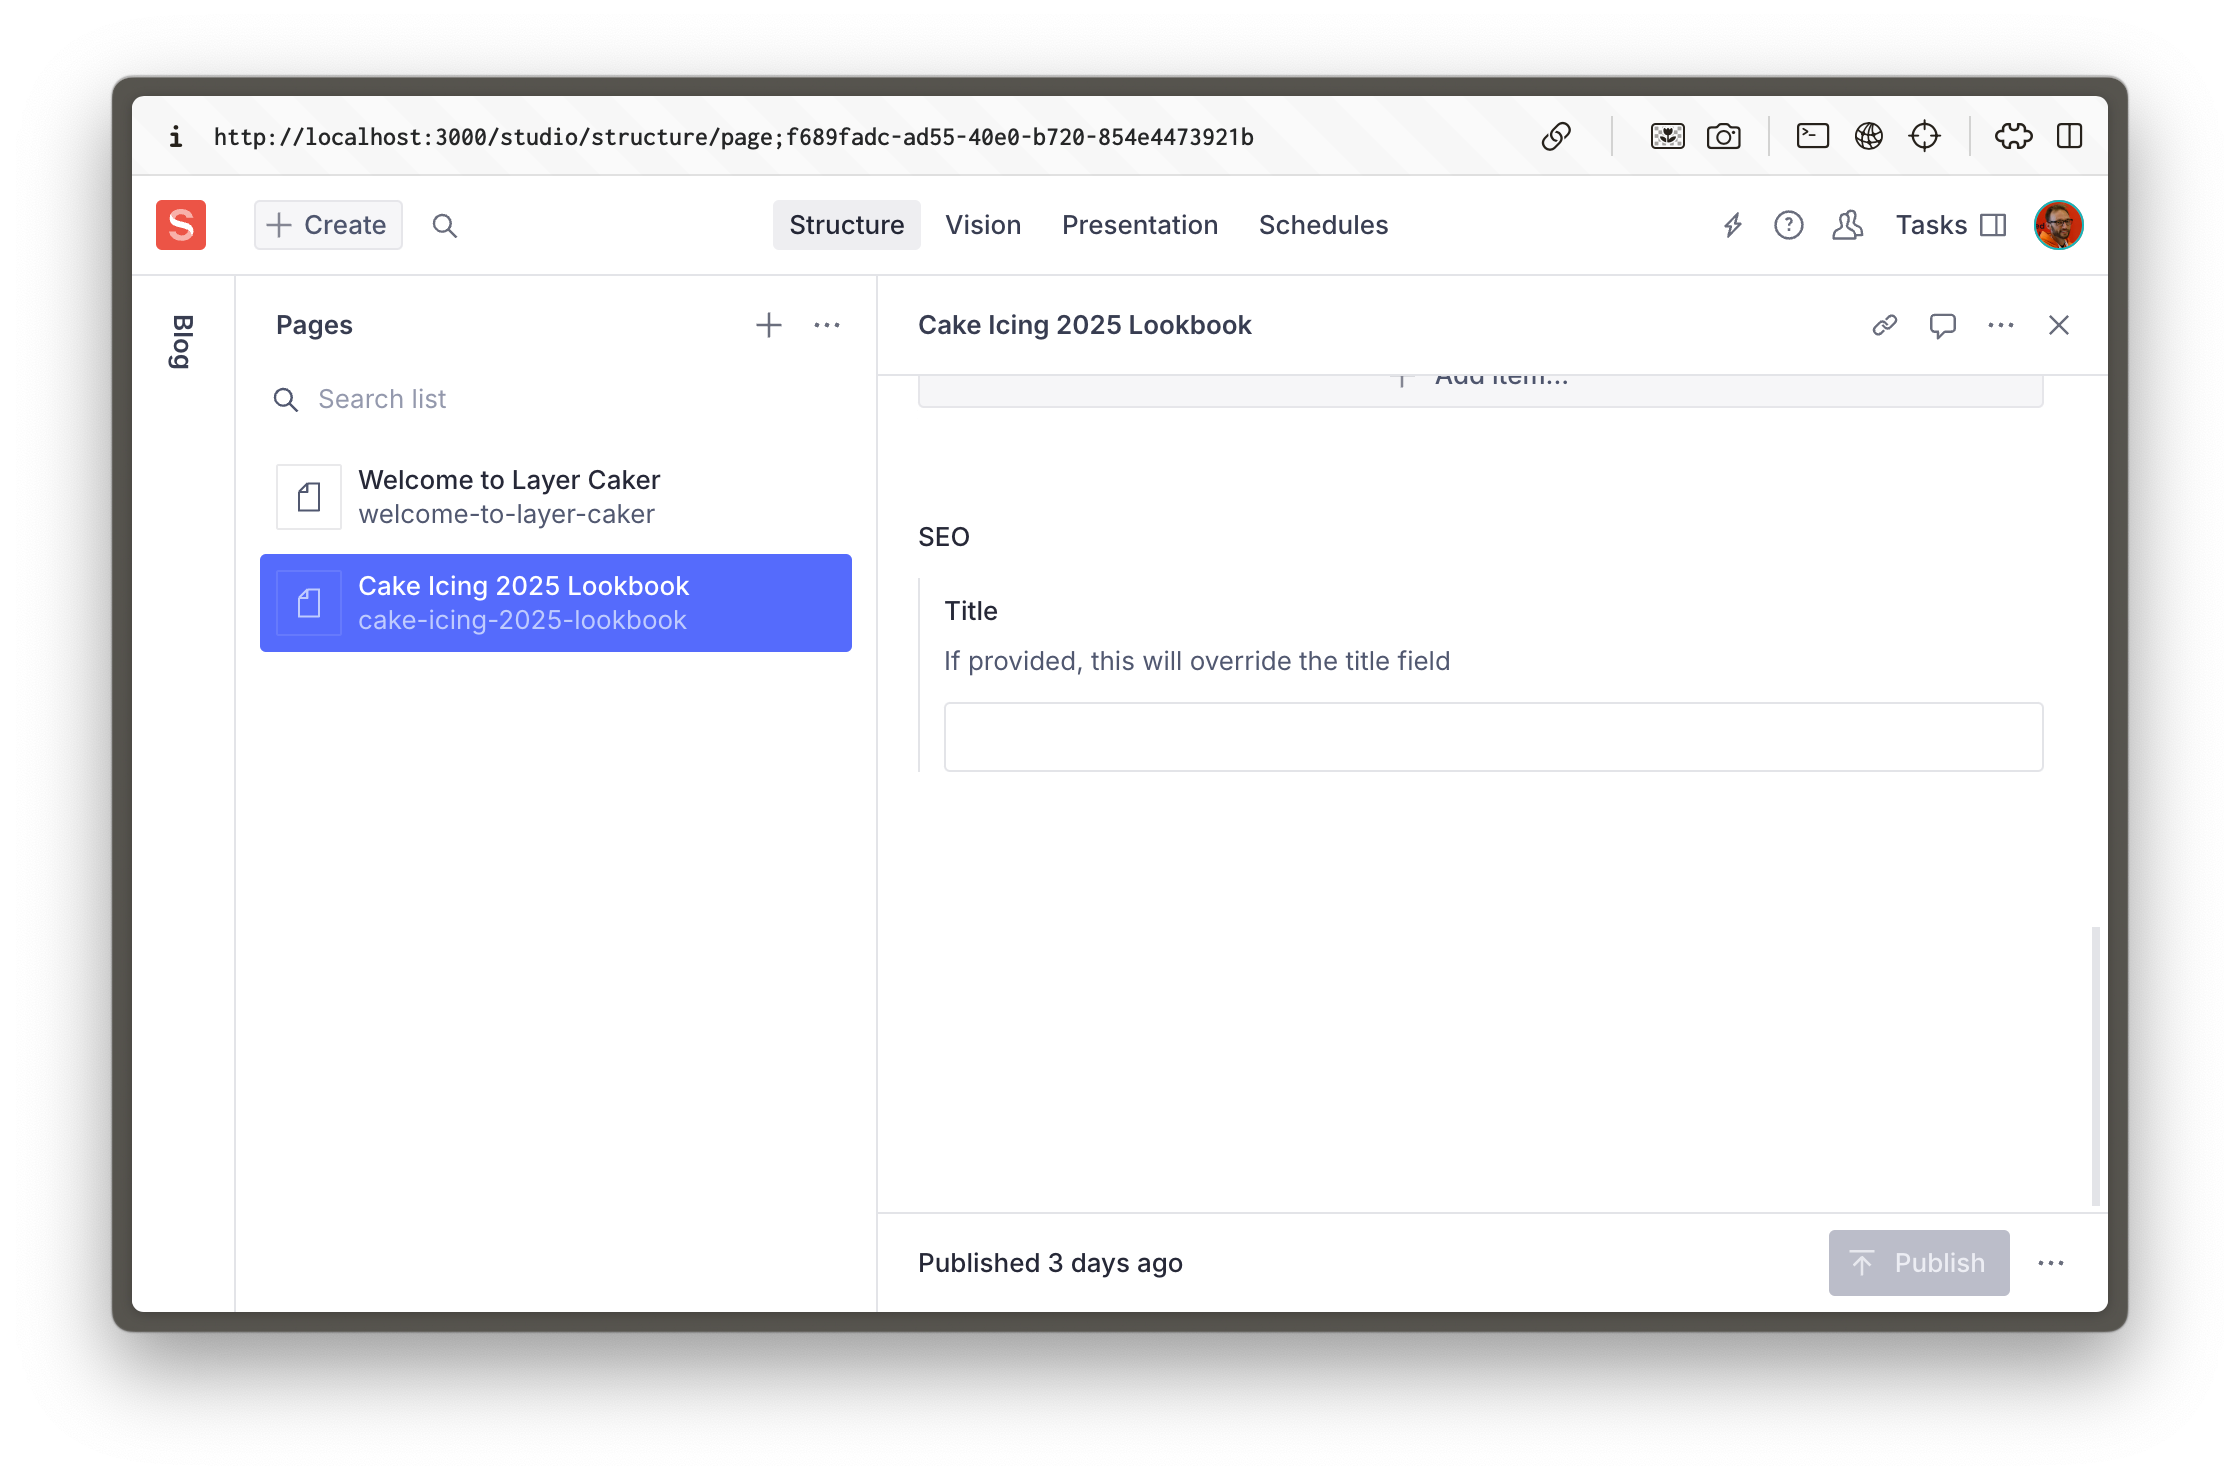
You should now see the SEO object field at the bottom of `page` and `post` document types in the Studio.
## Queries with fallbacks
In the description field of the SEO title, we've informed the author that the title is not required, but that it will override the title field if provided.
The title field is likely to be sufficient for SEO the majority of the time, but if for some reason it needs to be different, the author now has an avenue to override it.
For the front-end to respect this, there are a few ways to do it. You _could_ choose which field to render with logic like this:
```tsx:Example only
{seo?.title ?? title}
```
But then we'd need to duplicate that logic _everywhere_ we optionally render the correct value. It's also annoying because the `seo` attribute may or may not exist.
Because we have GROQ, we can move all this logic into our query instead.
1. **Update** the `PAGE_QUERY` to include an `seo` attribute with values and fallbacks
```typescript:src/sanity/lib/queries.ts
export const PAGE_QUERY =
defineQuery(`*[_type == "page" && slug.current == $slug][0]{
...,
"seo": {
"title": coalesce(seo.title, title, ""),
},
content[]{
...,
_type == "faqs" => {
...,
faqs[]->
}
}
}`);
```
Don't forget to update your POST_QUERY to include the same projection.
1. `coalesce()` is a GROQ [GROQ Functions Reference](https://www.sanity.io/learn/specifications/groq-functions) that returns the first value that is not null
Now `seo.title` will never be `null`, and contain either the optionally provided SEO title, or the page title, or an empty string.
1. **Run** the following command to update your Types now that you've made schema and query changes
```sh
npm run typegen
```
1. This command was setup in the [Generate TypeScript Types](https://www.sanity.io/learn/course/content-driven-web-application-foundations/generate-typescript-types) lesson of the [Content-driven web application foundations](https://www.sanity.io/learn/course/content-driven-web-application-foundations) course.
Just to prove this works, update the dynamic route that renders your pages to include a `` tag. It is a [feature of React 19](https://react.dev/blog/2024/12/05/react-19#support-for-metadata-tags) to move meta tags into the `<head>` tag. (But it's not how Next.js 15 recommends, you'll do that later).
1. **Update** the dynamic page route to include the `<title>` tag
```tsx:src/app/(frontend)/[slug]/page.tsx
import { PageBuilder } from "@/components/PageBuilder";
import { sanityFetch } from "@/sanity/lib/live";
import { PAGE_QUERY } from "@/sanity/lib/queries";
export default async function Page({
params,
}: {
params: Promise<{ slug: string }>;
}) {
const { data: page } = await sanityFetch({
query: PAGE_QUERY,
params: await params,
});
return (
<>
<title>{page.seo.title}
{page?.content ? (
) : null}
);
}
```
Your front end should now have rendered either the page title, or the SEO title field value into a `` tag inside the `<head>`.
## Metadata, the Next.js way
The problem with relying on the previous method is deduplication. React will render multiple `<title>` tags when it finds them, and your Next.js application may eventually use nested layouts where this is a possibility.
Instead, Next.js has an API to export a uniquely named function from a route to take the same dynamic data that is rendered into the page to generate those meta tags as required.
In the example below we have extracted the `sanityFetch` to its own function, because now it will be re-used multiple times. (Which Next.js should cache and only run once). Inside the `generateMetadata` function, the same `seo.title` value is used to generate a `<title>` tag in the final markup.
1. **Update** your `page` route to generate metadata and the rendered on-page content in separate functions.
```tsx:src/app/(frontend)/[slug]/page.tsx
import type { Metadata } from "next";
import { PageBuilder } from "@/components/PageBuilder";
import { sanityFetch } from "@/sanity/lib/live";
import { PAGE_QUERY } from "@/sanity/lib/queries";
type RouteProps = {
params: Promise<{ slug: string }>;
};
const getPage = async (params: RouteProps["params"]) =>
sanityFetch({
query: PAGE_QUERY,
params: await params,
});
export async function generateMetadata({
params,
}: RouteProps): Promise<Metadata> {
const { data: page } = await getPage(params);
return {
title: page.seo.title,
};
}
export default async function Page({ params }: RouteProps) {
const { data: page } = await getPage(params);
return page?.content ? (
<PageBuilder
documentId={page._id}
documentType={page._type}
content={page.content}
/>
) : null;
}
```
Following the same pattern, you can add SEO overrides for other important metadata tags. Such as a `<meta name="description" />` tag. This is what Google uses to display a description of your page in the search results.
Again, you can also add an override for the `seoImage` field, which will be used to populate the `<meta property="og:image" />` tag.
The most important takeaway from this, is that you always want to have an override, and a fallback. It keeps consistency in your content, and standardizes the way you query your SEO fields.
Don't forget to update your individual post route to use the same conventions.
1. Take a look at the Next.js [metadata documentation](https://nextjs.org/docs/app/building-your-application/optimizing/metadata) for more information.
## Just getting started
At this point, you can see how the pattern works, and how this is easy to extend to other SEO fields.
In the next lesson, you will enhance your SEO functionality by adding more fields, including those for Open Graph data, and one to control search engine indexing