# [Architecture & DevOps](/learn/course/architecture-and-devops)
Whether you're first getting your project off the ground or developing new features in an existing one, having a well-defined end-to-end development workflow is crucial for shipping your work efficiently and reliably without impacting the day-to-day content operations of your editors.
## [Introduction to Development Workflow](/learn/course/architecture-and-devops/introduction-to-development-workflow)
Sanity’s code-first approach makes it uniquely suited for automation and naturally aligns with CI/CD to supports safe, continuous iteration without disrupting content teams.
## Sanity's Mental Model
The Studio, from your schema definitions and configuration, defines the structure of your content, enforces the rules and validation of that content, and allows you to customize the editorial interface for how your editors interact with and manage that content. You can think of the Studio as a customizable "window" through which your editors interact with Content Lake. Sanity provides a unique architecture that decouples the content editing experience in the Studio from the underlying content storage in the Content Lake.
One of the key benefits of this architecture is that the Studio's schema and configuration live entirely in code, which means you can manage them in source control and test any changes as part of your regular development and QA process.
In other words, a solid development workflow allows you to:
* Develop and test new features in an isolated environment separate from production
* Promote changes from development to production environments in a controlled manner
* Allow content editors to continue their work uninterrupted in the production environment while development is ongoing
By setting up separate development and production environments, along with processes to migrate code and content between them, you can establish a smooth flow from development to release. This ensures that new features are properly tested before reaching production, and that content editors always have a stable production environment to work in that is insulated from development activities.
## What is DevOps?
According to [Atlassian](https://www.atlassian.com/devops),
> DevOps is a set of [practices](https://www.atlassian.com/devops/what-is-devops/devops-best-practices), [tools](https://www.atlassian.com/devops/devops-tools/choose-devops-tools), and a [cultural philosophy](https://www.atlassian.com/devops/what-is-devops/devops-culture) that automate and integrate the processes between software development and IT teams. It emphasizes team empowerment, cross-team communication and collaboration, and technology automation.
Continuous integration and continuous delivery (CI/CD) automates the development workflow above and allows developers to iterate quickly, catch issues early, and deliver new features seamlessly. Integrating the development and content workflows through CI/CD empowers developers and content editors to collaborate effectively on delivering new experiences. Developers can focus on building and shipping features, while content editors can create and manage content without disruption. This setup provides a robust foundation for ongoing development and content operations to occur in parallel–all in service of enabling your organization to realize its business goals.
In the upcoming lessons, we'll walk through the specific steps to configure your Sanity project with multiple environments and datasets to support this development workflow. You'll learn how to structure your project, manage datasets, and deploy Studios. By the end, you'll have a the foundations of a setup to confidently develop and ship ongoing improvements to your project.## [Setting Up Your Environments](/learn/course/architecture-and-devops/setting-up-your-environments)
Separate development and production environments ensure isolated testing, stable workflows, and safe content migrations without disrupting editors.
1. This course assumes you have already initialized a Sanity Studio as described in [Day one content operations](https://www.sanity.io/learn/course/day-one-with-sanity-studio).
## Create Development Dataset
When developing new features, the code changes made by developers to schemas and other Studio configuration shouldn't impact content editors working in the production environment. That's why it's a best practice to have separate datasets and Studio deployments for development and production environments.
By provisioning a dedicated development dataset, developers can freely iterate and test code changes without worrying about interrupting the day-to-day content operations. This clean separation allows both content and development workflows to proceed in parallel, while keeping the production environment stable. As new features are validated in the development environment, the code changes can be promoted to production, and any necessary content migrations can be performed in a controlled manner. Developing in a separate environment can also ensure that any schema changes they make will have migration scripts. Meanwhile, content editors can continue their work in the production dataset, insulated from any development activities.
First, to complement the `production` dataset you should already have, create a `development` dataset using the CLI:
```sh
npx sanity dataset create development --visibility private
```
You should now see two datasets when you run `npx sanity dataset list` and in Manage (`npx sanity manage)`.
## Using Environment Variables
Environment variables allow your Studio configuration to adapt to each deployment without modifying the codebase—making them essential for managing different environments. Rather than hardcoding the project ID and dataset, for example, you can instead use environment variables to statically replace them at build time.
First, initialize a new environment file by running:
```sh
npx sanity init --env --project [your-project-id] --dataset production
```
You'll see a new `.env` file in your workspace:
```text:.env
# Warning: Do not add secrets (API keys and similar) to this file, as it is source controlled!
# Use `.env.local` for any secrets, and ensure it is not added to source control
SANITY_STUDIO_PROJECT_ID="[your-project-id]"
SANITY_STUDIO_DATASET="production"
```
1. `.env` by default won't be ignored by Git; however, these two environment variables aren't considered sensitive. If you'd rather they weren't checked into source control, you can use `--env .env.local`.
Now duplicate `.env` and name it `.env.development`, and remove the project ID so you just have the following:
```text:.env.development
# Warning: Do not add secrets (API keys and similar) to this file, as it is source controlled!
# Use `.env.local` for any secrets, and ensure it is not added to source control
SANITY_STUDIO_DATASET="development"
```
1. In this example, we'll be checking these into source control. If you needed to override a variable on your local machine, you could add a `.env[.mode].local` file with your override(s).
Finally, let's update our configuration files to read from environment variables:
```typescript:sanity.config.ts
import {defineConfig} from 'sanity'
export default defineConfig({
// ...
projectId: process.env.SANITY_STUDIO_PROJECT_ID!,
dataset: process.env.SANITY_STUDIO_DATASET!,
// ...
})
```
```typescript:sanity.cli.ts
import {defineCliConfig} from 'sanity/cli'
export default defineCliConfig({
api: {
projectId: process.env.SANITY_STUDIO_PROJECT_ID!,
dataset: process.env.SANITY_STUDIO_DATASET!,
},
// ...
})
```
## Conclusion
In this lesson, we covered how to set up separate development and production datasets in your Sanity project. By creating dedicated datasets and configuring environment variables, you can establish a clean separation between ongoing development work and the stable production environment used by content editors.
With this foundation in place, you're ready to deploy separate Sanity Studios for each environment. In the next lesson, we'll walk through the process of deploying a development Studio and how to set CORS origins for each environment.## [Deploying Environment-Specific Studios](/learn/course/architecture-and-devops/deploying-environment-specific-studios)
Deploying separate Studios ensures clean environment separation, safer iteration, and uninterrupted content editing.
With our datasets and environment files in place, let's now walk through the process of deploying separate Sanity Studios for each environment and setting up the proper CORS origins.
## Designate a Studio Host
First, we'll need to configure the subdomain for our Studio deployments. Sanity CLI will either use the `studioHost` option in `sanity.cli.ts`, if it's provided, or prompt for a hostname in the terminal.
Like our project ID and dataset, we can use an environment variable to configure the hostname for our Studio deployment. So let's add a new environment variable, `SANITY_STUDIO_HOSTNAME`, to our `.env` file:
```text:.env
# Warning: Do not add secrets (API keys and similar) to this file, as it source is controlled!
# Use `.env.local` for any secrets, and ensure it is not added to source control
SANITY_STUDIO_PROJECT_ID="[your-project-id]"
SANITY_STUDIO_DATASET="development"
# [hostname].sanity.studio
HOSTNAME="[your-hostname]"
SANITY_STUDIO_HOSTNAME="$HOSTNAME"
```
Then in your `.env.development` file add:
```text:.env.development
# https://www.sanity.io/docs/environment-variables
# Warning: Do not add secrets (API keys and similar) to this file, as it is source controlled!
# Use `.env.local` for any secrets, and ensure it is not added to source control
SANITY_STUDIO_DATASET="development"
# [hostname]-development.sanity.studio
SANITY_STUDIO_HOSTNAME="${HOSTNAME}-development"
```
1. Here we're using a variable `HOSTNAME` as the base and then using the `dotenv-expand` syntax to reference and add a suffix.
Now let's add a `studioHost` option and set it to the value of our new environment variable:
```typescript:sanity.cli.ts
import {defineCliConfig} from 'sanity/cli'
export default defineCliConfig({
api: {
projectId: process.env.SANITY_STUDIO_PROJECT_ID!,
dataset: process.env.SANITY_STUDIO_DATASET!,
},
studioHost: process.env.SANITY_STUDIO_HOSTNAME!,
// ...
})
```
## Targeting Environments with Modes
Now that we've setup our environment variables and configured our CLI and Studio configuration files to read from them, we need a way to target a specific environment.
Sanity CLI will load your environment variables in a predictable order, which we have leveraged to set environment variables for our different modes (`production` vs. `development`). `.env` will be loaded in all modes, so we'll use it as our fallback and add `development`-specific overrides. For example, we've overridden `SANITY_STUDIO_DATASET` and we've suffixed `HOSTNAME` to set `SANITY_STUDIO_HOSTNAME`.
When running Sanity CLI, you can specify the intended mode for your commands. Commands like `build` and `deploy` will run in `production` mode by default. To target a different environment, you can set the mode by specifying `SANITY_ACTIVE_ENV` in your terminal:
```sh
# builds Sanity Studio in `development` mode, loading `.env` and then `.env.development`
SANITY_ACTIVE_ENV=development npm run build
```
1. You can learn more about modes and environment variable loading order in [Environment Variables](https://www.sanity.io/learn/studio/environment-variables)
Now let's deploy our two Studio environments:
```sh
# Deploy the development Studio
SANITY_ACTIVE_ENV=development npm run deploy
# Deploy the production Studio
npm run deploy
```
The last step will be to add your Studio environments to your CORS origin. Navigate to the Studio URL's that you've just created. If they haven't yet been added as CORS origins, you'll be prompted to add them to Manage. You can also either run `npx sanity manage` from your terminal or open Manage in your browser directly. Navigate to the 'API' tab and add your Studio URL's as origins with credentials allowed.
## Conclusion
Congratulations—you now have separate, environment-specific Studios configured and deployed! This setup gives your team the freedom to iterate safely in development while keeping production stable for content editors. Up until now, you've been running CLI commands manually, carefully passing the right environment mode. With everything now structured and standardized, you're ready to take the next step: automating your deployment. In the next lesson, we’ll connect these pieces into a CI/CD pipeline that streamlines your workflow and eliminates manual steps.## [Automating Development Workflow](/learn/course/architecture-and-devops/automating-development-workflow)
Automate Sanity Studio deployments and CI checks that validate schemas and content, ensuring every code change is rigorously reviewed and production-ready.
Now that your environments and Studios are fully configured, it’s time to automate the workflow.
In this lesson, we will explore how automating the deployment of your Sanity Studio streamlines your development process and helps you achieve faster, more reliable releases. By transitioning from manual deployments to an automated workflow, you not only ensure that your production code is built and deployed consistently, but you also gain immediate feedback on changes with minimal human intervention.
## Development Workflow
When developing new features, for example adding a new schema definition or creating a custom input component, should follow a consistent process:
1. Start by checking out a new feature branch
2. Making code changes while running the Studio locally
3. Once they're ready to deploy and looking for a code review, the developer will push their branch to the remote and open a pull request
4. Once their code has been reviewed and validated, they'll merge their pull request to the main branch.
## Automate Deployment
Imagine you have just committed changes to a feature branch and opened a pull request. Instead of manually building and deploying your Sanity Studio, like we did in the previous lesson, an automated process springs into action. The workflow is triggered by push or pull request events. First, it checks out the latest code from your branch, sets up the Node.js environment, and installs the dependencies. It'll then build your Studio and deploy it to a PR-numbered hostname. As an added benefit, the workflow also automatically posts a comment with a link to the preview environment where reviewers can see your changes. When your code is merged into the main branch, the workflow builds and deploys the Studio to the production environment. Once a pull request is closed, a separate job is triggered to clean up the associated preview deployment.
Here is a sample GitHub workflow that demonstrates this automated deployment process for a Sanity Studio.
1. Though written here for GitHub, these steps can be ported to any CI/CD provider and can be adapted to your preferred solution.
```yaml:deploy.yml
name: Deploy Sanity Studio
on:
push:
branches:
- main
- development
pull_request:
types: [opened, synchronize, reopened, closed]
permissions:
contents: read
pull-requests: write
env:
SANITY_AUTH_TOKEN: ${{ secrets.SANITY_AUTH_TOKEN }}
concurrency:
group: ${{ github.workflow }}-${{ github.head_ref || github.ref_name }}
cancel-in-progress: true
jobs:
deploy:
name: Deploy
runs-on: ubuntu-latest
if: github.event_name == 'push' || (github.event_name == 'pull_request' && github.event.action != 'closed')
environment:
name: ${{ github.ref == 'refs/heads/main' && 'Production' || github.ref == 'refs/heads/development' && 'Development' || 'Preview' }}
url: ${{ steps.deploy.outputs.STUDIO_URL }}
steps:
- uses: actions/checkout@v4
- uses: actions/setup-node@v4
with:
node-version: lts/*
cache: npm
- run: npm ci
- name: Set Studio hostname
run: |
if [ "${{ github.event_name }}" == "pull_request" ]; then
echo "SANITY_STUDIO_HOSTNAME=${HOSTNAME}-pr-${{ github.event.pull_request.number }}" >> $GITHUB_ENV
else
echo "SANITY_STUDIO_HOSTNAME=${HOSTNAME}" >> $GITHUB_ENV
fi
- name: Build and deploy Sanity Studio
id: deploy
run: |
if [ -z "${SANITY_STUDIO_HOSTNAME}" ]; then
echo "Error: SANITY_STUDIO_HOSTNAME is not set" >&2
exit 1
fi
if [[ "$SANITY_ACTIVE_ENV" == "development" ]]; then
npm run deploy -- --yes --source-maps
else
npm run deploy -- --yes
fi
echo "STUDIO_URL=https://${SANITY_STUDIO_HOSTNAME}.sanity.studio" >> $GITHUB_OUTPUT
- name: Post preview link
if: github.event_name == 'pull_request' && github.event.action == 'opened'
uses: actions/github-script@v7
with:
script: |
const body = [
'**🚀 Preview environment has been deployed!**',
`Visit [${process.env.STUDIO_URL}](${process.env.STUDIO_URL}) to see your changes.`,
"*This is a temporary environment that will be undeployed when this PR is merged or closed.*"
].join('\n\n')
github.rest.issues.createComment({
issue_number: context.issue.number,
owner: context.repo.owner,
repo: context.repo.repo,
body,
})
env:
STUDIO_URL: ${{ steps.deploy.outputs.STUDIO_URL }}
teardown:
name: Teardown
runs-on: ubuntu-latest
if: github.event_name == 'pull_request' && github.event.action == 'closed'
environment:
name: Preview
steps:
- name: Checkout repository
uses: actions/checkout@v4
- name: Set up Node.js
uses: actions/setup-node@v4
with:
node-version: lts/*
cache: npm
- name: Install dependencies
run: npm ci
- name: Cleanup PR preview
run: npx sanity undeploy -- --yes
env:
SANITY_STUDIO_HOSTNAME: ${HOSTNAME}-pr-${{ github.event.pull_request.number }}
```
## Adding Pull Request Checks
Now that your Sanity Studio is deployed automatically, it’s crucial that every change merged into the main branch has been thoroughly reviewed and validated. When a pull request is opened or updated, your CI pipeline not only runs the typical linting and type-checking jobs but also includes Sanity-specific checks to catch errors early. If any of these jobs fail, detailed reports are automatically posted to the pull request, providing instant feedback for your team. In this way, before any merge occurs, your code is guaranteed to have passed all the necessary automated checks.
Within your CI pipeline, the commands `sanity schema validate` and `sanity documents validate` play critical roles in ensuring that your code does not introduce breaking changes. These validation steps create a robust safety net that goes beyond simply automating deployments.
The command `sanity schema validate` is used to verify that your schema definitions are error-free. When you run this command, it checks your schema files for syntax errors, misconfigurations, or other issues that might cause runtime errors.
In contrast, the command `sanity documents validate` verifies that the content stored in your Sanity dataset conform to the constraints defined in your schema. This command inspects each document to ensure that required fields are present, data types match the expected formats, and any additional validation rules you have implemented are adhered to. This step is essential for maintaining data integrity, and any discrepancies—such as missing values or incorrect data formats—are flagged to prevent problematic changes from being merged into production.
1. Changes to your content model often require migration scripts to ensure data integrity. You can learn more about migrating data in [Handling schema changes confidently](https://www.sanity.io/learn/course/handling-schema-changes-confidently).
```yaml:ci.yml
name: CI
on:
pull_request:
types: [opened, synchronize, reopened]
push:
branches: [main]
workflow_dispatch:
permissions:
contents: read
pull-requests: write
concurrency:
group: ${{ github.workflow }}-${{ github.head_ref || github.run_id }}
cancel-in-progress: true
env:
SCHEMA_VALIDATION_REPORT: schema-report.txt
DATASET_VALIDATION_REPORT: dataset-report.txt
jobs:
typecheck:
name: Typecheck
runs-on: ubuntu-latest
steps:
- uses: actions/checkout@v4
- uses: actions/setup-node@v4
with:
cache: npm
node-version: lts/*
- run: npm ci
- name: Typecheck
run: npm run typecheck
lint:
name: Lint
runs-on: ubuntu-latest
steps:
- uses: actions/checkout@v4
- uses: actions/setup-node@v4
with:
cache: npm
node-version: lts/*
- run: npm ci
- name: Lint
run: npm run lint -- --max-warnings 0
validate-schema:
name: Validate Studio schema
runs-on: ubuntu-latest
steps:
- uses: actions/checkout@v4
- uses: actions/setup-node@v4
with:
cache: npm
node-version: lts/*
- run: npm ci
- name: Validate Studio schema
id: validate
run: |
npx sanity schema validate >> ${{ env.SCHEMA_VALIDATION_REPORT }}
exit_code=$?
{
echo "## Schema Validation Results"
echo "\`\`\`"
cat ${{ env.SCHEMA_VALIDATION_REPORT }}
echo "\`\`\`"
} >> $GITHUB_STEP_SUMMARY
exit $exit_code
- name: Post schema validation report
uses: actions/github-script@v6
if: failure() && steps.validate.outcome == 'failure'
with:
script: |
const fs = require('fs');
const report = fs.readFileSync('${{ env.SCHEMA_VALIDATION_REPORT }}', 'utf8');
const body = [
'### ❌ Schema validation failed',
'',
`\`\`\`${report}\`\`\``,
].join('\n');
await github.rest.issues.createComment({
issue_number: context.issue.number,
owner: context.repo.owner,
repo: context.repo.repo,
body,
});
validate-dataset:
name: Validate dataset
runs-on: ubuntu-latest
if: (github.event_name == 'pull_request' && github.base_ref == 'main') || (github.ref == 'refs/heads/main')
steps:
- uses: actions/checkout@v4
- uses: actions/setup-node@v4
with:
cache: npm
node-version: lts/*
- run: npm ci
- name: Validate dataset
id: validate
run: |
npx sanity documents validate --yes --level info >> ${{ env.DATASET_VALIDATION_REPORT }}
exit_code=$?
{
echo "## Dataset Validation Results"
echo "\`\`\`"
cat ${{ env.DATASET_VALIDATION_REPORT }}
echo "\`\`\`"
} >> $GITHUB_STEP_SUMMARY
exit $exit_code
env:
SANITY_ACTIVE_ENV: production
SANITY_AUTH_TOKEN: ${{ secrets.SANITY_AUTH_TOKEN }}
# TODO: delete
SANITY_STUDIO_PROJECT_ID: ${{ vars.SANITY_PROJECT_ID }}
- name: Post dataset validation report
if: failure() && steps.validate.outcome == 'failure'
uses: actions/github-script@v6
with:
script: |
const fs = require('fs');
const report = fs.readFileSync('${{ env.DATASET_VALIDATION_REPORT }}', 'utf8');
const body = [
'### ❌ Dataset validation failed',
'',
`\`\`\`${report}\`\`\``,
].join('\n');
await github.rest.issues.createComment({
issue_number: context.issue.number,
owner: context.repo.owner,
repo: context.repo.repo,
body
});
```
By incorporating these validation steps into your GitHub workflow, you ensure that changes undergo rigorous review before they trigger the automated deployment process. This CI process not only enhances the quality and reliability of your Sanity Studio but also builds confidence that both its structure and underlying data are sound when updates are pushed to production.
1. Changes to your content model often require migration scripts to ensure data integrity. You can learn more about migrating data in [Handling schema changes confidently](https://www.sanity.io/learn/course/handling-schema-changes-confidently).
You'll now have a robust DevOps process that enables continuous development while maintaining a stable production environment for your content team. This approach balances the needs of both developers and content editors, ensuring smooth operations and reliable deployments.# [AI-powered Sanity development](/learn/course/code-with-ai)
With its all-code configuration, AI tools make Sanity a perfect choice as a content backend, and developers of varying levels of experience—including those with none at all—greatly benefit from AI tooling. Do it the right way for the best results, take on more ambitious projects, lower the barrier to entry and create happier content authors.
## [The present future of Sanity development](/learn/course/code-with-ai/the-present-future-of-sanity-development)
Coding is no longer just for developers, however AI won't "do it all." Level-set your expectations on what AI tooling can and can't do for the pace and quality of development.
With its all-code configuration, thanks to AI-assisted development you can more rapidly configure a new Sanity Studio or integrate Sanity Client into your applications faster than low-code or no-code tools, which require hundreds of clicks in a browser to complete.
1. The videos in this course are also available as a full-length walkthrough, watch [Build web apps with your voice and Cursor](https://youtu.be/j6zrfJ56KYE) on YouTube.
However without guidance AI tools will typically write the most average code possible. Among other problems, this can lead to a Sanity Studio configured only with the defaults and will not provide the best possible experience for your content creators.
While most AI tools understand the APIs Sanity makes available, they are unlikely to follow our opinionated best practices, which we have published over the years in guides and courses on Sanity Learn.
In this course, you'll be onboarded with several of the tools we use at Sanity, which we know will make your ability to ship ambitious projects faster and better.
## What you'll learn
This course covers how to:
* Write prompts with clear expectations for the best results
* Setup an AI-assistant specific code editor, Cursor
* Apply best-practice "rules" to guide the responses to your prompts
* Write prompts more efficiently with your voice
* Create and import placeholder content
* Rapidly build a front-end for your content
### What you should already know
This course expects you to have some amount of understanding of development and some appreciation for Sanity, the Content Operating System.
In short, and among other things, Sanity offers a hosted backend—the Content Lake—and an all-code administration dashboard called Sanity Studio.
If you have any other questions, ask your favorite AI tool.
## You don’t need AI, but it’ll help
You don't even need to take this course. You _could_ just open up any AI tool and ask it to do everything in one shot. This is most likely to lead to an impossible-to-maintain project that you don't fully understand and that your authors will not appreciate. Frustration will follow.
In this course, you’ll learn how to write prompts that will keep your project focused and achieve the best outcomes for both you as a developer maintaining your project and your authors using your Sanity Studio.
Getting from 0-80% has never been easier. Going beyond that still requires finesse.
As amazing as AI tooling is, it won't do the whole job for you. In terms of technical completeness, or even knowing what the "whole job" is, what its goals are or who it benefits!
It can’t—at this moment—understand human needs and translate them into technical solutions. That's your job. That's why we still need a human in the loop.
## Why I wrote this course
Whether you’re a seasoned programmer, a rookie developer, or a complete novice—you may have formed some opinion on AI tools. I’m a 10+ year web developer and recently reformed AI cynic who has seen the light that our futures involve AI tooling, and there’s no going back.
If you’re new to programming, welcome! There’s never been a better time to dip your toe in the water. AI tools will do all the work writing things you haven’t learned yet. You’ll get started faster than ever before and get to focus purely on the outcomes that you want—less so on the code.
Note that this course assumes that you already have some degree of developer knowledge. In terms of writing code or using code editing tools. The course shouldn’t be _technically_ challenging because AI will be writing the majority of the code. But as a general rule, we advise you to ask the AI to explain the work it has done if anything is unclear.
On the other hand, if you have programming experience, I hope that this course will show you how to work faster and better with modern tools especially when constrained by opinionated rules.
You may also benefit from taking the [Day one content operations](https://www.sanity.io/learn/course/day-one-with-sanity-studio) course to understand the Sanity platform conceptually. There's no better way to understand something than to get hands-on with it yourself.
## More reading
Beyond the material presented in this course, I recommend reading the following valuable, hype-free content:
1. [Best practices for AI-powered Sanity development](https://www.sanity.io/learn/developer-guides/ai-best-practices)
2. [How I use LLMs to help me write code](https://simonw.substack.com/p/how-i-use-llms-to-help-me-write-code) by Simon Willison## [Introduction to prompting](/learn/course/code-with-ai/introduction-to-prompting)
Get better results from AI tools by crafting effective prompts, setting realistic expectations, and using them for interactive brainstorming sessions.
Much of working with AI tooling requires “prompting,“ and writing good prompts is referred to as "prompt engineering." Essentially, writing instructions into a text box that the AI will execute.
For the entire history of computing, programming relied on getting consistent outputs from consistent inputs. However, this is not true when working with AI tools and so knowing how to write good inputs to get _predictably good_ outputs becomes critically important.
Many factors will define the results that you get. The model that you are working with (for example, Claude Sonnet by Anthropic, ChatGPT by OpenAI, etc), the context that it has, and above all the quality of your prompt.
## How to write good prompts
Through a lot of hype and the need for attention, AI tools have been largely oversold in terms of the scale what they can do with short prompts and large code-bases.
If you have only seen a few tweets and demos, you may expect to be able to write a short description of what you need, watch the computer magically do the rest, and put your feet up.
This is not the case. Here's a few tips on writing better prompts.
### Fill in the gaps
You should never consider that any AI tool or model is a flawless oracle, an all-knowing entity that can understand your deepest thoughts and desires and make exactly what you want.
A **bad** prompt that's missing all your context looks like this, and because AI tools are hard-coded to always respond with something, you'll get _something_, but it's extremely unlikely to be what you want.
```text:Prompt
Create a blog
```
While incredibly capable, AI tools don't know what they don't know. They have gaps in their knowledge.
Technical gaps like not knowing about a new framework that was released yesterday.
Context gaps like not knowing what you don't tell it. Novice prompt engineers leave out details for which every AI model will do its best to fill the void.
Without contextual, specific prompting, AI tools will at best produce the most average (read: uninspiring) result or at worst make up something (also known as a “hallucination”) that doesn't actually work.
Don't let AI fill the gaps in your prompts with its own ideas.
### Ask, don’t tell
One way to approach writing good prompts is to ask instead of tell. Depending on your level of expertise in writing software, you may not fully understand the best course of action, especially at the very beginning of a project.
A **good** prompt asks context-rich questions:
```text:Prompt
I run a local bakery and would like to start blogging. What's a suitable technology stack that you would choose to build this for me?
```
Therefore, you are more likely to get great results by asking the AI what _should_ be done.
Describe the problem that you have and that you need its help to solve.
Describe who you are and what you are expecting.
Describe to the computer the human problems that you are being paid to solve.
In the early stages of a project, AI tools are most valuable as a sparring partner for your ideas or a brainstorming session.
### Set your expectations accordingly
Despite having access to almost all knowledge in human history, you should consider your AI tool to be no smarter than a fresh, out-of-the-box intern.
An intern that you have found asleep and has only been awoken at the moment that you have pressed “send” in the prompt text box.
An intern that will confidently lie at any moment.
An intern that you can simply put away and replace in a moment when you are unhappy with the results.
Okay maybe "intern" isn't a good simile. It's important to not consider your AI tools to be "human." This is kind of the best framing we have for now.
But you get the point—frame your expectations. For all that AI tools can do, they can quickly lead to user frustration if you come to them with mismatched expectations.
### KISS
As it is in the physical world, so it is true in the digital. _Keep it simple, stupid_.
Keep your prompts short and with all required context.
Unless you are prepared to spend a lot of time pre-planning your project into the perfect prompt, don't expect one prompt and get the result you want. Break down your required outcome into bite-sized pieces—whether the outcome of each prompt is to write code or to keep ideating.
## Summary
In short, when writing prompts
* Early in a project, you should ask, not tell
* Ideate and brainstorm with the AI; you don’t need to write code with every prompt
* Level-set your expectations about how much AI can actually do
* Make sure the AI has all the context you had to ask the question, to answer it
In the following lesson, we'll start writing some prompts inside of a code editing tool.## [Writing code with AI assistance](/learn/course/code-with-ai/writing-code-with-ai-assistance)
An introduction to Cursor, the AI-powered code editor you'll use in this course. Get to know the Chat window and the difference between an Ask and an Agent.
In 2021, [VS Code](https://code.visualstudio.com/) popularized AI coding assistance with GitHub Copilot. This coding assistant helps modify or complete single lines of code. Recently, it has been expanded into a chat interface and multi-line editing. While it continues to receive updates, in my opinion, it has not kept pace with alternative options.
This space is evolving so rapidly that it's likely that this course will be updated in future with alternate recommendations.
In this course, we'll use Cursor, a fork of VS Code. At the time of writing, it is emerging as the most popular IDE for authoring code with AI assistance.
[Windsurf](https://codeium.com/windsurf) and [Zed](https://zed.dev/) are popular alternatives, but we will not use them in this course.
You may also have experience writing code through copy-and-paste sessions with in-browser AI tools like Open AI's ChatGPT or Anthropic's Claude. However, in this course, you'll use AI tools closer to the code base.
## Installation
Cursor is a free app which can be [downloaded from their website](https://www.cursor.com/). While the paid plan provides access to better models and features, the free version is still feature-rich. You should be able to complete this course without upgrading.
1. **Download** and install Cursor
## Create a new Sanity project
Open Cursor and open the Terminal by clicking View -> Terminal or pressing `Cmd+T`
1. We could have "prompted" a new Sanity project into existence, but I wanted to make sure you start with this specific experience.
Run the following command to create a new Sanity project. If you are not logged into Sanity in the terminal, you will be asked to do so. If you do not yet have a Sanity account, you can create one for free.
1. **Run** the following from the command line to create a new Sanity project
```sh:Terminal
npm create sanity@latest -- --template blog --create-project "AI-powered Sanity" --dataset production --typescript --output-path ai-powered-sanity
cd ai-powered-sanity
```
The install command above has several options preselected so that you won’t need to weigh up the options.
Install the dependencies as instructed and enter the `ai-powered-sanity` directory.
1. **Run** the following from the command line to start the development server
```sh:Terminal
npm run dev
```
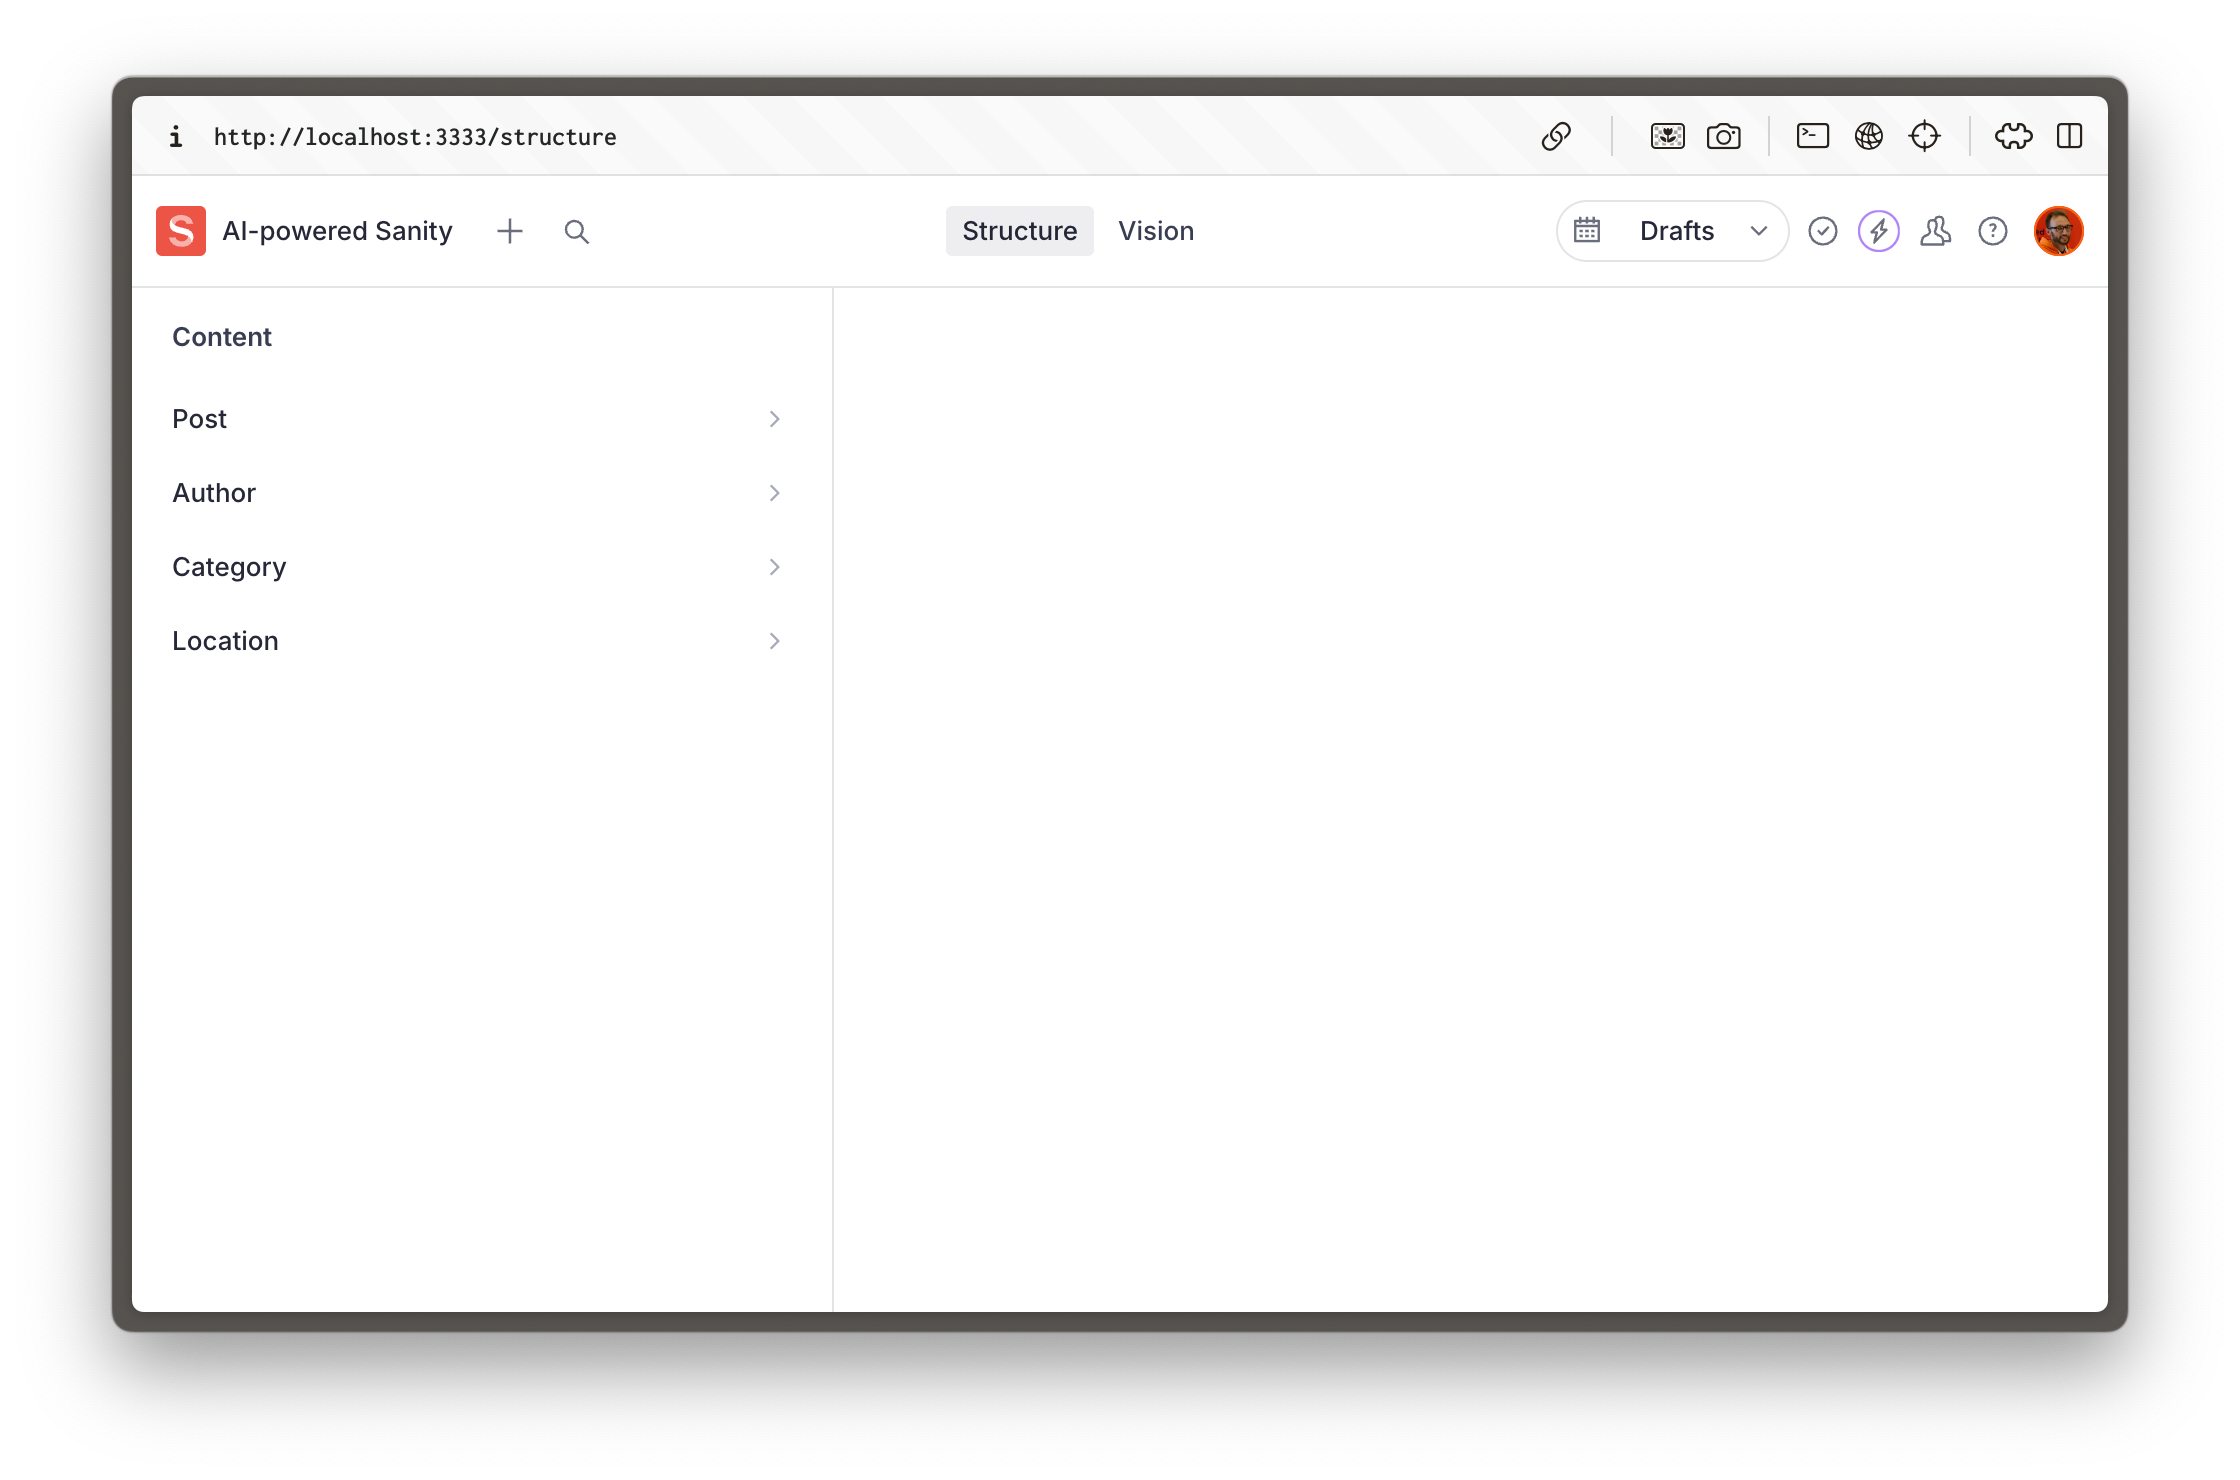
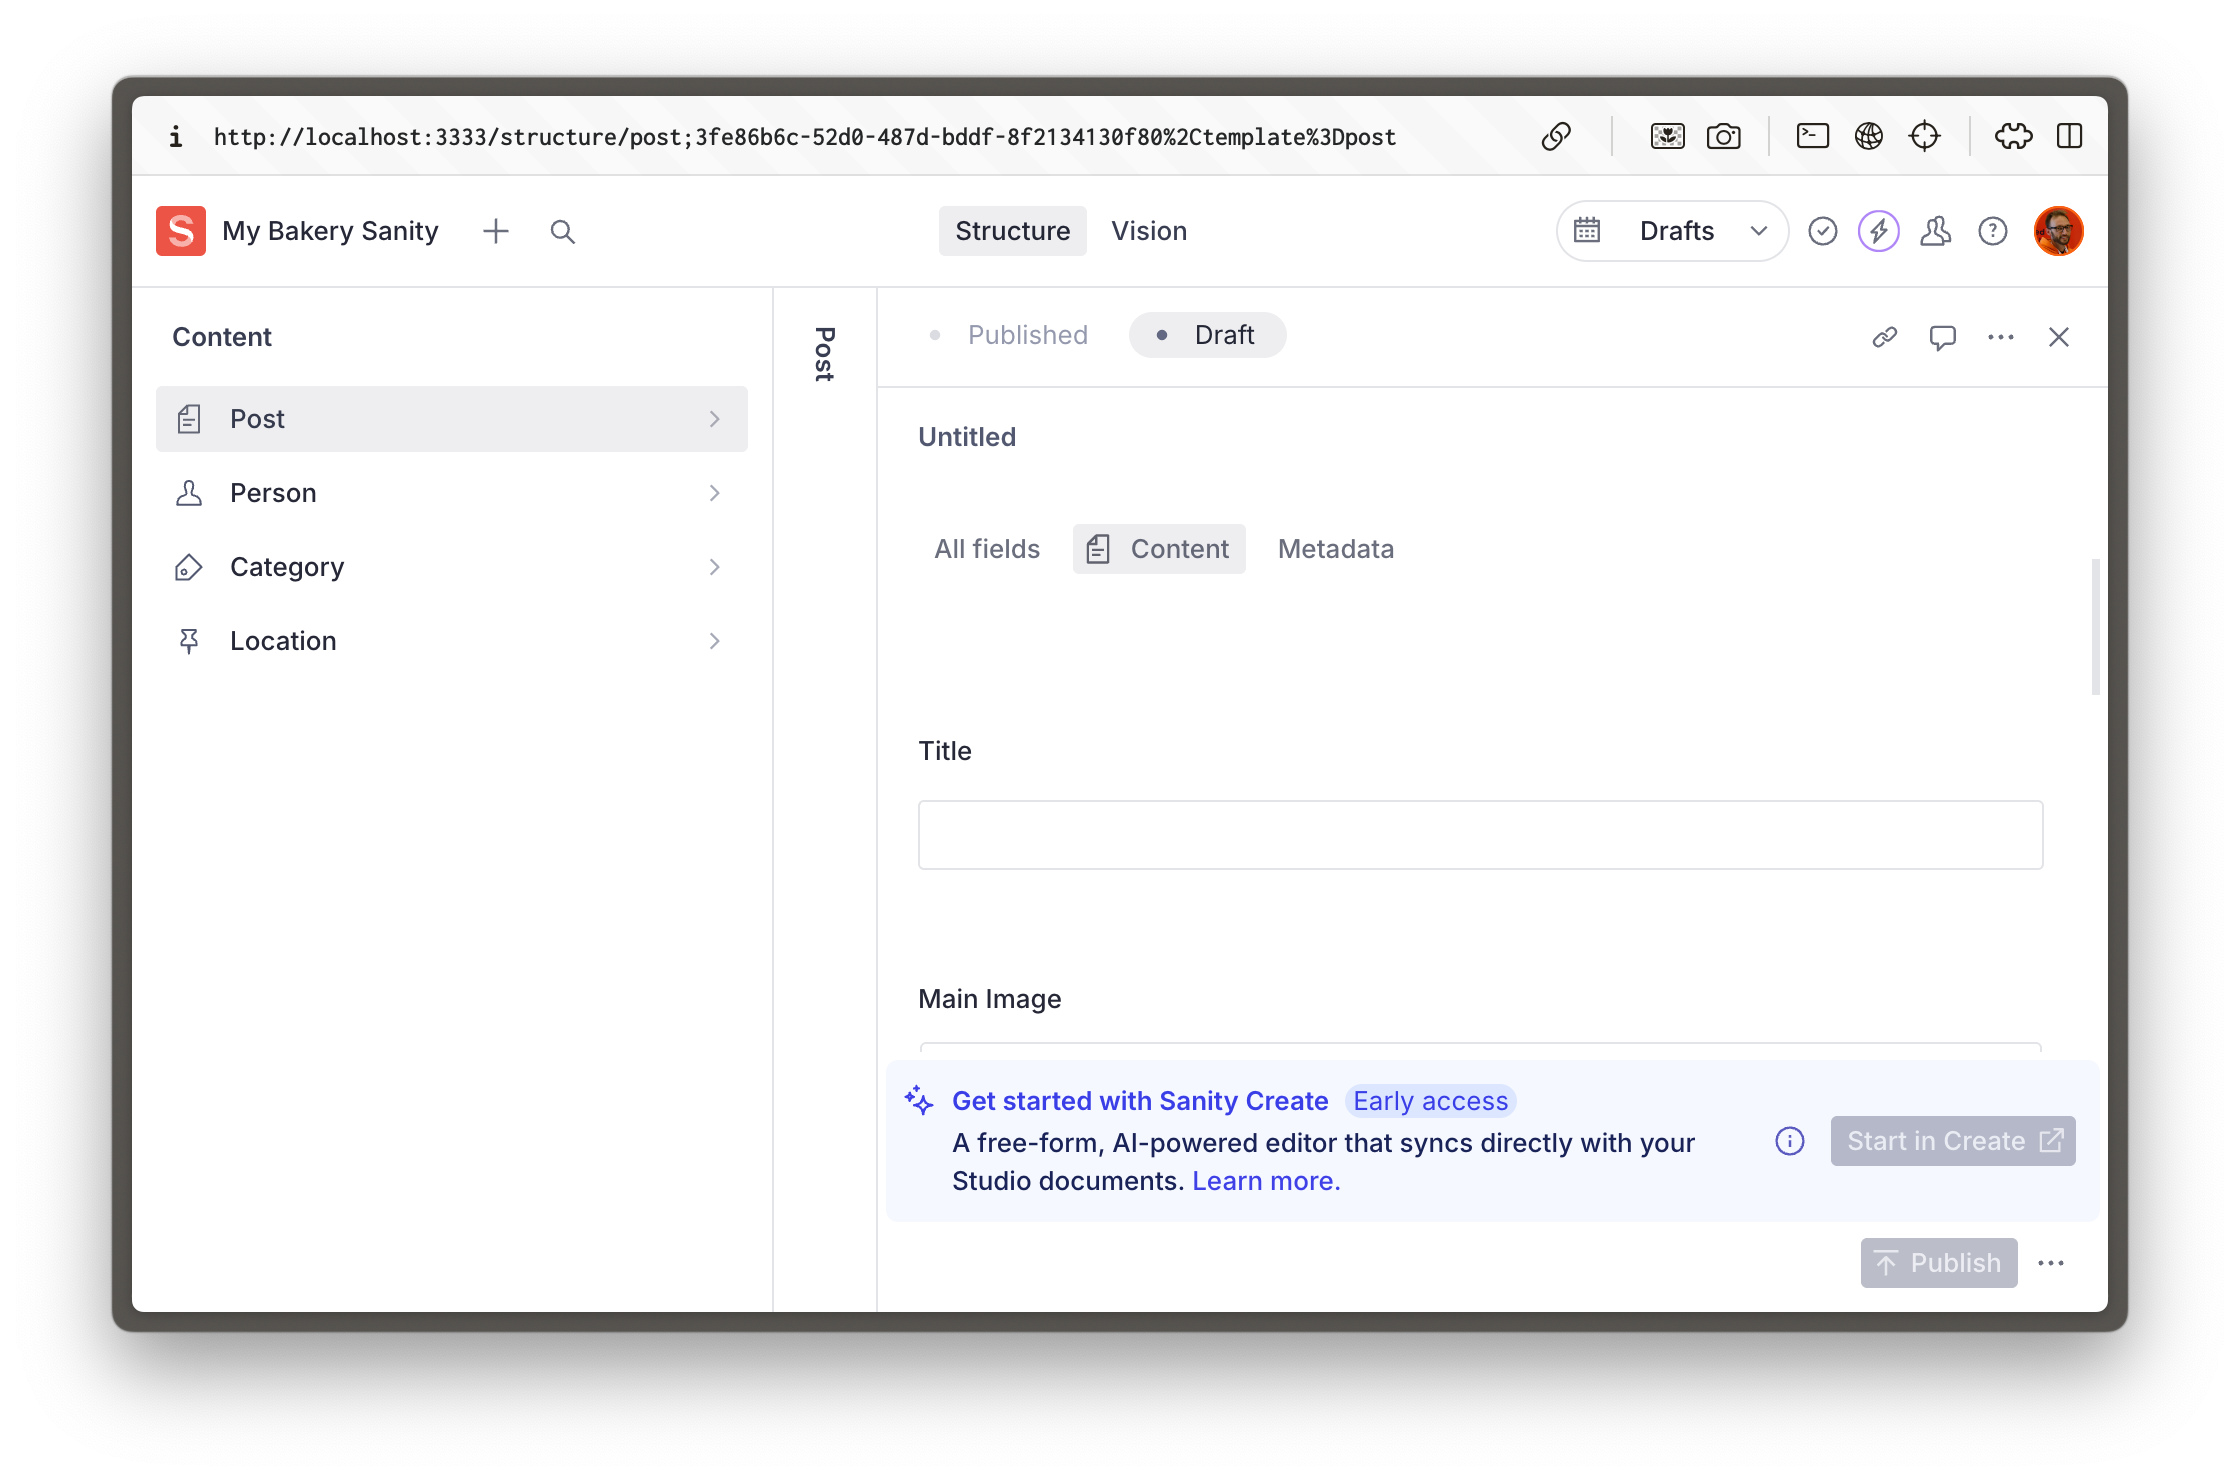
You can now open the Studio at [http://localhost:3333](http://localhost:3333) and log in.
You now have a configured Sanity project that is a cloud-hosted real-time content database and a local Sanity Studio development server that is an admin interface for authoring content.
In the script that created this project we chose the “blog” template to create a new Sanity Studio. This is why you can currently see Post, Author, and Category document schema types in your studio.
1. This course **won't** cover [Hosting and deployment](https://www.sanity.io/learn/studio/deployment)—see our documentation and other courses on Sanity Learn for more details.
It’s time to finally do some AI’ing.
### Your mileage may vary
Before continuing consider that many factors effect the results you'll get from a prompt. Which model you choose, its capacity at the time, etc. During this course you'll be given prompts to enter and I'll detail in broad terms the responses you are likely to receive. Just know that your specific results may differ in some small way.
This is part of the nature of AI assisted coding.
## Prompt some new content types
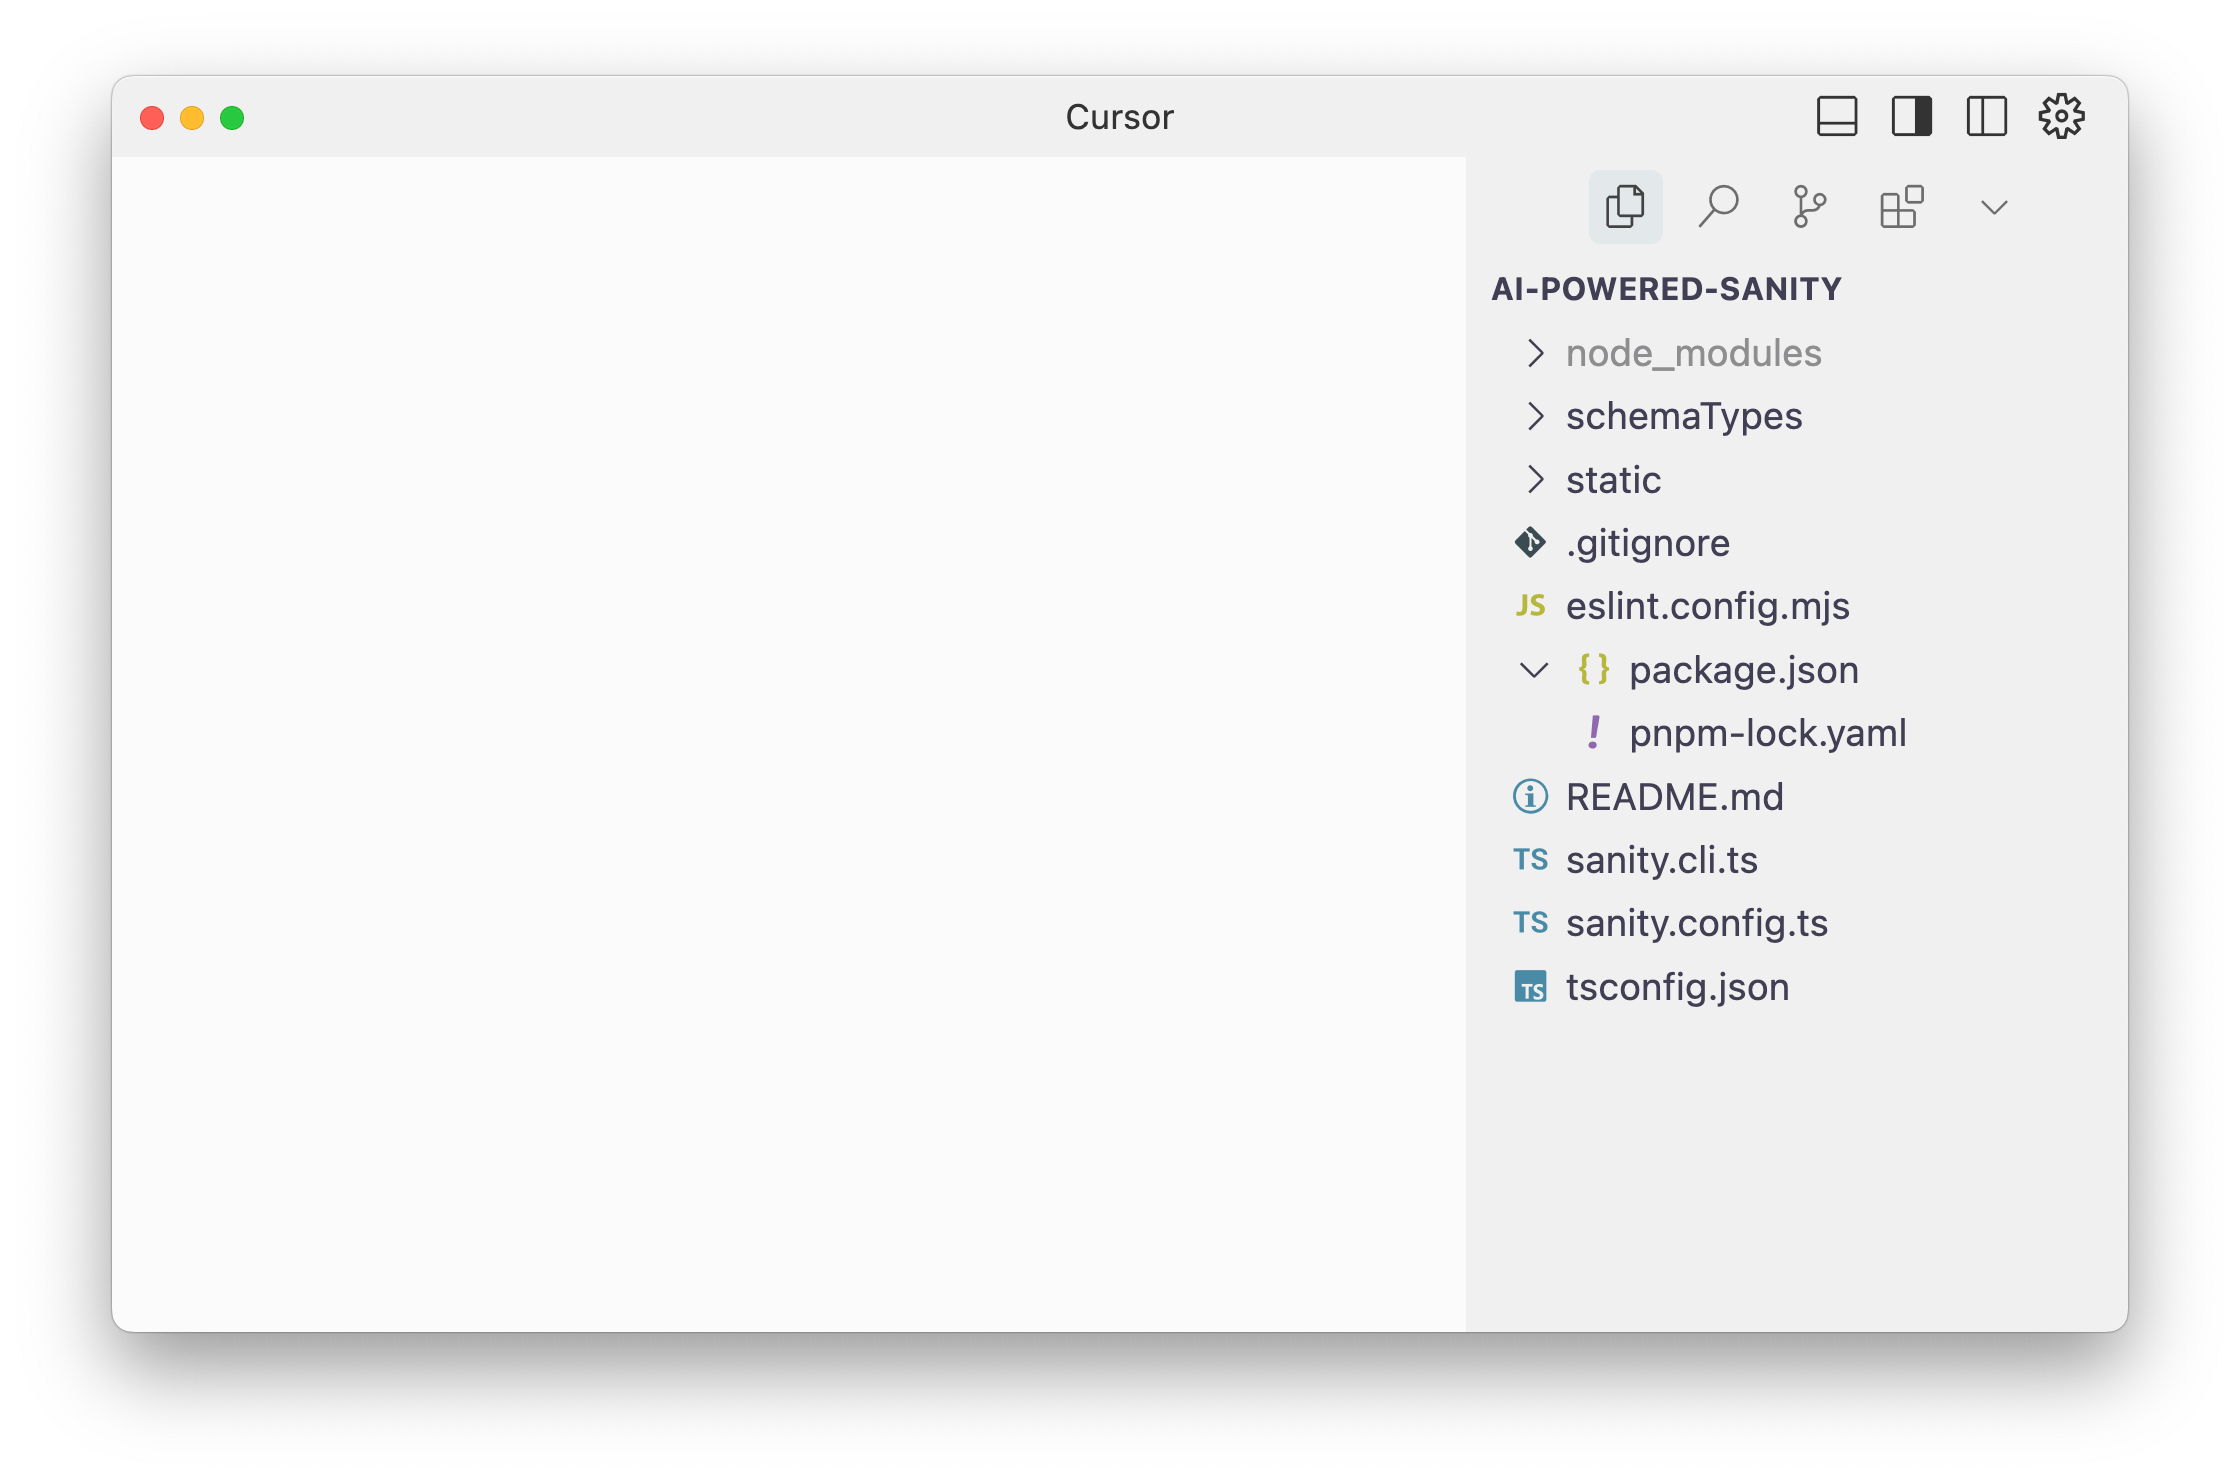
1. **Open** the `ai-powered-sanity` directory in Cursor. Go to File -> Open or press `Cmd+O` and select the folder.
Alternatively, install a command to open the current directory in Cursor from the terminal. Open the Command Palette `Cmd+Shift+P` and type "shell install cursor."
You can now type the below into your Terminal to open the current directory in a new Cursor window.
```sh:Terminal
cursor .
```
You should now see a view similar to the image below, with your project folder open.
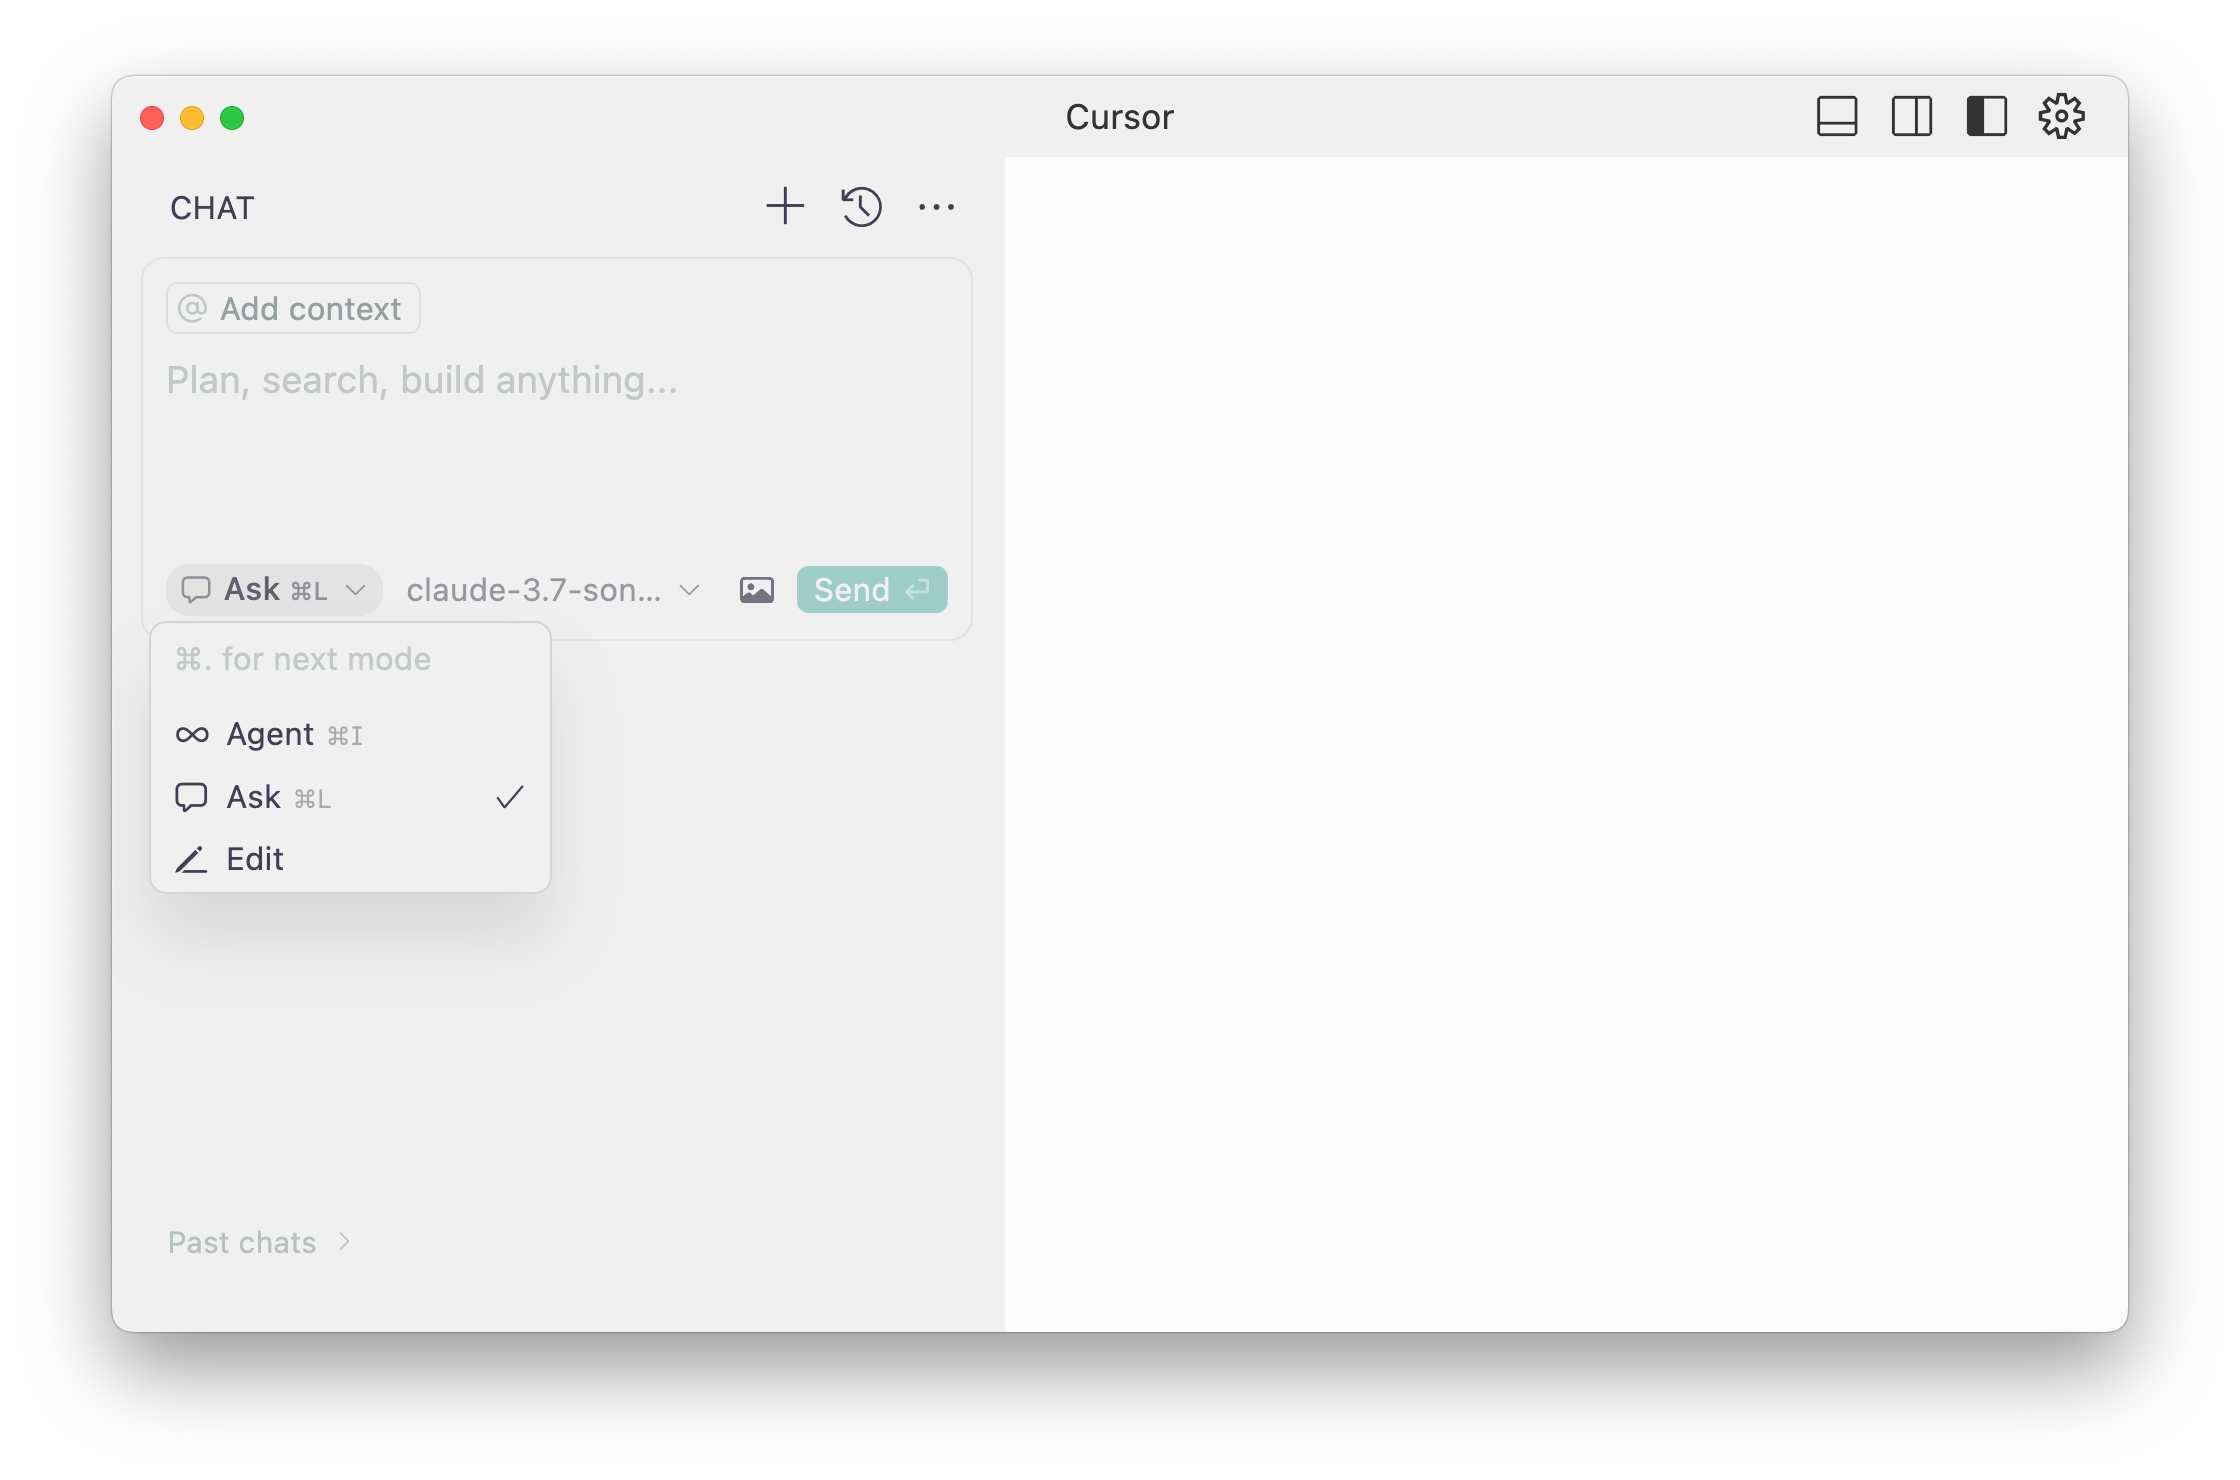
### Chat: Ask vs Agent
Press `Cmd+L` to open the chat in “Ask” mode. Prompts written here will return responses that you will need to manually **apply** to the files in the project. This is a similar experience to ChatGPT or Claude.
Press `Cmd+I` to open the chat in “Agent” mode. Prompts written here will be automatically written to files in the project. It may also ask you to run commands.
If you'd like to introduce a little chaos, open Cursor settings (`Cmd+Shift+J`) and enable "YOLO mode" to have all commands run automatically.
### Ask about the project
1. **Open** the Chat in “Ask” mode and enter the following prompt
```text:Prompt
Look through this codebase and tell me what you know about this project.
```
The response should scan through the code base of the current directory and make some determinations about the project. It should conclude something like:
> This project contains a Sanity content management system designed to manage blog posts.
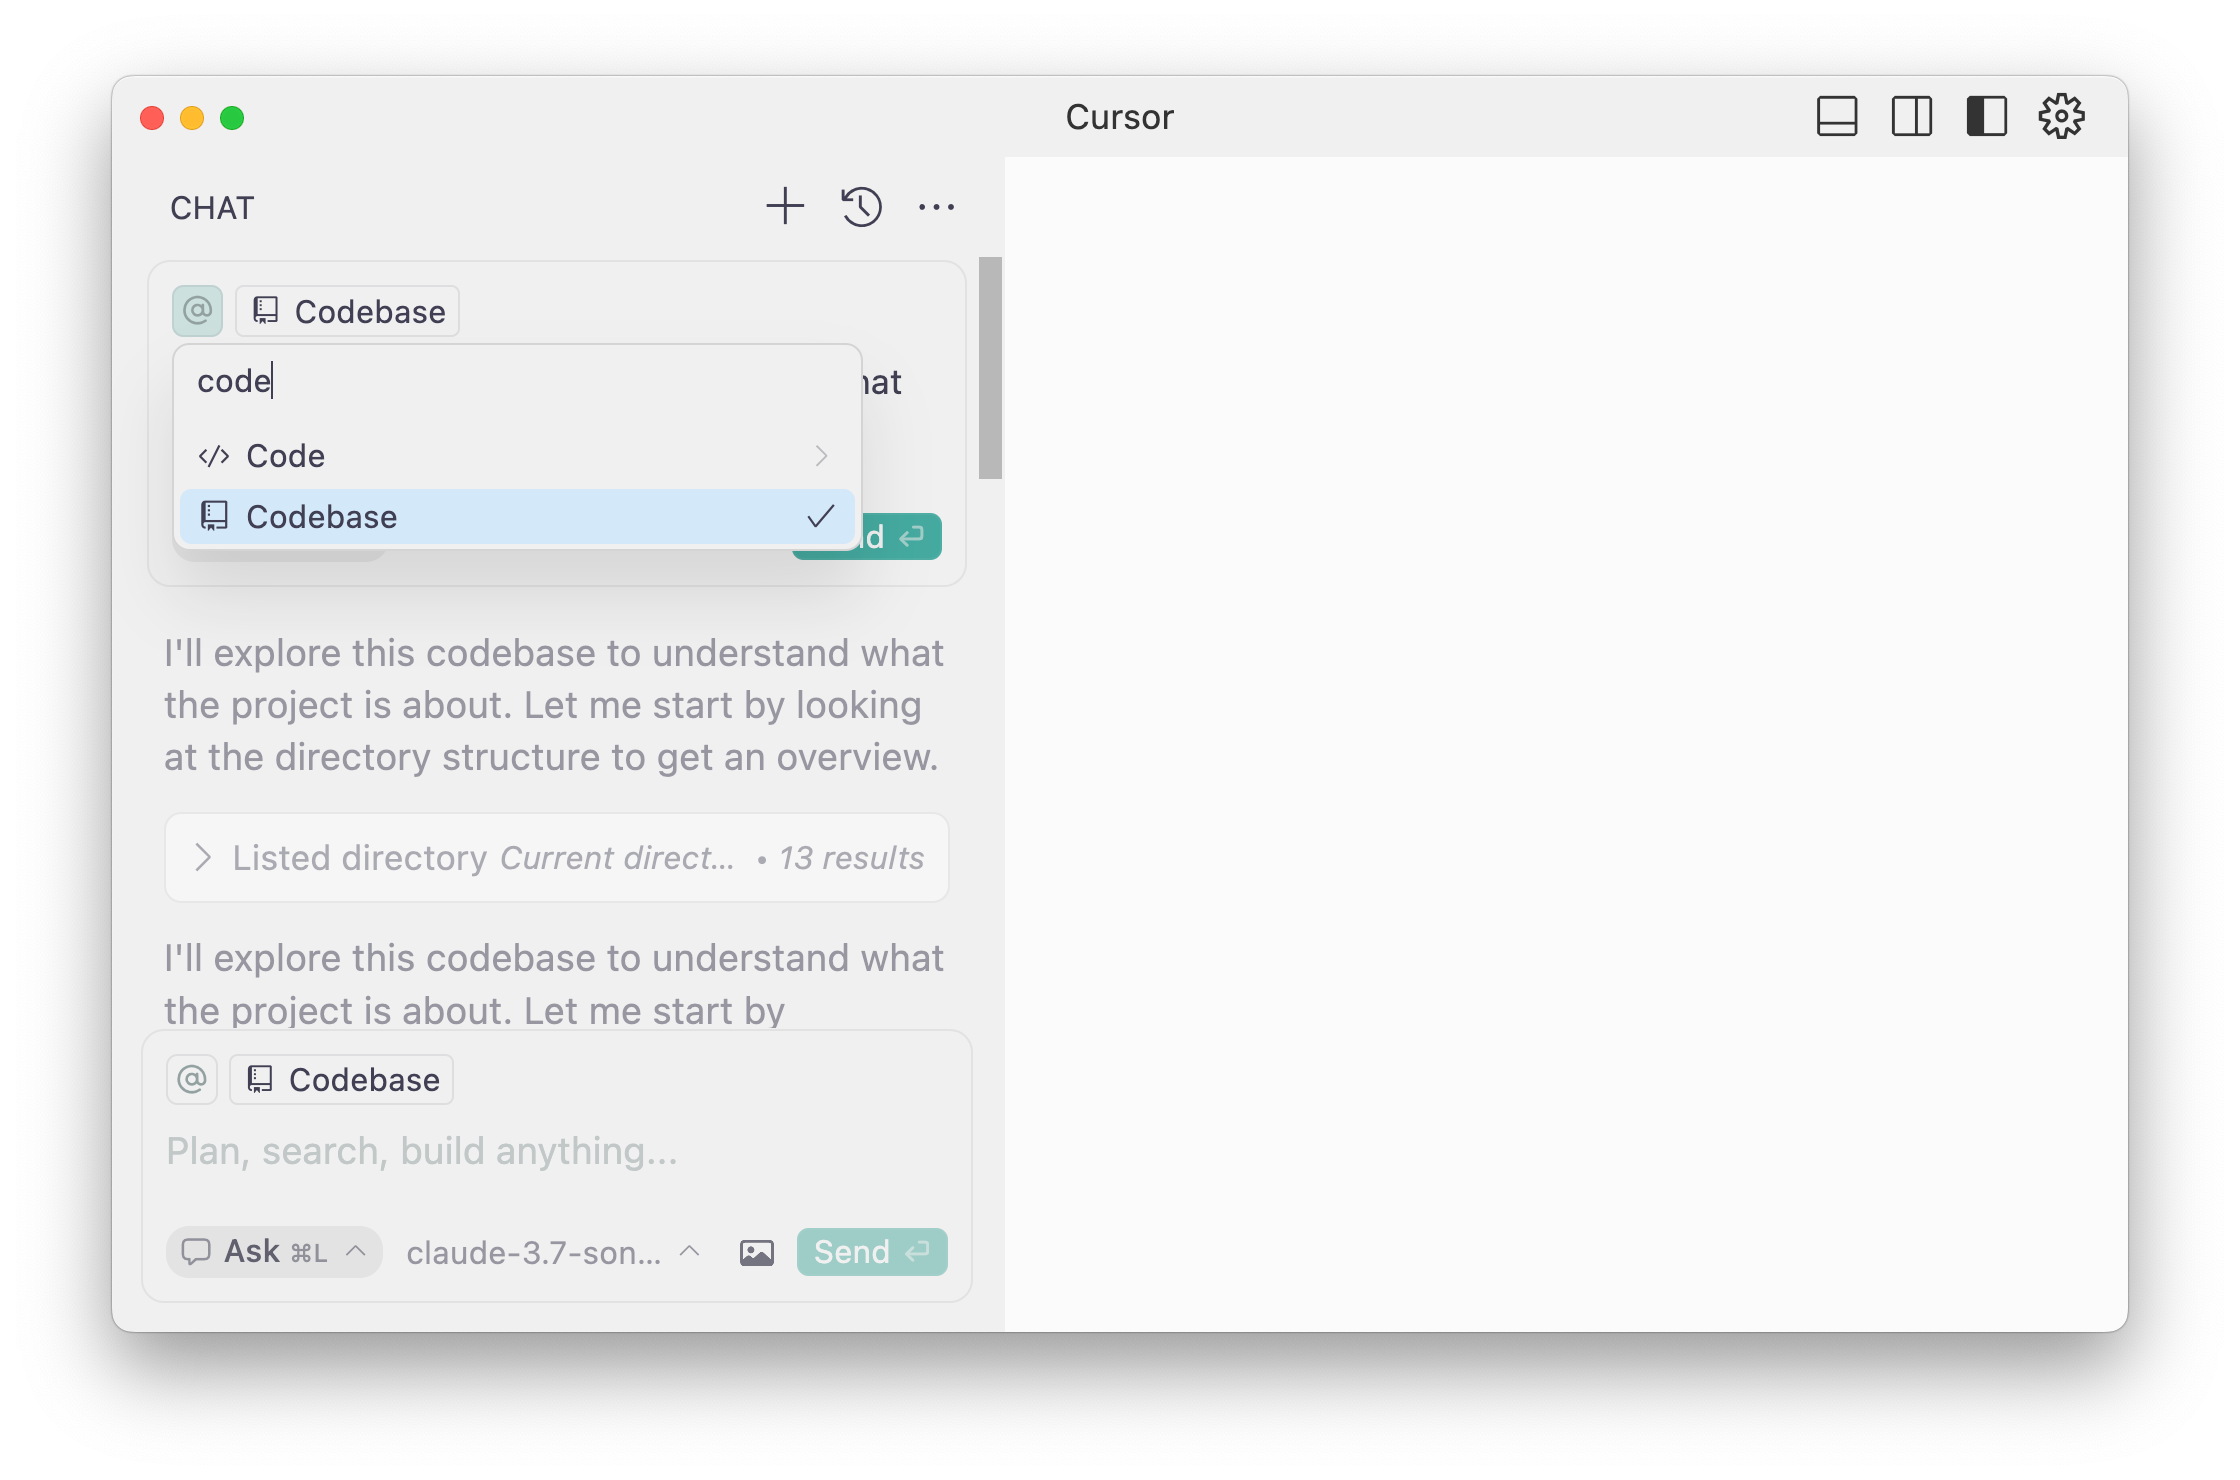
1. If your answer is something very different, try adding the codebase to the context of your prompt by typing or clicking the `@` symbol and selecting "Codebase."
### Extend the project
Imagine we wanted to add to currently available document types. Before proceeding, we could ask for some guidance.
1. **Enter** a second prompt to ask for help adding more schema types
```text:Prompt
You are mostly right. This is a content management system for a blog. However, my business also includes store locations. How do you think we could represent that in the content model?
```
The result is an example schema type for Sanity Studio to represent a store location. It's a reasonably good summation. However in my results it has some inconsistencies that I don't love. For one, it says that the geopoint schema type requires a plugin, which is not true. And `storeLocation` as a content type feels too specific.
We can help guide the AI tool to produce a better result.
1. **Enter** one another prompt to perfect the new schema type
```text:Prompt
I think we should just call them locations, not store locations in case we want to reuse this type for other physical locations in future. Also, geopoints do not require a plugin.
```
If you are happy with the new files, you can now apply them to the project by clicking the play button at the top right of both code examples.
1. **Apply** to the new `location.ts` and updated `schemaTypes/index.ts` files
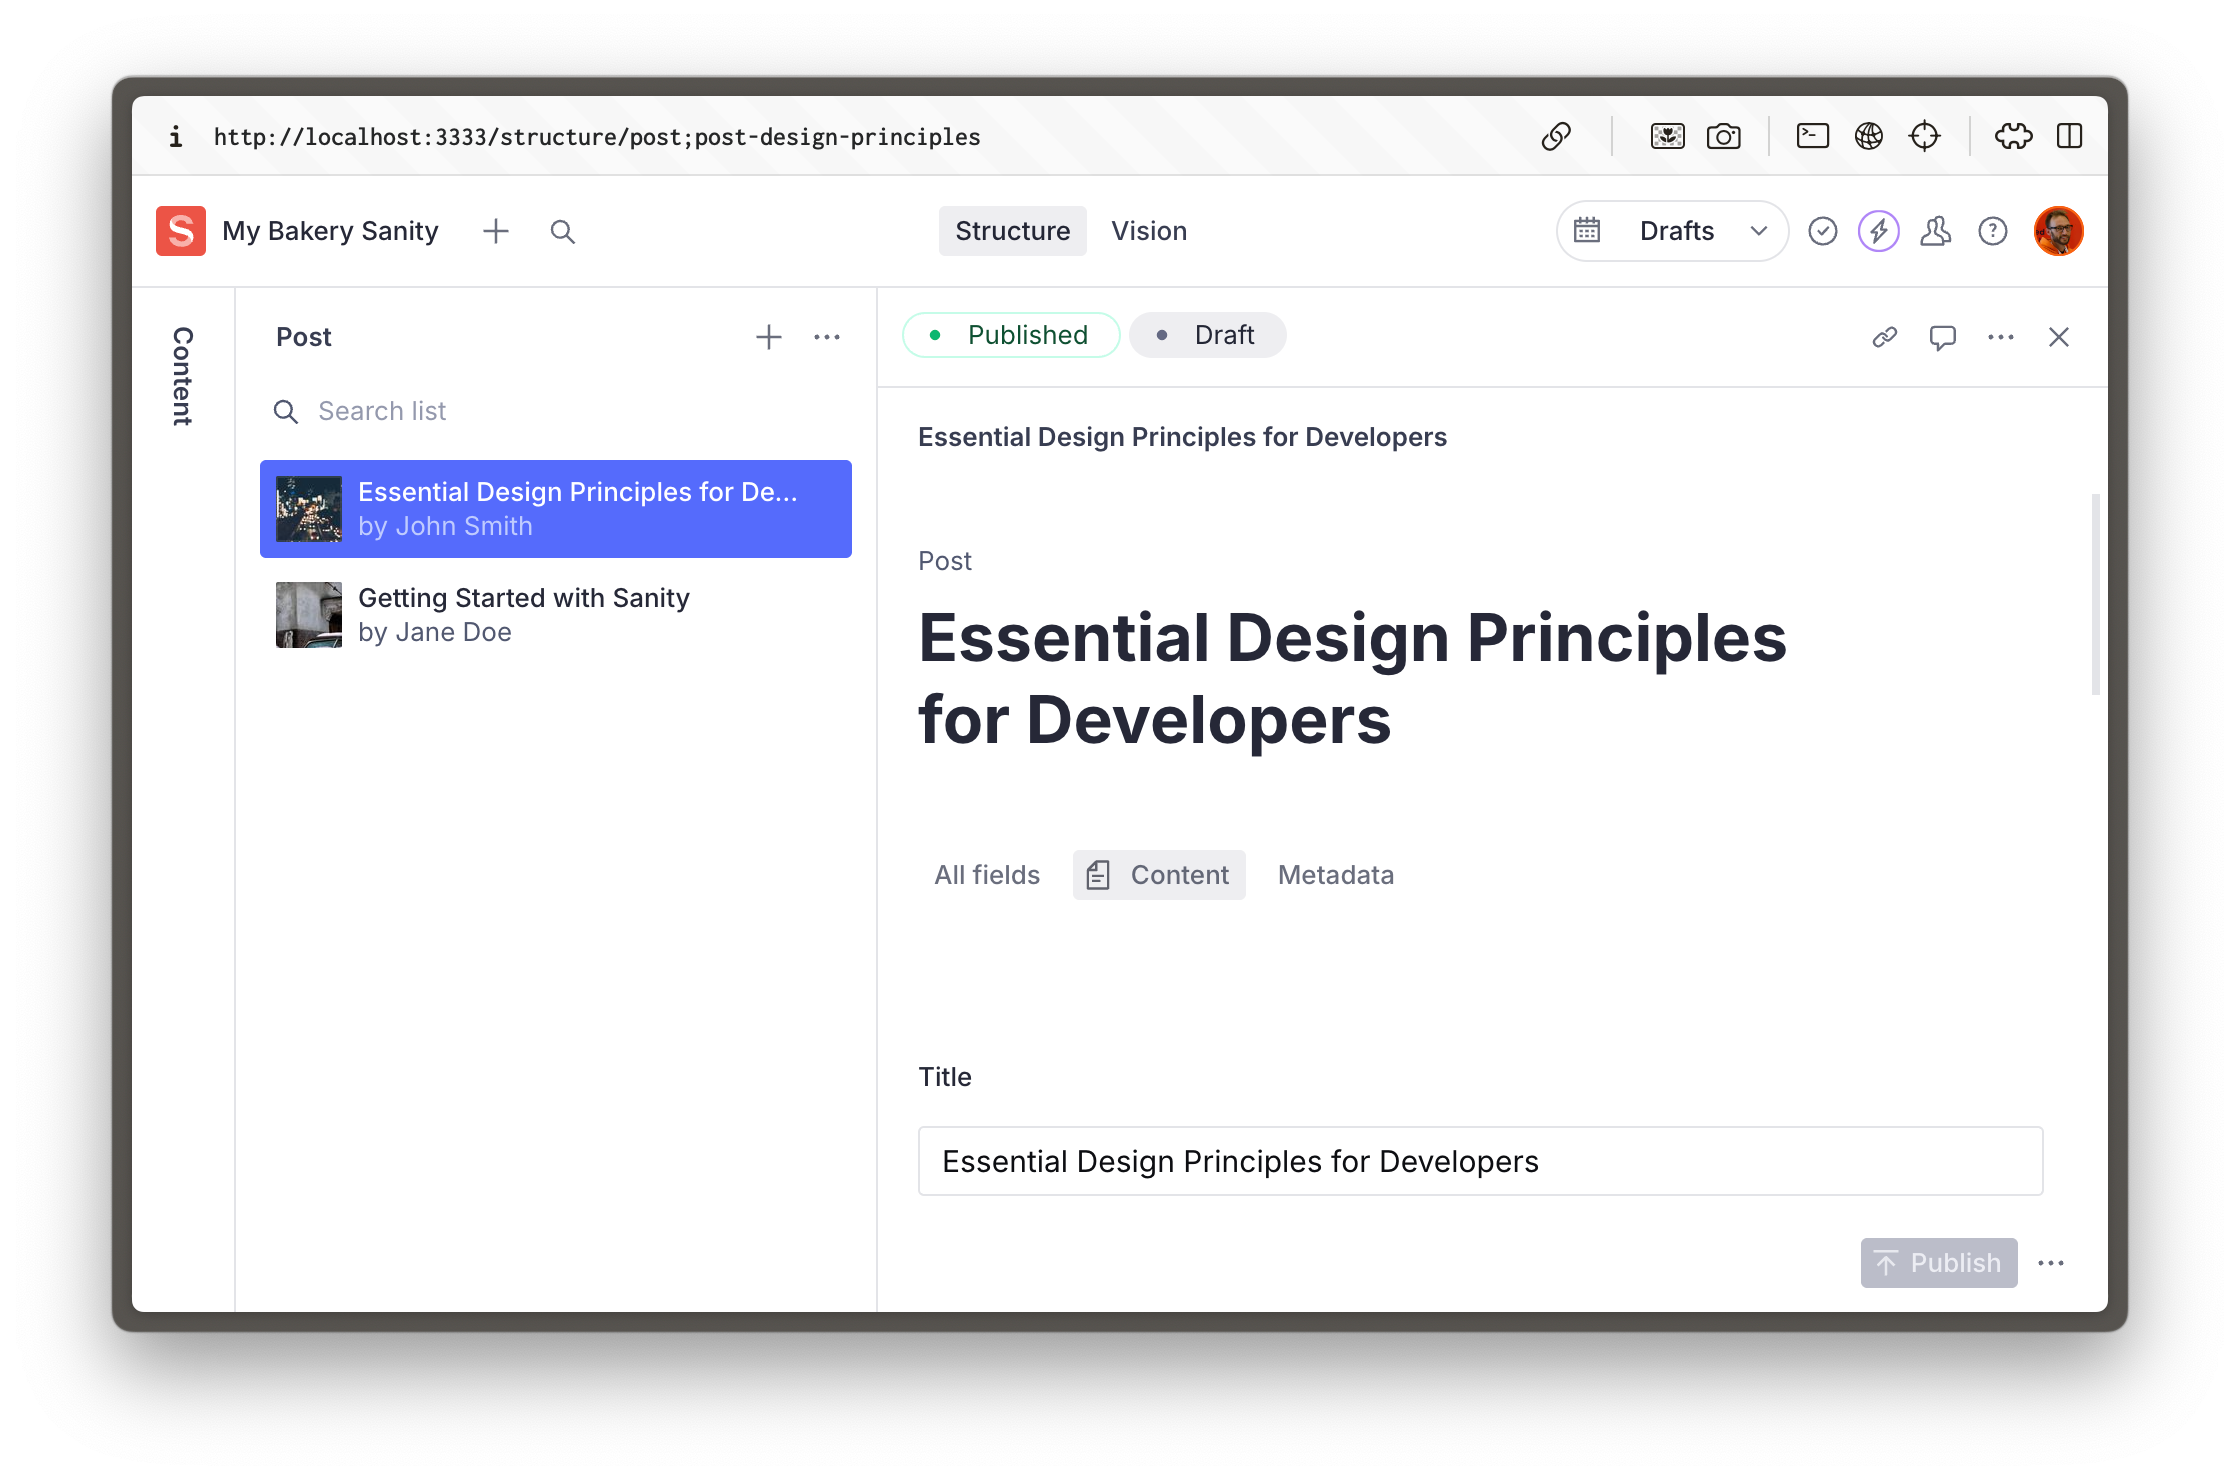
You should now see "Locations" as a document type in the Studio.
Now that our content model is extended, it seems too specific to call a person an author. AI tools can write new code and refactor existing code.
### Agentic workflows
Let's give "Agent" mode a try and trust it to write code directly to the project.
1. **Open** a new Chat in “Agent” mode and enter the following prompt
```text:Prompt
This project contains an @author.ts document type. However, this is too specific for our use case. I want to make it generic to represent a person. Update all the files necessary that refer to this document.
```
Note that we are referencing the `author.ts` file directly by adding it to the prompt’s context. This helps keep the chat focused on the specific problem we’re solving without it having to do its own investigation work.
This should now:
* Create a new document for the `person` document type
* Update the reference field in `post` to `person` instead of `author`
* Update the schema imports in `schemaTypes/index.ts`
* Delete the original `author.ts` file
Accept all these changes and see the Studio update.
And with that, you have now both extended and refactored an existing content model. The codebase is simple for now, but so have been our asks. If you continue to work this way with prompts, you will continue to have success.
Let's take a quick detour to learn how to make prompting even faster.## [Voice dictated prompts](/learn/course/code-with-ai/voice-dictated-prompts)
You may find it much faster and more natural to write prompts with your voice rather than your hands. Here's how I like to do it.
I can type over 100 words per minute. I've been proud of that for a long time, to the point of—for better or worse—considering it part of my personality.
But there's just something about writing prompts that I find so laborious. It feels like micromanagement. Having to write out a task in full instead of just _doing_ it.
Fortunately, I have found a way to reduce the friction of writing prompts: I don’t write them at all; I say them.
In fact, I barely “wrote” any of this course. The words you are reading right now, I spoke into my microphone and cleaned up with AI. What a time to be alive.
## Install Superwhisper
While there are many voice dictation tools available, and your system likely comes with one built in, I have found Superwhisper to be an excellent choice. It's free to try.
1. **Download** and install [Superwhisper](https://superwhisper.com/).
## Speak a prompt
1. **Open** a new Chat in “Agent” mode and speak something like the following prompt
```text:Prompt
The title of this project is AI Powered, but it's just a blog for my local bakery. Can you please update any references to AI in this project to My Bakery?
```
The agent should successfully review the project’s configuration files, including `package.json` and `sanity.config.ts`, and update the existing “AI-powered” value in both.
### Speech-to-text alternatives
If for some reason you're not happy with Superwhisper, there are alternatives that will perform similarly.
* [VS Code Speech](https://marketplace.visualstudio.com/items?itemName=ms-vscode.vscode-speech) is an extension by Microsoft for use in VS Code
* [Wispr Flow](https://wisprflow.ai/) is a similar OS application with some additional features
Now we’re more comfortable with prompting, let’s add some guardrails to the results.## [Agent rules](/learn/course/code-with-ai/ai-rules)
By default AI tools will write the most average code, with a little extra guidance it can be much more expressive—to the benefit of your authors.
So far, Cursor’s code has just used the defaults it has found within its corpus of understanding. It will then write the most average implementation of the Sanity Studio configuration API.
1. See the documentation for more guidance on [Best practices for AI-powered Sanity development](https://www.sanity.io/learn/developer-guides/ai-best-practices)
While functional, it's far from the most feature-complete, best-practice example of a Sanity Studio. Fortunately, a number of years ago, I wrote a guide called [The Opinionated Guide to Sanity Studio](https://www.sanity.io/guides/an-opinionated-guide-to-sanity-studio). Before now, a developer would have to keep these opinionated code styles in mind and effectively editorialize the way they write configuration code.
Now, we can automate it.
There is an emerging standard called [AGENTS.md](https://agents.md/) for AI tools to guide their implementations.
We have made a subset of the “opinionated guide” available in the AGENTS.md format to add to any Sanity project.
1. **Add** this [`AGENTS.md`](https://github.com/sanity-io/ai-rules/blob/main/AGENTS.md) file to your project root
The schema type files that came with the Studio and those that we have created since don't follow the opinionated guidance. They don't express the full potential of the Sanity Studio document authoring experience.
Let's get the agent to refactor the schema type files using the rules we've added to the project.
1. **Open** a new Chat in “Agent” mode and speak something like the following prompt
```text:Prompt
Use @AGENTS.md to refactor the schema type files imported into @index.ts
```
Once complete, you should note significant changes to the way the schema types are configured.
Two notable examples are:
* all document types and objects have icons and previews in lists
* fields are now arranged in field groups.
You can now imagine how by entering prompts you could continue to expand and refactor the content model—while still maintaining best practices throughout.
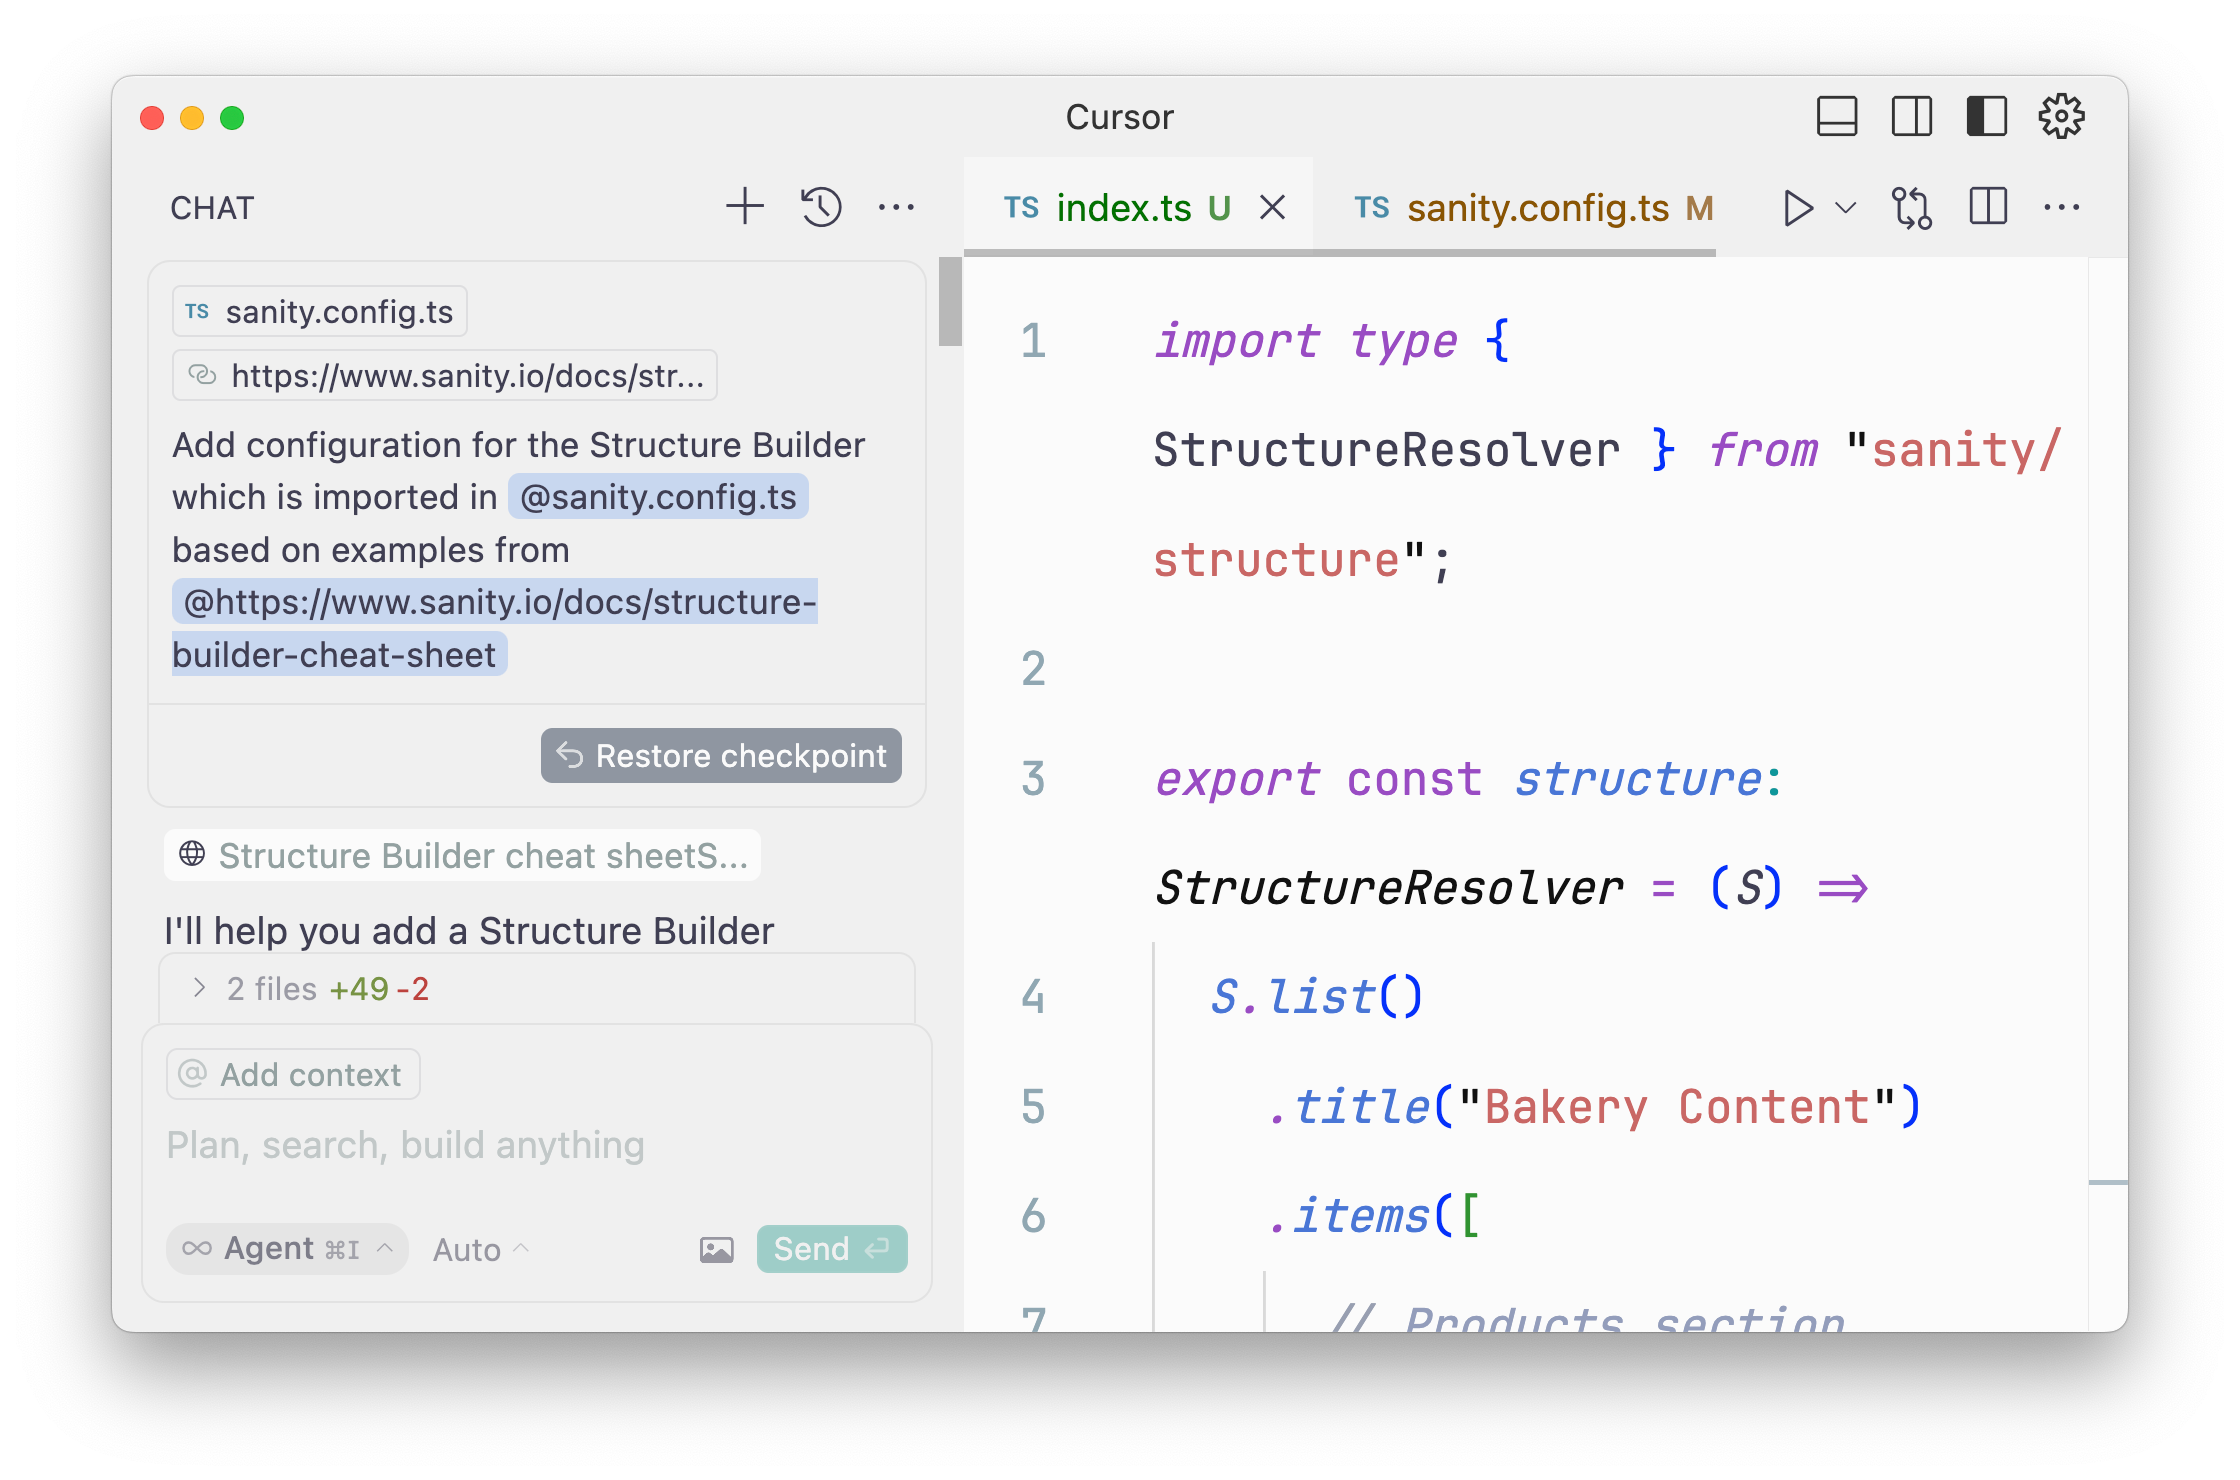
## Referencing documentation
The same way you can reference files and rules with `@` in chat also allows you to reference URLs, such as the Sanity documentation. If you're not getting satisfactory results from a model when trying to interact with some part of Sanity's API, you may benefit from pointing it at accurate, up to date information.
This is typically because models have a "cutoff date," which may be well behind the current APIs. A common example of this causing confusion with Sanity is that the "Desk" tool was renamed "Structure" in May 2024. But your AI generated code probably still tries to import functions and Types from `sanity/desk`.
So if you were creating configuration for the structure tool, you may wish to reference a documentation page like the [Structure Builder cheat sheet](https://www.sanity.io/learn/studio/structure-builder-cheat-sheet).
1. You may also wish to add the entire Sanity documentation to Cursor's context by using the @Docs command. [Learn more on Cursor's documentation](https://docs.cursor.com/context/@-symbols/@-docs).
## Creating content
These rules also contain guidance for generating placeholder content, which is helpful during development. Let's make some in the next lesson.## [Rapidly generating placeholder content](/learn/course/code-with-ai/rapidly-generating-placeholder-content)
You may think the only use for AI tools is to write code, but we can use it to write content and run commands to import it.
Our content model is defined entirely in code, and content can be imported into a Sanity Studio dataset in bulk by creating an NDJSON file. This is the file format that datasets are exported to, where every document in a dataset is represented as JSON on a single line.
Creating scripts to create files like these has previously been a laborious process, especially when it comes to creating richer data structures such as [Presenting Portable Text](https://www.sanity.io/learn/developer-guides/presenting-block-text). And this is the sort of complex, busy work that AI excels at and can make simple.
The opinionated rules that you added in the last step contains a section for guidance on creating these sorts of files, with helpful inclusions like including images.
1. **Open** a new chat in "Agent" mode and enter something like the following prompt.
```text:Prompt
I need to create some placeholder content to be able to validate my content model. Looking at all of the content types in the @schemaTypes directory, create an NDJSON file and import it into the production dataset. When running the import, overwrite existing document ID's. Use the guidance from @sanity-opinionated.mdc
```
You may be prompted to select a dataset when running the import, but once completed, you should now have some posts and other document types in your Sanity Studio.
The prompt above could have been extended to be more creative or ask for a specific number of documents to be created. Try re-running with a few different takes.
Now that all of the content is represented as a single file, you could also write prompts to make edits directly to that file and re-import.
Now we have content, we can render it in a front end.## [Adding Sanity content to any front end](/learn/course/code-with-ai/adding-sanity-content-to-any-front-end)
You can pick whatever framework you'd like to complete this lesson. It's up to AI—and your prompting skills—to make it work.
Our project currently contains a Sanity Studio at the root, but if we're going to also create a frontend to render Sanity data, it should probably live in its own directory. Usually this meant busy work for us with the file system, but Cursor Agent can take care of it instead.
1. It's always good practice to commit your work regularly. Especially before making large project changes such as reorganizing files. This lesson won't prompt you to do this, but if you are familiar with git, you are advised to.
1. **Open** a new Chat in "Agent" mode and prompt it to rearrange your project files
```text:Prompt
This project currently has a Sanity Studio in the root, but I would also like to add a frontend later. Move all of the project files to their own folder called "studio". Add a new README to the root. Add a package.json and .gitignore to the root. Do not create any frontend code.
```
Once this completes, it should have successfully moved all of the working files into a directory called `/studio`, left the Cursor rules in the root, and created an updated `README` that details the project. It may have also created an updated `package.json` file with scripts to run the studio from the root directory.
In my example it left the `node_modules` directory in the root. You may need to install your dependencies in the studio directory again.
## Pick a front end, any front end
In every course that I have ever written before this one, I've had to be very specific about what steps you are going to take. However, I can take a great liberty with this in an AI-powered course because I am relying on the AI's ability to perform most of the technical tasks.
All we need to do is describe _what_ we want, not recall _how_ we want it.
And so instead of telling you which framework to use, I'm going to trust the AI has a reasonable understanding on the best way to do things.
Admittedly, this is not the most reliable method to get bulletproof code. If you do want to start with a particular framework, we have many templates available, which will give you a handcrafted starting point.
1. [Visit the Templates page](https://www.sanity.io/templates) for hand-written starter kits
## Prompt a front end
I'm not an expert in Astro so I'm going to choose it for my example.
1. **Open** a new Chat in "Agent" mode and prompt it to create a new project in the front end of your choice
```text:Prompt
Create a new, blank Astro website within its own folder in this project.
```
Once the prompt finishes, you should have a new directory with some instructions on how to continue to configure your build. It may have even started the development process for you.
It's now time to integrate your Sanity content within it. Before prompting any code changes, check first how confident your AI-assistant is to perform the task.
1. **Open** a new Chat in "Agent" mode and prompt it to clarify what it knows about Sanity and the framework of your choice
```text:Prompt
Without writing any code, tell me how well you understand importing content from Sanity into an Astro frontend.
```
Hopefully, it's very confident! However, we should never be too trusting of AI's confidence or give it too much to do in one go. Let's keep our asks small for now and just get it to successfully query all of the blog posts in our project.
Because we have all of our Sanity Studio configuration files within the same project, it should be able to read through them to get a good understanding of the project details and the GROQ queries it will need to write to complete this task.
1. **Open** a new Chat in "Agent" mode and prompt it to look at the Studio directory for clues on how to integrate Sanity and fetch the latest blog posts
```text:Prompt
Excellent. In that case, I would like you to look at
- @sanity.config.ts to find project details about my Sanity Studio
- @schemaTypes to understand the document types that we have available
- @sanity-opinionated.mdc on how to write GROQ queries
Then update the Astro front end to query for the latest blog posts. Render them on the home page as a simple list. Do not create individual route blog posts. We just want to confirm this first small task before taking any further action.
```
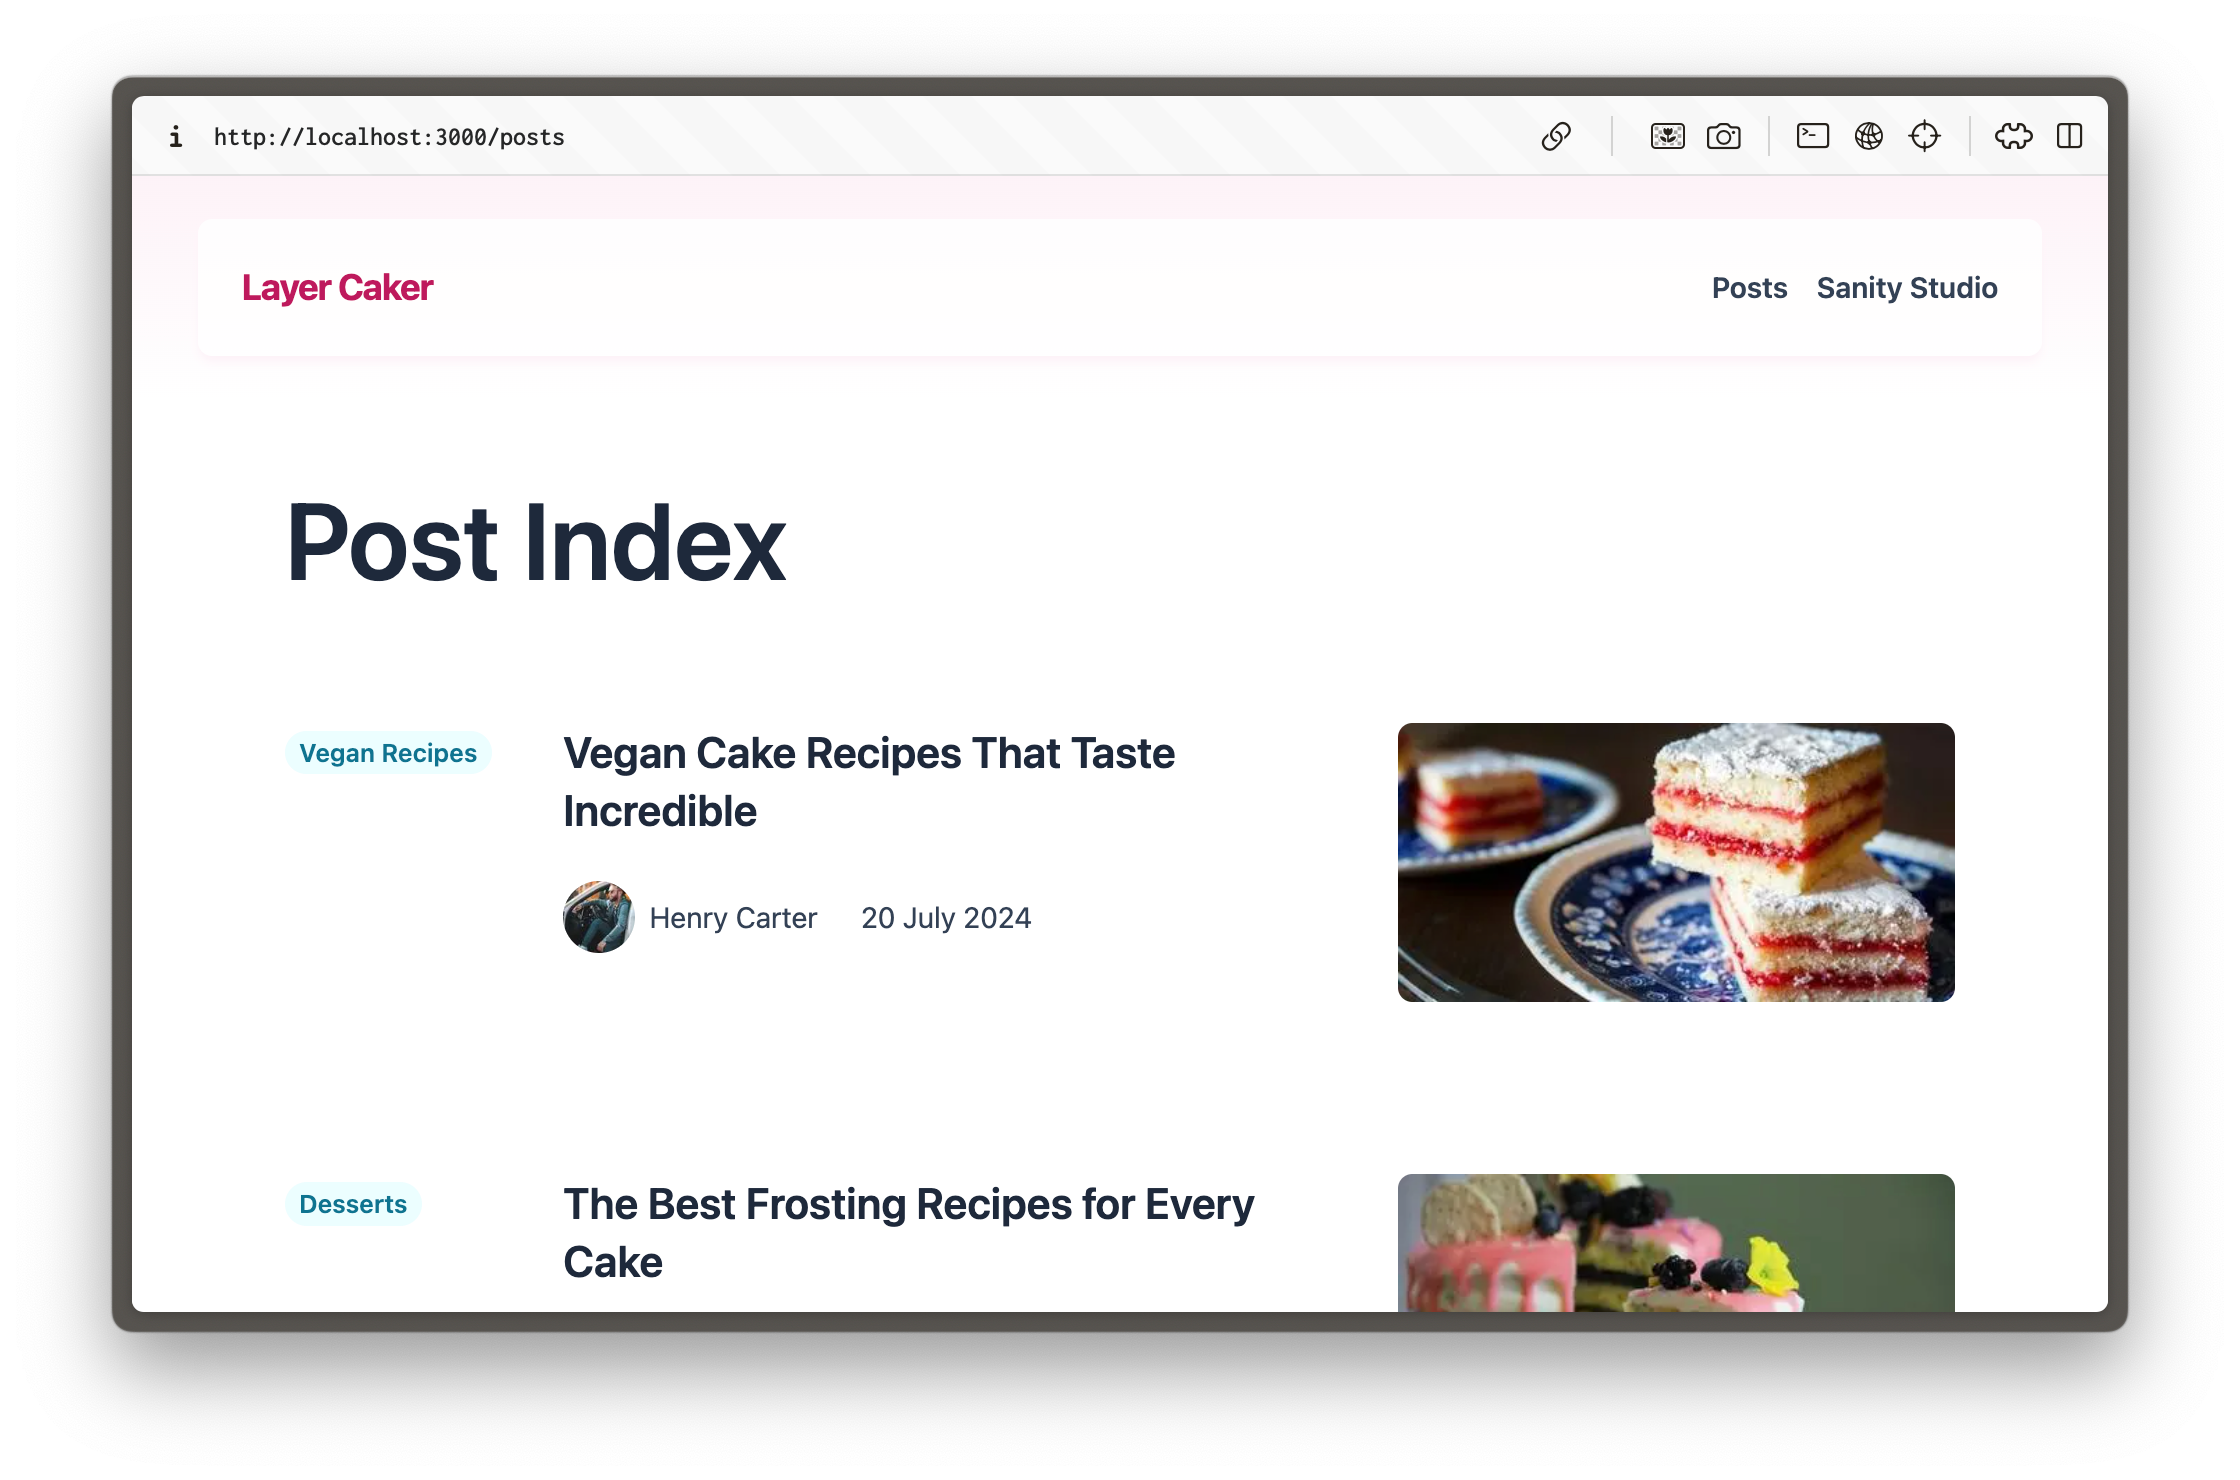
The Agent should then work through several steps researching the project, installing dependencies, configuring Sanity Client, writing a GROQ query and eventually querying for and rendering blog posts from your Sanity project.
What you do next is entirely up to you. You may like to include styling, render individual blog posts, or author pages, or store locations.
Whatever you need, just ask.
## Back-to-front coding
One of the major benefits of having both your back and front end in code is now that you can make changes to both at once. Say you wanted to rename a field or add a new field to a document type. You could write a prompt that will update both the Sanity Studio configuration and the front end layout.## [AI-unassisted quiz](/learn/course/code-with-ai/ai-unassisted-quiz)
AI can't help you here. Let's reflect on what you've learned.
We're in a wonderful future where AI can do most of the grunt work for you and you can focus on solving problems of yours and your authors. But without intentionality to commit your new understandings to memory you may find yourself tripping over time and time again.
Here's a quick quiz to reinforce what you've learned in this course. You're on your own, now.
**Question:** What will an "agentic" AI tool do?
1. Brainstorm more deeply
2. Take actions independently
3. Give better responses
4. Work faster
**Question:** What will improve the response from a prompt
1. Shorter words in your prompt
2. A faster internet connection
3. More context about what you're doing
4. Writing TypeScript
**Question:** What is the purpose of Cursor rules?
1. To get the same result from prompt responses
2. To add guardrails to prompt responses
3. To get faster prompt responses
4. To teach the AI new skills
**Question:** Before having an AI write code, you should
1. Take a good, hard look at yourself
2. Memorize the documentation
3. Ask it about the best approach forward
4. Ask it to rewrite your app in Rust
**Question:** The major benefit of AI tooling for development is:
1. Building applications with code you don't understand
2. Forcing authors to configure their own apps
3. Rapidly prototyping things no one will ever use
4. A way to do better work, faster# [Content-driven web application foundations](/learn/course/content-driven-web-application-foundations)
Combine Sanity and Next.js and deploy to Vercel via GitHub to get the fundamentals right. Powering a fast and collaborative development and content editing experience.
## [Building content-editable websites](/learn/course/content-driven-web-application-foundations/building-a-content-editable-website)
Sanity powers content operations beyond a single website or application, while Next.js focuses on best-in-class content delivery. Combine them into a powerful modern stack to build content-driven experiences.
1. The videos in this course, in parts, are out of step with the written lessons. Follow the lesson text and code examples for the latest implementation best practices.
There are no shortcuts to achieving outstanding results. Time spent learning the fundamentals of website development in a modern context will set you up for future success.
## About this course
There are [ready-made templates](https://www.sanity.io/templates) to create websites.
There are "One-click Deploy" buttons to rapidly get something online.
You'll get _something_ faster with those but learn very little.
This course will teach you how developer teams build production-ready web applications from the ground up and gain an appreciation of Sanity and Next.js from first principles.
To complete this course, you will copy and paste commands, create and modify local files, set up your repository, and deploy from your Vercel account.
### Building "Layer Caker"
Throughout the courses in this track, you'll play the role of a developer tasked with beginning the construction of a web application for a cake-manufacturing superstore, Layer Caker.
By the end of this first course, you will have created and deployed a blog on Next.js using Tailwind CSS for styling and an embedded, configurable content management dashboard called Sanity Studio.
Future courses within this track will continue to expand on this with interactive live previews for Visual Editing and website specifics like page building and SEO. There will also be demonstrations of moving away from presentational thinking and towards structured content.
### About the author
My name is Simeon Griggs, and I've been building, deploying, and selling content-editable websites for over a decade. I wrote this course to help you make great websites for your end-users, collaborate confidently, and power the best content operations for creators.
Throughout this course, you'll work through lessons with the least friction possible to accelerate your momentum. I've worked with, on, and at Sanity to understand how it is best used. I have also done the research with Next.js to give you best-practice choices, not decision fatigue or burdensome homework.
I wrote this course to do things quickly and correctly. That means a little setup work on your first project, but once you've built a solid foundation, you'll fly through future projects.
You'll learn plenty.
### Why build a content-driven website?
As a developer, you should not be a bottleneck to the availability of accurate and valid content for end-users. Your content creators deserve the tools to perform content operations rapidly without developer intervention.
Content Management Systems (CMSes) have come a long way since monolithic platforms with click-and-play website builders. Sanity Studio—the configurable dashboard you will embed in your Next.js application—is just the CMS part of the Sanity platform which also includes features like a content delivery CDN, asset management and webhooks.
User expectations both to consume and create content are higher than ever. Thankfully, the technology for powering great experiences from content is also more sophisticated.
## Getting started
The first course in this track focuses on the **basics** of developing a Next.js web application. If you're more experienced and seeking concise guidance on topics like TypeScript and caching, the [`next-sanity` readme](https://github.com/sanity-io/next-sanity) might be a better place to start.
### Prerequisites
To complete this course, you will need the following:
* A free Sanity account to create new projects and initialize a new Sanity Studio. If you do not yet have an account, you'll be prompted later in this course to create one.
* Some familiarity with running commands from the terminal. Wes Bos' [Command Line Power User](https://commandlinepoweruser.com/) video course is free and can get you up to speed with the basics.
* [Node and installed](https://docs.npmjs.com/downloading-and-installing-node-js-and-npm) (or [an npm-compatible JavaScript runtime](https://developer.mozilla.org/en-US/docs/Learn/Tools_and_testing/Understanding_client-side_tools/Package_management#what_exactly_is_a_package_manager)) to install and run the Next.js development server locally.
* [`pnpm` installed](https://pnpm.io), though you could swap out commands for `npm`
* Some familiarity with JavaScript and React. The code examples in this course can all be copied and pasted and are written in TypeScript, but you will not need advanced knowledge of TypeScript to proceed.
If you're stuck or have feedback on the lessons here on Sanity Learn, [join the Community Slack](https://slack.sanity.io/) or use the feedback form at the bottom of every lesson.
Ready? Let's start by creating a new Next.js application.## [Create a new Next.js 16 application](/learn/course/content-driven-web-application-foundations/create-a-new-next-js-application)
Create a new, clean Next.js application with a few opinionated choices for TypeScript and Tailwind CSS.
There are many technology choices available to make a web application. So why was Next.js chosen for this course?
* JavaScript is the most popular programming language for writing server and client web applications.
* React is the most popular library for writing JavaScript-powered applications.
* By a large margin, Next.js is the most popular meta-framework for React.
* Next.js also has a large community following for extra support and useful utilities.
* It also has an excellent deployment developer experience with Vercel.
* Best of all, Next.js has a tight integration with Sanity.
In short, if your day job involves building web applications on a developer team, there's a good chance you're doing it with Next.js.
Next.js is not without its challenges. It typically operates at the leading edge of React, so you may interact with React features not yet considered stable. Some architectural decisions, such as caching, can cause confusion. However, this course aims to demystify some of these challenges.
## Create a new Next.js application
1. **Run** the following command to create a new Next.js application:
```sh
pnpm dlx create-next-app@16 layer-caker --typescript --tailwind --eslint --app --src-dir --import-alias="@/*" --turbopack --react-compiler
```
The options in the command above configure your app to use:
* TypeScript
* [Tailwind CSS](https://tailwindcss.com/)
* [eslint](https://eslint.org/)
* The [App router](https://nextjs.org/docs/app)
* A `src` directory for your application's files
* The default import alias for your application's files
* Turbopack
* React Compiler
These are all the default settings for a new Next.js application. The flags in the command above save you from having to select these options.
You may modify the command above to make different choices, but the following lessons contain code snippets that assume these are the settings you used.
1. **Run** the development server
```sh
pnpm run dev
```
Your app should start up in the terminal in development mode:
```text
> layer-caker@0.1.0 dev
> next dev
▲ Next.js 16.0.1 (Turbopack)
- Local: http://localhost:3000
- Network: http://192.168.4.154:3000
✓ Starting...
✓ Ready in 591ms
```
Open [http://localhost:3000](http://localhost:3000). You should see the default home page for a new Next.js application like the one below:
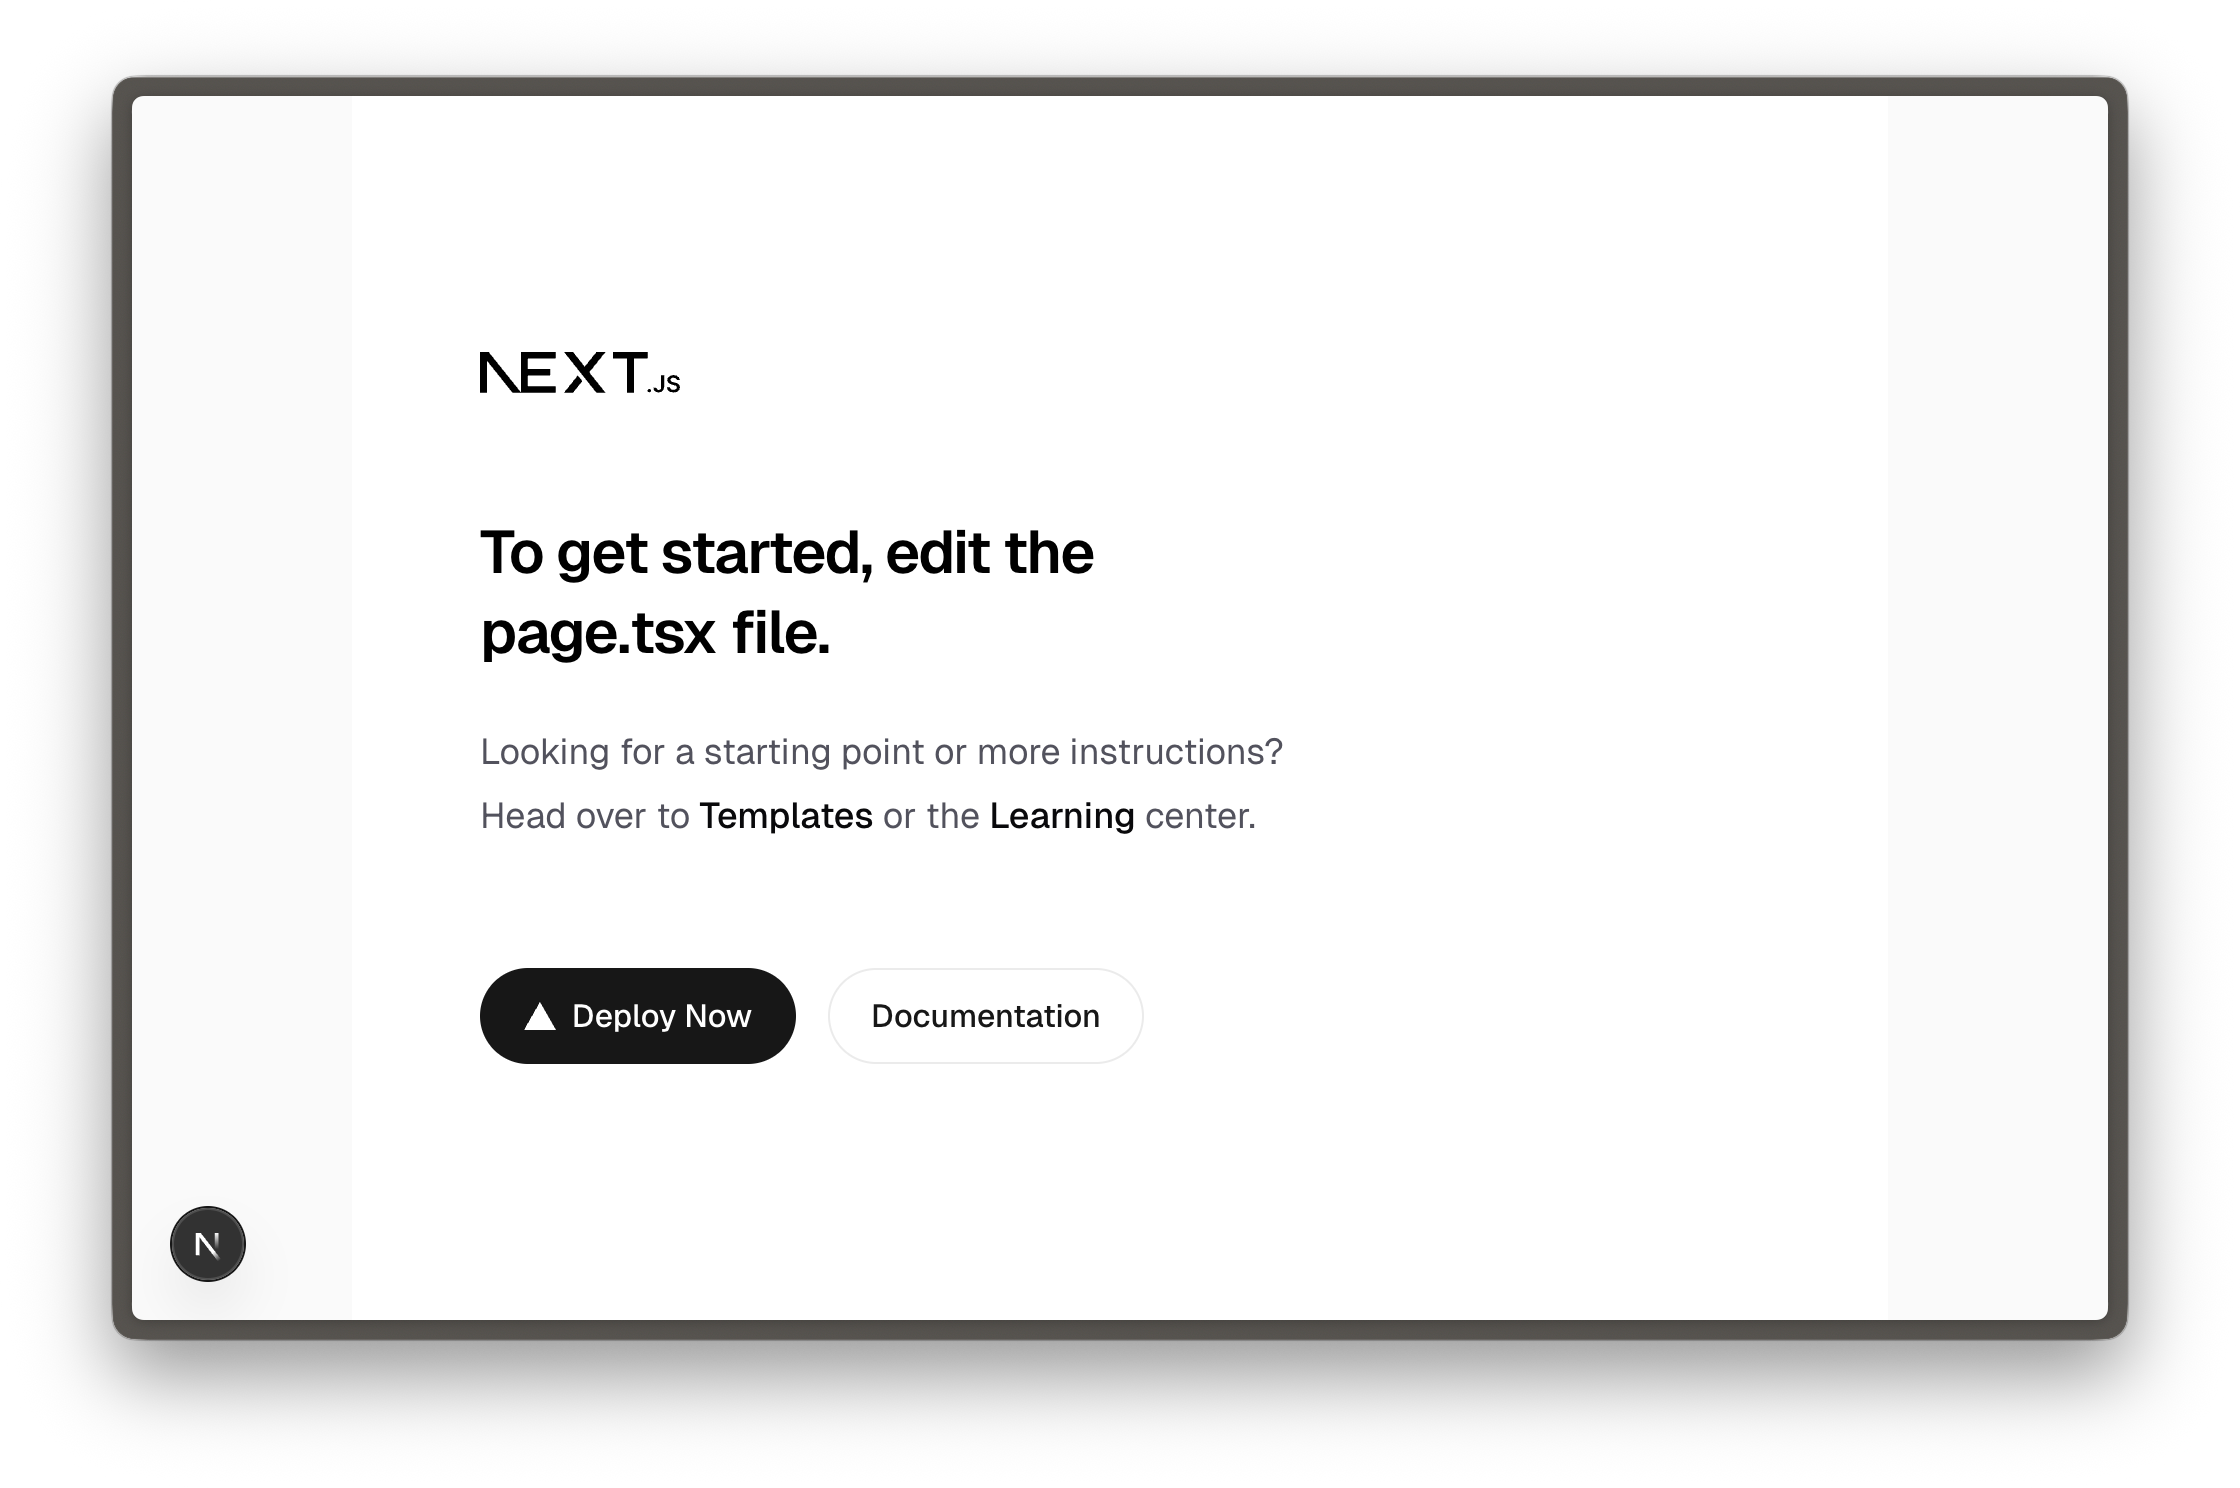
As recommended, you can edit the `src/app/page.tsx` file and see updates instantly. In the following lessons, you'll be given code examples to update this home page route and create new pages.
## Update Tailwind CSS implementation
1. The video for this lesson shows Tailwind 3 configuration, but you now have Tailwind 4 installed. Follow the code examples below.
The Next.js starter has fonts and styles you don't need for this course, so you'll remove them for simplicity.
1. **Update** `layout.tsx` to remove custom fonts
```tsx:src/app/layout.tsx
import type { Metadata } from "next";
import "./globals.css";
export const metadata: Metadata = {
title: "Create Next App",
description: "Generated by create next app",
};
export default function RootLayout({
children,
}: Readonly<{
children: React.ReactNode;
}>) {
return (
{children}
);
}
```
1. **Update** `globals.css` to remove anything other than Tailwind's import
```css:src/app/globals.css
@import "tailwindcss";
```
The app in development should still look mostly the same. You'll add more content and styling in the following lessons.
You now have a Next.js application with Tailwind CSS for styling. However, it lacks content management, so the next step is to set up a Sanity account and initialize Sanity Studio inside your Next.js project.## [Create a new Sanity project](/learn/course/content-driven-web-application-foundations/create-a-new-sanity-project)
Create a new free Sanity project from the command line and automatically install Sanity Studio configuration files into your Next.js project.
For your Next.js application, Sanity will play the role of content storage for documents and assets such as images. That content is cloud-hosted in what we call the Sanity [Store and query structured content](https://www.sanity.io/learn/content-lake).
In this lesson, you'll create a new project at Sanity and embed an editing interface—[Studio](https://www.sanity.io/learn/sanity-studio)—inside the Next.js application. An embedded Studio allows you to create, edit, and publish content hosted in the Content Lake from your Next.js application's development environment or wherever it is deployed.
The Sanity Content Lake also powers content operations workflows, such as firing fine-grained [GROQ-powered webhooks](https://www.sanity.io/learn/compute-and-ai/webhooks) so your business can react to content changes as they happen. In time, your Next.js application may also _write_ content – such as comments and likes – into the Content Lake from the front end.
While this course focuses on building a web application, Sanity is more than a website-focused CMS (content management system).
In a nutshell, Sanity is a _Content Operating System_, with a configurable, React-based administration panel, cloud-hosted data storage, and a worldwide CDN for content delivery.
## Create a new project
The Sanity CLI can initialize a new Sanity project within a Next.js application. It detects the framework during the process and prompts you to make appropriate choices.
If you do not yet have a Sanity account, follow the prompts to create one.
1. You can create new free Sanity projects at any time.
1. **Run** the following command inside your Next.js application to create a new free project from the command line:
```sh
pnpm dlx sanity@latest init
```
When prompted, make the following selections. If you accidentally select the wrong option, you can cancel and re-run the command again.
1. **Create** a new project, call it what you like, for example `layer-caker`
2. **Create** a dataset with the default settings: public and named `production`
3. **Add** configuration files to the Next.js folder
4. **Use** TypeScript
5. **Embed** Sanity Studio at `/studio`
6. **Select** the `blog` template
7. **Add** your project details to an `.env.local` file
### What just happened?
This command:
1. Created a new Sanity **project** and **dataset**, which are remotely configured and hosted on the Content Lake
1. A **dataset** is a collection of content (text and assets) within a project hosted in the Sanity [Store and query structured content](https://www.sanity.io/learn/content-lake).
2. A **project** can have many datasets and is also where you'd configure other project-level settings like members, webhooks, and API tokens.
2. Added relevant files to your local Next.js application and installed some dependencies that you'll need to get started.
Your Sanity Studio code in the Next.js application is like a "window" into the remotely hosted content. Your Studio configuration code determines which document types are available to create, update, and delete. All the content you author is hosted in the Content Lake.
In short, with Sanity:
* **Studio configuration** is performed locally with code.
* **Content** (text and assets) is hosted remotely.
* **Project configuration** is handled at [sanity.io/manage](https://www.sanity.io/manage).
### New project files
**In addition to** your Next.js files, you should have the following files in your project. These files configure:
* Sanity Studio for creating content
* Sanity Client for querying content
* A helper file to display images on the front end, `src/sanity/lib/image.ts`
```text
.
├── .env.local
├── sanity.cli.ts
├── sanity.config.ts
├── (...and all your Next.js files)
└── src
├── app
│ └── studio
│ └── [[...tool]]
│ └── page.tsx
└── sanity
├── lib
│ ├── client.ts
│ ├── image.ts
│ ├── live.ts
├── schemaTypes
│ ├── authorType.ts
│ ├── blockContentType.ts
│ ├── categoryType.ts
│ ├── postType.ts
├── env.ts
└── schema.ts
```
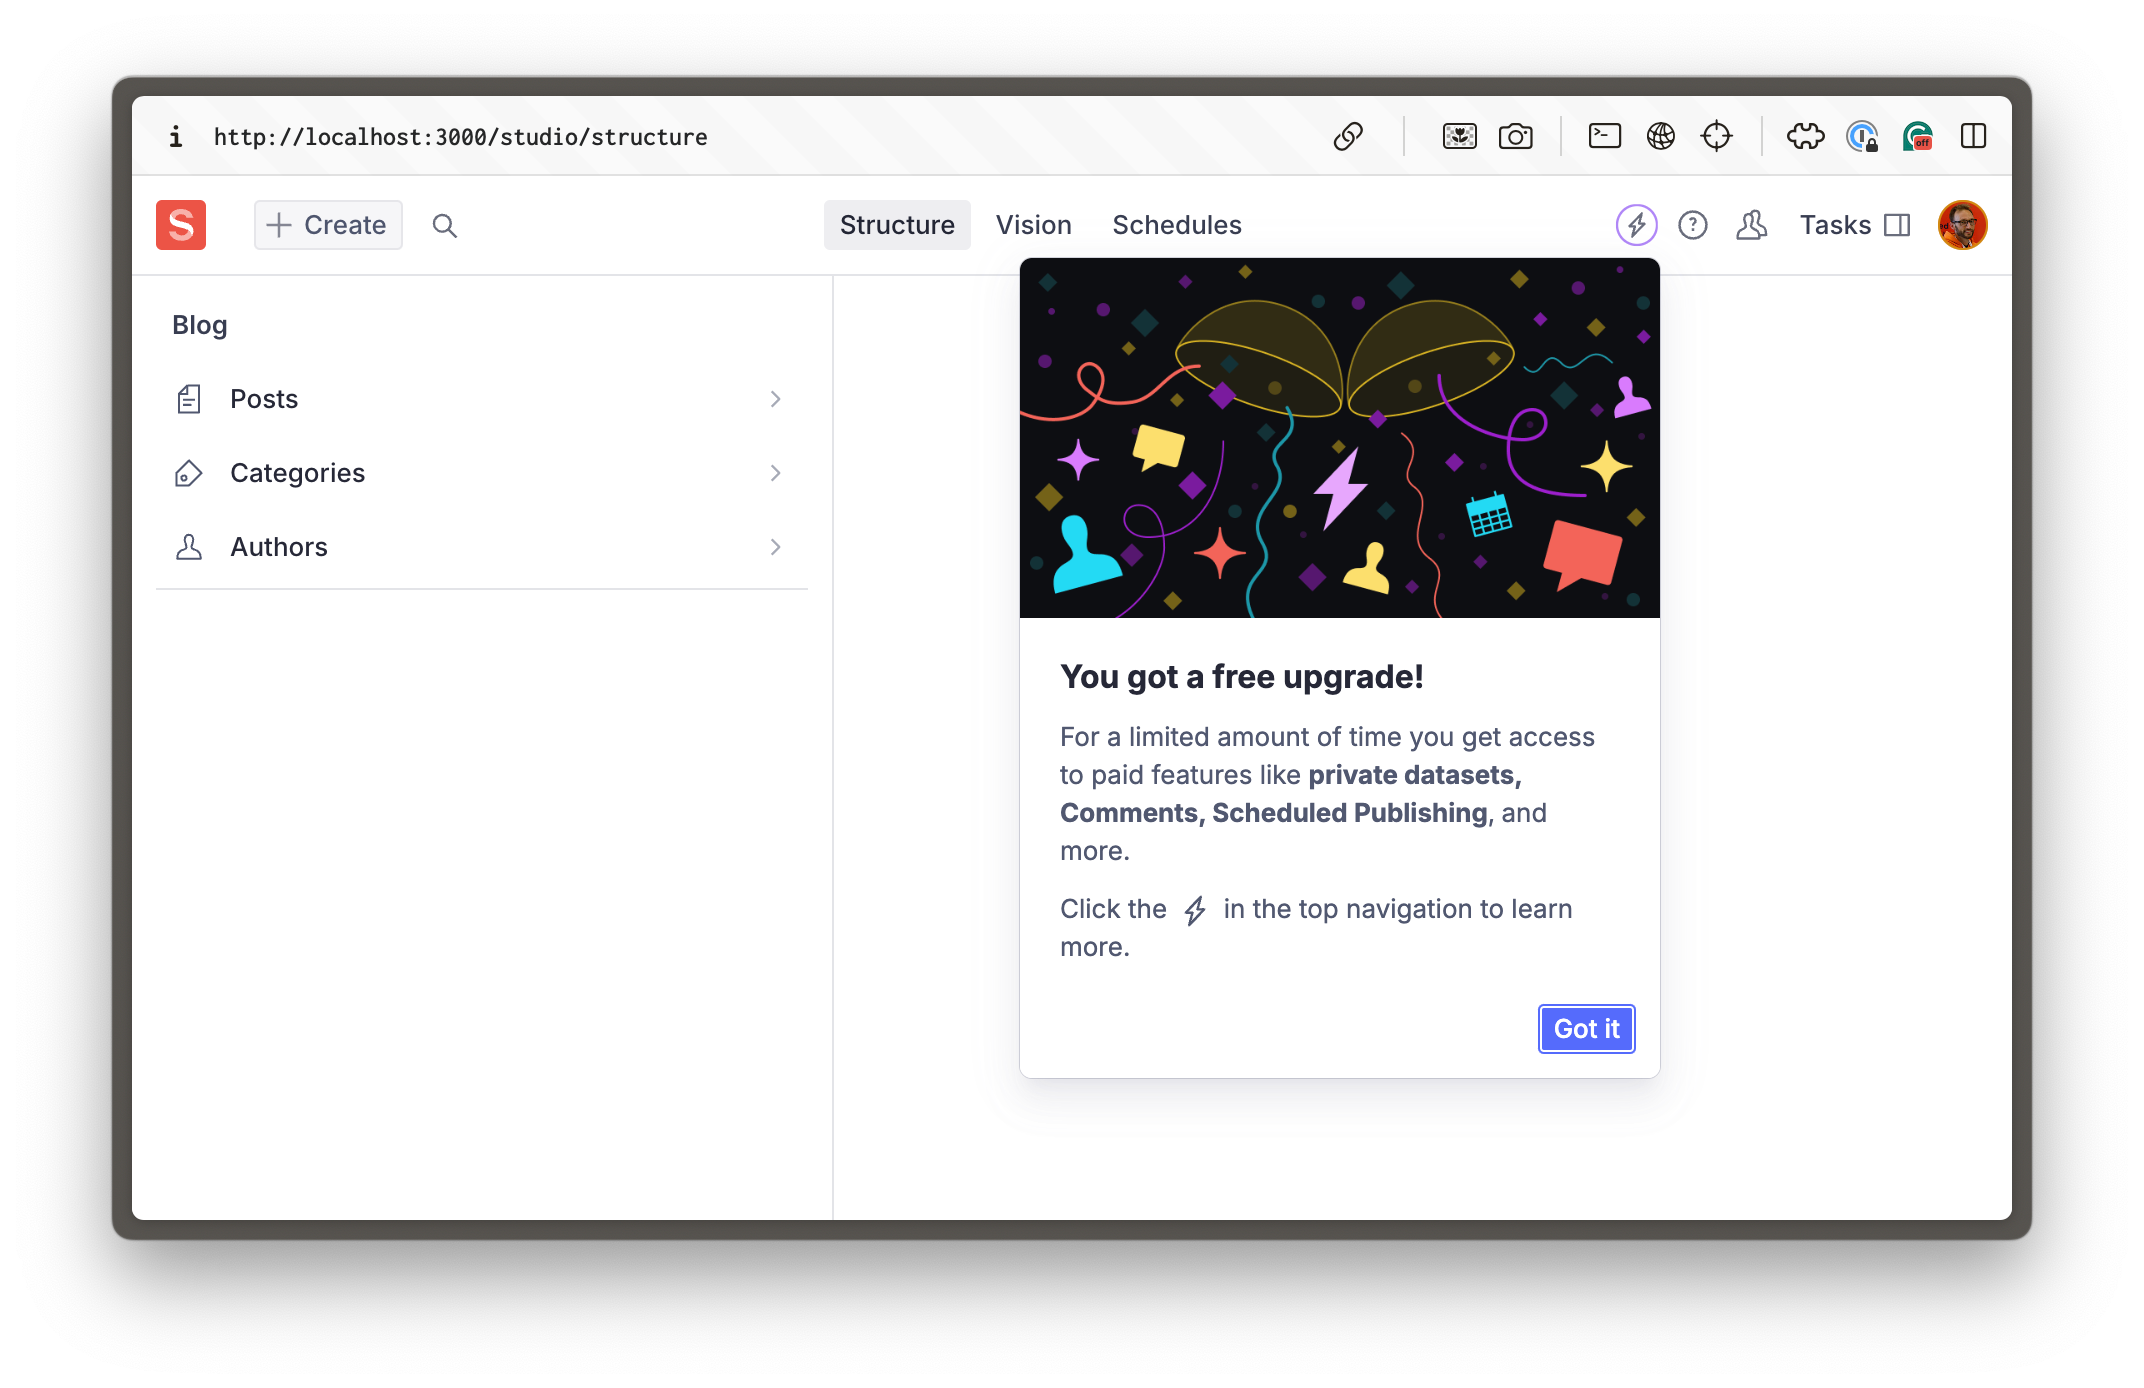
### Hello, Sanity Studio
Browse your embedded Sanity Studio route at [http://localhost:3000/studio](http://localhost:3000/studio) to see your built-in content management system.
Make sure you log in with the same credentials you used to log in to the Sanity CLI in your terminal.
1. If you see the Studio but not these three document types (posts, categories, authors) on the left-hand side, you may have chosen the "clean" template instead. Re-run the `sanity init` command above to change.
You're embedding the Sanity Studio within the Next.js application for the convenience of managing everything in one repository**.** It's also convenient for authors to only need to know one URL for their front end and content administration. However, it can promote website-specific thinking.
1. Remember, content representing your business goes far beyond a few web pages. For now you only have blog content schema types in your Sanity Studio, but you can expand it to much more!
Fortunately, if you ever decide to separate your Sanity Studio into its repository—or both applications into a mono repo—it should be a straightforward process of moving the configuration files around. The data storage of your text and assets would remain unchanged in the Content Lake.
The `blog` template gave you three website-specific schema types: `post`, `category` and `author`. You can now create content of these types within your embedded Sanity Studio.
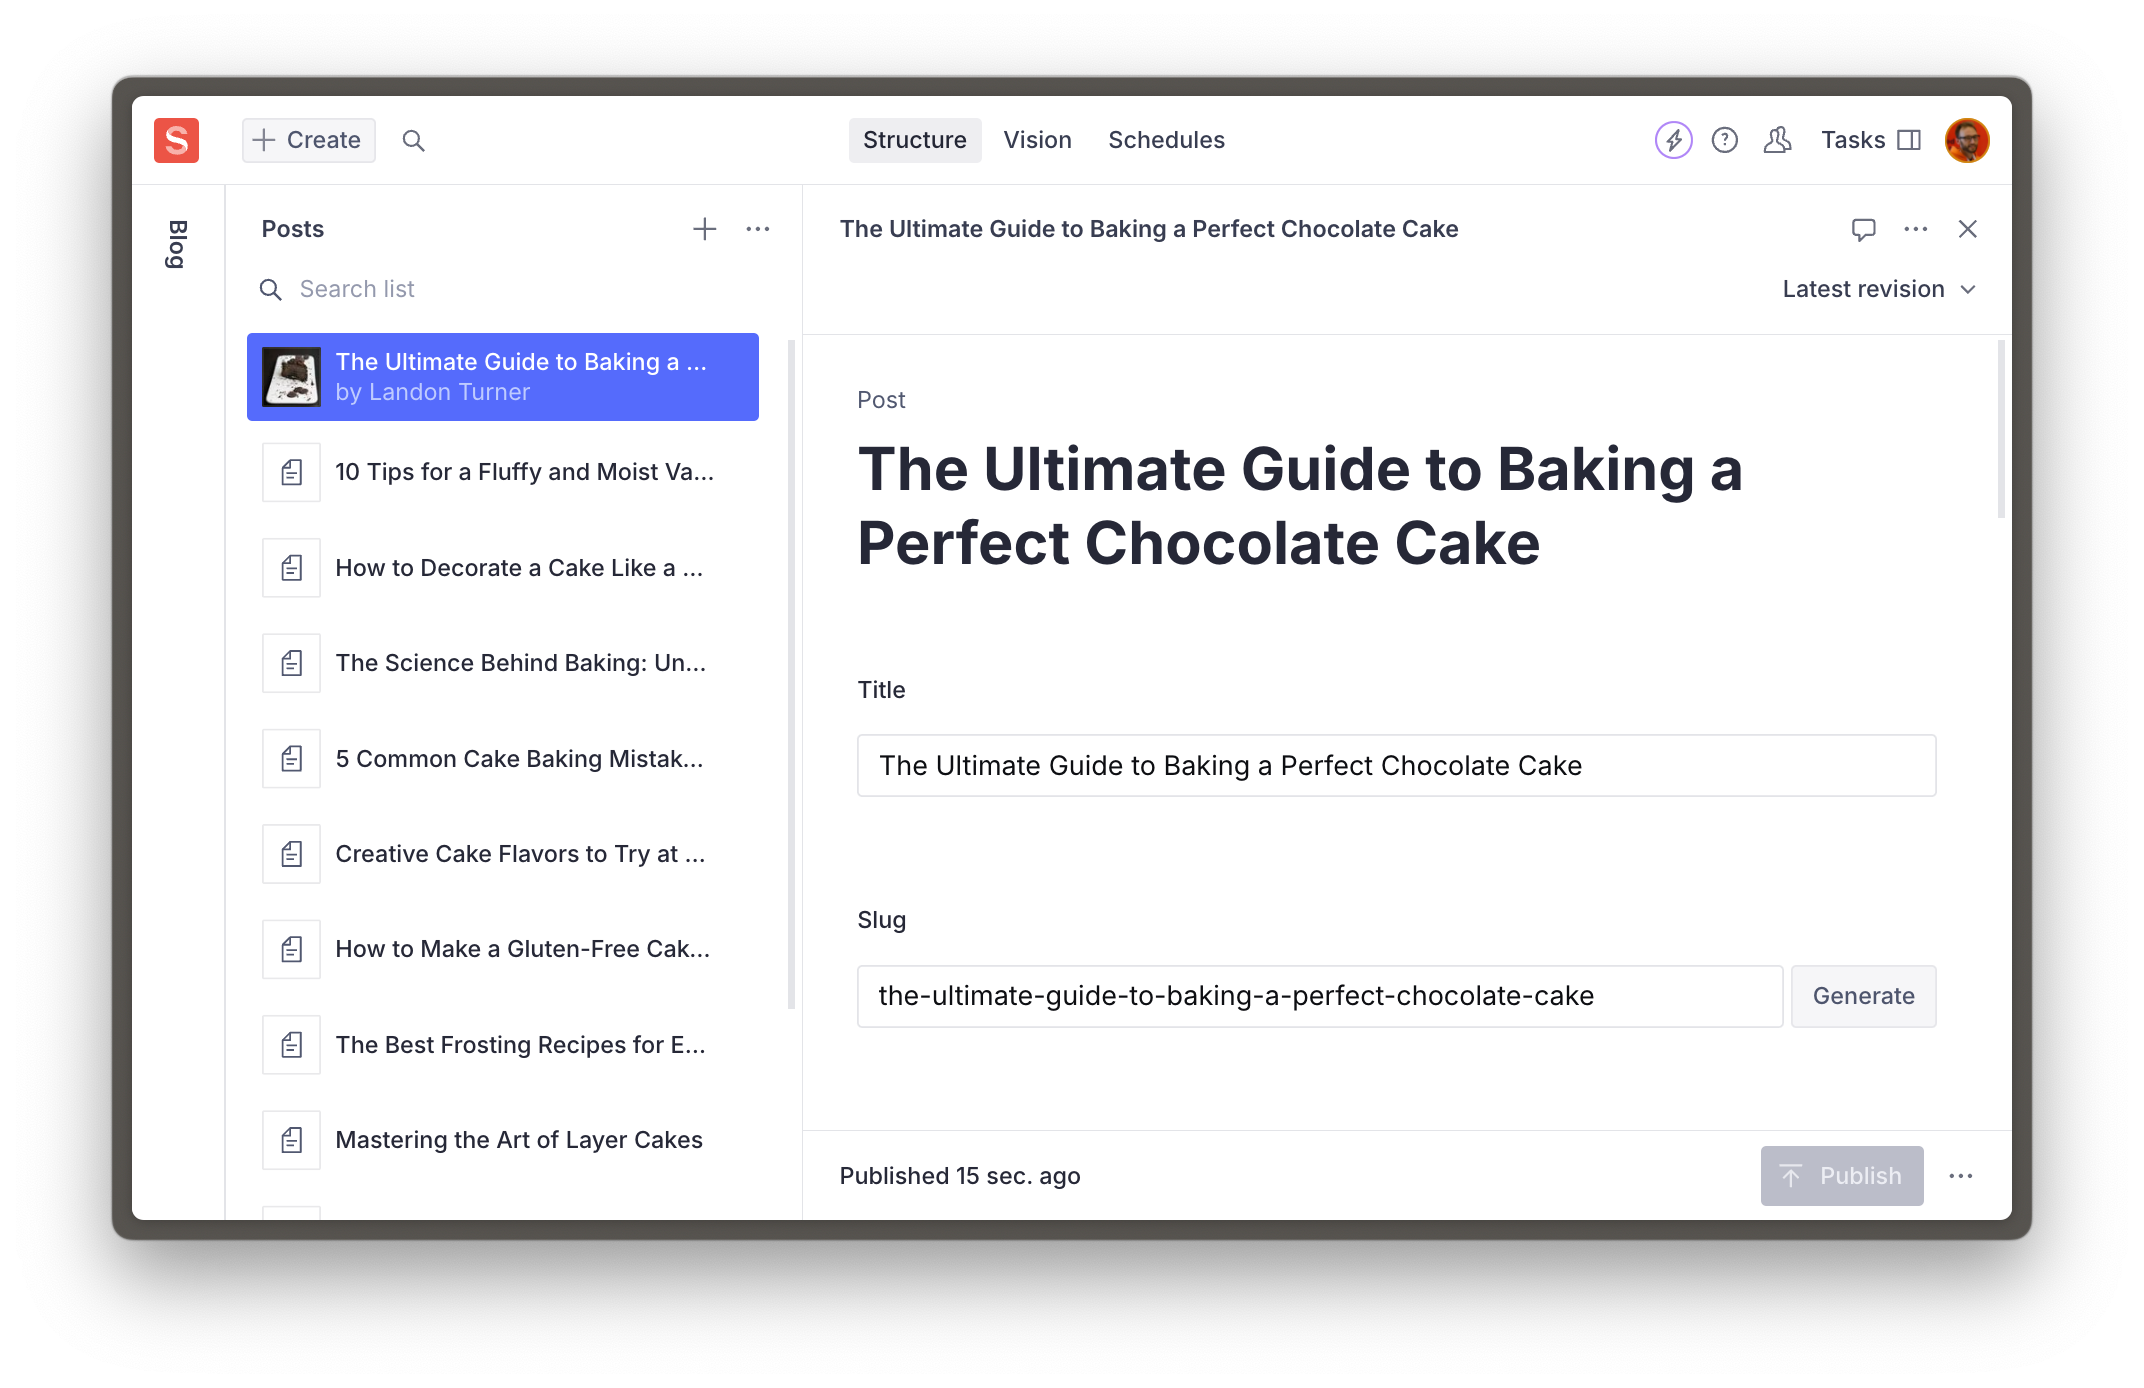
## Create and publish posts
Soon, you'll be querying for content on the front end. For this to work, you'll need to create some.
1. **Create** and **Publish** at least one `post` document type
### Or use our seed data
We have prepared a dataset for you to speed up the process. You can optionally download and import this into your project.
1. Download `production.tar.gz` – a pre-prepared dataset backup with assets, posts, categories, and authors.
Place this file in the root of your project and import it using the CLI.
```sh:Terminal
pnpm dlx sanity dataset import production.tar.gz production
```
Delete the backup file once the import successfully completes.
```sh:Terminal
rm production.tar.gz
```
You have content in your Studio, but your front-end is not yet configured to display it. In the next lesson, let's unpack the bridge between your Sanity content and front-end.## [The next-sanity toolkit](/learn/course/content-driven-web-application-foundations/the-next-sanity-toolkit)
Unpack next-sanity, the all-in-one Sanity toolkit for "live by default," production-grade content-driven Next.js applications.
One of the dependencies automatically installed during `sanity init` in the last lesson was [`next-sanity`](https://github.com/sanity-io/next-sanity), a collection of utilities and conventions for data fetching, live updates, Visual Editing, and more. You could look through the readme for full details on what it provides.
For now, let's examine some of the files that were automatically created in the previous lesson and explain their purpose.
## Environment variables
A `.env.local` file should have been created with your Sanity project ID and dataset name. These are not considered sensitive, and so are prepended with `NEXT_PUBLIC_`.
1. See the Next.js documentation about [public and private environment variables](https://nextjs.org/docs/app/building-your-application/configuring/environment-variables).
In future lessons, you'll add secrets and tokens to this file. It is important that you **do not** check this file in your Git repository. Also, remember that values in this file will need to be recreated when deploying the application to hosting. We'll remind you of this when we get there.
1. **Confirm** you have an `.env.local` file at the root of your application.
```scss:.env.local
NEXT_PUBLIC_SANITY_PROJECT_ID="your-project-id"
NEXT_PUBLIC_SANITY_DATASET="production"
```
Additionally, a file to retrieve, export, and confirm these values exist has been written to `src/sanity/env.ts`
1. You can use Sanity CLI to update these values with a new or existing Sanity project by running `sanity init` again with the `--env` flag
```sh
pnpm dlx sanity@latest init --env
```
## Sanity Client
The file `client.ts` contains a lightly configured instance of Sanity Client.
```typescript:src/sanity/lib/client.ts
import { createClient } from 'next-sanity'
import { apiVersion, dataset, projectId } from '../env'
export const client = createClient({
projectId,
dataset,
apiVersion,
useCdn: true,
})
```
Sanity Client is a JavaScript library commonly used to interact with Sanity projects. Its most basic function is querying content, but once authenticated with a token, it can interact with almost every part of a Sanity project.
1. See more about what [Sanity Client](https://www.sanity.io/docs/js-client) can do
You won't need to change the Sanity Client configuration now, but it is good to know where to make modifications later.
### sanityFetch and SanityLive
In the file `live.ts`, the preconfigured client is used to export a function `sanityFetch`, and the component `SanityLive`.
```typescript:src/sanity/lib/live.ts
import { defineLive } from "next-sanity/live";
import { client } from "@/sanity/lib/client";
export const { sanityFetch, SanityLive } = defineLive({client});
```
* `sanityFetch` is a helper function to perform queries, and under the hood it handles the integration with Next.js tag-based caching and revalidation, as well as Draft Mode.
* `SanityLive` is a component which creates a subscription to the [Live Content API](https://www.sanity.io/learn/content-lake/live-content-api) and will automatically revalidate content as it changes.
These two exports are the foundation of "Live by default" experiences in Next.js applications. In future lessons you'll implement these and learn how they work.
## Sanity Config and CLI
The two root files `sanity.cli.ts` and `sanity.config.ts` are important for interacting with your project:
* `sanity.cli.ts` allows you to run CLI commands (like `dataset import` from the previous lesson) that affect the project while targeting the correct project ID and dataset
* `sanity.config.ts` is used to configure the Sanity Studio, including schema types, plugins, and more.
1. Run the following command to show project details:
```sh
pnpm sanity@latest debug
```
## Schema Types
In the `src/sanity/schemaTypes` folder are files for the three document types and one custom type which you can see in the Studio.
You're able to create `category`, `post` and `author` type documents because these have been registered to the Studio configuration.
Datasets are schemaless, so data of any shape could be _written_ into a dataset. But these are the only schema types currently configured in the _Studio_. In future lessons, you'll change and add to these schema types, but they give us enough to work with now.
1. See [Improving the editorial experience](https://www.sanity.io/learn/course/studio-excellence/improving-the-editorial-experience) in [Day one content operations](https://www.sanity.io/learn/course/day-one-with-sanity-studio) to see how basic schema type configurations can be dramatically enhanced.
You now have a Next.js application with an embedded Sanity Studio for creating and publishing content. It's time to start integrating them.
Writing GROQ queries is the most common method of querying content from Sanity. In the next lesson, we'll set up conventions for this.## [Query content with GROQ](/learn/course/content-driven-web-application-foundations/writing-groq-queries)
Organize and author queries for your content with best-practice conventions.
If you're new to Sanity, you're probably new to GROQ. It's an incredibly powerful way to query content, and thankfully, it's quick to get started with.
You'll only need to know the basics of writing queries for now. However, it is beneficial to learn GROQ when working with Sanity as it powers queries, [GROQ-powered webhooks](https://www.sanity.io/learn/compute-and-ai/webhooks) and content permissions when configuring [Roles](https://www.sanity.io/learn/user-guides/roles).
This lesson is focused on writing basic GROQ queries to serve our Next.js application. Future lessons will expand on these queries.
1. See [Between GROQ and a hard place](https://www.sanity.io/learn/course/between-groq-and-a-hard-place) for more thorough lessons on how to write expressive queries with GROQ.
2. The [Query Cheat Sheet - GROQ](https://www.sanity.io/learn/content-lake/query-cheat-sheet) is the most popular resource for quickly finding useful query examples.
## What about GraphQL?
Sanity content is typically queried with GROQ queries from a configured Sanity Client. [Sanity also supports GraphQL](https://www.sanity.io/docs/graphql?utm_source=github&utm_medium=readme&utm_campaign=next-sanity). You may prefer to use GraphQL in your application, but these courses will focus on querying with Sanity Client and GROQ.
## GROQ basics
You can break up most GROQ queries into three key parts.
Consider this query:
```groq
*[_type == "post"]{title}
```
* `*`: returns **all documents** in a dataset as an array
* `[_type == "post"]` represents a **filter** where you narrow down the proceeding array
* `{ title }` represents a **projection** where you define which **attributes** in those array items you want to return in the response
## Organizing GROQ queries
`next-sanity` exports the `defineQuery` function which will give you syntax highlighting in VS Code with the Sanity extension installed.
1. **Install** the [Sanity VS Code extension](https://marketplace.visualstudio.com/items?itemName=sanity-io.vscode-sanity) if this is the IDE you are using.
The `defineQuery` function also has another important role, [Sanity TypeGen](https://www.sanity.io/learn/apis-and-sdks/sanity-typegen) searches for variables that use it to generate Types for query results.
For convenience and organization, you'll write all queries inside a dedicated file in your project.
1. **Create** a file to store two basic GROQ queries:
```typescript:src/sanity/lib/queries.ts
import {defineQuery} from 'next-sanity'
export const POSTS_QUERY = defineQuery(`*[_type == "post" && defined(slug.current)][0...12]{
_id, title, slug
}`)
export const POST_QUERY = defineQuery(`*[_type == "post" && slug.current == $slug][0]{
title, body, mainImage
}`)
```
* `POSTS_QUERY` will return an array of up to 12 published documents of the type `post` that have a slug. From each document, it will return the `_id`, `title` and `slug` attributes.
* This can be used on a "posts index" page to show the latest posts.
* `POST_QUERY` filters down to `post` documents of the post type where the value the `slug` matches a passed-in variable `$slug`. Only one document is returned because of the `[0]` filter. From this one document, it will return the `title`, `body` and `mainImage` attributes.
### Testing GROQ queries
Before using these queries in your front end, it's possible to test them at any time from within your Sanity Studio using the Vision tool.
1. **Open** [http://localhost:3000/studio/vision](http://localhost:3000/studio/vision), paste the `POSTS_QUERY` GROQ query string and click **Fetch**
```groq
*[_type == "post" && defined(slug.current)][0...12]{
_id, title, slug
}
```
You should see up to 12 items in the "result" panel.
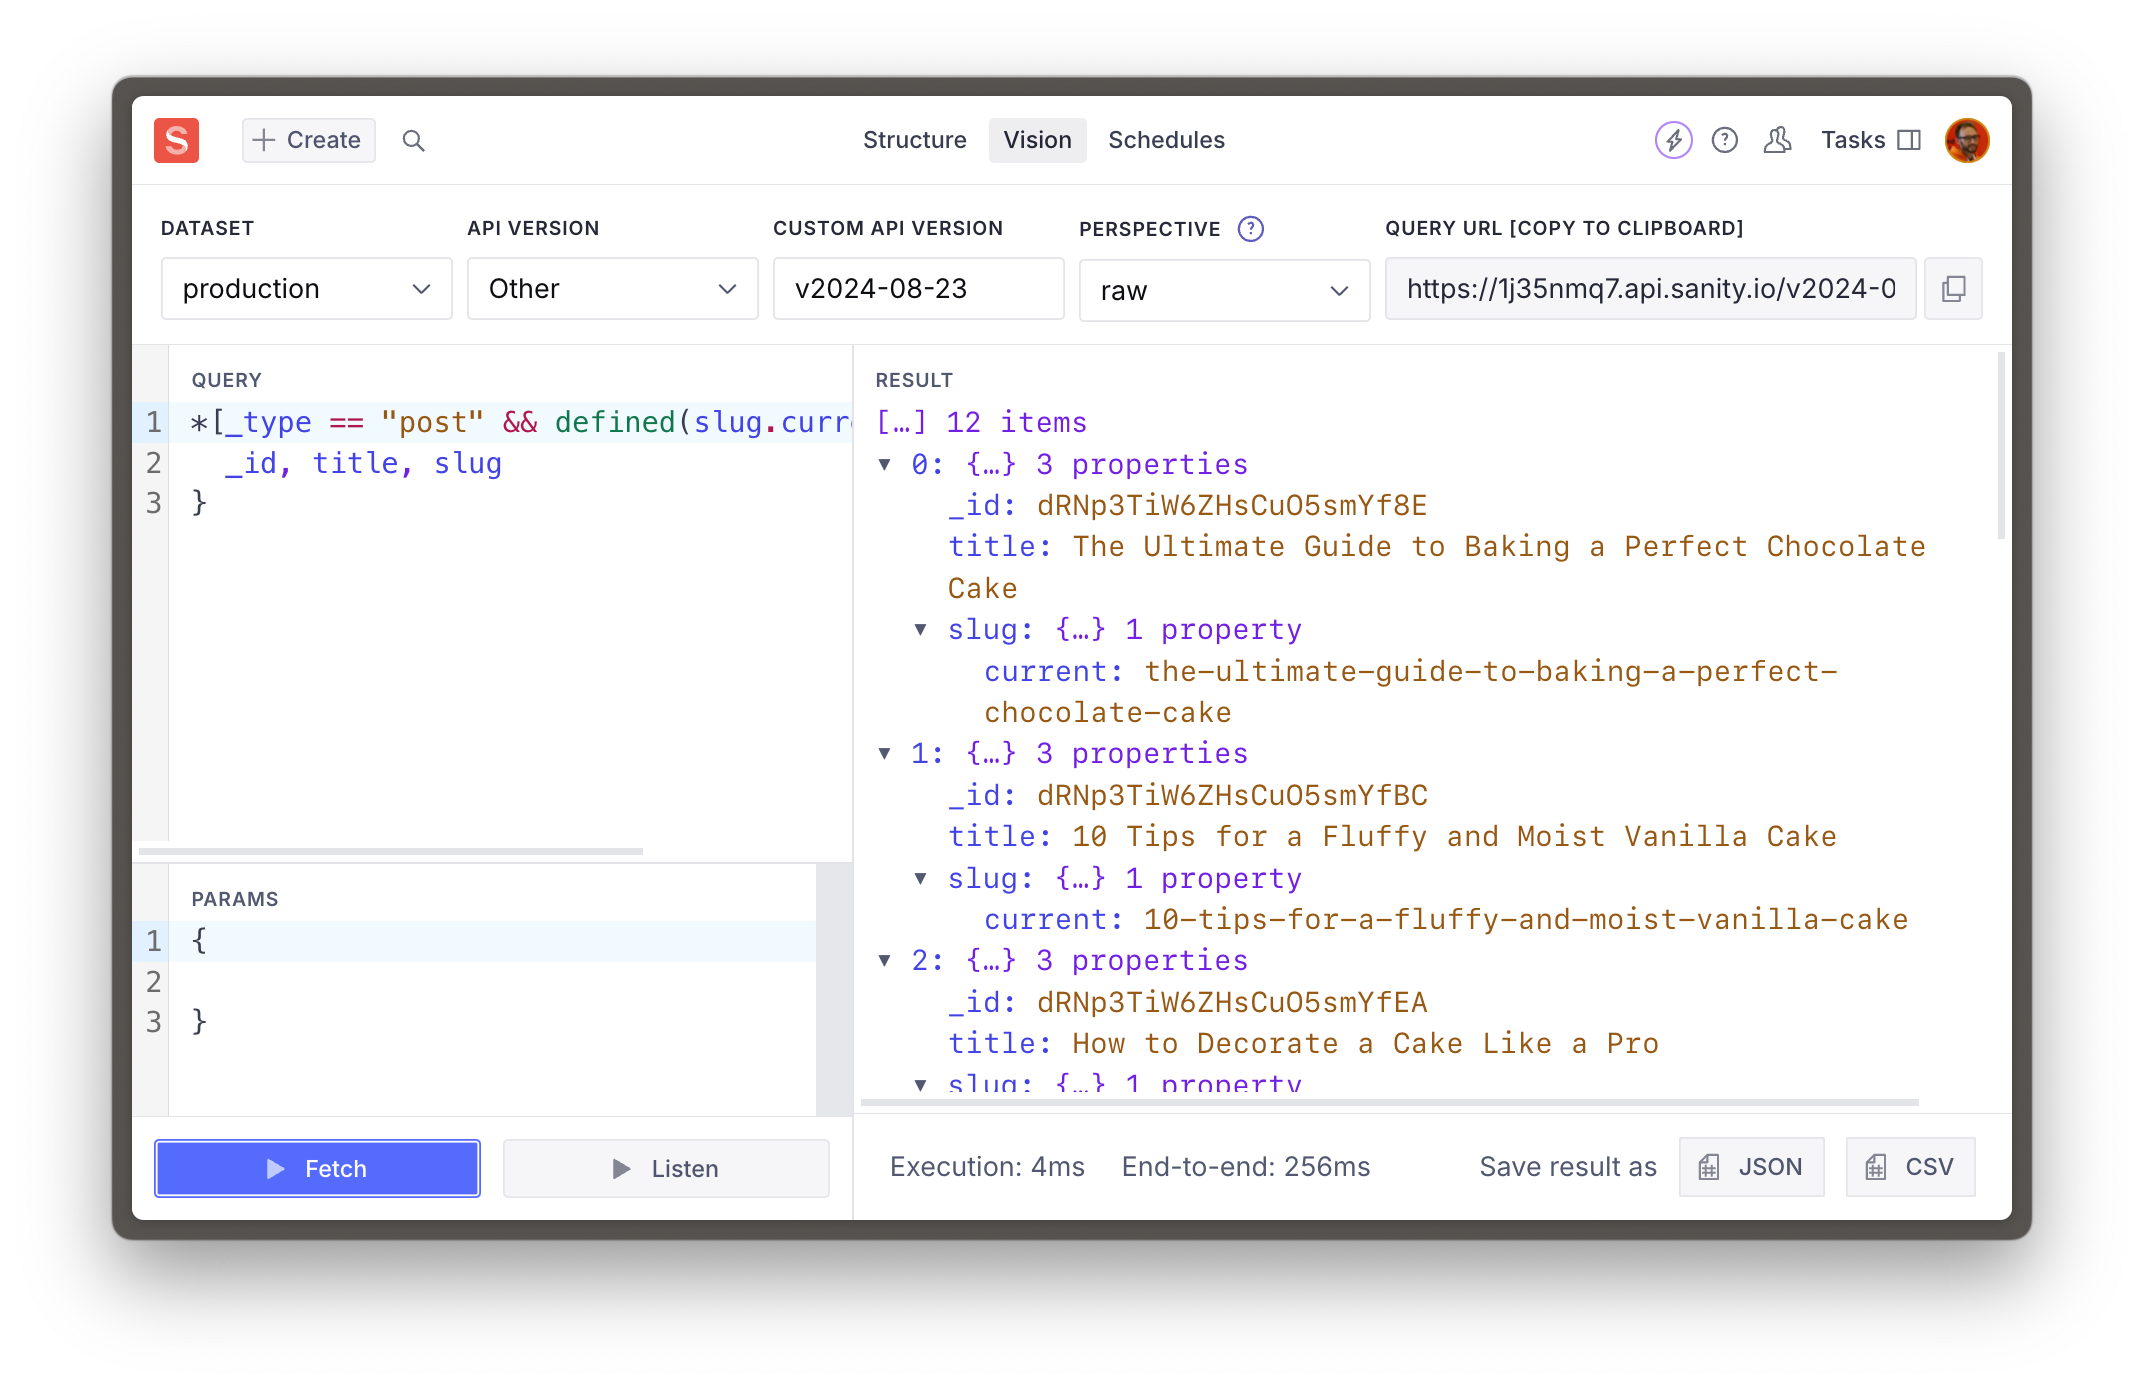
Queries fetched in Vision use the same user authentication that the Studio does. So it will return private documents when using the default perspective – `raw`.
1. In a **public** dataset, a document is private if it has a period "`.`" in the `_id`, such as `{ _id: "drafts.asdf-1234" }` and can only be queried by an authenticated request. In a **private** dataset all documents are private.
The Sanity Client for your front end is not authenticated (unless you give it `token`) so it will only return publicly visible documents in a public dataset.
1. See [Datasets](https://www.sanity.io/learn/content-lake/datasets) for more information about Public and Private datasets.
2. [Perspectives for Content Lake](https://www.sanity.io/learn/content-lake/perspectives) determine whether published or draft documents are returned in the response.
Now that you've proven that your GROQ queries get results, let's automatically generate TypeScript types for these responses.## [Generate TypeScript Types](/learn/course/content-driven-web-application-foundations/generate-typescript-types)
Add Type-safety to your project and reduce the likelihood that you will write code that produces errors.
In the case of working with [Sanity TypeGen](https://www.sanity.io/learn/apis-and-sdks/sanity-typegen), it can create Types for Sanity Studio schema types and GROQ query results. So, as you build out your front end, you only access values within documents that exist, as well as defensively code against values that could be `null`.
1. The [Generating types](https://www.sanity.io/learn/course/day-one-with-sanity-studio/generating-types) Lesson has a more in-depth exploration of the `sanity typegen` command.
Sanity TypeGen will [create Types for queries](https://www.sanity.io/docs/sanity-typegen#c3ef15d8ad39) that are assigned to a variable and use the `defineQuery` function.
## Extracting schema
You're able to use the Sanity CLI from inside the Next.js application because of the `sanity.cli.ts` file at the root of your project.
1. **Run** the following command in your terminal
```sh
pnpm dlx sanity@latest schema extract --path=./src/sanity/extract.json
```
1. Re-run this every time you modify your schema types
The `--path` argument is provided so the schema file is written to the same folder as all our other Sanity utilities.
You should see a response like the one below and a newly generated `extract.json` file in your `src/sanity` directory
```sh
✅ Extracted schema
```
This file contains all the details about your Sanity Studio schema types, which TypeGen will need to create types from.
## Generating types
By default, TypeGen will create a file for types at the project's root. Again, to keep Sanity-specific files colocated, this configuration will keep the project root tidy.
1. Without this step, Typegen will look for your schema in the default named `schema.json` file instead of the `extract.json` file we have created.
1. **Create** a new file at the root of your project
```json:sanity-typegen.json
{
"path": "./src/**/*.{ts,tsx,js,jsx}",
"schema": "./src/sanity/extract.json",
"generates": "./src/sanity/types.ts"
}
```
The configuration here will:
1. Scan the `src` directory for GROQ queries to create Types.
2. Additionally, use the `extract.json` file created during the previous task.
3. Write a new `types.ts` file with our other Sanity utilities.
1. **Run** the following command in your terminal
```sh
pnpm dlx sanity@latest typegen generate
```
1. Re-run this every time you modify your schema types or GROQ queries
You should see a response like the one below and a newly created `src/sanity/types.ts` file in your project.
```sh
✅ Generated TypeScript types for 15 schema types and 2 GROQ queries in 1 files into: ./src/sanity/types.ts
```
Success! You now have Types for your Sanity Studio schema types and GROQ queries.
## Automating TypeGen
The `extract.json` file will need to be updated every time you update your Sanity Studio schema types and TypeGen every time you do or update your GROQ queries.
Instead of doing these steps separately, you can include scripts in your `package.json` file to make running these automatic and more convenient.
1. Update `package.json` scripts
```json:package.json
"scripts": {
// ...all your other scripts
"predev": "pnpm run typegen",
"prebuild": "pnpm run typegen",
"typegen": "sanity schema extract --enforce-required-fields --path=./src/sanity/extract.json && sanity typegen generate"
},
```
You can now run both the schema extraction and TypeGen commands with one line:
```sh
pnpm run typegen
```
1. Sanity TypeGen is currently in Beta and may not always produce perfect results. The following lessons will highlight any meaningful issues.
You now have all the tools and configurations to author and query Sanity content with a Type-safe, excellent developer experience. Now it's finally time to query and display Sanity content.
## Automatic type inference
Sanity TypeGen contains a feature to map GROQ queries against their types automatically. However, this is done by extending the Sanity Client package, as you will see at the bottom of the automatically generated types file.
```typescript:src/sanity/types.ts
// Query TypeMap
import "@sanity/client";
declare module "@sanity/client" {
```
Since we are using the next Sanity package and have not installed Sanity Client directly, this automatic type inference may not work.
**Install** Sanity Client as a dependency to solve this before the next lesson.
```sh
pnpm add @sanity/client
```## [Fetch Sanity Content](/learn/course/content-driven-web-application-foundations/fetch-sanity-content)
Query for your content using Sanity Client, a library compatible with the Next.js cache and React Server Components for modern, integrated data fetching.
Sanity content is typically queried with GROQ queries from a configured [Sanity Client](https://www.sanity.io/docs/js-client). Fortunately, one has already been created for you.
1. **Open** `src/sanity/lib/client.ts` to confirm it exists in your project.
Sanity Client is built to run in any JavaScript run time and in any framework. It is also compatible with Next.js caching features, React Server Components, and the App Router.
It also provides ways to interact with Sanity projects and even write content back to the Content Lake with mutations. You'll use some of these features in later lessons.
It's time to put everything we've set up to work. In this lesson, you'll create a route to serve as a Post index page and a dynamic route to display an individual post.
## Next.js App Router
For now, you'll focus on data fetching at the top of each route. React Server Components allow you to perform fetches from inside individual components. Future lessons may address where this is beneficial. For now, our queries are simple enough – and GROQ is expressive enough – to get everything we need at the top of the tree.
1. See the [Next.js App Router](https://nextjs.org/docs/app/building-your-application/routing) documentation for more details about file-based routing and how file and folder names impact URLs
The most significant change we'll make first is creating a separate "Route Group" for the entire application front end. This route group will separate the front end layout code from the Studio without affecting the URL. It is also useful when integrating Visual Editing and displaying the front end _inside_ the Studio.
1. **Create** a new `(frontend)` directory and **duplicate** `layout.tsx` into it
```sh
mkdir -p "src/app/(frontend)" && cp "src/app/layout.tsx" "src/app/(frontend)/"
```
You should now have **two** `layout.tsx` files inside the app folder at these locations:
```text
src
└── app
├── // all other files
├── layout.tsx
└── (frontend)
└── layout.tsx
```
The `(frontend)/layout.tsx` file has duplicated `html` and `body` tags, but you'll update the file those later in the lesson.
1. **Update** the root `layout.tsx` file to remove `globals.css`
## Update the home page
Later in this track, the home page will become fully featured. For now, it just needs a link to the posts index.
1. **Move** `page.tsx` into the `(frontend)` folder
2. **Update** your home page route to add basic navigation to the posts index.
```tsx:src/app/(frontend)/page.tsx
import Link from "next/link";
export default async function Page() {
return (