Display content in Next.js
In this lesson, you'll create a new Next.js application and query for Sanity content. Next.js is a React framework for building full-stack web applications. You'll use it in this lesson because of how simply you can get started but the concepts here could work with any framework or front end library.
The command below installs a predefined bare bones template with some sensible defaults, and Tailwind CSS is installed.
day-one directory to create a new Next.js application.# in the root /day-one directorynpx create-next-app@latest apps/web --tailwind --ts --app --src-dir --eslint --import-alias "@/*" --turbopack --use-pnpmcd apps/webThe included flags set some opinionated defaults—such as Tailwind CSS, TypeScript, and eslint—so that you don't have to decide.
You should now have your Sanity Studio and Next.js app in two separate, adjacent folders:
day-one/└── apps/ ├── studio/ -> Sanity Studio └── web/ -> Next.js appapps/web directory# inside the apps/web directorynpm install next-sanitynext-sanityis a collection of utilities specifically tuned for Next.js when integrating with Sanity@portabletext/react(installed as part ofnext-sanity) is a React Component for rendering Portable Text with default components and the option to extend them for your own block content.
This lesson has a deliberately narrow focus to query and render Sanity content in a front-end.
For projects going into production, there are more factors to consider such as caching, revalidation, visual editing, SEO and more. As well as extra editing affordances such as "page building".
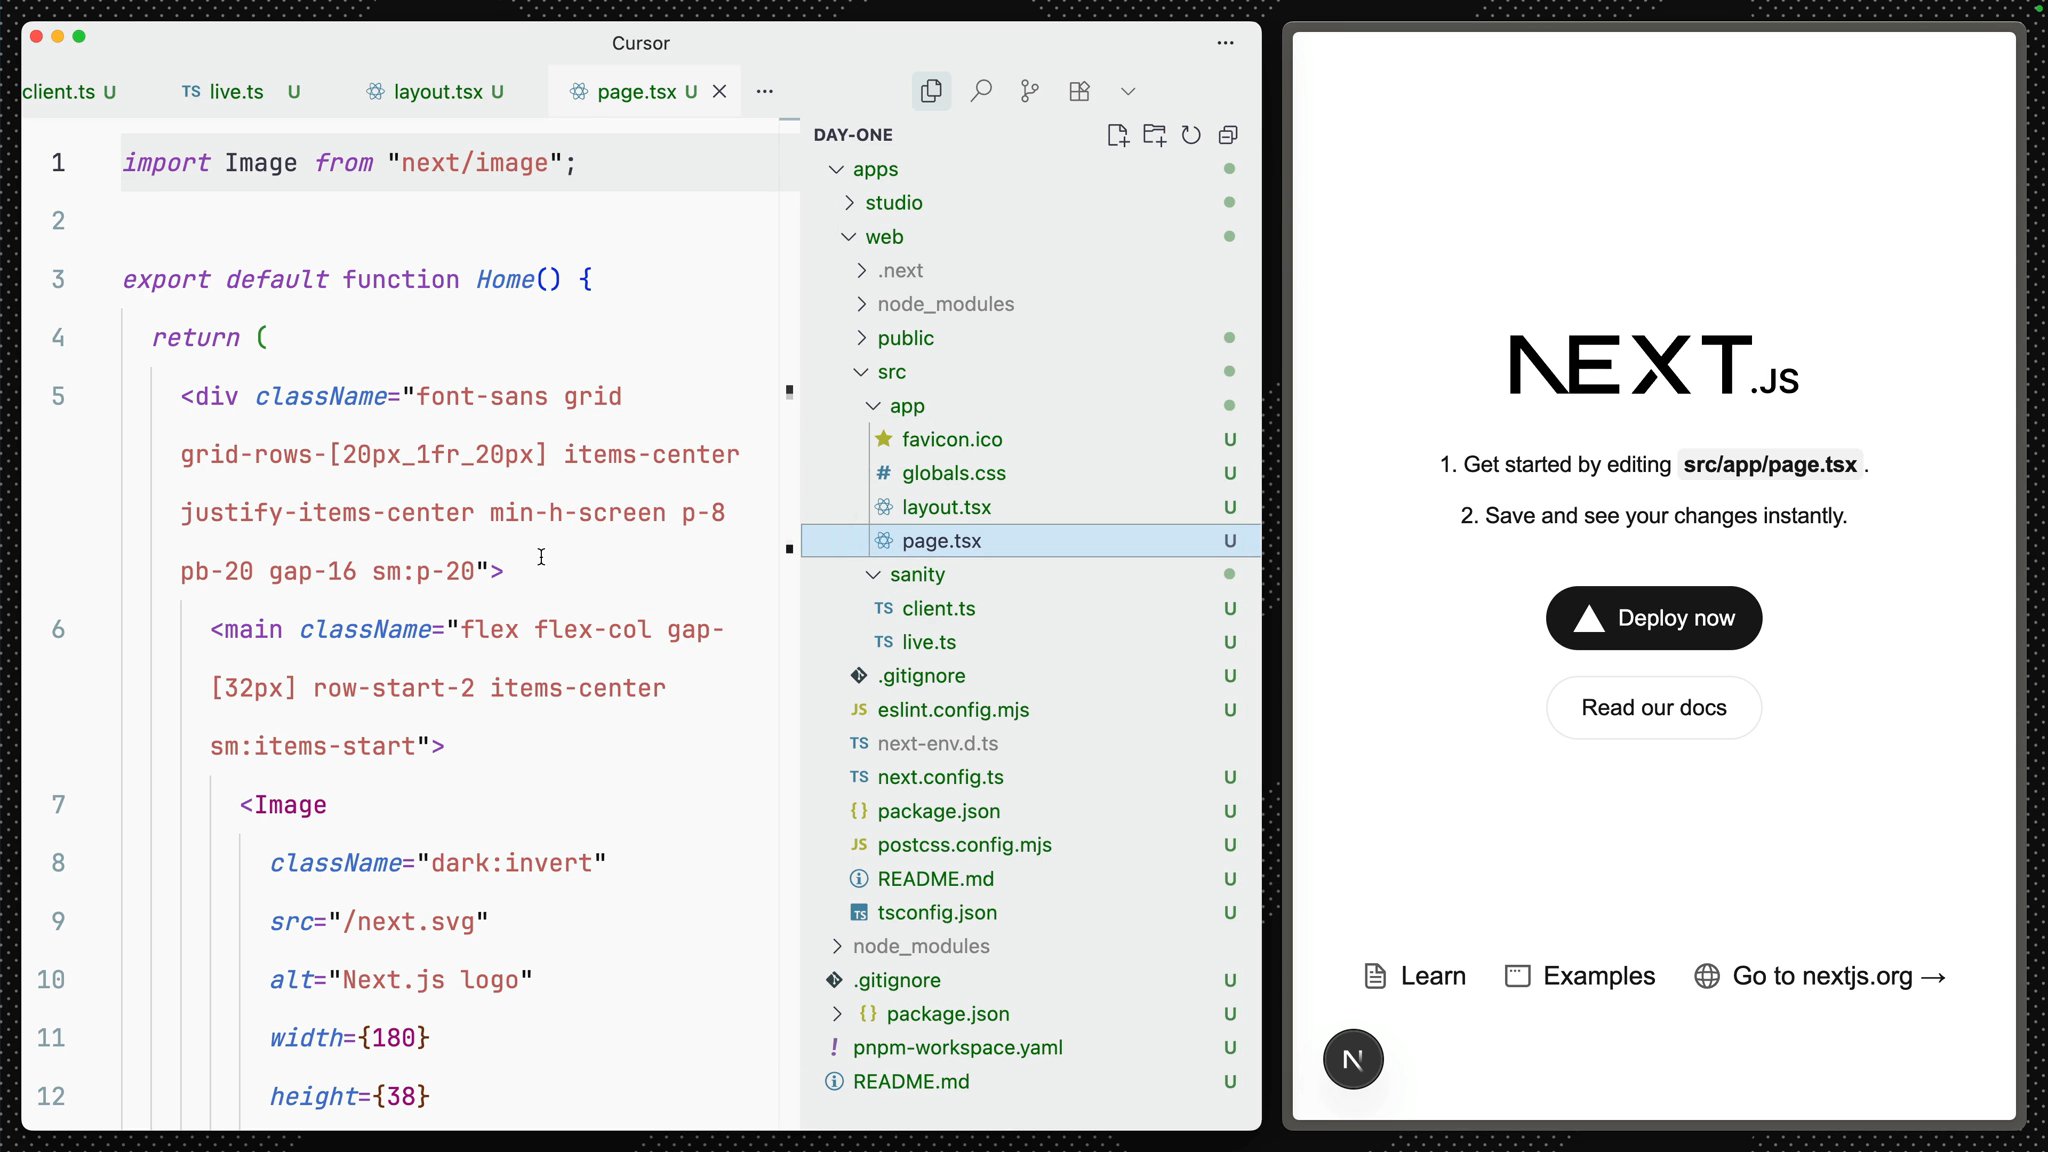
next-sanity documentation contains more details for preparing Sanity and Next.js for production.npm run devYou should now see the default page for new Next.js applications, just like this:
To fetch content from Sanity, you'll need a configured Sanity Client. In the code snippet below, you'll need to modify the projectId value to the one in your Studio's sanity.config.ts
projectIdimport { createClient } from "next-sanity";
export const client = createClient({ projectId: "REPLACE_WITH_YOUR_PROJECT_ID", dataset: "production", apiVersion: "2025-07-09", useCdn: false,});/packages directory in your workspace. Sanity Client is a convenient way to interact with almost all of Sanity's APIs, such as fetching for content. In many frameworks, Sanity Client is all you'd use. In Next.js it's simple to do much better than a simple fetch.
Instead of only making fetches as a page is requested, let's make the application "Live by Default" with a little extra configuration.
import { defineLive } from "next-sanity/live";import { client } from "@/sanity/client";
export const { sanityFetch, SanityLive } = defineLive({ client});/src directory using @/ as shorthand. So you're importing client from src/sanity/client.ts in the example above. Not to be confused with the package @sanity/client!SanityLive componentimport { SanityLive } from "@/sanity/live";import "./globals.css";
export default function RootLayout({ children,}: Readonly<{ children: React.ReactNode;}>) { return ( <html lang="en"> <body className="bg-gray-100 dark:bg-gray-900 min-h-screen"> {children} <SanityLive /> </body> </html> );}Next.js uses React Server Components, typically used as routes, for loading and displaying data. This home page is the root index route with the filename page.tsx.
It's currently showing static content; let's replace that with content fetched from your Sanity project.
Notice the GROQ query looking for all event-type documents that have a slug.
import Link from "next/link";import { defineQuery } from "next-sanity";import { sanityFetch } from "@/sanity/live";
const EVENTS_QUERY = defineQuery(`*[  _type == "event"  && defined(slug.current)  && date > now()]|order(date asc){_id, name, slug, date}`);
export default async function IndexPage() {  const { data: events } = await sanityFetch({ query: EVENTS_QUERY });
  return (    <main className="flex min-h-screen flex-col p-24 gap-12">      <h1 className="text-4xl font-bold tracking-tighter text-gray-900 dark:text-white">        Events      </h1>      <ul className="grid grid-cols-1 gap-12 lg:grid-cols-2">        {events.map((event) => (          <li            className="bg-white dark:bg-gray-800 p-4 rounded-lg shadow-sm dark:shadow-gray-900/20"            key={event._id}          >            <Link              className="hover:underline block"              href={`/events/${event?.slug?.current}`}            >              <h2 className="text-xl font-semibold text-gray-900 dark:text-white">                {event?.name}              </h2>              {event?.date && (                <p className="text-gray-500 dark:text-gray-400">                  {new Date(event.date).toLocaleDateString()}                </p>              )}            </Link>          </li>        ))}      </ul>    </main>  );}
Your home page should now look mostly the same but with published documents from your Studio.
Create another route to display each individual event. The query on this page will look for any event with a matching slug from the one used to load the page.
events with another folder named [slug] within it[slug] folder named page.tsximport { defineQuery, PortableText } from "next-sanity";import Link from "next/link";import { notFound } from "next/navigation";
import { sanityFetch } from "@/sanity/live";
const EVENT_QUERY = defineQuery(`*[ _type == "event" && slug.current == $slug ][0]{ ..., "date": coalesce(date, now()), "doorsOpen": coalesce(doorsOpen, 0), headline->, venue->}`);
export default async function EventPage({ params,}: { params: Promise<{ slug: string }>;}) { const { data: event } = await sanityFetch({ query: EVENT_QUERY, params: await params, }); if (!event) { notFound(); } const { name, date, headline, details, eventType, doorsOpen, venue, tickets, } = event;
const eventDate = new Date(date).toDateString(); const eventTime = new Date(date).toLocaleTimeString(); const doorsOpenTime = new Date( new Date(date).getTime() - doorsOpen * 60000 ).toLocaleTimeString();
const imageUrl = "https://placehold.co/550x310/png";
return ( <main className="container mx-auto grid gap-12 p-12"> <div className="mb-4"> <Link href="/" className="text-gray-600 dark:text-gray-400 hover:text-gray-900 dark:hover:text-white" > ← Back to events </Link> </div> <div className="grid items-top gap-12 sm:grid-cols-2"> <img src={imageUrl} alt={name || "Event"} className="mx-auto aspect-video overflow-hidden rounded-xl object-cover object-center sm:w-full" height="310" width="550" /> <div className="flex flex-col justify-center space-y-4"> <div className="space-y-4"> {eventType ? ( <div className="inline-block rounded-lg bg-gray-100 dark:bg-gray-800 px-3 py-1 text-sm text-gray-700 dark:text-gray-300 capitalize"> {eventType.replace("-", " ")} </div> ) : null} {name ? ( <h1 className="text-4xl font-bold tracking-tighter mb-8 text-gray-900 dark:text-white"> {name} </h1> ) : null} {headline?.name ? ( <dl className="grid grid-cols-2 gap-1 text-sm font-medium sm:gap-2 lg:text-base text-gray-700 dark:text-gray-300"> <dd className="font-semibold text-gray-900 dark:text-white"> Artist </dd> <dt>{headline?.name}</dt> </dl> ) : null} <dl className="grid grid-cols-2 gap-1 text-sm font-medium sm:gap-2 lg:text-base text-gray-700 dark:text-gray-300"> <dd className="font-semibold text-gray-900 dark:text-white"> Date </dd> <div> {eventDate && <dt>{eventDate}</dt>} {eventTime && <dt>{eventTime}</dt>} </div> </dl> {doorsOpenTime ? ( <dl className="grid grid-cols-2 gap-1 text-sm font-medium sm:gap-2 lg:text-base text-gray-700 dark:text-gray-300"> <dd className="font-semibold text-gray-900 dark:text-white"> Doors Open </dd> <div className="grid gap-1"> <dt>Doors Open</dt> <dt>{doorsOpenTime}</dt> </div> </dl> ) : null} {venue?.name ? ( <dl className="grid grid-cols-2 gap-1 text-sm font-medium sm:gap-2 lg:text-base text-gray-700 dark:text-gray-300"> <div className="flex items-start"> <dd className="font-semibold text-gray-900 dark:text-white"> Venue </dd> </div> <div className="grid gap-1"> <dt>{venue.name}</dt> </div> </dl> ) : null} </div> {details && details.length > 0 && ( <div className="prose max-w-none prose-gray dark:prose-invert"> <PortableText value={details} /> </div> )} {tickets && ( <a className="flex items-center justify-center rounded-md bg-blue-500 hover:bg-blue-600 dark:bg-blue-600 dark:hover:bg-blue-700 p-4 text-white transition-colors" href={tickets} > Buy Tickets </a> )} </div> </div> </main> );}A few things of note in the code example above:
- The brackets in the
[slug]folder name tell Next.js that it should make this part of the URL (localhost:3000/events/the-event-slug) dynamic, that is, available inside of theparamsproperty for the page template function. We can then use this information to query the correct document from Sanity ($slug). - Some deeply nested items use optional chaining (
?.) to only render an attribute if its parent exists. This is especially important when working with live preview where draft documents cannot be guaranteed to have values – even those you have required validation rules on.
You should now be able to view the list of Events on the home page, click any one, and be shown its full details.
Your app queries and renders text content, but the Content Lake stores assets such as media and images and Sanity's CDN includes image transformation to serve them in a performant way.
Let's set this up in the next lesson.