
Your Content Lake connected Sanity Studio is still stuck on your local computer. It's time to deploy and get it into the hands of your editors.
Deploying your Studio is as simple as running the deploy command.
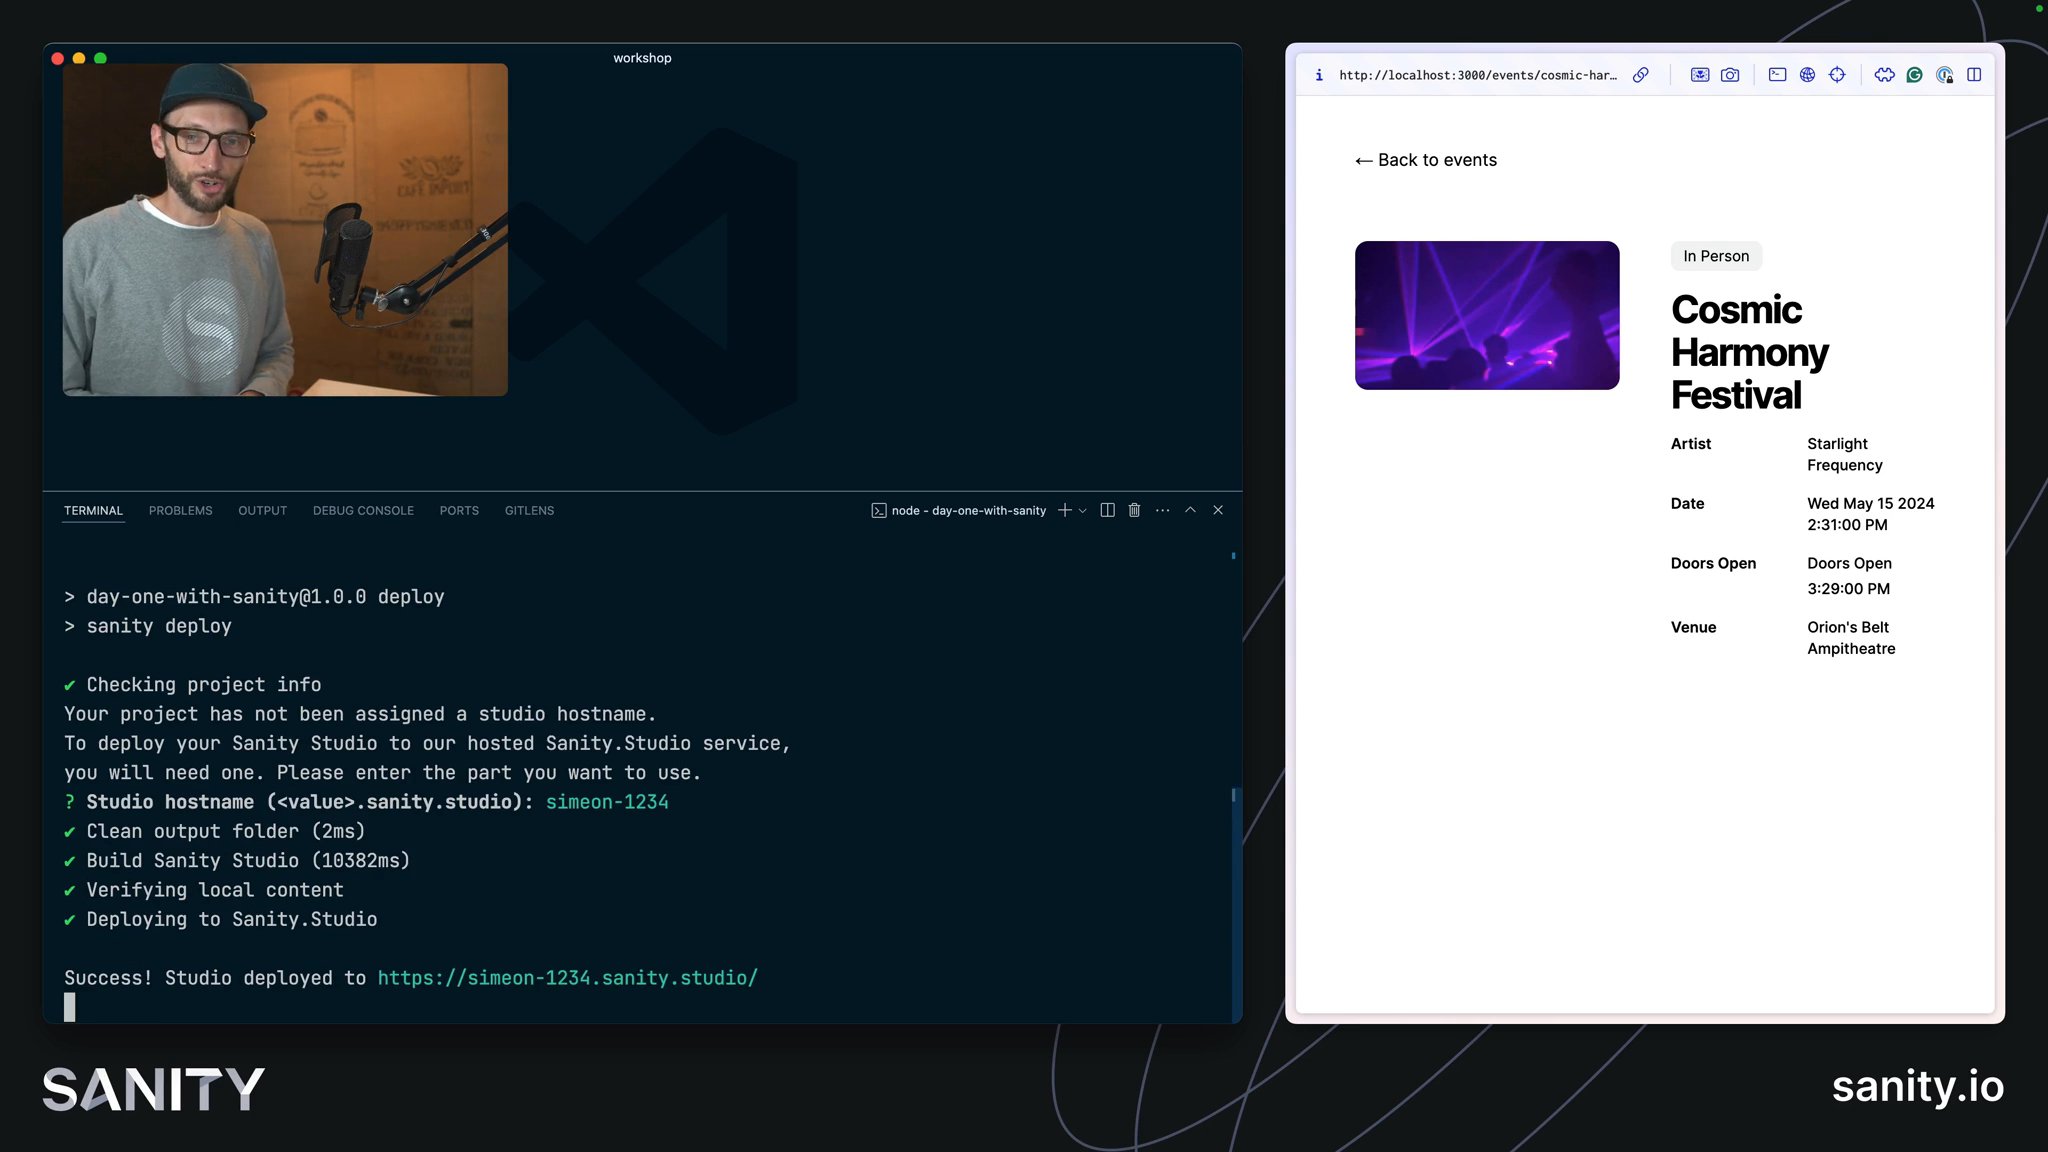
npm run deployThis runs sanity deploy inside your project. The first time you run this you'll be prompted for a hostname. This needs to be unique across all Sanity Studio hosting so you'll need to use your imagination here.
sanity.studioOnce successfully deployed, you'll be able to open the Studio at your new address.
Take note that this remotely deployed Studio shows the same data from the Content Lake as the Studio in local development! Remember, your content is always cloud-hosted but your Studio is a versioned window into the Content Lake.
This can be very useful, but also potentially dangerous. Consider using a different dataset in development to the one you use in production.
At present you can only have one Studio deployment on this hosting for a project. For more complex builds you may wish to have additional deployments for testing or staging environments.
Sanity Studio can be deployed to any hosting service that can run a single page application. So for example it can be easily deployed from Vercel or Netlify.
Since these platforms typically deploy from git repositories, you could make one for your Studio and connect to it on your host.
Note that your editors can expect the same experience whether your Studio is hosted with Sanity or externally. It connects to the same APIs.
Before you set off creating your next Sanity project, it's good to be mindful of some patterns to avoid. Here's what we explicitly didn't do in the previous lessons.
Mark each task complete as you make a promise to your future self to do your best job of:
category not categories – plural names should be reserved for UI labels like titles in Structure Builder.person, location, product etc instead of making everything a page.tone instead of colour, priority instead of fontSize. Your future self will thank you when the next website redesign comes!For more opinionated guidance on how to structure Sanity Studio projects, GROQ queries and more:
Now you've created a basic Sanity Studio, go further with the Studio excellence course for more inspiration for excellent editorial experiences.