Configuration
Learn how to connect your custom app to your Sanity content
The term "configuration" in the context of developing a custom app with the App SDK can refer to two different things:
CLI configuration
The main configuration file for the project, found in sanity.cli.ts at the root of your project. It contains your organization ID, and your project's entry point, as well as an unique ID for the application itself once deployed.
import {defineCliConfig} from 'sanity/cli'

export default defineCliConfig({
  app: {
    organizationId: 'your-org-id',
    entry: './src/App.tsx',
  },
  deployment: {
    appId: 'your-app-id',
  },
})
SanityConfig
One or more SanityConfig objects, which each contain a project ID and dataset name belonging to the Sanity project(s) you wish to interact with in your app. This configuration is passed to the SanityApp provider which typically wraps your application and provides all the necessary context needed to interact with your content.
import {SanityApp, type SanityConfig} from '@sanity/sdk-react'

export function App() {
  const config: SanityConfig[] = [
    {
      projectId: 'your-project-id',
      dataset: 'your-dataset-name',
    }
  ]
  return (
    <div className="app-container">
      <SanityApp config={config} fallback={<div>Loading...</div>}>
        {/* add your own components here! */}
      </SanityApp>
    </div>
  )
}

export default App
This last meaning is what we'll be concentrating on for this article.
Configuring your app
To begin, locate the entry point for your app in src/App.tsx. You should see something very much like the code example below, containing a configuration with some placeholder values on lines 7-12, which you will want to replace with your actual details.
import {SanityApp, type SanityConfig} from '@sanity/sdk-react'
import {ExampleComponent} from './ExampleComponent'
import './App.css'

export function App() {
  // apps can access one or many different projects or other sources of data
  const config: SanityConfig[] = [
    {
      projectId: 'your-project-id',
      dataset: 'your-dataset-name',
    }
  ]

  return (
    <div className="app-container">
      <SanityApp config={config} fallback={<div>Loading...</div>}>
        {/* add your own components here! */}
        <ExampleComponent />
      </SanityApp>
    </div>
  )
}

export default App
Note that config is an array of SanityConfig values, which means you can hook your app up to several Sanity projects if you so wish. The SanityConfig type is simply a valid set of a projectId and a dataset.
The config array is then passed to the SanityApp context provider component on lines 16-19. The SanityApp component provides all child components with the necessary context to work with the SDK hooks and methods. (You may also notice that this component accepts a fallback prop, which is your clue that the SDK supports the React Suspense pattern, which should make our lives a bit easier while fetching and interacting with content.)
Use the project ID and dataset name from the example project you created in the previous article to modify the projectId and dataset values in the config variable, save the file, and then return to your terminal and run:
npm run devpnpm run devyarn run devbun run devYou should get a confirmation like the one displayed below.
Dev server started on port 3333
View your app in the Sanity dashboard here:
https://www.sanity.io/@[ORGANIZATION-ID]?dev=http%3A%2F%2Flocalhost%3A3333
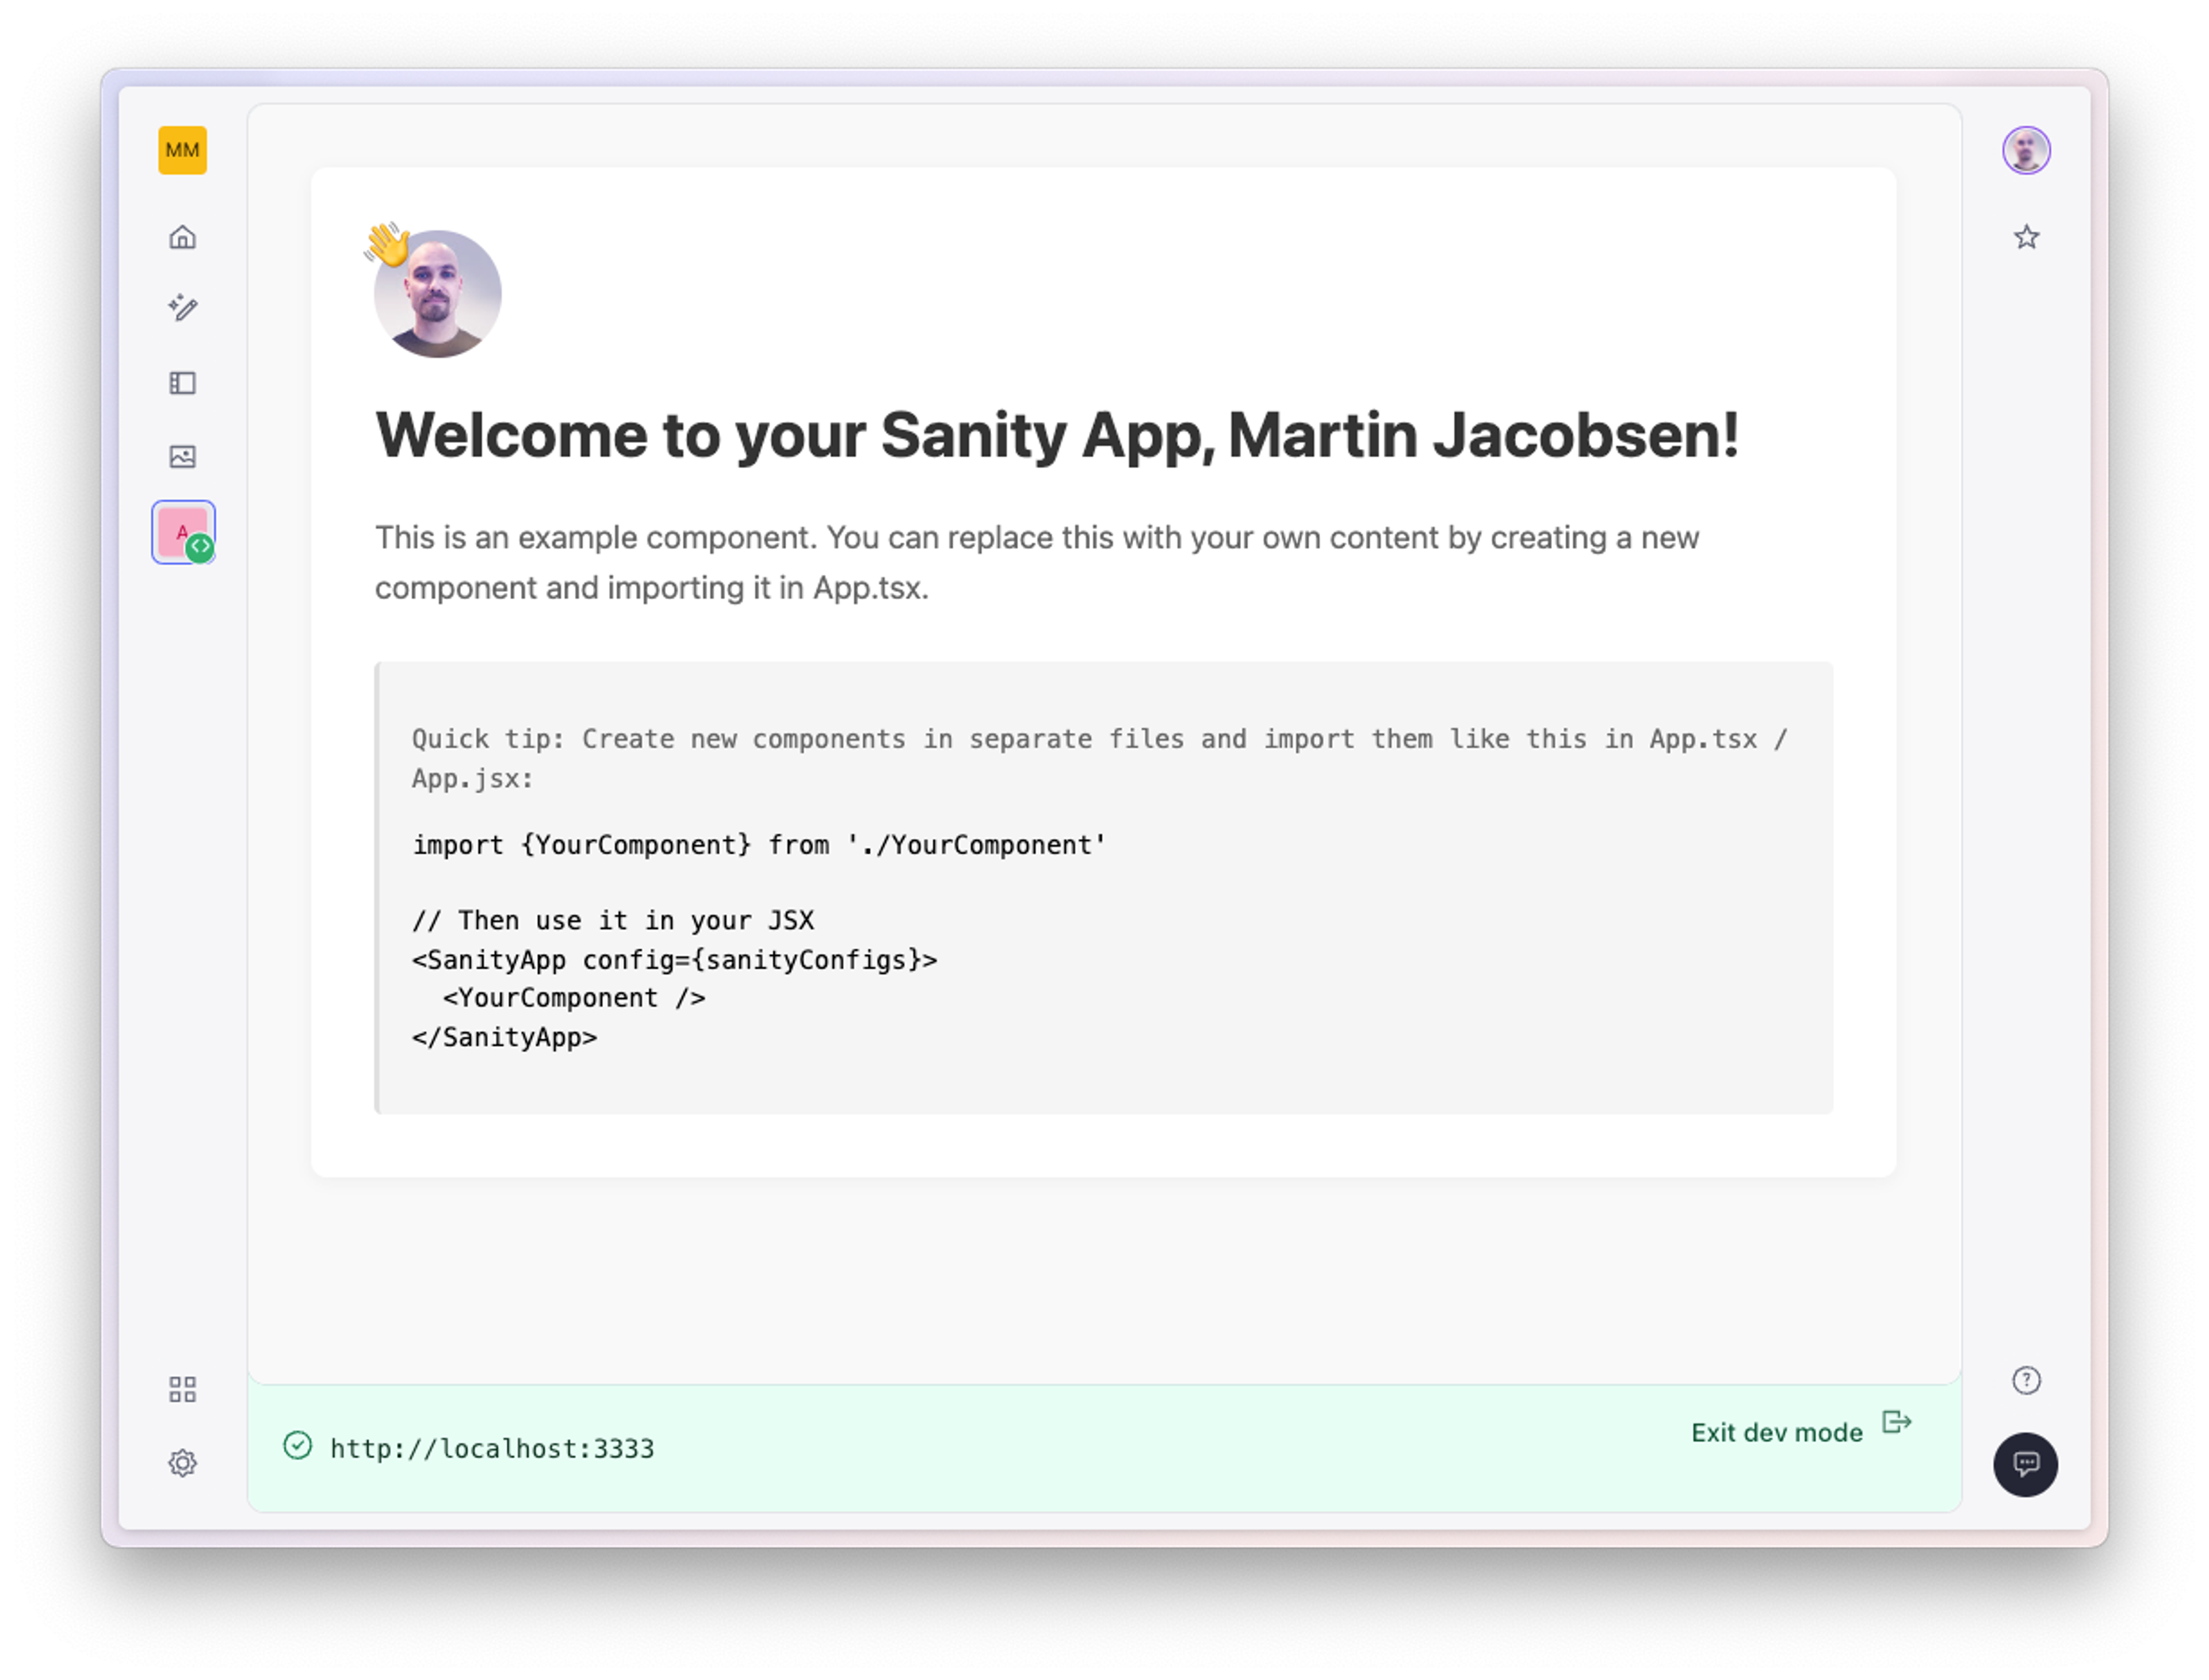
CMD or CTRL-click the URL to visit your app in the Sanity Dashboard. You should be welcomed by your app running in local development mode, and displaying some boilerplate content.

Excellent! Your shiny new app is running locally. Trouble is, it doesn’t really do much as of yet. Let’s fix that by fetching some documents.
- In the
src/ExampleComponent.tsxfile, replace the content in its entirety with the following code:
import './ExampleComponent.css'
import {useDocuments} from '@sanity/sdk-react'

export function ExampleComponent() {
  const {data, hasMore, isPending, loadMore, count} = useDocuments({
    documentType: 'movie',
    batchSize: 10,
    orderings: [{field: '_updatedAt', direction: 'desc'}],
  })
  return (
    <div>
      Total documents: {count}
      <ol>
        {data.map((doc) => (
          <li key={doc.documentId}>
            <code>{JSON.stringify(doc, null, 2)}</code>
          </li>
        ))}
      </ol>
      {hasMore && (
        <button onClick={loadMore} disabled={isPending}>
          {isPending ? 'Loading...' : 'Load More'}
        </button>
      )}
    </div>
  )
}
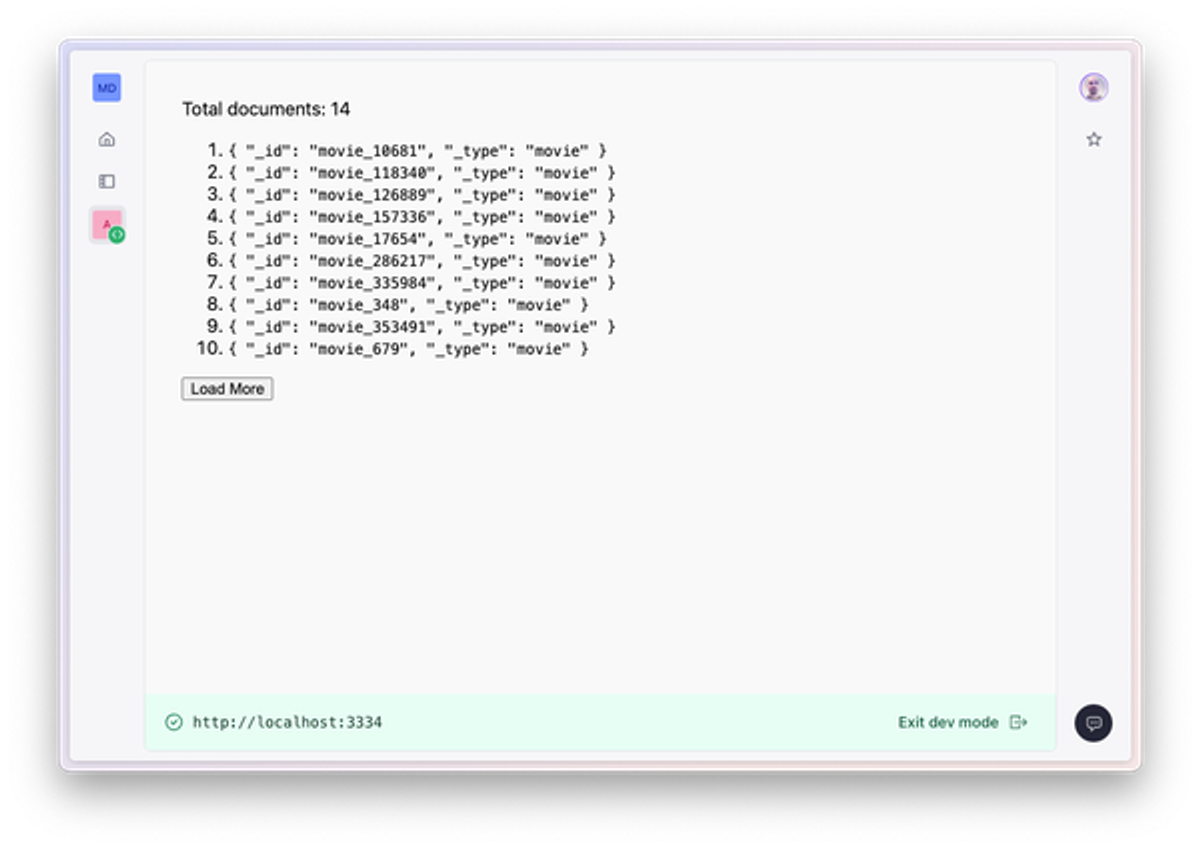
In the example above we've imported and used the UseDocuments hook to query for documents of a certain type (movie), and then we print out the result. Note that we can treat the resulting data synchronously, i.e., we don't have to wait for a promise to resolve before we print out the result.
You should see something like the following:

Note that we specified that the result should be ordered by when the corresponding documents were last updated. If you go ahead and make some changes to a movie document in your studio and hit publish you should see that the list updates in real-time as your content changes.
Also note how useDocuments() returns an array of minimalist objects containing a documentId, documentType, projectId and dataset for each document. This construct is an abstraction used when fetching a list of documents and is known as a DocumentHandle.
Environment variables
Environment variables prefixed with SANITY_APP_ are automatically picked up by the Sanity CLI tool, development server, and bundler.
Any found environment variables are available as process.env.SANITY_APP_VARIABLE_NAME—even in browser code.
By requiring this SANITY_APP_ prefix, we prevent unrelated (and potentially sensitive) environment variables from getting exposed to the browser bundle. You can learn more about environment variables in the Studio documentation.
Document Handles
Document Handles are a central concept in the Sanity App SDK, and are important to understand when working with many of the SDK’s React hooks.
React Hooks
Meet some of the most important hooks from the React SDK package.
Fetching and handling content
Learn about the central concepts and hooks for pulling content from your Sanity project into your custom app.
Was this page helpful?