App SDK Quickstart Guide
Get up and running quickly with the Sanity App SDK by following this step-by-step guide!
1Create a new App SDK app
Initialize a new project by running npx sanity@latest:
When prompted:
- Select yes when asked to install the sanity package
- Choose your organization, or create a new one
- Specify a location to save your project locally
- Choose whether you want to work with TypeScript or JavaScript
Once you've worked through these options, the CLI should proceed to install all the necessary dependencies, and report back with a confirmation.
npx sanity@latest init --template app-quickstart
pnpm dlx sanity@latest init --template app-quickstart
yarn dlx sanity@latest init --template app-quickstart
bunx sanity@latest init --template app-quickstart
✅ Success! Your custom app has been scaffolded.
(cd my-cool-project to navigate to your new project directory)

Next, configure the project(s) and dataset(s) your app should work with.

Get started in `src/App.tsx`, or refer to our documentation for a walkthrough:
https://sanity.io/docs/app-sdk/sdk-configuration
2Navigate to the project directory
If you chose to install your project in a folder different to the current directory, such as a sub-folder, navigate into the project root.
cd my-cool-project3Inspect the project folder
In your favorite editor, open the project root and have a look around. Note the sanity.cli.ts, App.tsx, and ExampleComponent.tsx files in particular.
JS|TS|JSX|TSX
For readability we won't note every time a file could be either a js/jsx-file or a ts/tsx-file. We'll default to showing the examples inTypeScript going forth. If you are working in JavaScript, replace those T's with J's!
sanity.cli.ts
This is the main configuration for your project . By default, it contains the unique ID for your organization, and the entrypoint for your app.
src/App.tsx
This is the main entrypoint for your application. It contains the <SanityApp /> context provider, and demonstrates how to connect your application to an existing Sanity project. The <SanityApp /> component provides child components with the necessary context to use the SDK React hooks to interact with the content in your project.
Before moving on, modify the config variable to include the projectId and dataset for the Sanity project you’d like to work with in your custom app.
src/ExampleComponent.tsx
This component just displays some static content to welcome you to your project. Feel free to get rid of it, or use it as a springboard to write something cooler.
import {defineCliConfig} from 'sanity/cli'

export default defineCliConfig({
  app: {
    organizationId: 'your-org-id',
    entry: './src/App.tsx',
  },
})import {type SanityConfig} from '@sanity/sdk'
import {SanityApp} from '@sanity/sdk-react'
import {ExampleComponent} from './ExampleComponent'
import './App.css'
export default function App() {
// apps can access one or many different projects or other sources of data
const config: SanityConfig[] = [
{
projectId: 'project-id',
dataset: 'dataset-name',
}
]
return (
<div className="app-container">
<SanityApp config={config} fallback={<div>Loading...</div>}>
{/* add your own components here! */}
<ExampleComponent />
</SanityApp>
</div>
)
}import './ExampleComponent.css'
export function ExampleComponent() {
return (
<div className="example-container">
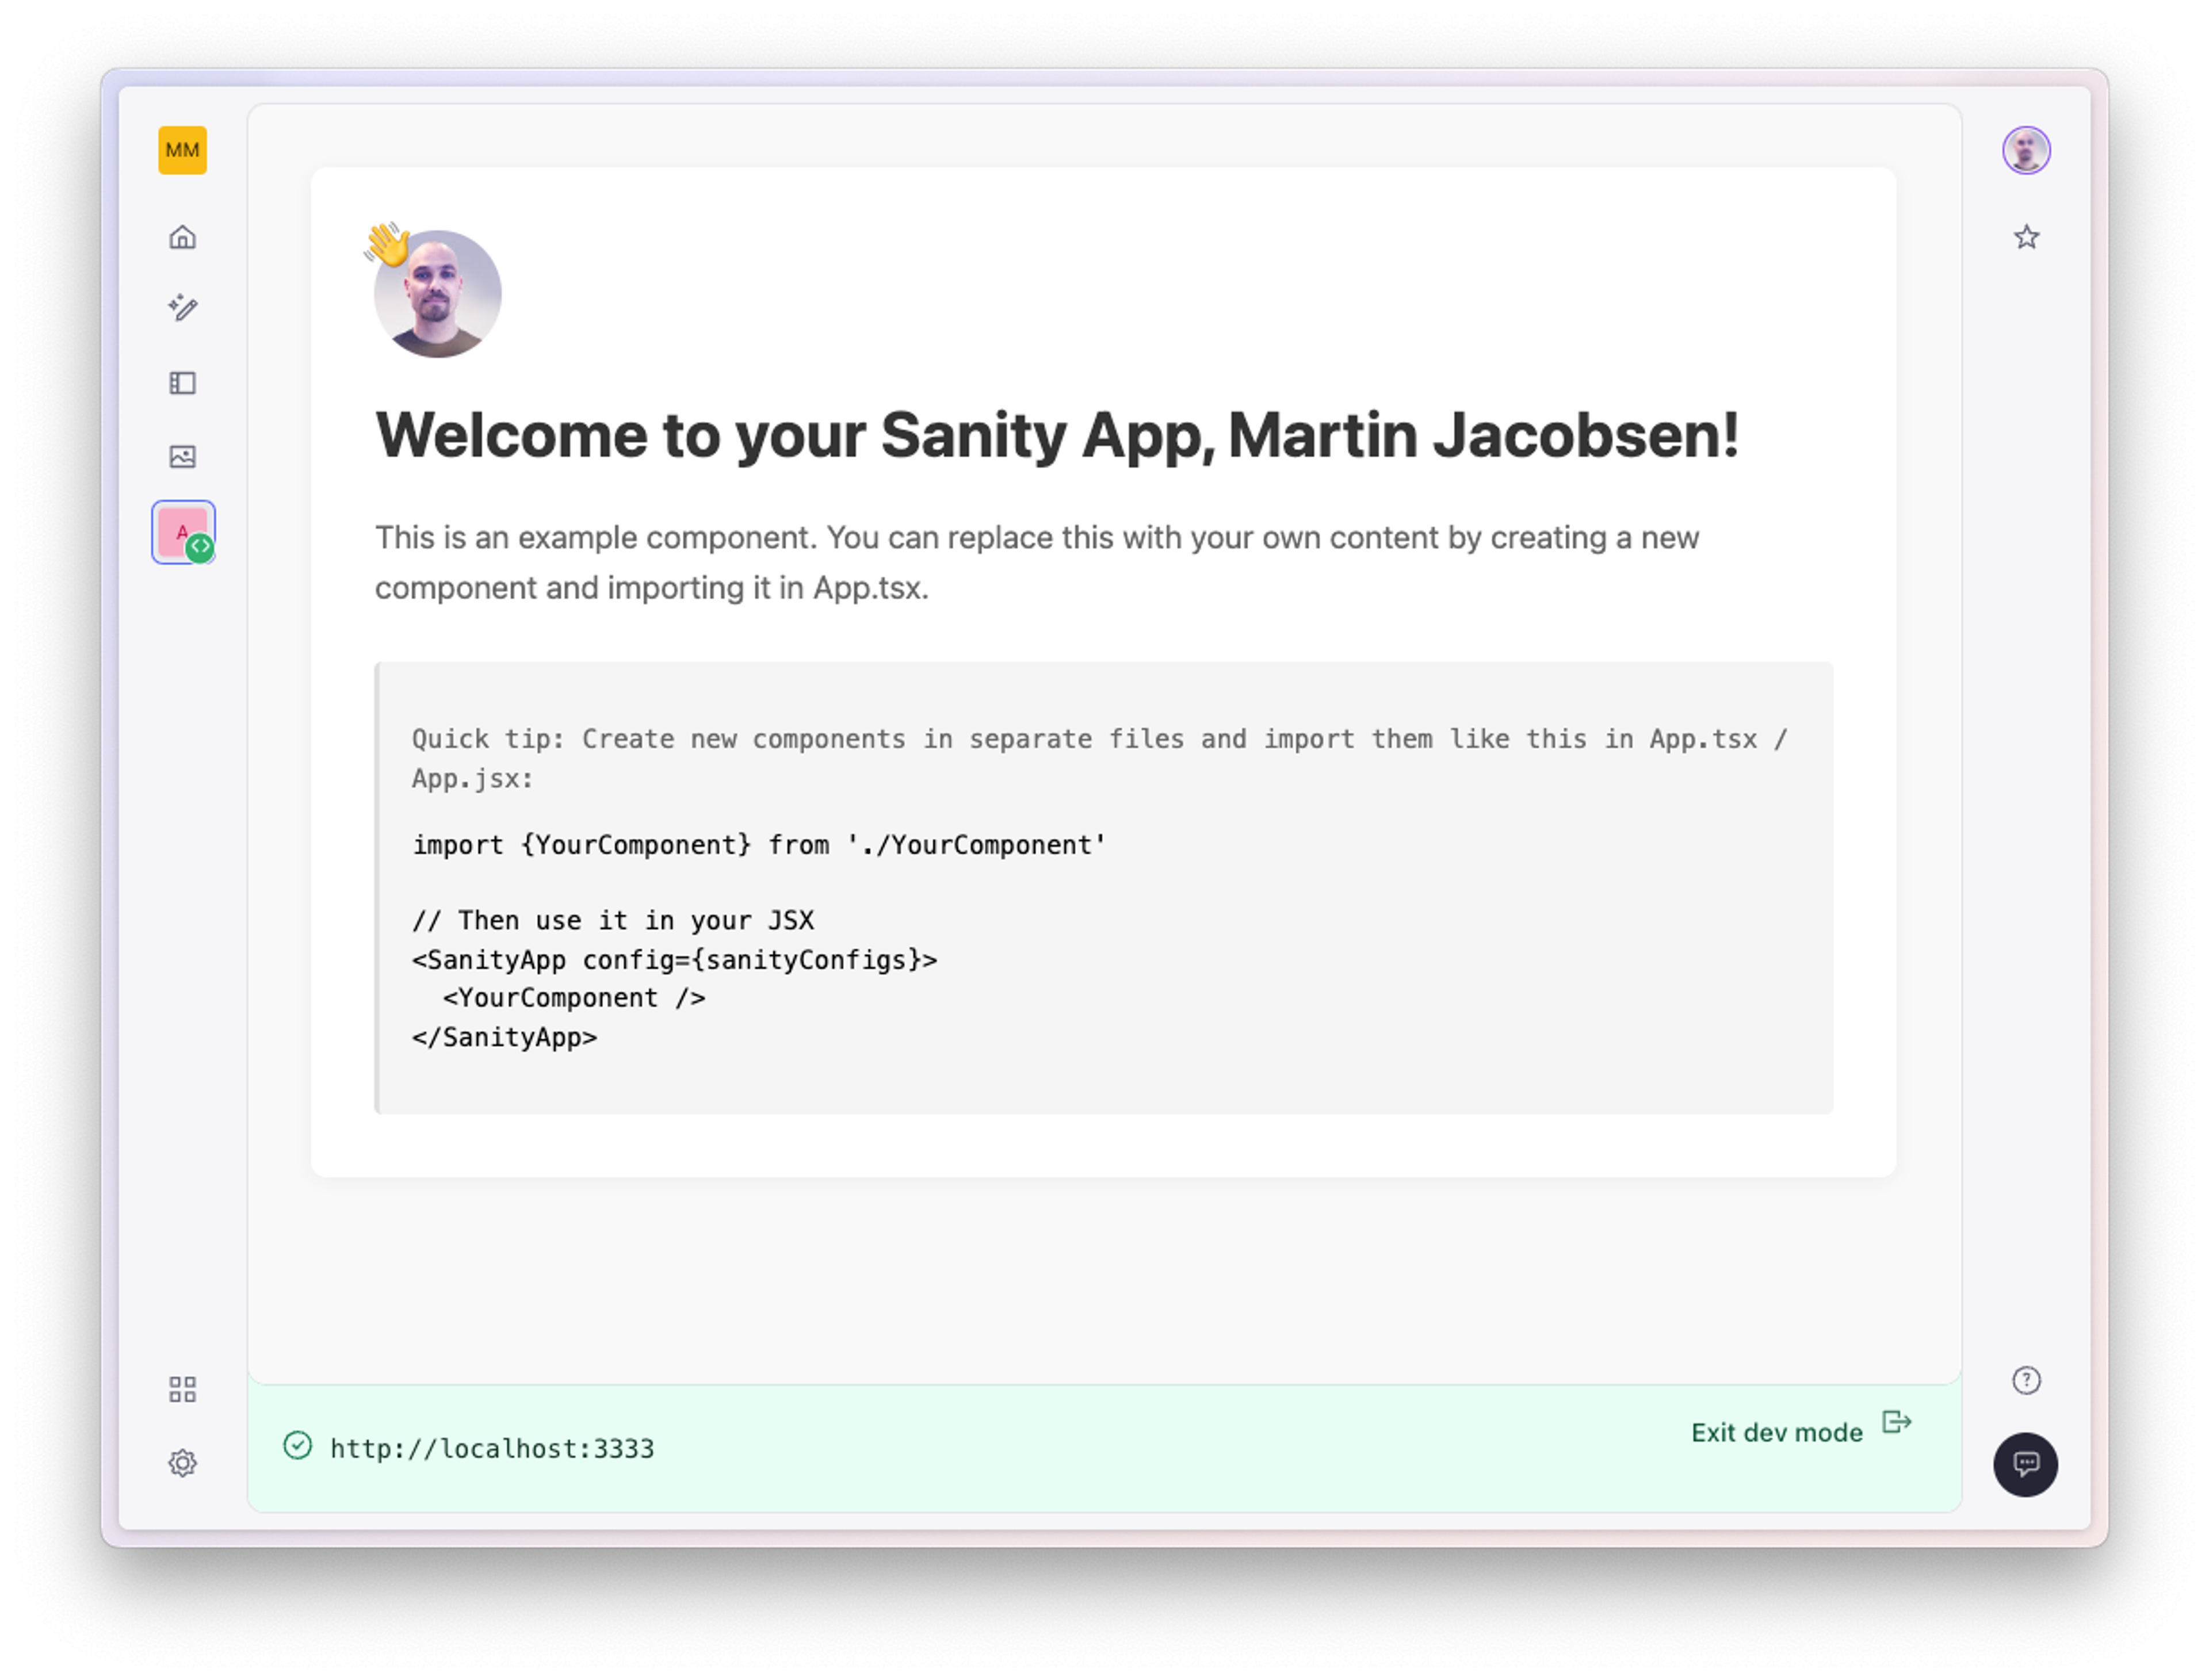
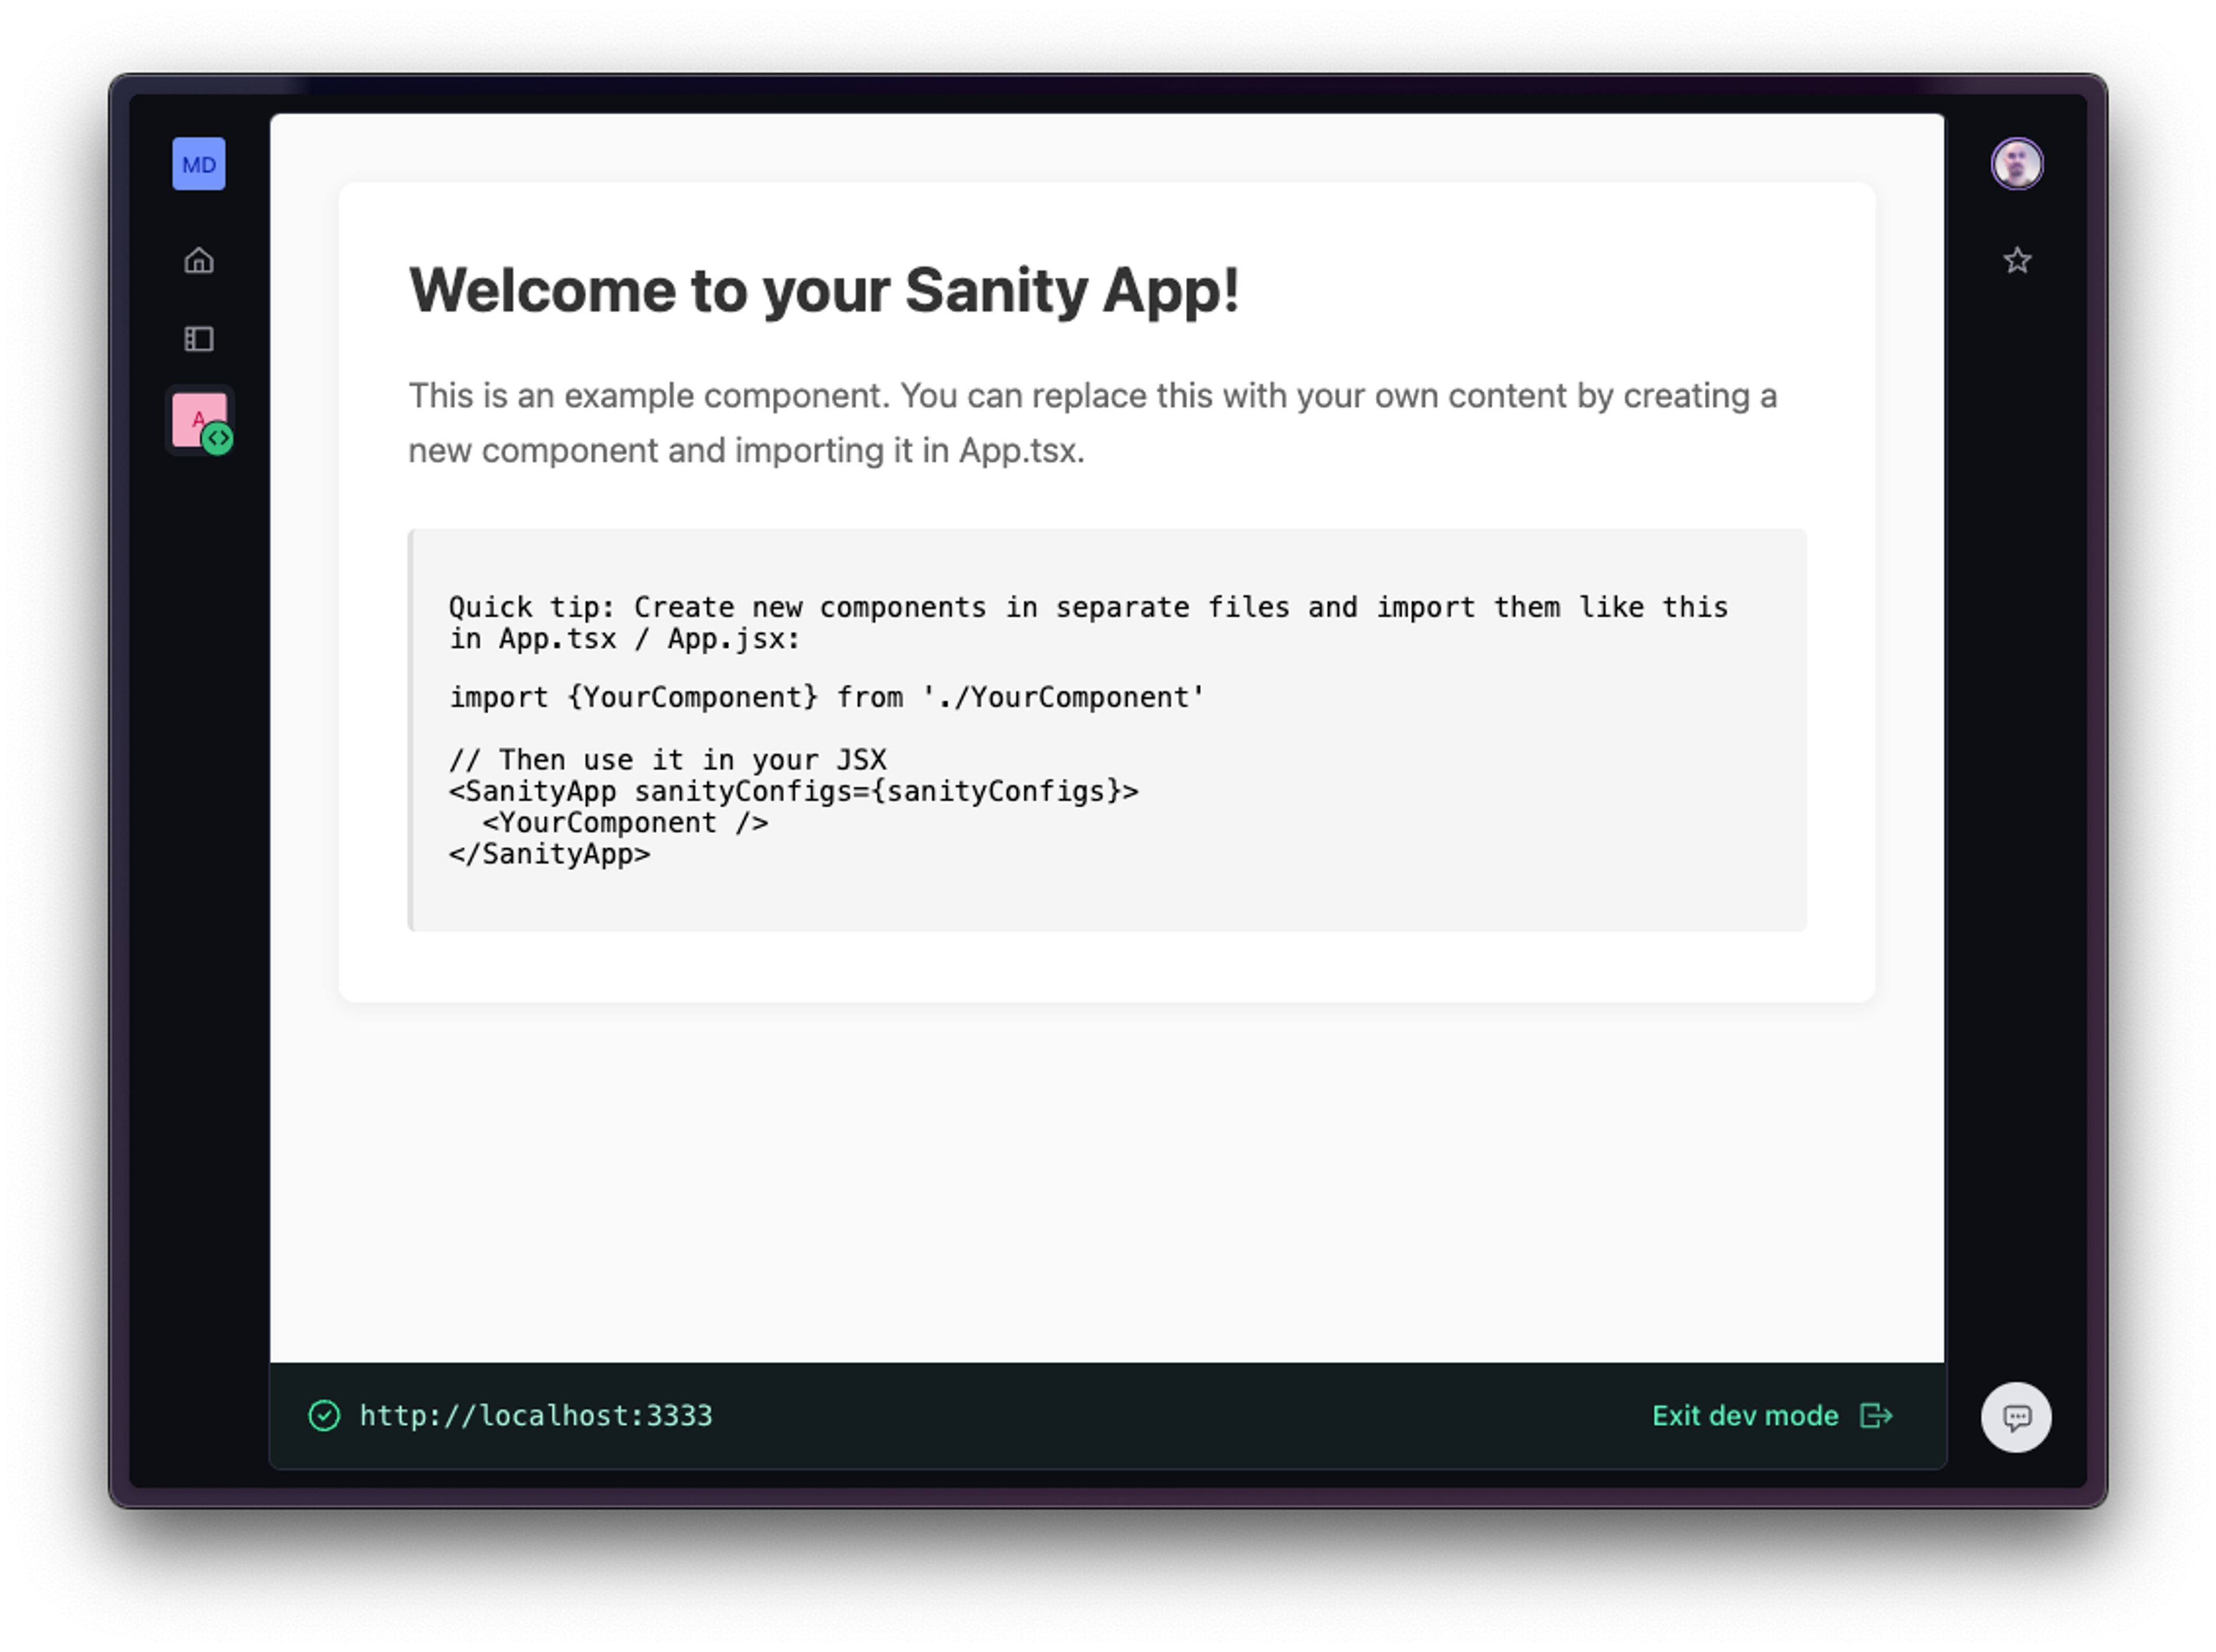
<h1 className="example-heading">Welcome to your Sanity App!</h1>
<p className="example-text">
This is an example component. You can replace this with your own content
by creating a new component and importing it in App.tsx.
</p>
<div className="code-hint">
<p>Quick tip: Create new components in separate files and import them like this in App.tsx / App.jsx:</p>
<pre>{`import {YourComponent} from './YourComponent'
// Then use it in your JSX
<SanityApp config={config}>
<YourComponent />
</SanityApp>`}</pre>
</div>
</div>
)
}4Start the development server
It's time to actually run the app! Enter the following command in your terminal:
You should see the CLI reporting on its progress.
Once having successfully launched your app, the CLI will provide you with a URL where you can see it running locally in the Sanity Dashboard. Open this link in your browser to see the Dashboard front page, then locate your application in the sidebar.
During development, SDK apps may experience connection issues in the Safari browser. This is caused by the way Safari handles mixed content, and how Sanity loads your local app in the Dashboard. To get around this limitation, we suggest using another browser during development.
This does not affect deployed SDK applications.
npm run devpnpm run devyarn run devbun run dev✓ Checking configuration files... ✓ Starting dev server Dev server started on port 3333 View your app in the Sanity dashboard here: https://sanity.io/@your-org-id?dev=http://localhost:3333
5Deploy your app
Finally, when you are happy with your custom app, it's time to deploy it. Run the following command:
Your custom app will be deployed and made available in your organization dashboard.
npx sanity@latest deploypnpm dlx sanity@latest deploy
yarn dlx sanity@latest deploy
bunx sanity@latest deploy
6Troubleshooting
If you see an error about the port being in use:
- Kill any existing process using port 3333, or
- Start the dev server on a different port:
If you see an error about missing authorization:
- Make sure your user account has the appropriate privileges
- Log out and back in to Sanity
npm run dev -- --port 3334
pnpm run dev -- --port 3334
yarn run dev -- --port 3334
bun run dev -- --port 3334
npx sanity@latest logout

npx sanity@latest login
pnpm dlx sanity@latest logout

pnpm dlx sanity@latest login
yarn dlx sanity@latest logout

yarn dlx sanity@latest login
bunx sanity@latest logout

bunx sanity@latest login
7Next steps
- Explore the React App SDK reference docs
- See examples of the App SDK in action in the SDK Explorer
- Read the introduction to the Sanity App SDK