Structuring content for Studio
Bridge the gap between Canvas and Studio. Structure your content with field labels and send it to your studio without laborious copy-pasting.
This guide walks you through the full workflow of getting content from where your team writes into your content management system, from setting a content type through to creating or updating a studio document.
Overview
Whether you're writing directly in Canvas or pasting in content from another tool, the steps are the same:
- Set a content type
- Apply field labels
- Send to Studio
Canvas supports two starting points for this workflow.
Writing in Canvas. You've been drafting content in Canvas and you're ready to structure it for Studio. Set a content type, apply field labels (manually or automatically), review, and send to Studio.
Import existing content. Your team wrote in Google Docs, Word, Notion, or another tool. Paste the content into Canvas, set a content type, run automated labeling, review and adjust, then send to Studio. This workflow simplifies moving content from external sources into Studio.
Before you start
Canvas works out of the box if your Studio is up to date, but you can configure which content types or fields are available in Canvas. See Configure Canvas for your content for details.
Setting a content type
Setting a content type connects your Canvas document to your Studio schema, unlocking field labels, content references, and a direct pipeline to Studio. It transforms Canvas from a general writing tool into a structure-aware authoring environment.
To set a content type:
- Open the content type panel in the top right corner of Canvas. Select a Studio, then choose a content type from the list of available types.
- Click Select content type. Canvas is now aware of your content structure, and the full set of structure and delivery features becomes available.
A note on access and permissions
You need at minimum read access to the connected studio and content type to set a content type. Once a content type is set, anyone with access to the Canvas document can work with field labels, even without studio access themselves.
The content structure is saved to the Canvas document itself, so field labels are available regardless of who opens it. Writers, editors, and reviewers can all work with structured content without needing access to the publishing environment.
Working with field labels
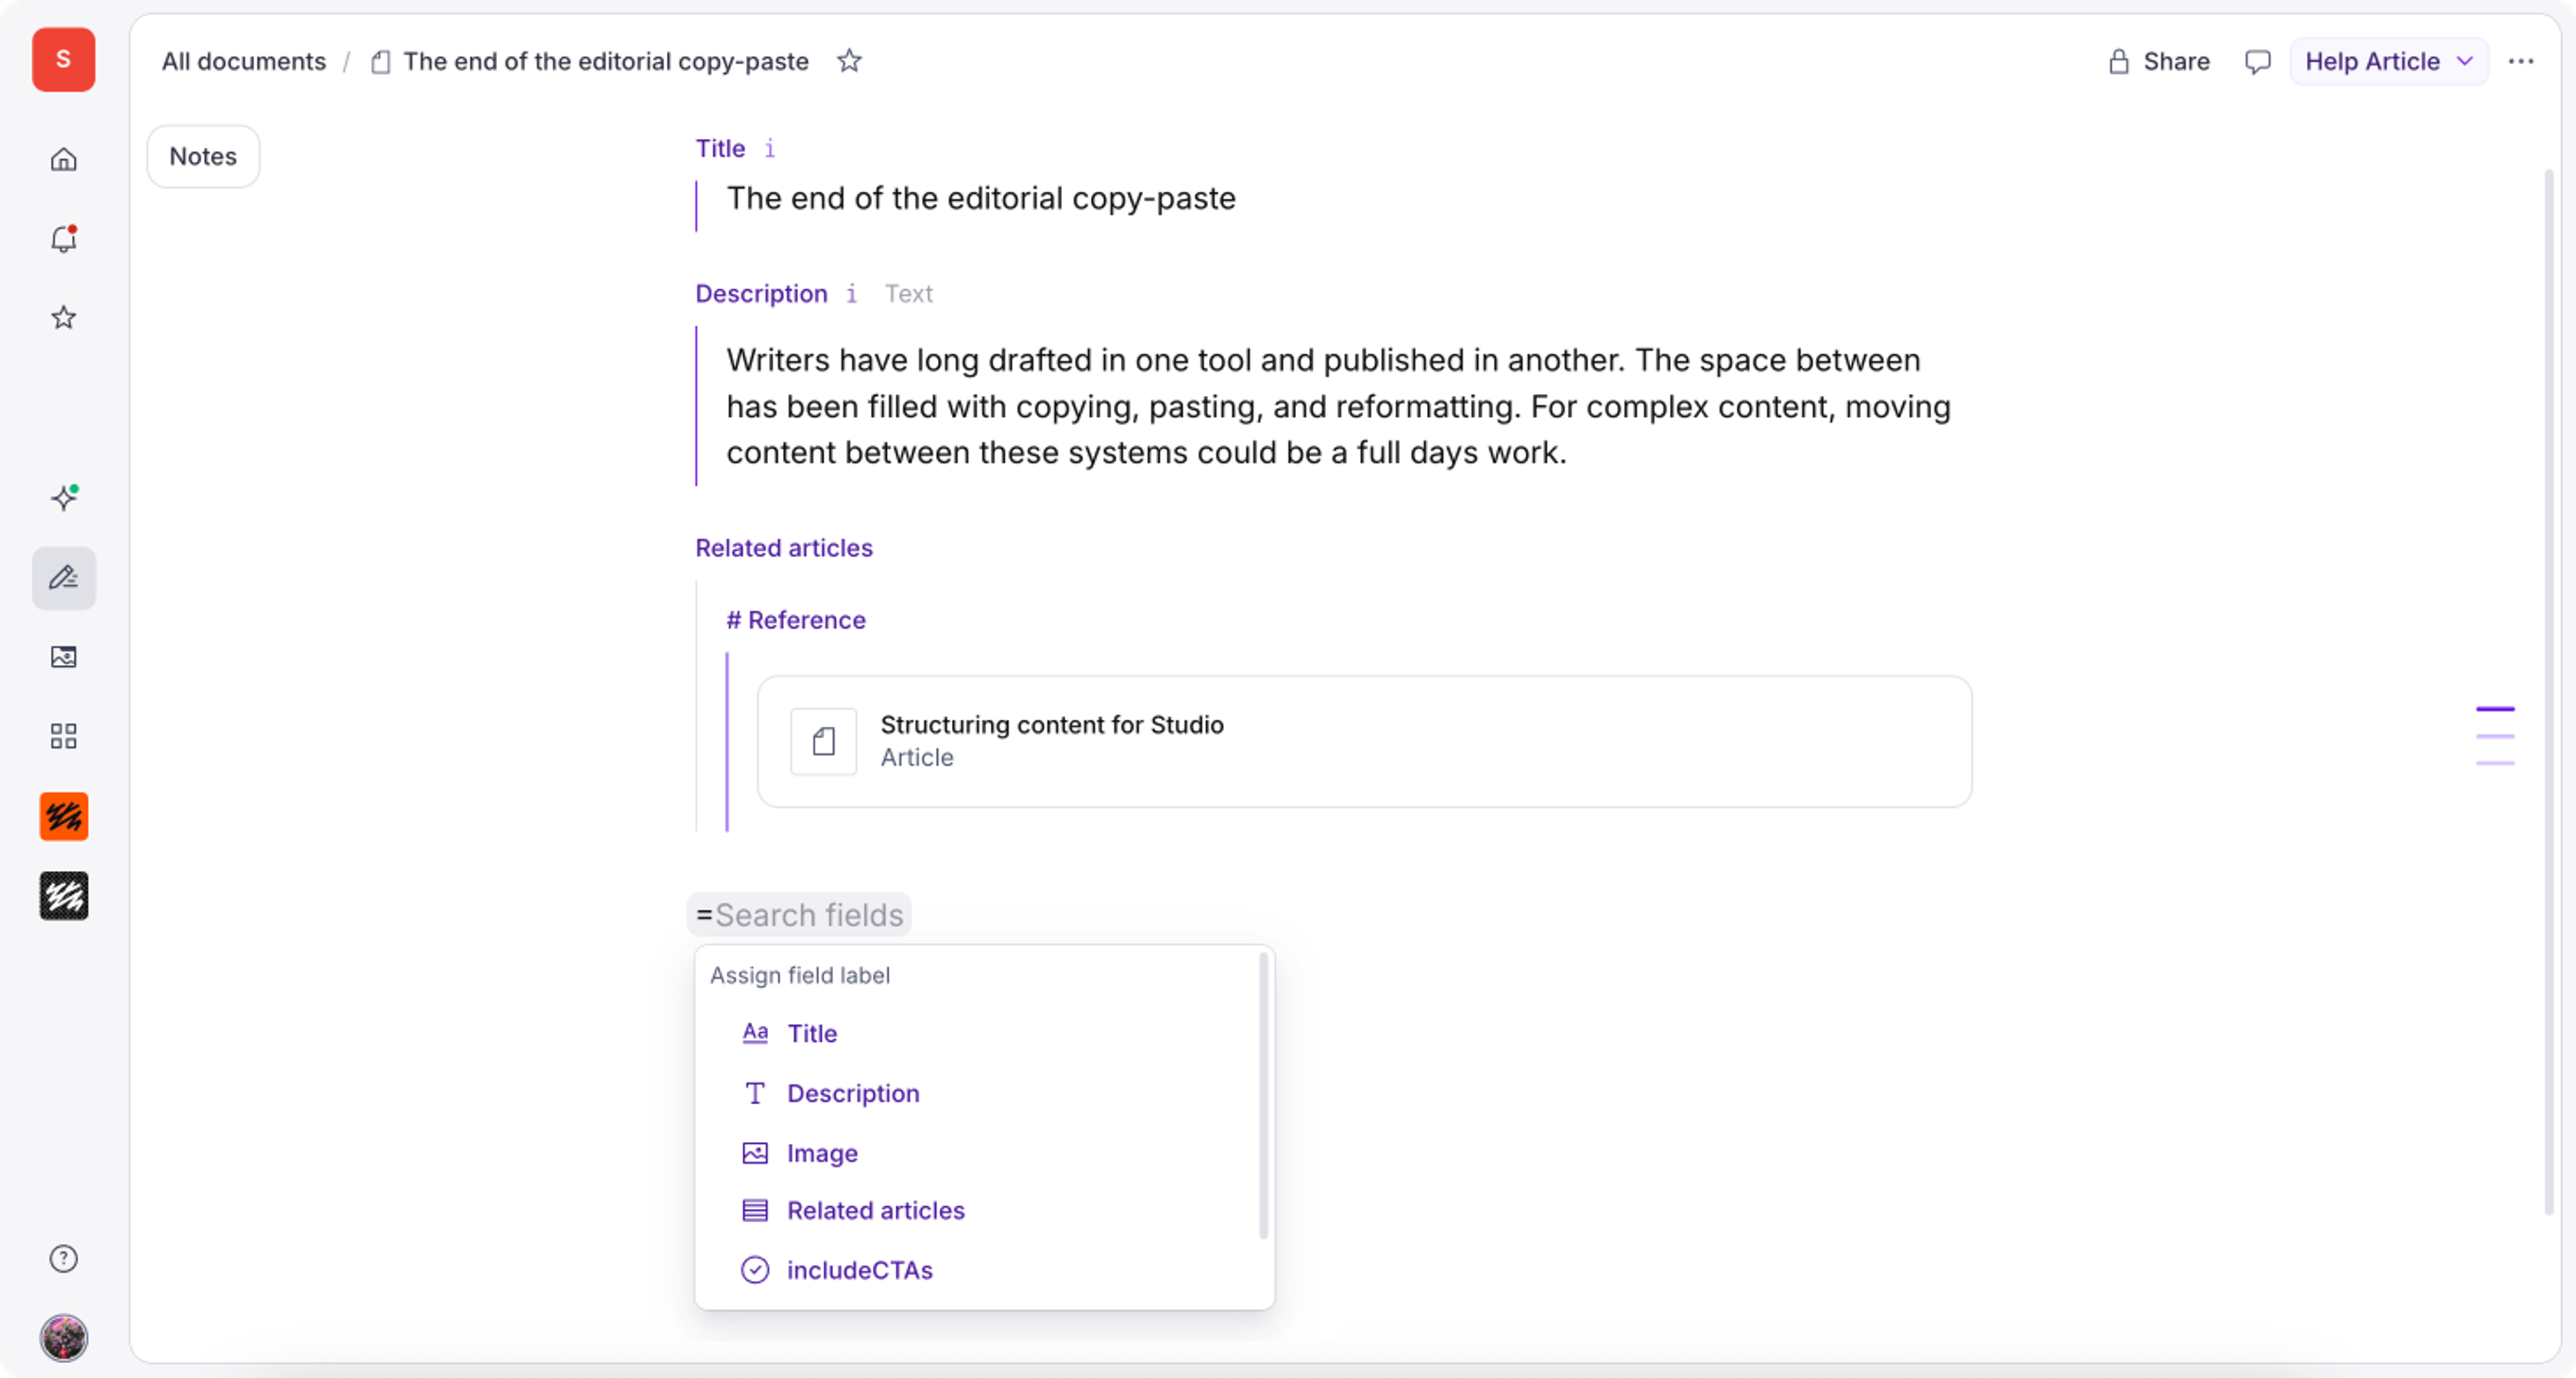
Field labels map sections of your Canvas document to specific fields in your content type: title, body, excerpt, or any field your schema defines. They appear inline as purple headings, making the structure of your content visible as you work.
Labeling and field order
Field labels follow your schema's field order, the same order and nested structure in which fields appear in a Studio document. When labels are applied, content may reorder to match the structure of your content type. The exceptions are fields where order is yours to control, like objects within an array.
Schema information in labels
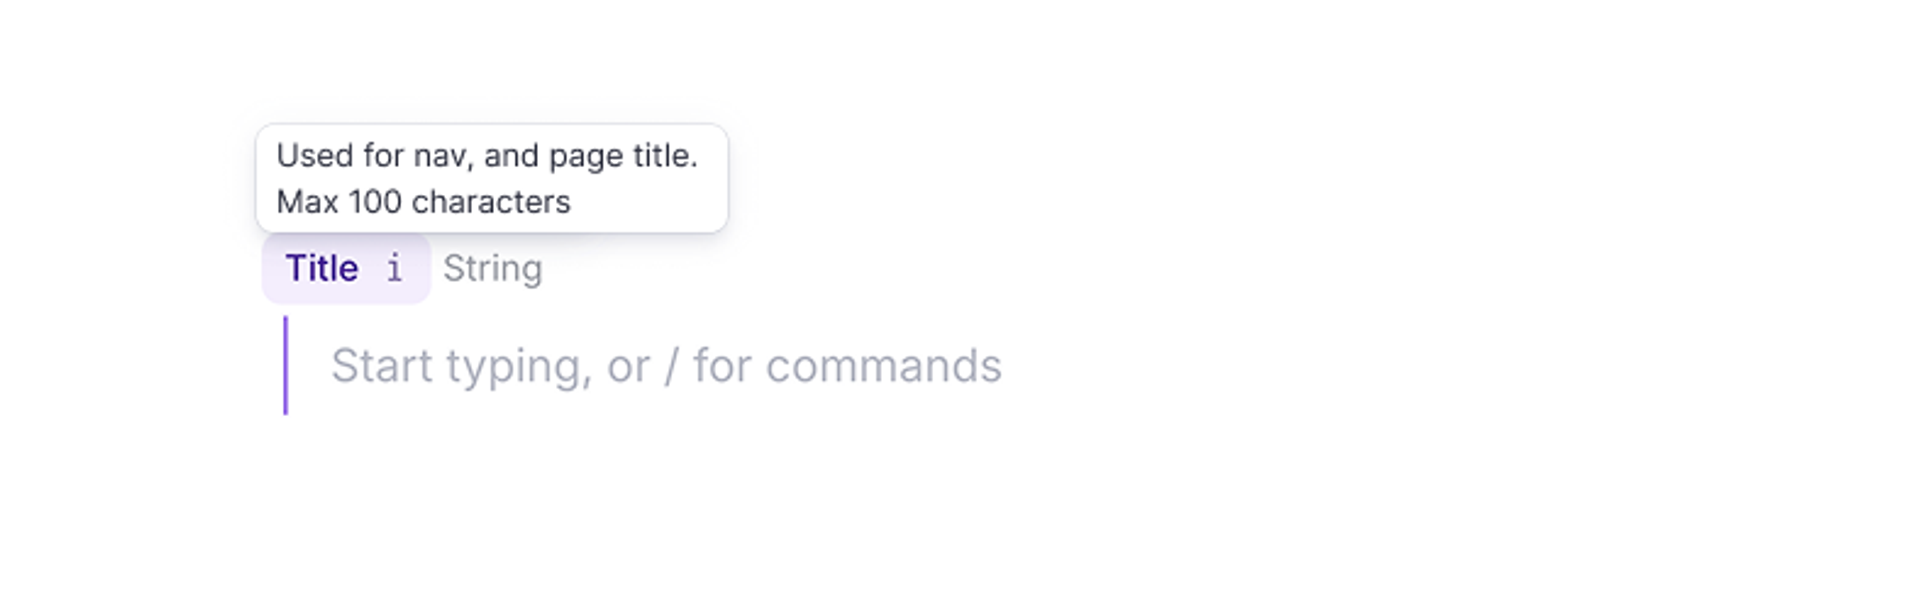
Guidance your team would typically maintain separately, including field descriptions, character limits, and input requirements, is pulled directly from your schema. This surfaces the guidance writers need directly where they need it. Canvas does not enforce any custom validation rules that may be implemented in Studio.
Applying field labels
Automated field labeling
Field labeling can be applied automatically to your whole document or a selected range. AI reads your content against the selected content type, sorts it according to schema, and applies field labels, ready for you to review, adjust, and confirm.
This is especially useful when you're bringing existing content into Canvas from tools like Google Docs or Notion and want to structure it for Studio quickly.
To apply automatic labeling:
- Add content to your Canvas document.
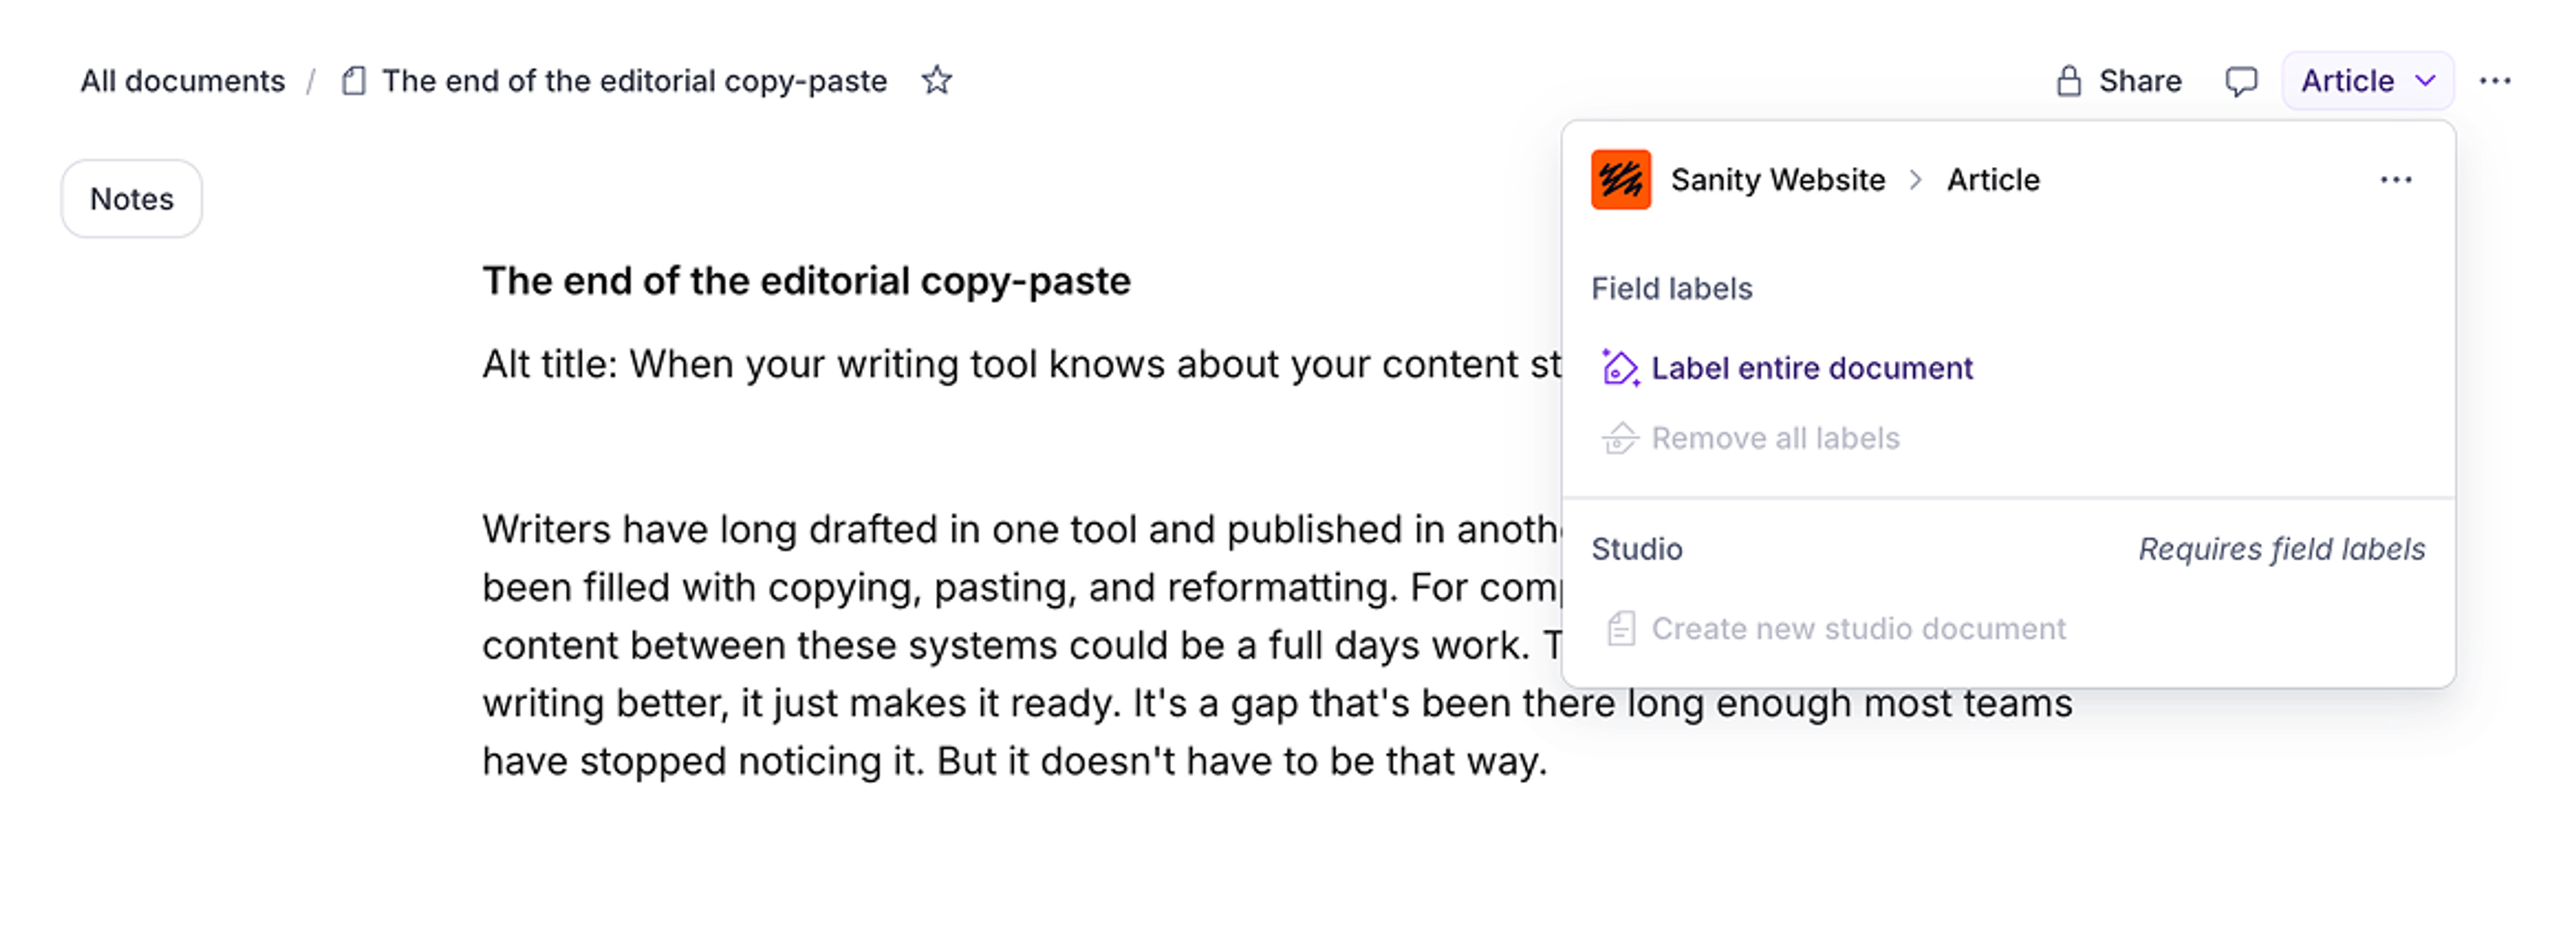
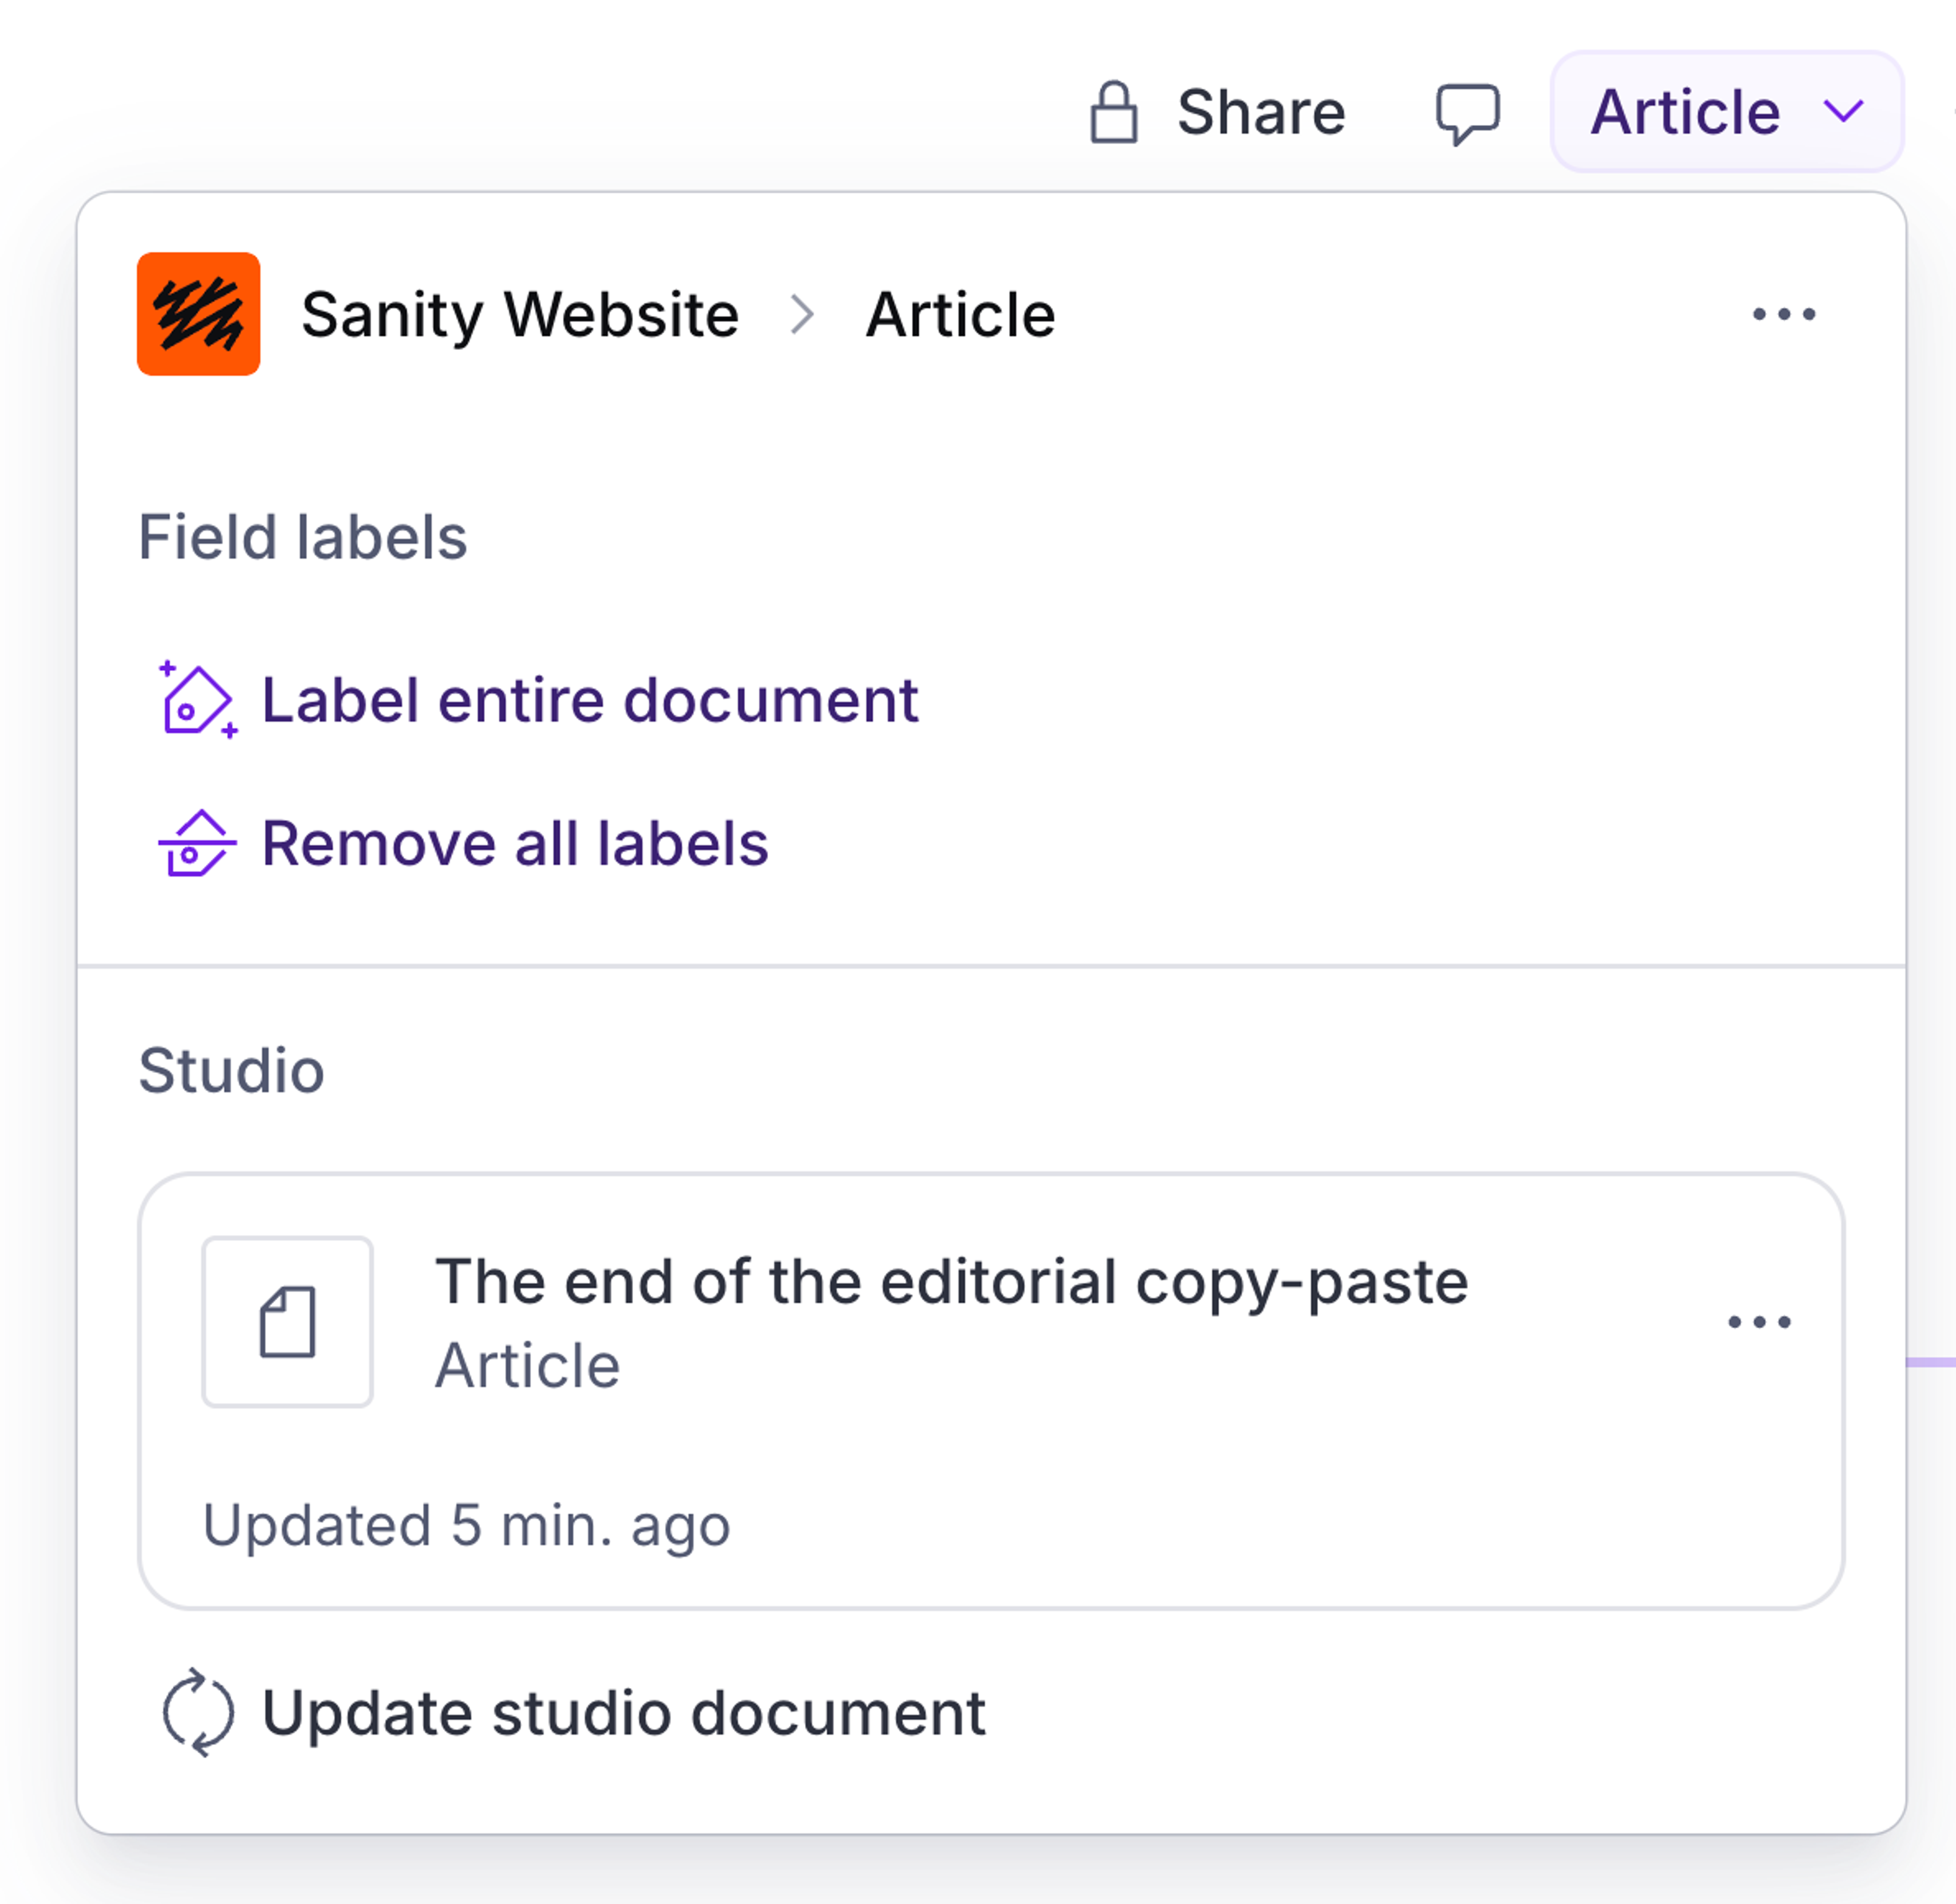
- Open the content type panel and select Label entire document.
- AI reads your content and applies field labels across the document.
- Review the results: adjust, swap, or remove any labels, or content marked for Studio inclusion that needs correction.
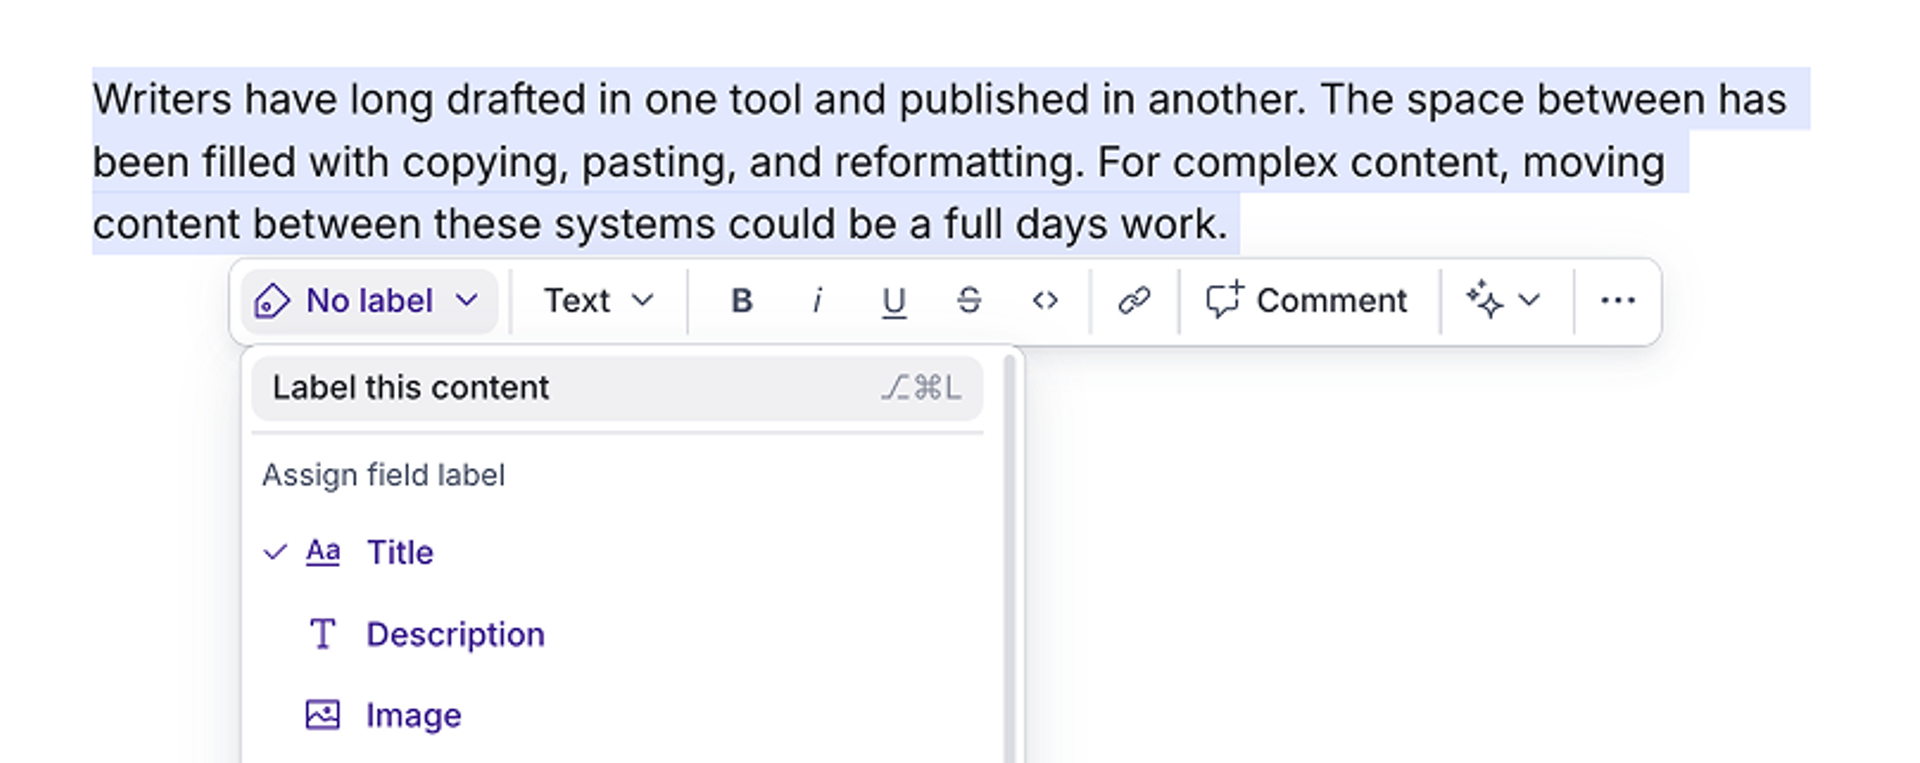
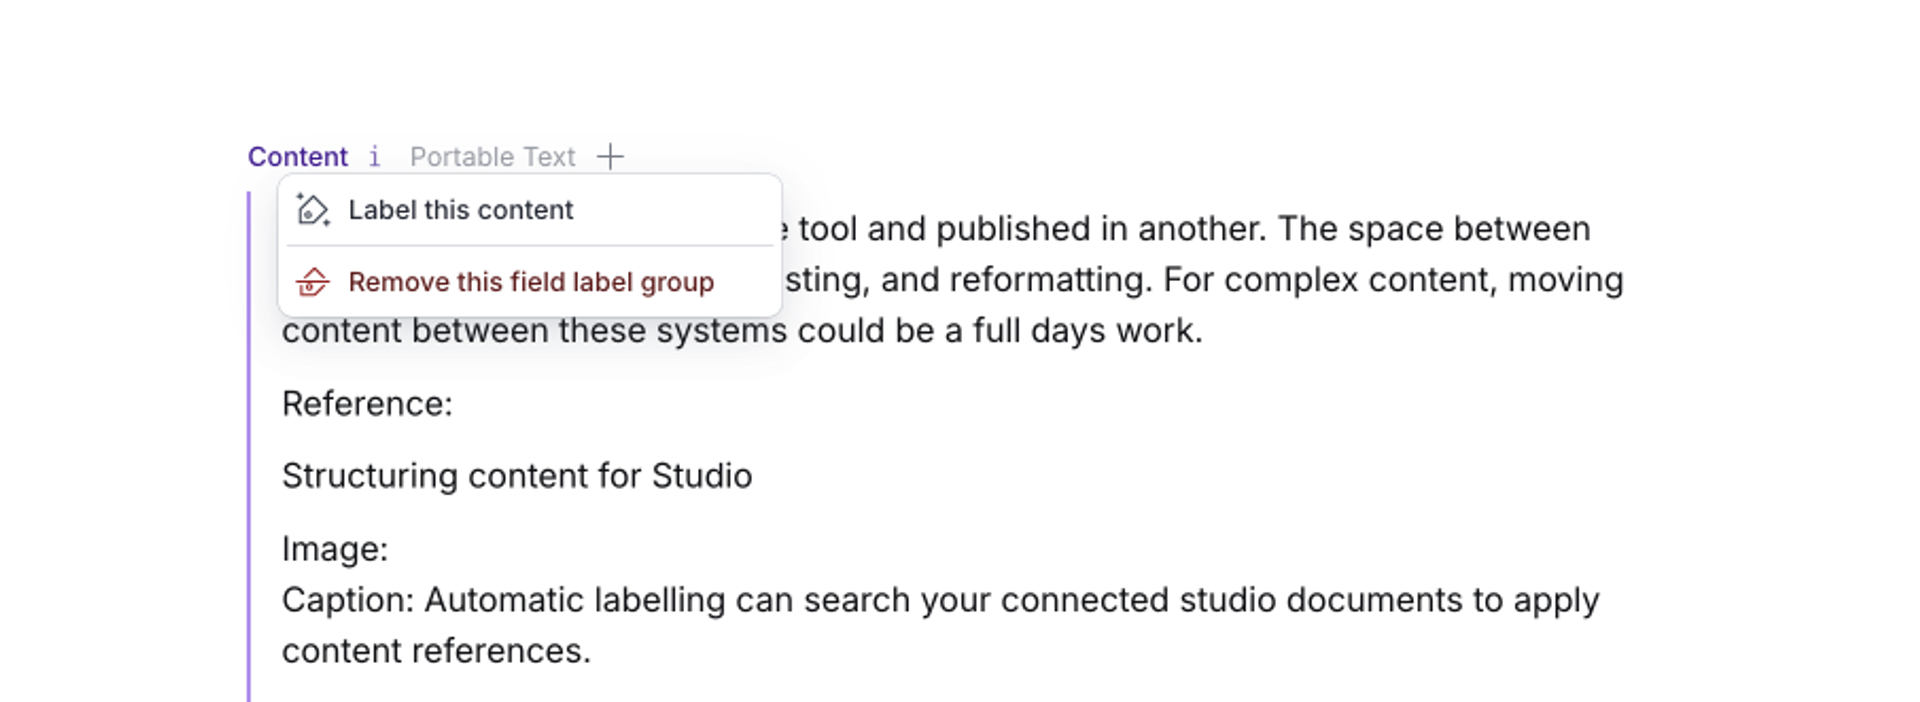
You can also run automated labelling on selected blocks by selecting Label this content from the toolbar.
Scoped automatic labelling within a field
For field types like Arrays or Portable Text Inputs, which often contain nested sub-fields or references, scoped labelling can also be applied by right clicking on a field label and selecting “Label this Content”.
While any automated labeling is in progress, you can't make changes to your Canvas document. At any point during labeling, you can cancel the operation from the labeling status bar at the bottom of the editor. This reverts any in-progress labeling actions.
Once labeling is complete, the labeling status bar offers you the chance to provide feedback on the AI labeling and to revert the document to its previous state if you're not happy with the results or were just testing out the feature.
Reverting labeling
Once you or another user makes changes to your Canvas document after automatic labeling, the labeling status bar disappears. If you wish to revert to a pre-labeling state, you can do so from document history.
Tips for better automated labeling results:
- Include field names in plain text before your content (for example, a heading like "Title" or "Excerpt" above the relevant content).
- Separate content for different fields into individual blocks.
- Simplify your document structure where possible. Clear content breaks make labeling faster and more accurate.
- When labeling is off for a section of your document, run labeling for only that section by selecting it and picking Label this content in the context toolbar.
When AI labeling is applied, it also sets inclusion states across the document as part of the labeling pass. Inclusion states mark whether each block is sent to Studio or kept as context. See Including and excluding content below.
After automated labeling, review each field label to confirm the AI mapped content correctly. You can swap labels using the = command, remove labels you don't need, or manually label content the AI missed.
Automatic reference creation
Where relevant, content references will also be suggested during auto-labeling. You can adjust suggested references by selecting the edit button of a suggested reference, or create new references manually by typing @ when a document content type has been selected. Fields that are limited to specific reference types will have their reference search scoped to valid reference types.
Manual labeling
Manual labeling gives you direct control over how content is mapped to fields. Use it when you're labeling as you write, when you want to set up a Canvas template with pre-configured labels, or when you need to adjust the results of AI labeling.
To apply a manual label:
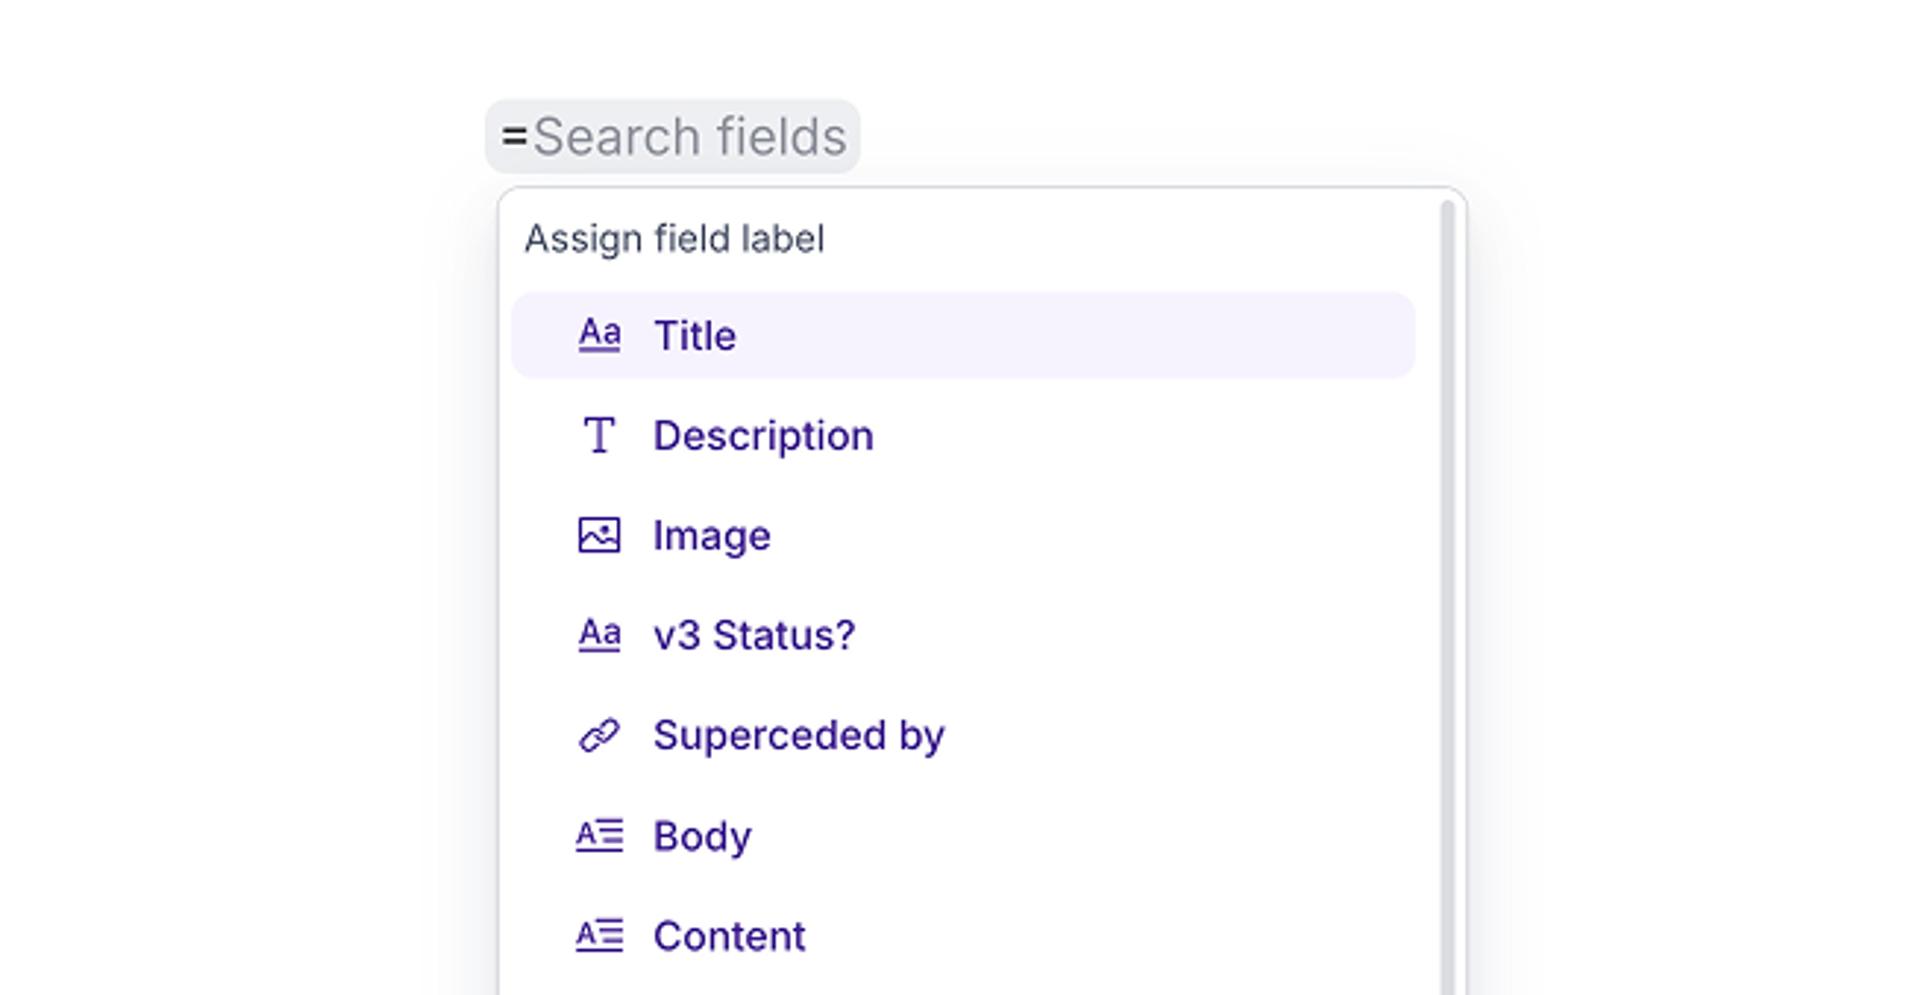
- Place your cursor where you want to add a label and type
=l(equals, then the letter L), or select the content you want to label. - The field label menu shows all available fields for your content type. Select the field you want to add or assign.
Nested fields and content components
If your cursor is inside a nested field type, the palette also shows available nested fields. This also applies to:
- Rich text fields, which show which block types are available.
- Content types built around page-building or article-building patterns, using arrays with object types, which display their full range of content components. Writers can discover and use the right building blocks without opening a Studio.
Tips for better labeling results
Even in freeform writing, using headings or clear content breaks that correspond to your schema fields makes both manual and AI labeling faster and more accurate. If results are still off after automated labeling, switch to manual labeling with the =l command or by selecting text for direct control.
Including and excluding content
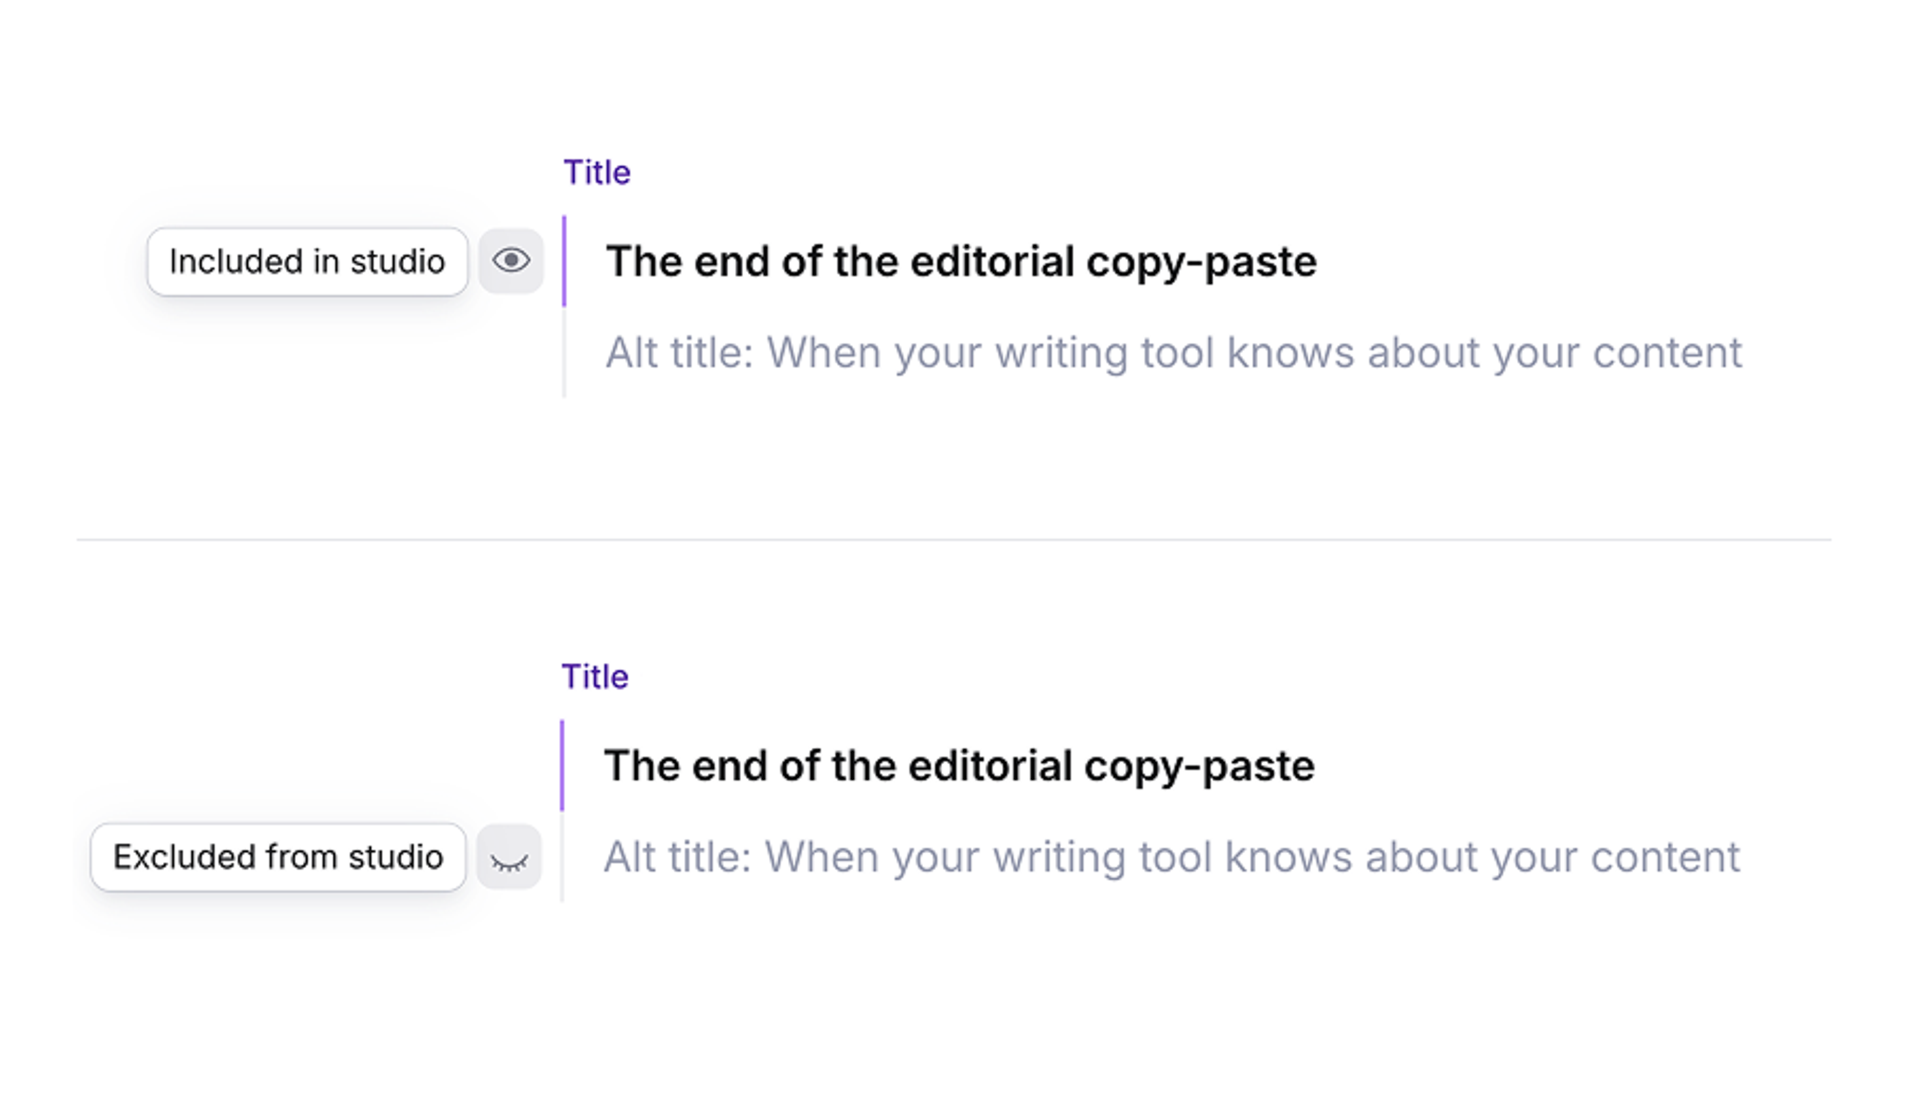
Within any field label, you can toggle individual blocks of content between "included in Studio" and "excluded from Studio" using the eye icon. Only included content flows to Studio when you create or update a Studio document.
- Excluded blocks are useful for keeping additional context inline: editorial notes, content briefs, decision rationale, reviewer comments, source links, or "notes to self" that support the content without cluttering the Studio document.
- You can also write multiple content alternatives within a field label and toggle which one to include. This lets you draft variations and easily switch between them before sending them to Studio.
Sending to Studio
When your content is labeled and ready, sending it to Studio is a single action. Content flows into the corresponding Studio fields exactly as structured. What you've marked to include is what arrives.
Your team's existing editing and publishing workflows in Studio remain unchanged. Canvas handles the authoring and structuring; Studio handles publishing.
Creating a Studio document
Open your content type panel and select Create new Studio document to send your labeled content to Studio as a new draft document.
If your team is working within a Content Release, you can create the document directly into an existing release. Content Releases let you coordinate grouped publishing actions, so any documents created from Canvas can ship alongside the rest of the release. See Content Releases for more.
Protip
Creating documents directly into a Content Release from Canvas requires Sanity Studio v4.18.0 or later. The base Canvas integration still works on v3.88.1 and above.
Once created, the Studio document stays connected to your Canvas document, so you can easily update the Studio document or navigate to it from Canvas.
Updating a Studio document
With a connected Studio document, you can continue refining content in Canvas and push updates whenever you're ready. Updates are explicit. Nothing moves to Studio until you choose to send it.
Studio documents can always be freely edited while a Canvas document is connected.
Handling conflicts
If any fields have been edited in Studio since your last update, Canvas flags the conflicts before anything is overwritten, so you can review before proceeding.
Structuring existing content from another tool
If your team writes in Google Docs, Word, Notion, or another external tool, Canvas can bridge the gap between freeform content and structured Studio documents.
Paste and auto-label workflow
- Paste your content into a Canvas document.
- Set a content type to connect to your Studio schema.
- Run automated field labeling on the full document.
- Review the results: adjust, swap, or remove any labels, and check that content inclusion is set correctly.
- Send to Studio.