Meet the library
Get to know Media Library's user interface.
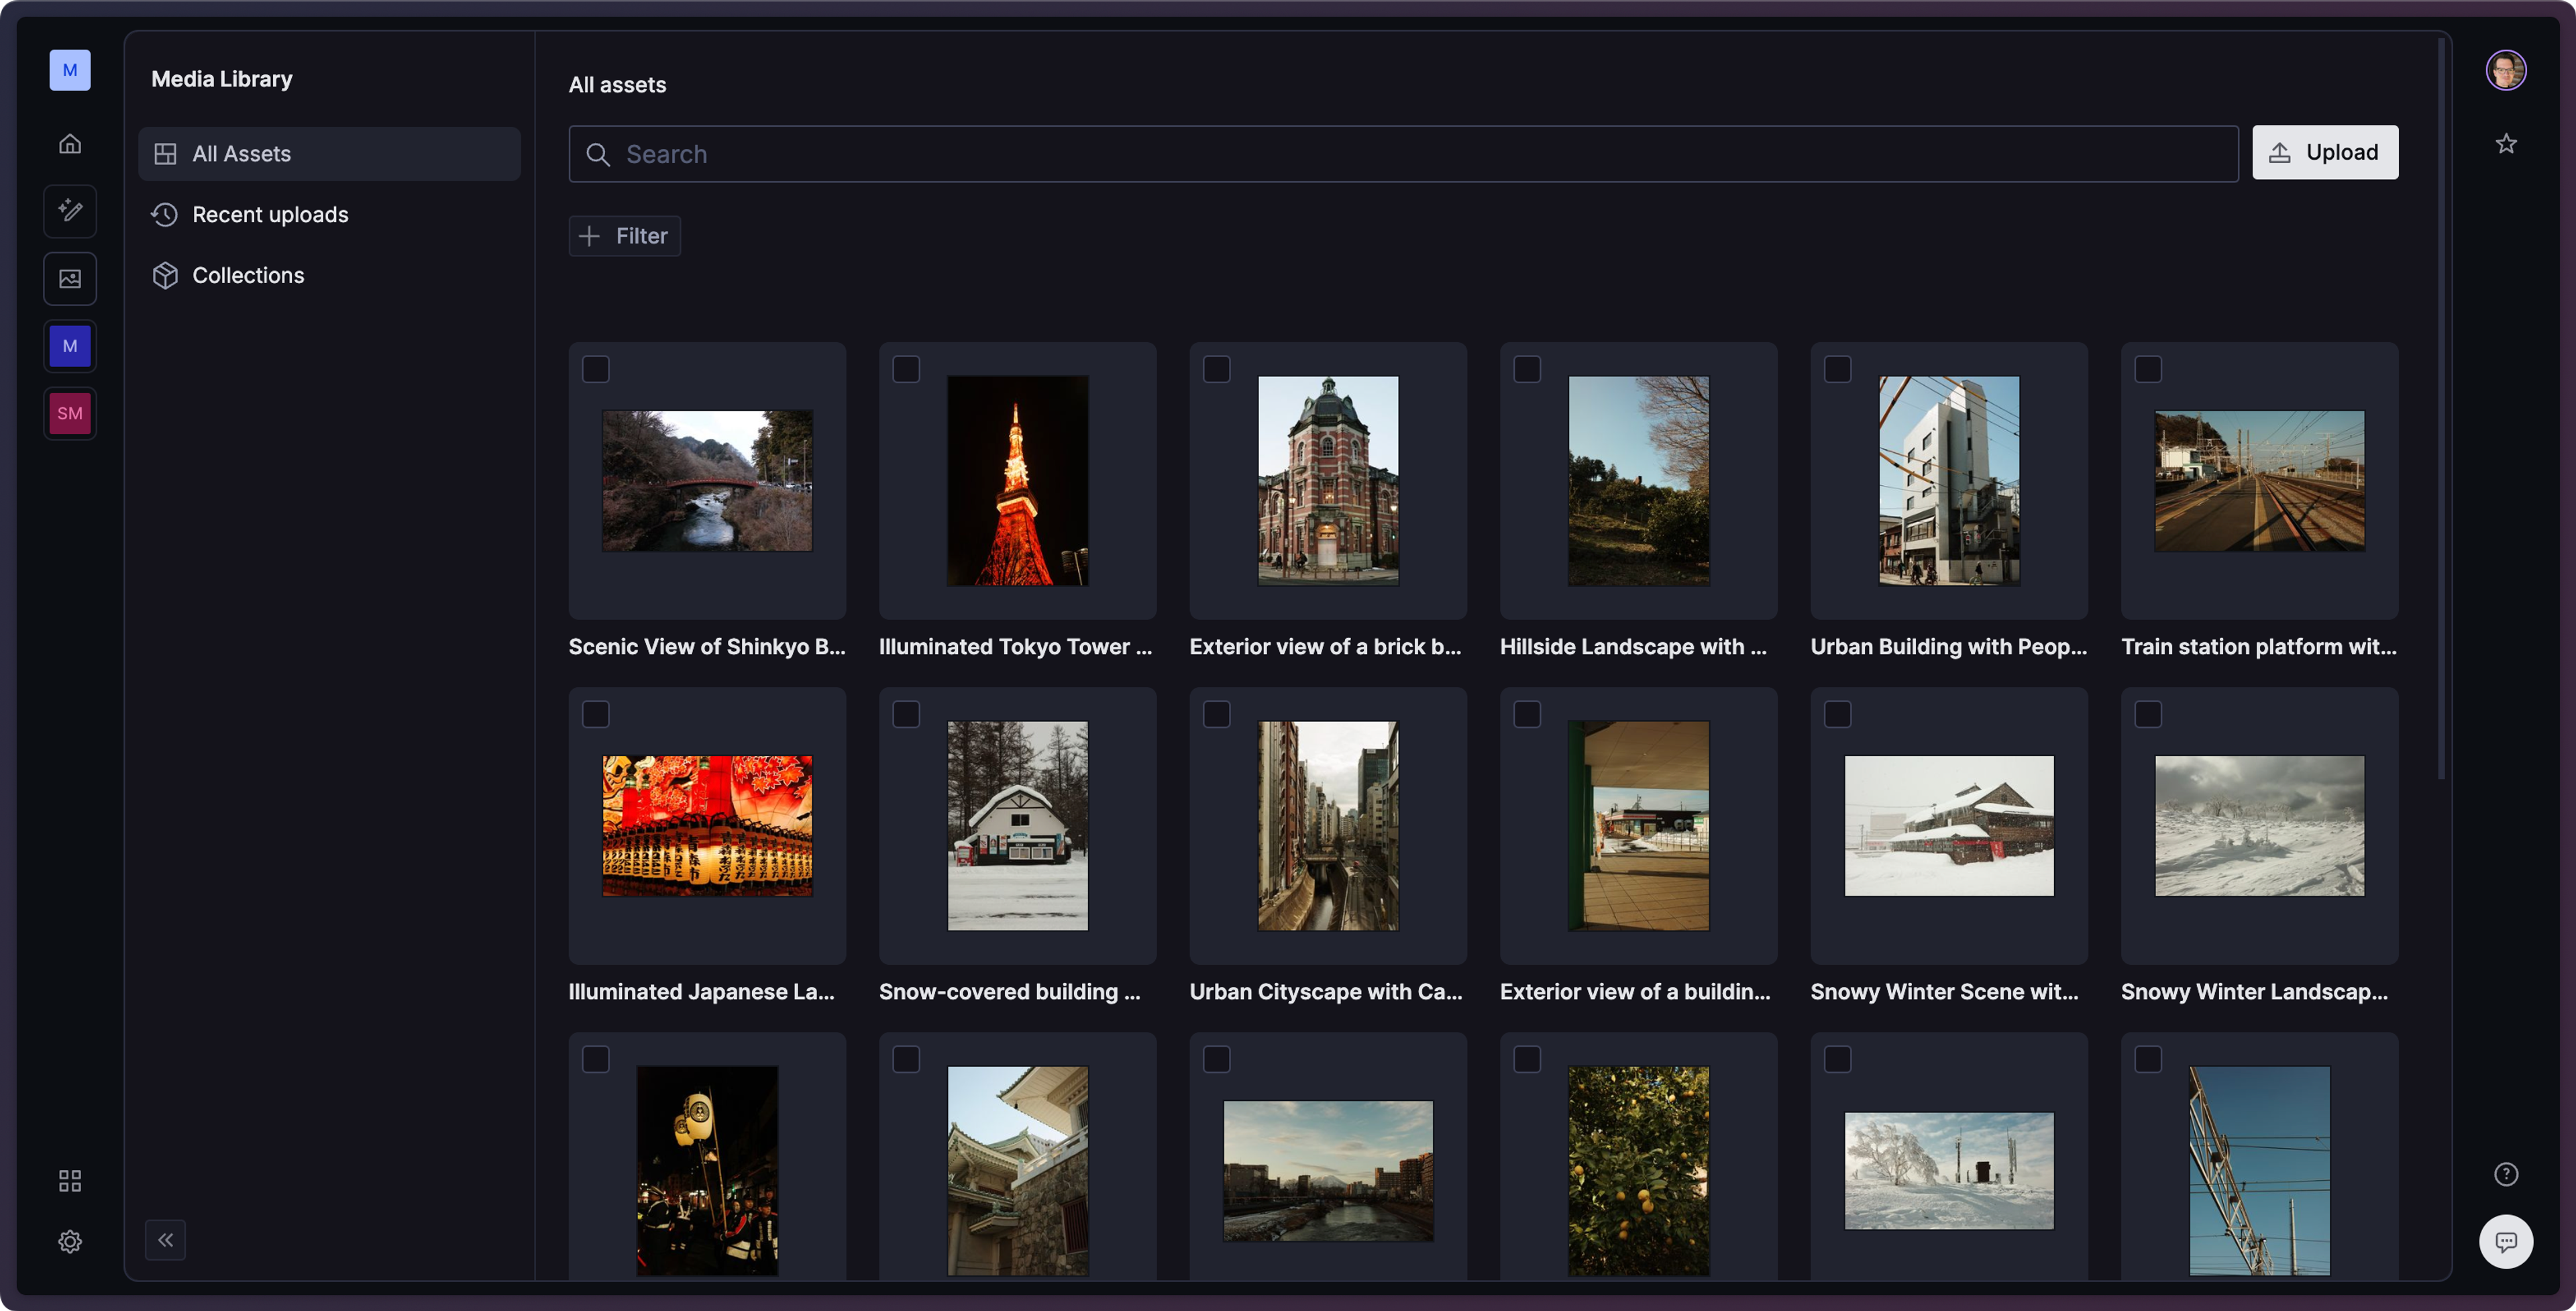
Media Library at a glance
This is a paid feature
This feature is available as an addon for certain Enterprise plans. Talk to sales to learn more.
Media Library is home to your organization's shared assets. It stores assets for use across your projects and datasets, and allows content teams to have a central source of truth for their media.
Media Library is an organization-wide application. You can access it from the dashboard by selecting the "Media" icon in the left navigation bar. Media Library requires the dashboard.
Where are my existing assets?
If you've been using Sanity already, you may have images and other files that you're using in your studios. These files are saved within your datasets, and they are not automatically copied into the media library.
Soon, we will add the capability to migrate existing assets into the media library and preserve connections to those assets within your studios.
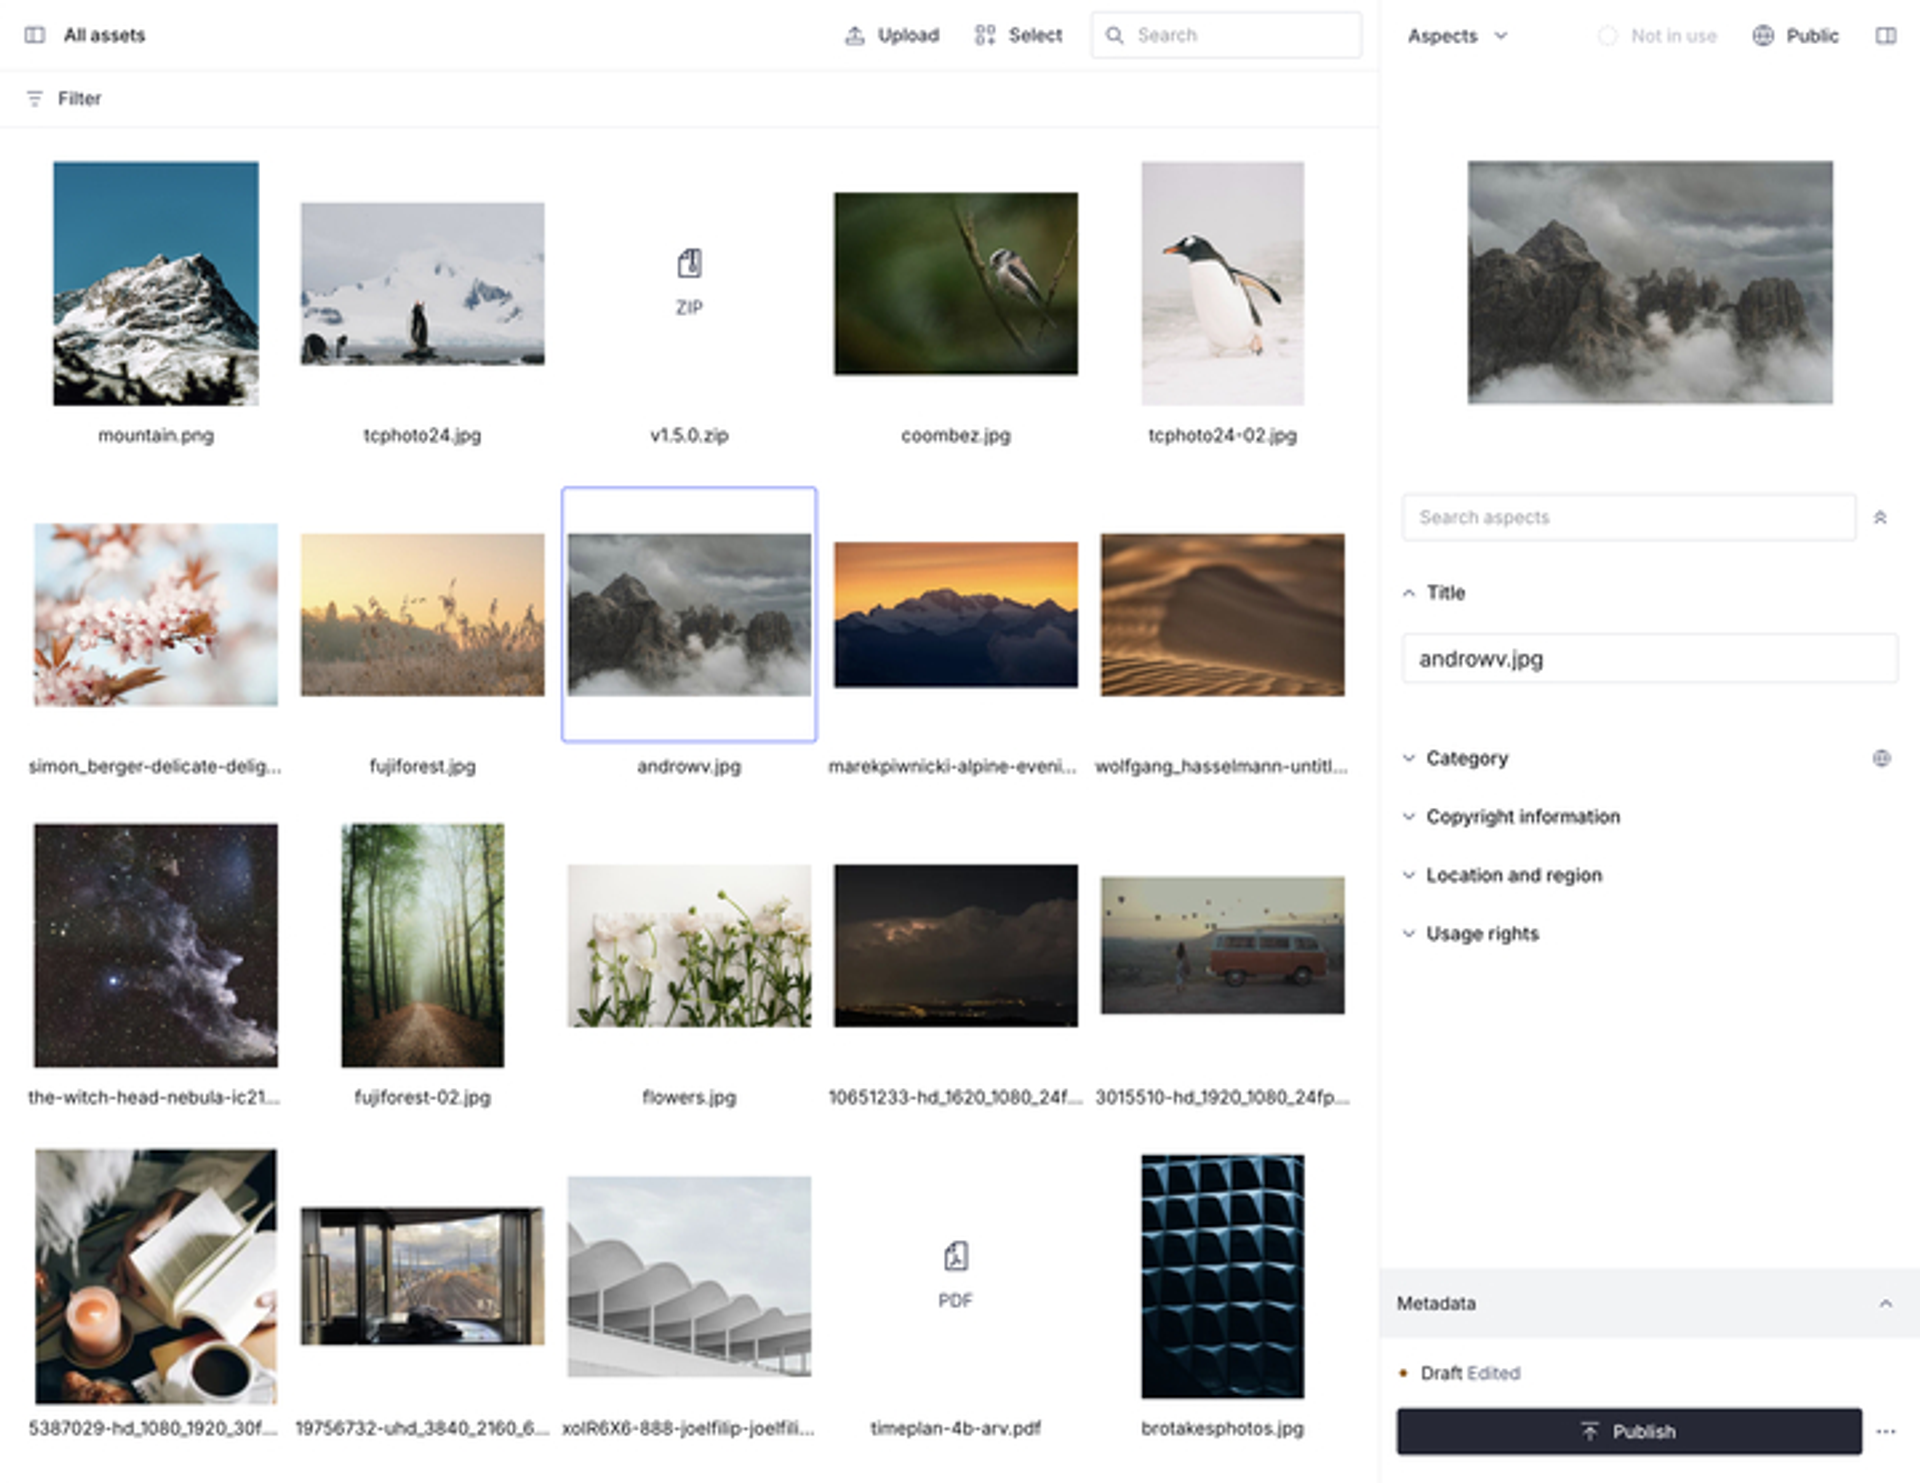
The library interface
The library adapts based on the assets you have selected.
The core of the interface is split into three sections:
- The asset list: View existing assets, filter the results, and upload new assets.
- The library menu: Narrow your view of the asset list, explore collections, navigate folders, and see recently uploaded assets.
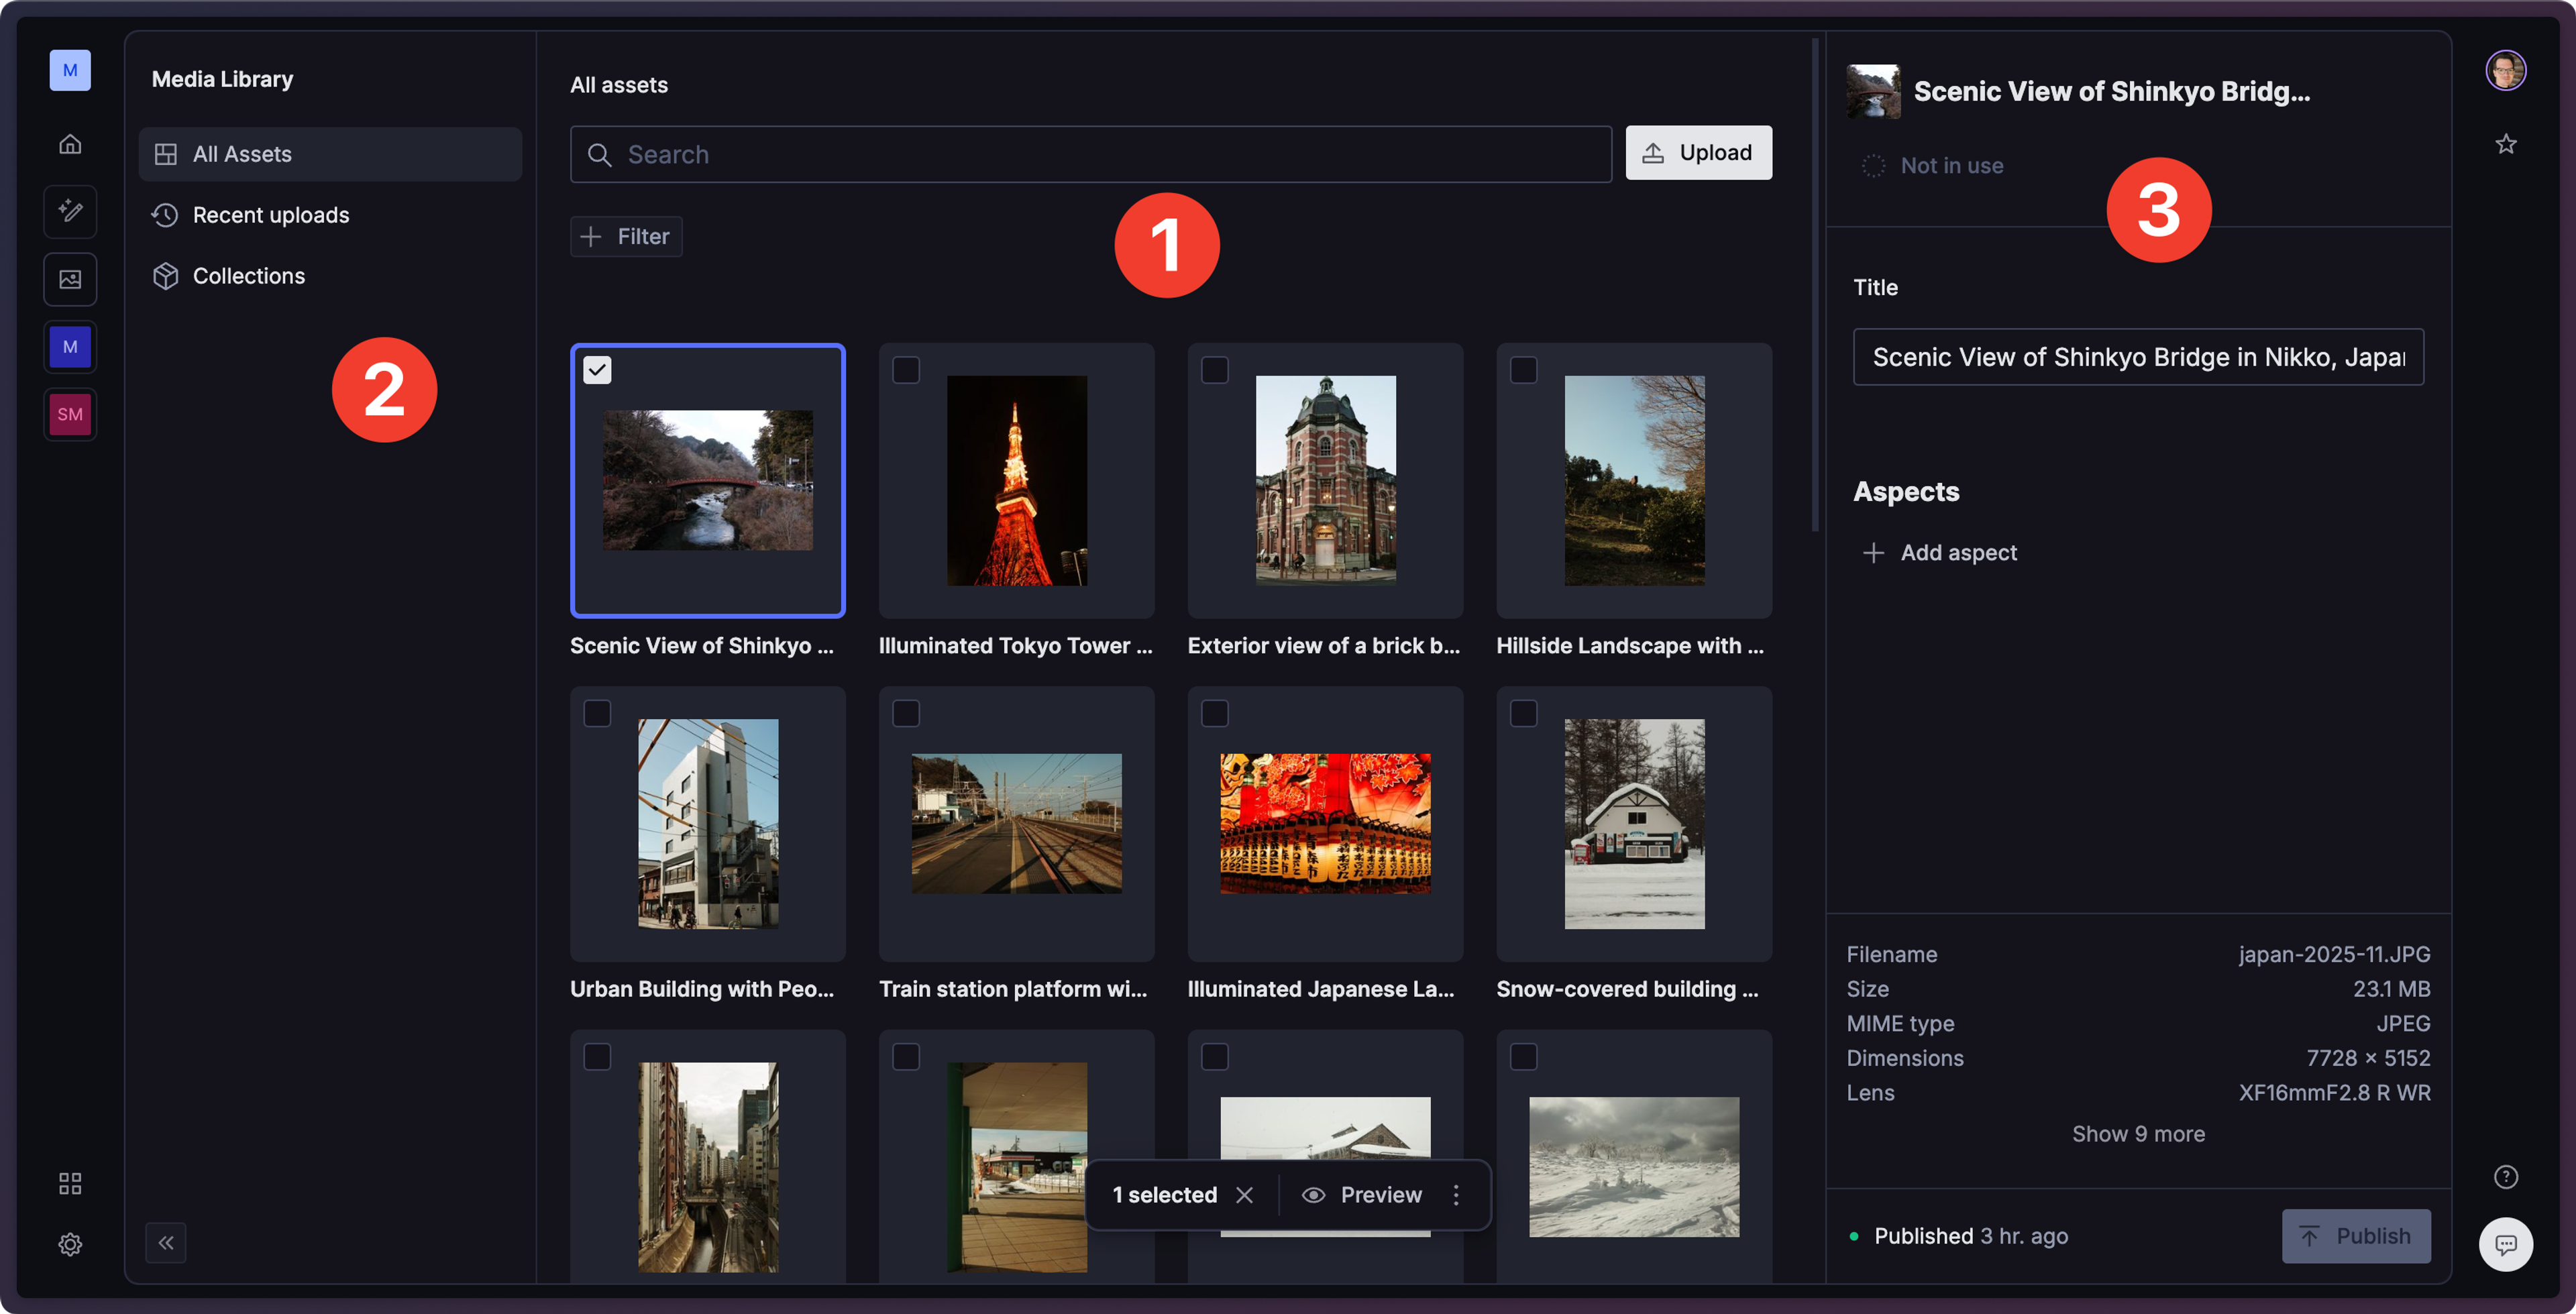
- The asset sidebar: Edit asset metadata, apply aspects, and view additional details about the asset.
Assets
Uploading assets
There are two ways to upload assets in the library interface:
- Select the Upload button in the top right of the asset list to upload an asset.
- Drag-and-drop one or more assets directly into the asset list to start an upload.
As your assets upload, you'll see a status screen showing the progress of each asset.
Select multiple assets
Click Select in the top-right of the asset list, then click each asset to add to your selection.
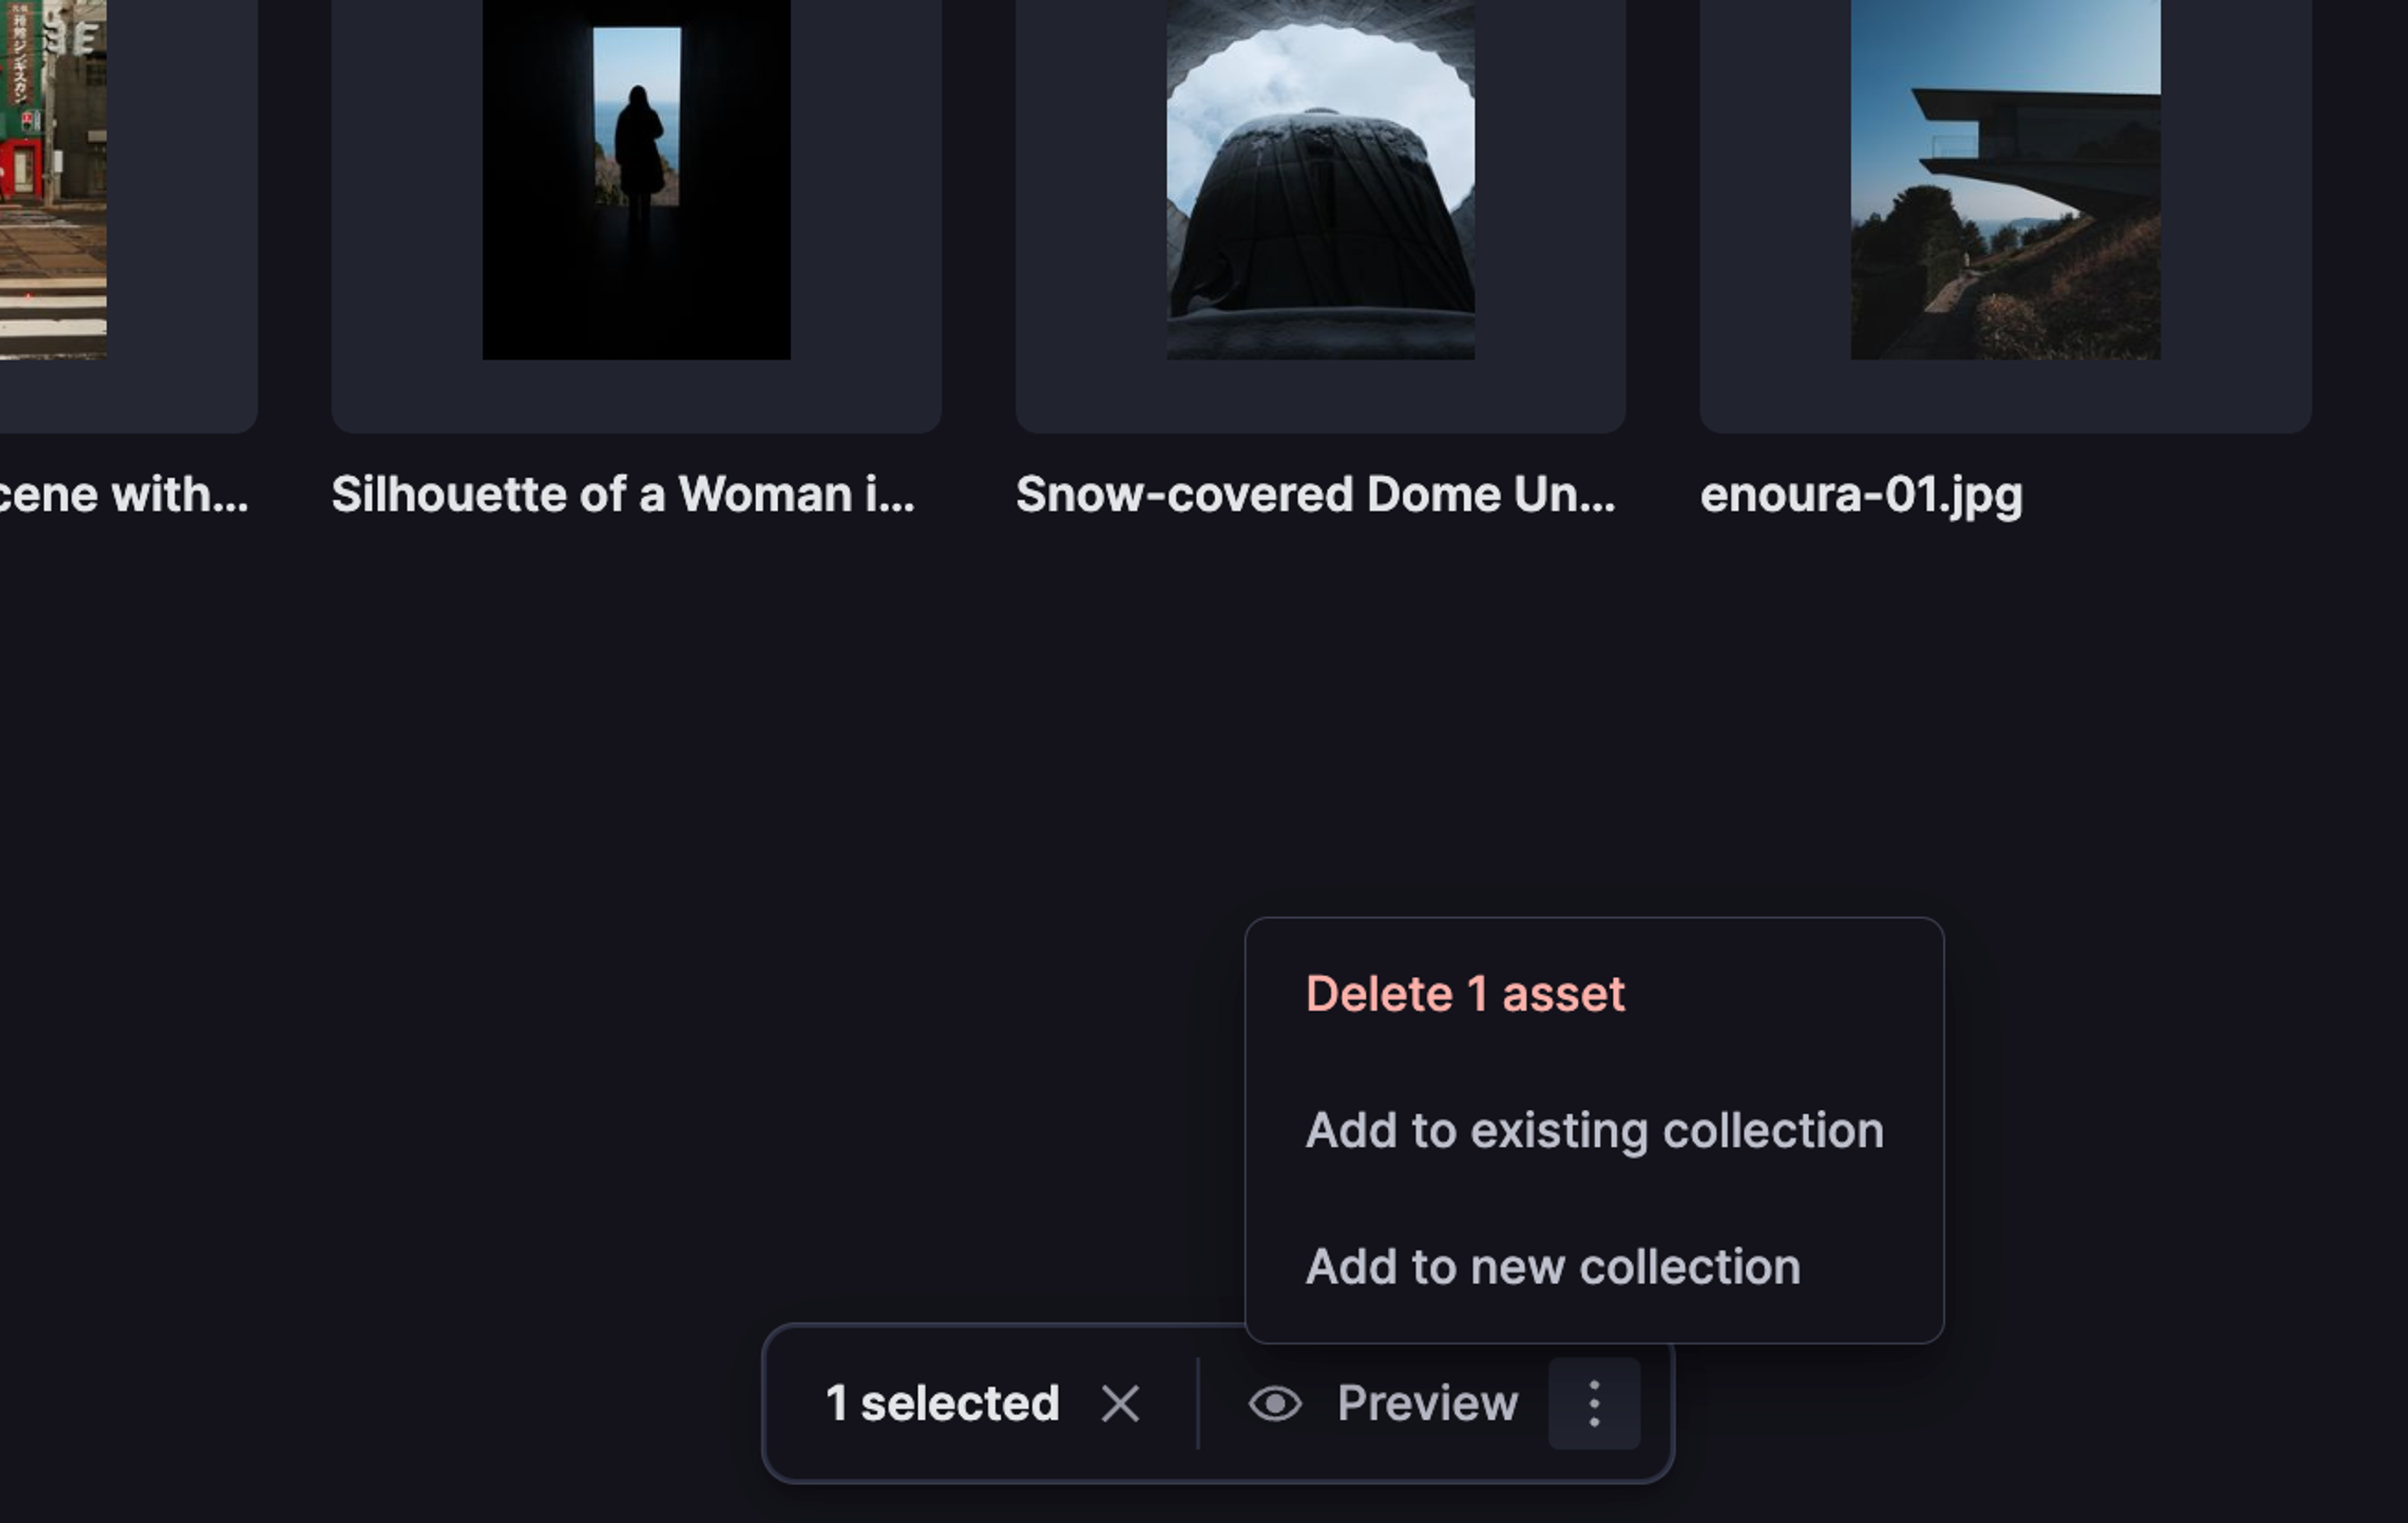
Delete assets
To delete one or more assets, first select them in the asset list.
Next, select the vertical "..." icon from the popover at the bottom of the asset list.
Select "Delete 1 asset" to delete the asset.
Deleting an asset also removes any shortcuts that point to it. If the asset is currently referenced by a document in one of your studios, deletion is blocked until those references are removed.
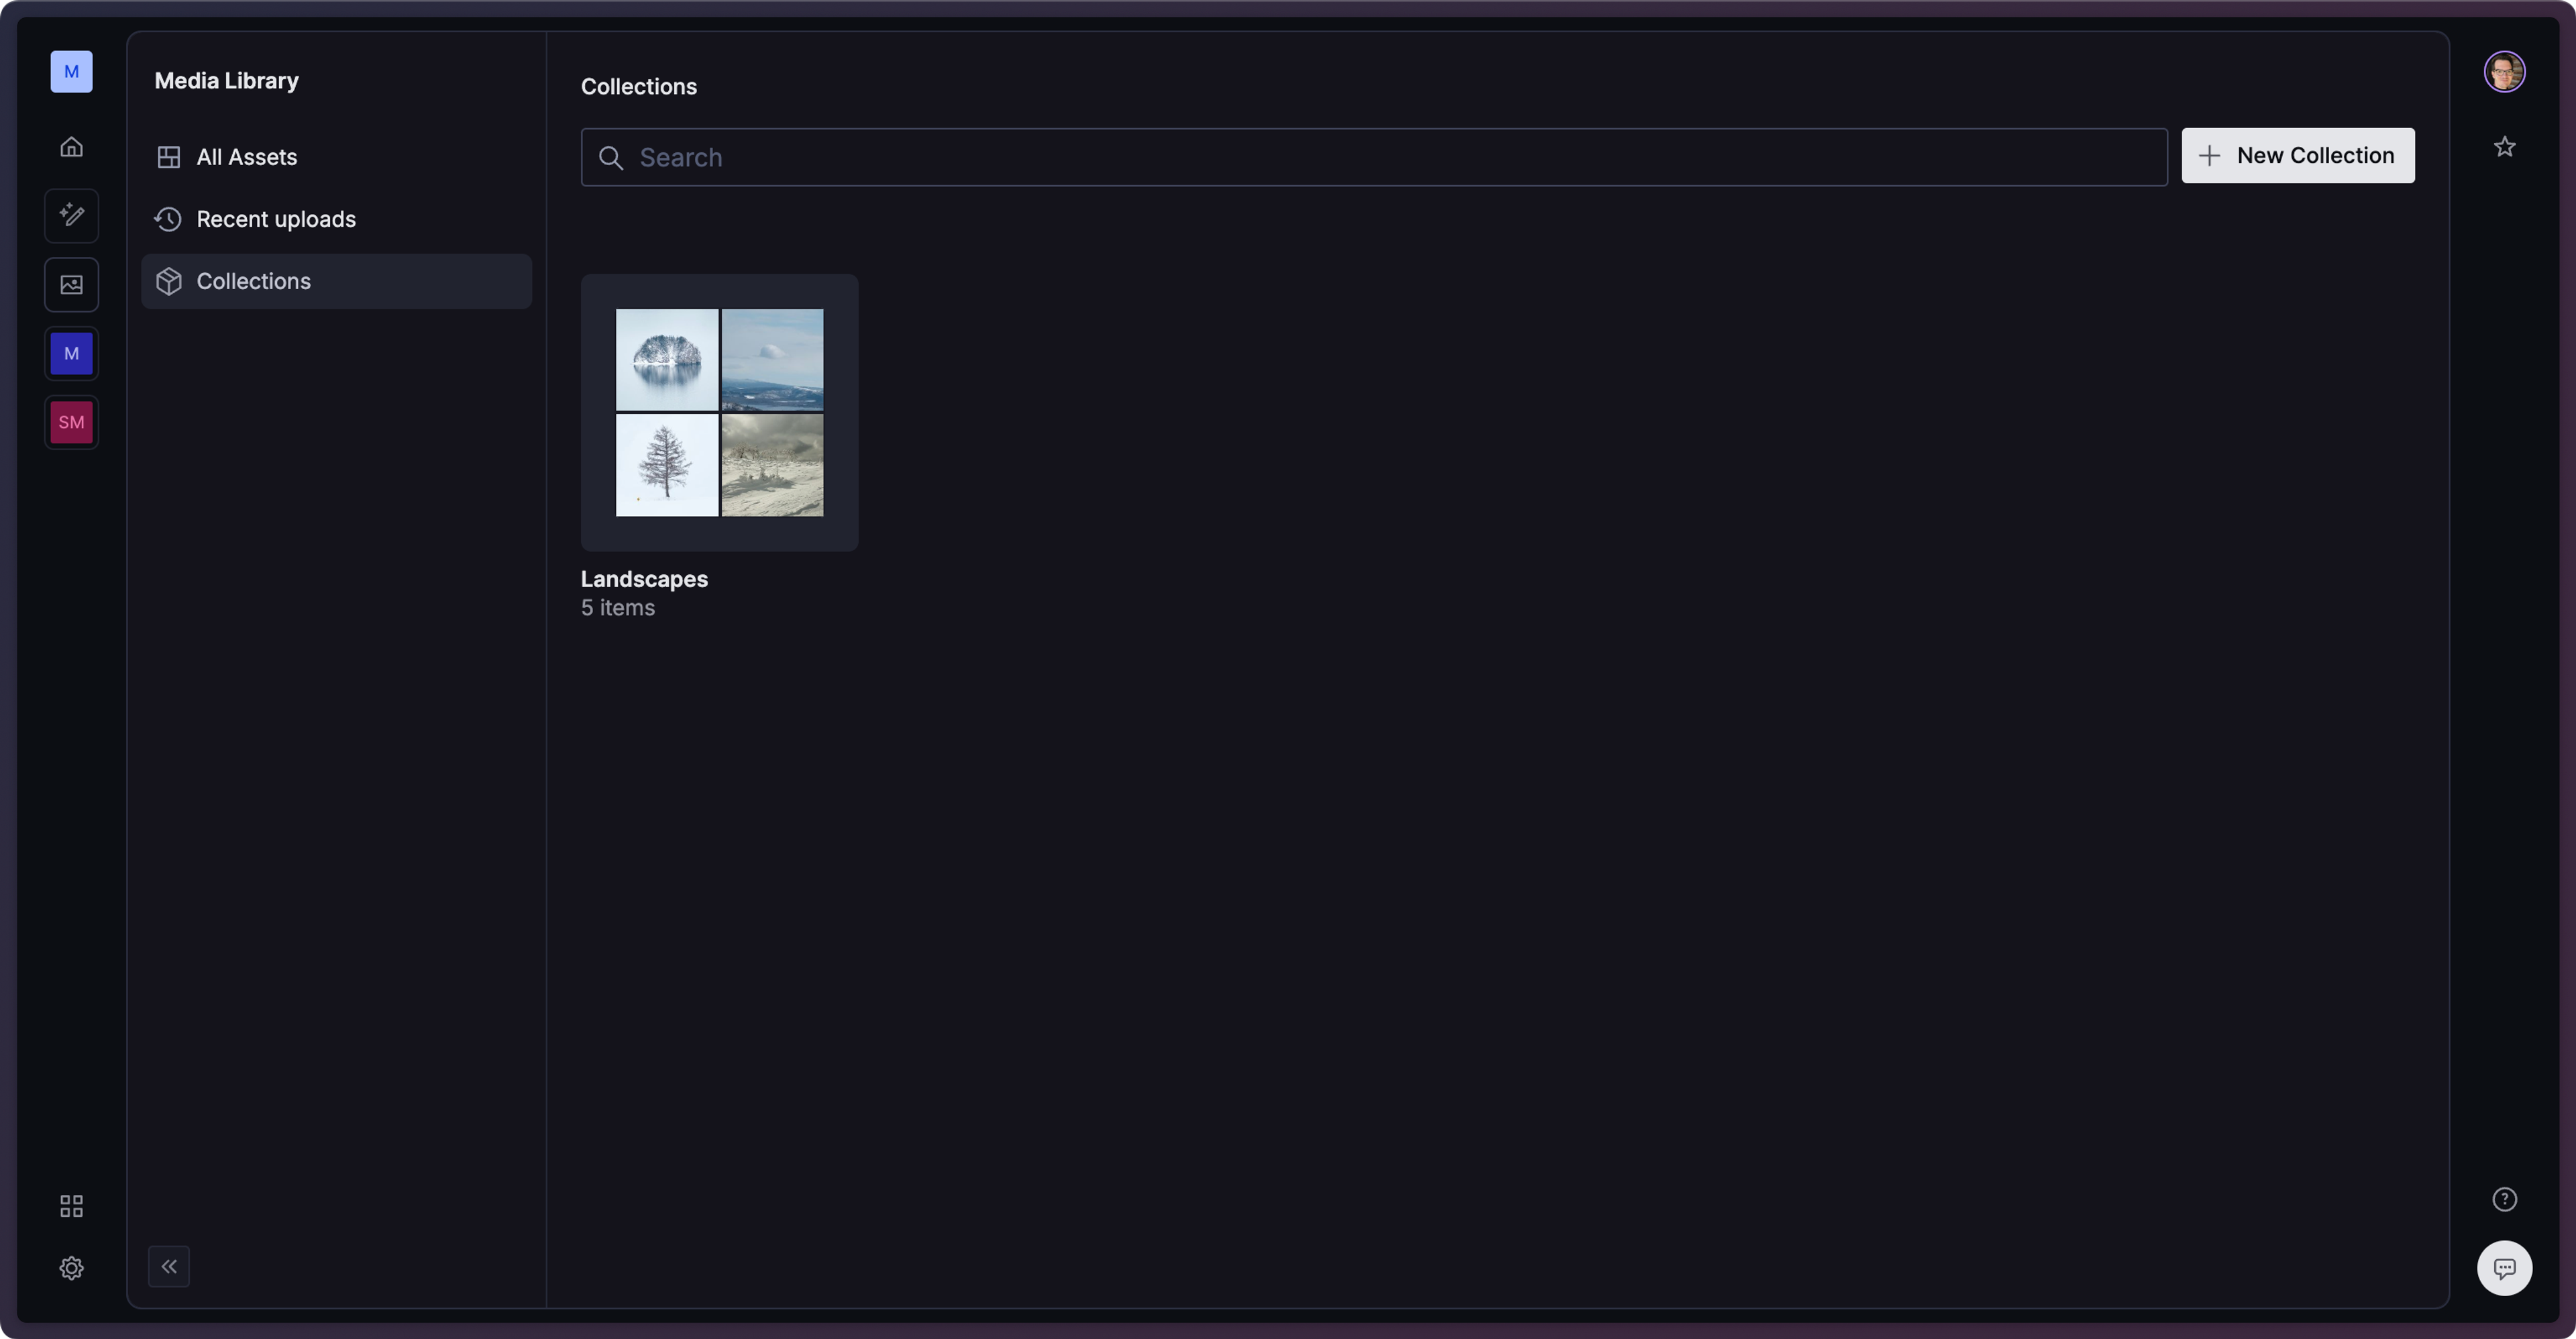
Folders
Folders organize your assets into a navigable hierarchy, similar to a file system. Use folders to reflect your team's structure, projects, or any taxonomy that matches how you work. Each asset can live in one folder, and shortcuts let a single asset appear in additional folders without duplicating it.
The folder tree
The folder tree lives in the library menu on the left of the asset list. Click a folder to view its contents, assets and any subfolders inside it. Breadcrumbs above the asset list show your current location and let you click back to any ancestor folder.
Create a folder
To create a folder, open the Add menu in the header and select New folder. The new folder appears in the tree at the location you're currently viewing. To create a subfolder, navigate into the parent folder first.
Move assets into a folder
To move an asset, select it in the asset list and use the Location action in the asset sidebar to pick a destination folder. To move multiple assets at once, select them, then use the same Location action in the bulk-edit sidebar.
You can also drag files from your operating system onto the Media Library window while viewing a folder. The upload starts immediately and the assets land in that folder.
Shortcuts
Sometimes the same asset belongs in more than one place. Create a shortcut from an asset's actions menu. The asset appears in your chosen destination folder with a small badge to mark it as a shortcut.
If you delete an asset or remove it from its folder, every shortcut that points to it is cleaned up automatically. Moving an asset between folders preserves its shortcuts.
Delete a folder
Open the folder, then use the Delete folder action. A confirmation dialog shows a summary of the folder's contents so you know what will be removed. Folder deletion is permanent and removes everything inside.
If any asset inside the folder is currently referenced by a document in one of your studios, the deletion is blocked until those references are removed. The dialog shows you which assets are blocking.
For the developer guide to folders, including programmatic operations, query patterns, and the API surface, see Organize assets with folders.
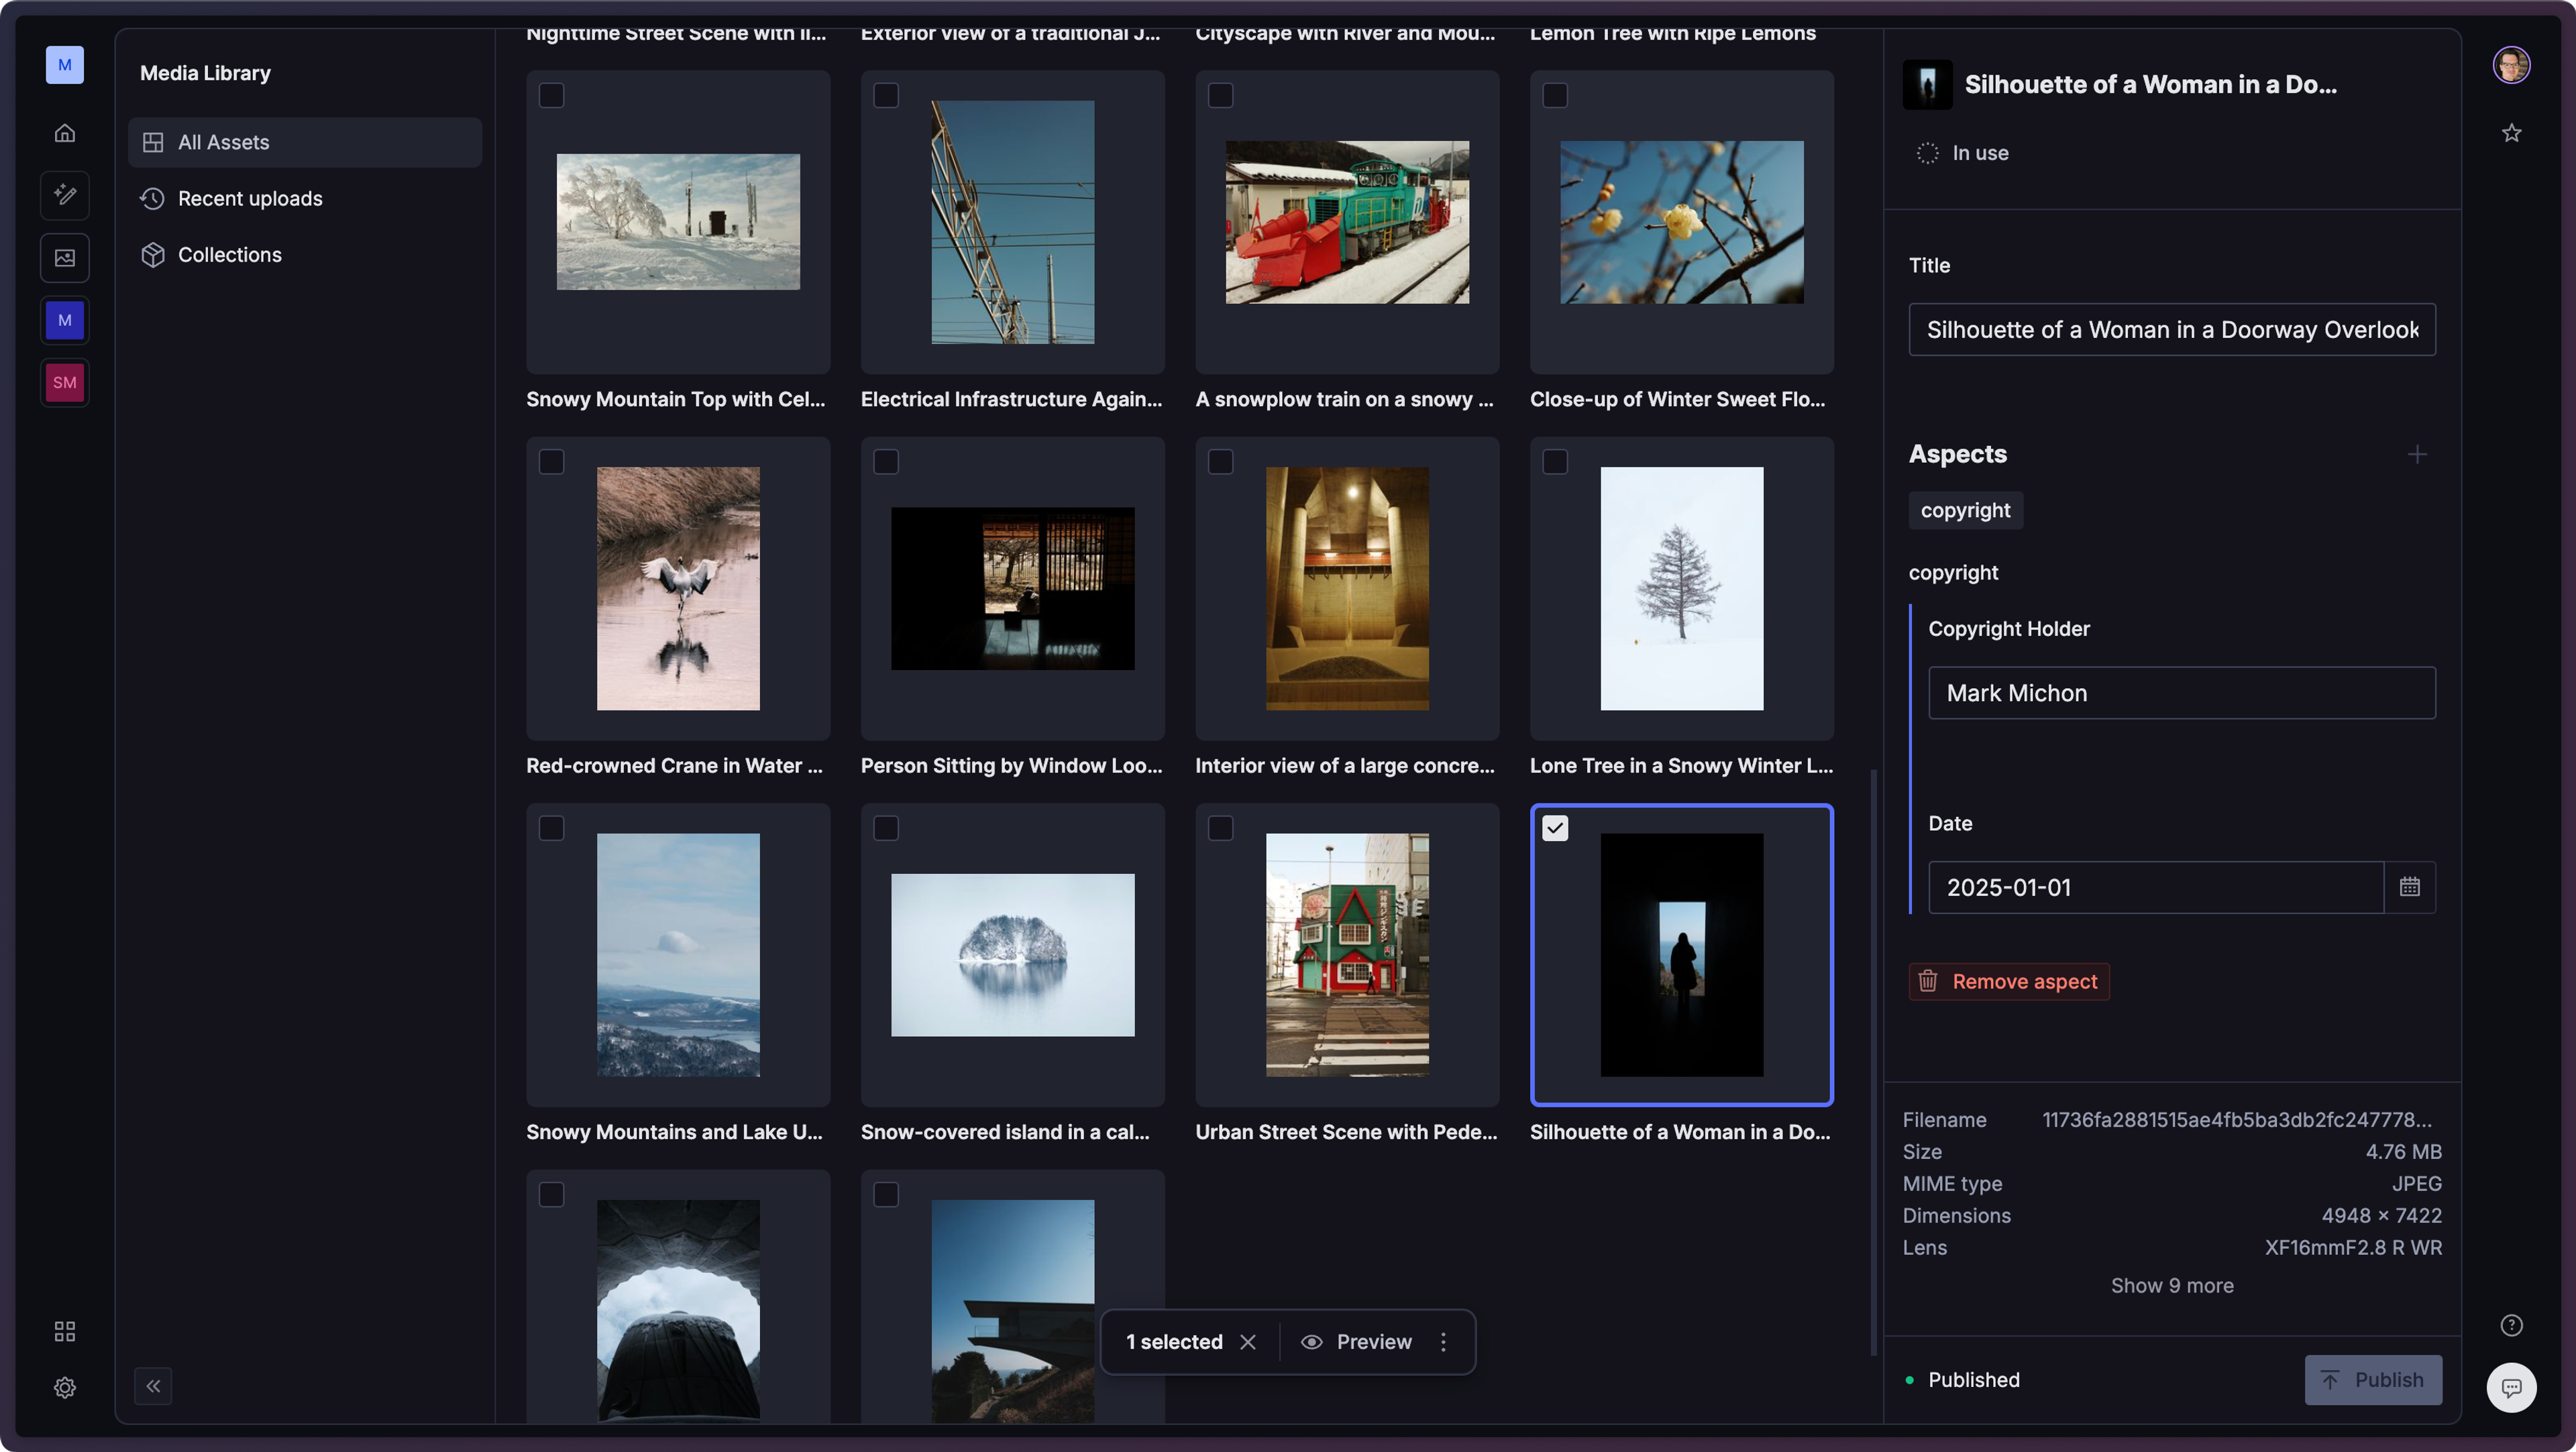
Aspects
Aspects let you organize your assets with custom fields. Aspects are defined programmatically with a schema-like syntax.
You can use aspects to sort and filter results in the asset list, or to store internal metadata.
Add aspects to an asset or edit an aspect
To add aspects to an asset, first select one or more assets in the asset list.
The sidebar will list all available aspects. You can click the title of any aspect to expand it and change its values.
Once you've made changes to an aspect, select the "Publish" button to publish the changes to the asset.
Publishing changes
Don't forget to publish changes whenever you add or remove aspects, or when you make updates to the asset title.
Collections
Collections allow further grouping of assets and are not limited to available aspects. You can create new collections while selecting an asset, or from the collection's screen.
Add an asset to a collection
You can add an asset to a collection in two ways:
- Navigate to the collection, then select "Add" in the top right, where the upload button normally is.
- In any view, select the asset then, then select the vertical "..." icon, then select "Add to existing collection" from the popover menu.
Collection deletion is permanent
Media Library has no trash can or restore mechanism for deleted collections. Once a collection is deleted, it cannot be recovered. The assets within the collection are not deleted, but the collection grouping is gone permanently.
Before deleting a collection, note its contents or export a record of the assets it contains.
Public and private assets
By default, assets are public to any person or app with the URL or identifier. You can set an asset to private to limit its visibility to logged-in users of the Media Library.
To change an asset's visibility:
- Select the asset in Media Library.
- In the asset sidebar, select the visibility indicator. If the asset is public, it will display Public with a globe icon. If the asset is private, it will display Private with a lock icon.
- Select the desired visibility from the popover list.
Private asset restrictions
When setting an asset's visibility to private, keep the following in mind:
- Assets set to "Private" are not served through their normal public URL. Logged-in Media Library users can still see them, and an app or website can be granted time-limited access with a signed URL. Without a signed URL or a Media Library session, the asset isn't accessible.
- Switching visibility does not require a "Publish" for changes to take effect.
- When changing from public to private, the asset's URL may remain active for up to 30 days if it was previously cached. To limit this, set assets to private during upload.