Sanity Connect for Shopify
Setting up and configuring Sanity Connect for Shopify
The Sanity Connect application for Shopify is used to synchronize content between a Sanity dataset and your Shopify store. This gives you flexibility to use the tools that are right for your needs. You can take a headless approach using Shopify's Hydrogen framework and Next.js, or you can sync data into Shopify's platform and use Liquid or the Storefront API.
Requirements
To take advantage of Sanity Connect you will need:
- A Shopify store
- A Sanity project and dataset
If you are starting with a new Sanity dataset, you can create the dataset and a pre-configured Studio instance using:
npm create sanity@latest -- --template shopify --create-project "Shopify Store" --dataset production --typescript --output-path shopify-store
pnpm create sanity@latest --template shopify --create-project "Shopify Store" --dataset production --typescript --output-path shopify-store
yarn create sanity@latest --template shopify --create-project "Shopify Store" --dataset production --typescript --output-path shopify-store
bun create sanity@latest --template shopify --create-project "Shopify Store" --dataset production --typescript --output-path shopify-store
Installation
To install Sanity Connect in your Shopify store and connect it to a project:
- Find Sanity Connect on the Shopify app store and push the Add App button
- If you have multiple Shopify accounts, you need to choose the one that contains the store you want to add the app to
- After choosing the store, Shopify will show you the permissions Sanity Connect needs to work and its data policies. You can push the Install app button to continue.
- The app will ask you to connect to your Sanity account. If you don't have one, you can choose to Create new account.
- When you're logged in, you will need to connect your shop with a project on Sanity. You can choose between existing projects or create a new one (for free).
- Select organization to list out projects under it, and then the project and dataset you want to sync to.
- You are now ready to configure the app.
Gotcha
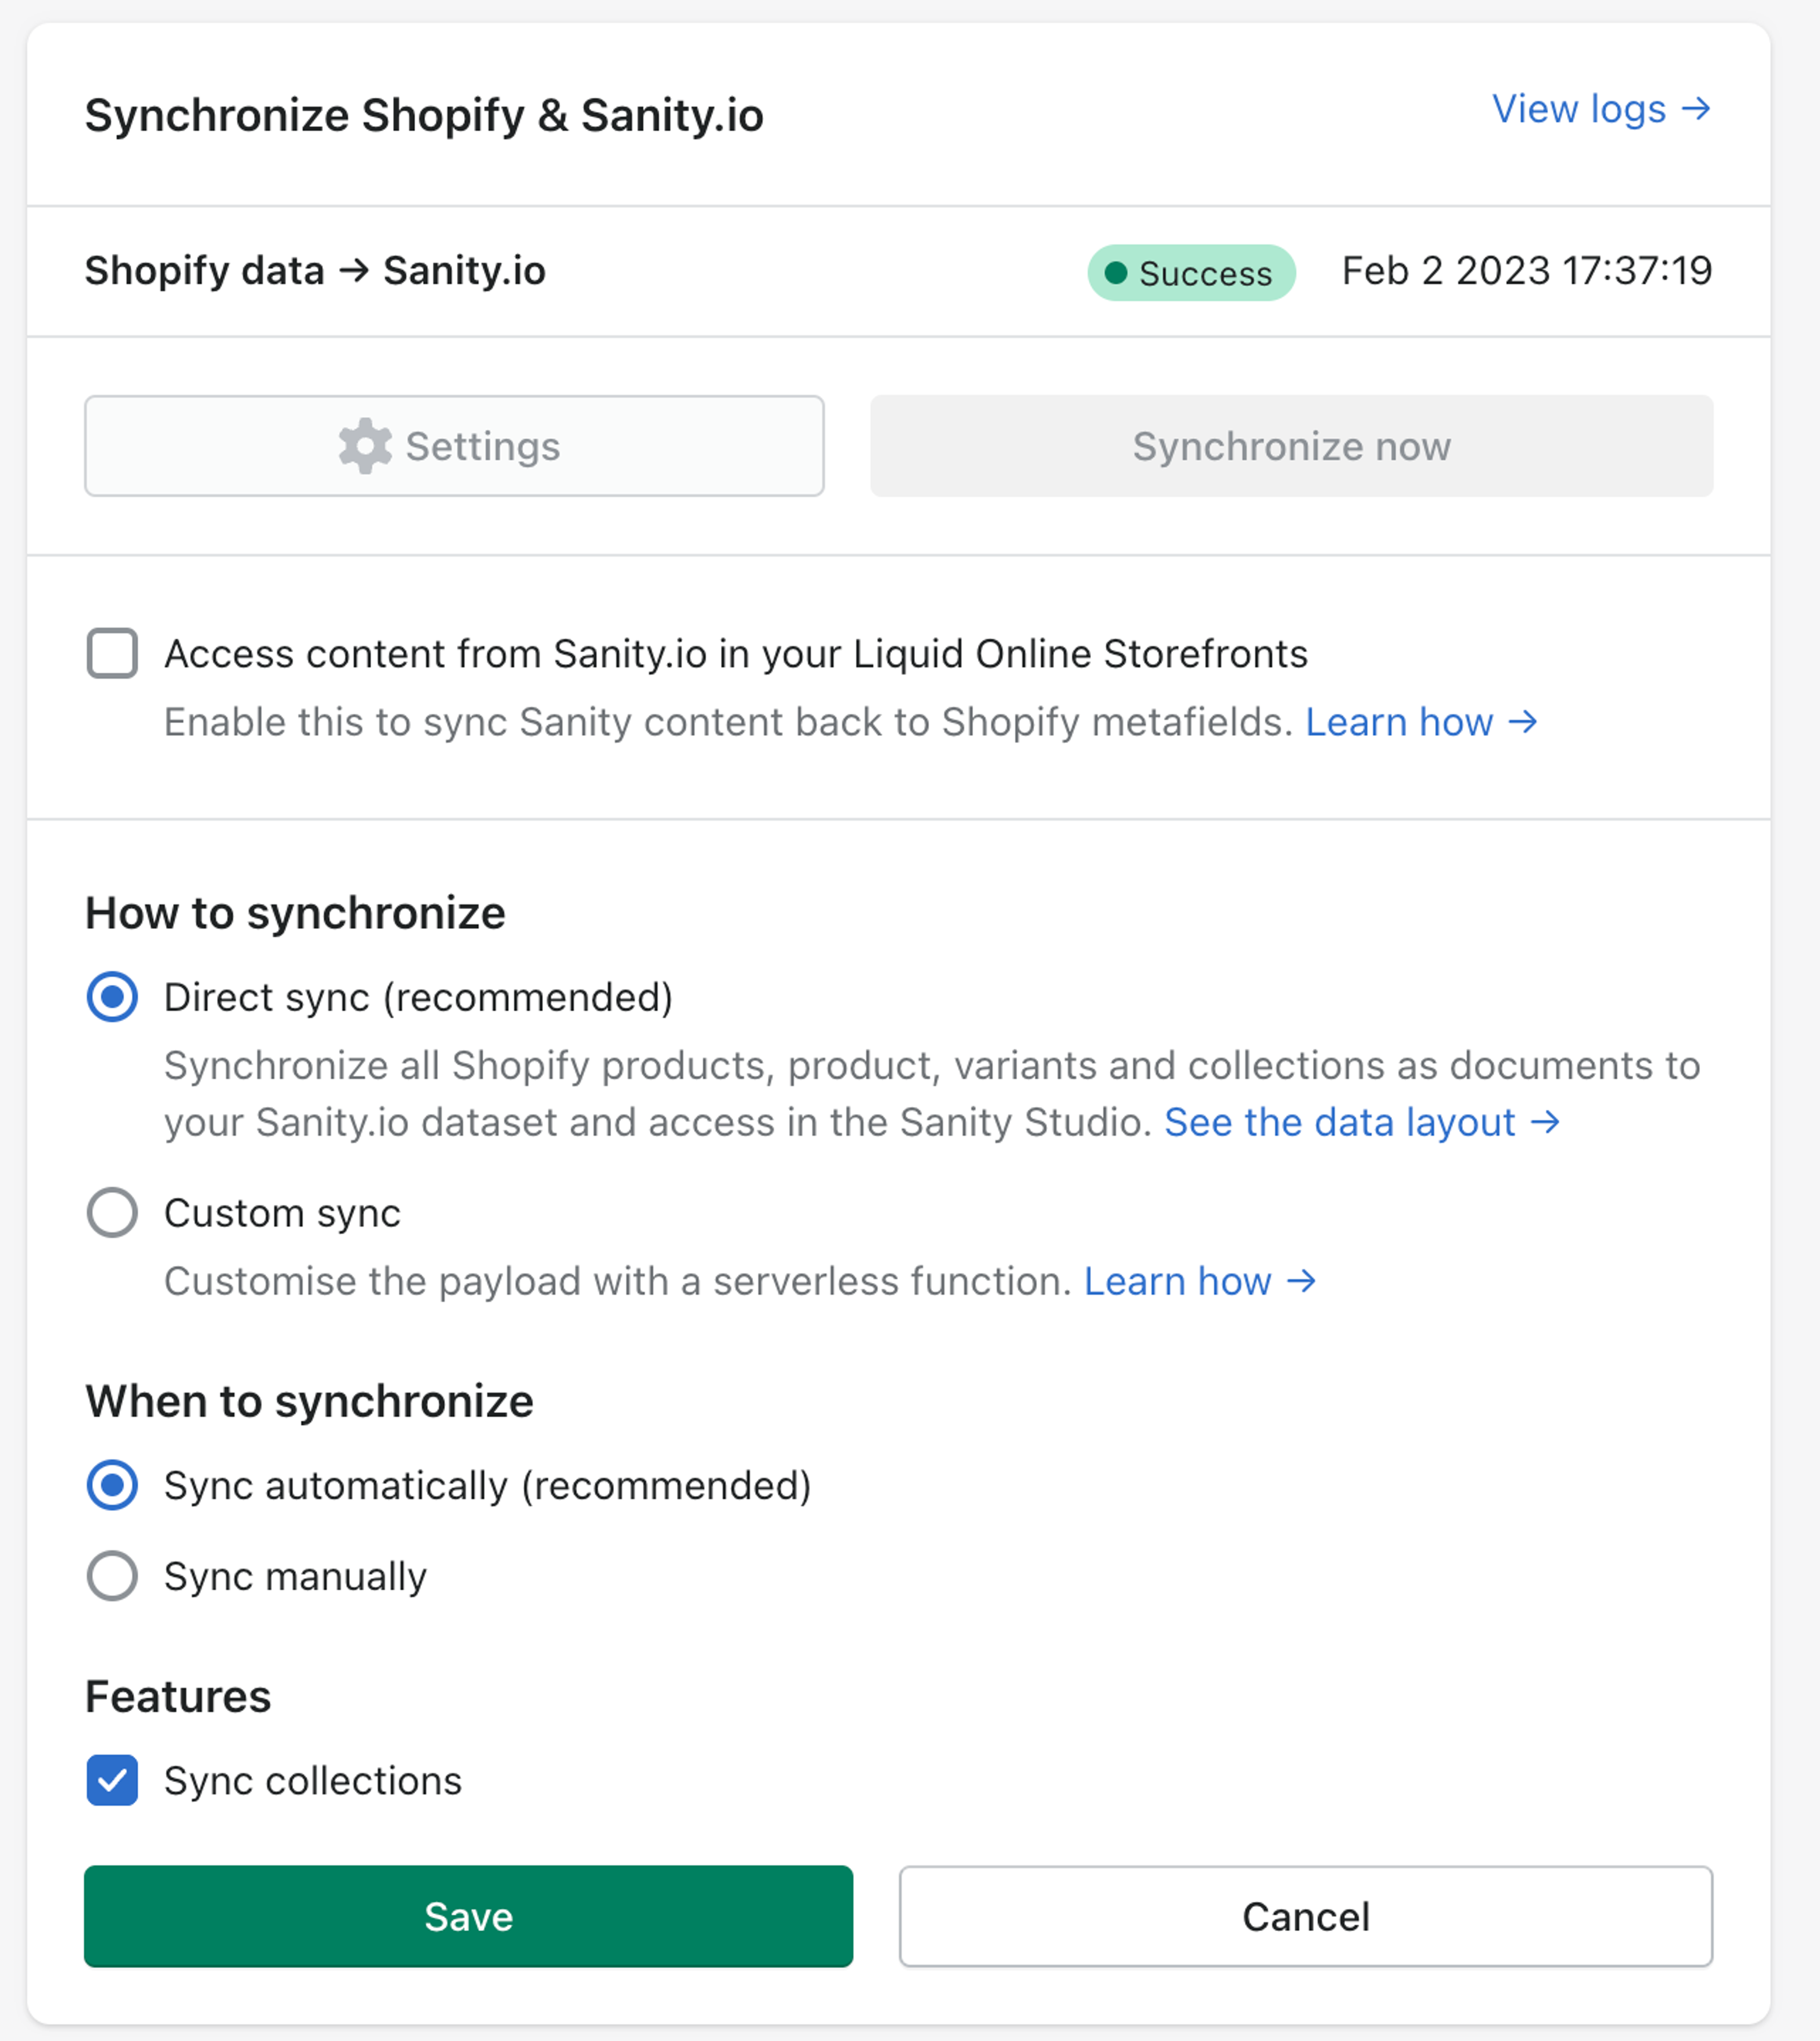
Once you chose Start synchronizing now, the app will add product documents to your content lake. It can be wise to test it against a non-production dataset if you haven't tried it before.
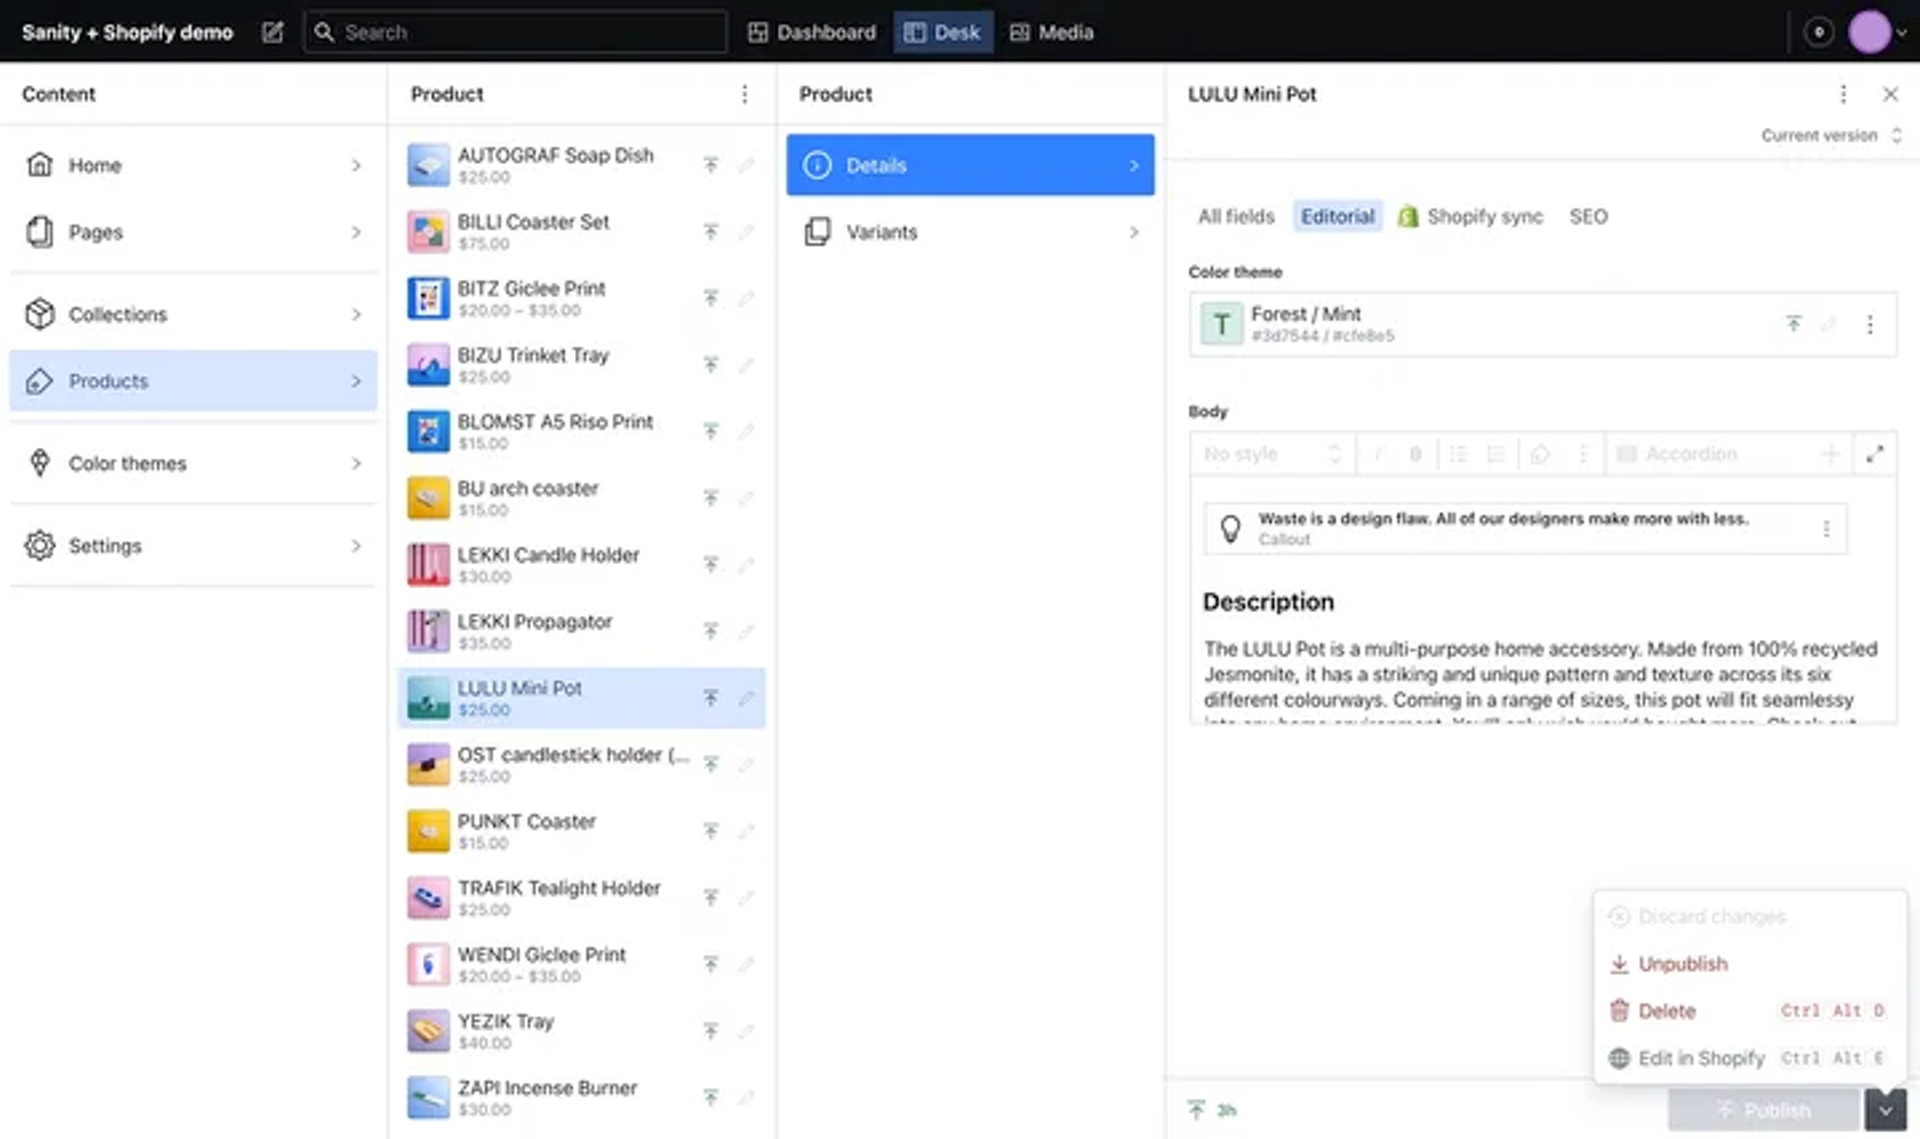
You might also want to consider using our Shopify asset plugin, which allows you to select assets from your Shopify store in the context of your Sanity Studio, allowing you to serve assets from the Shopify CDN in your front ends.
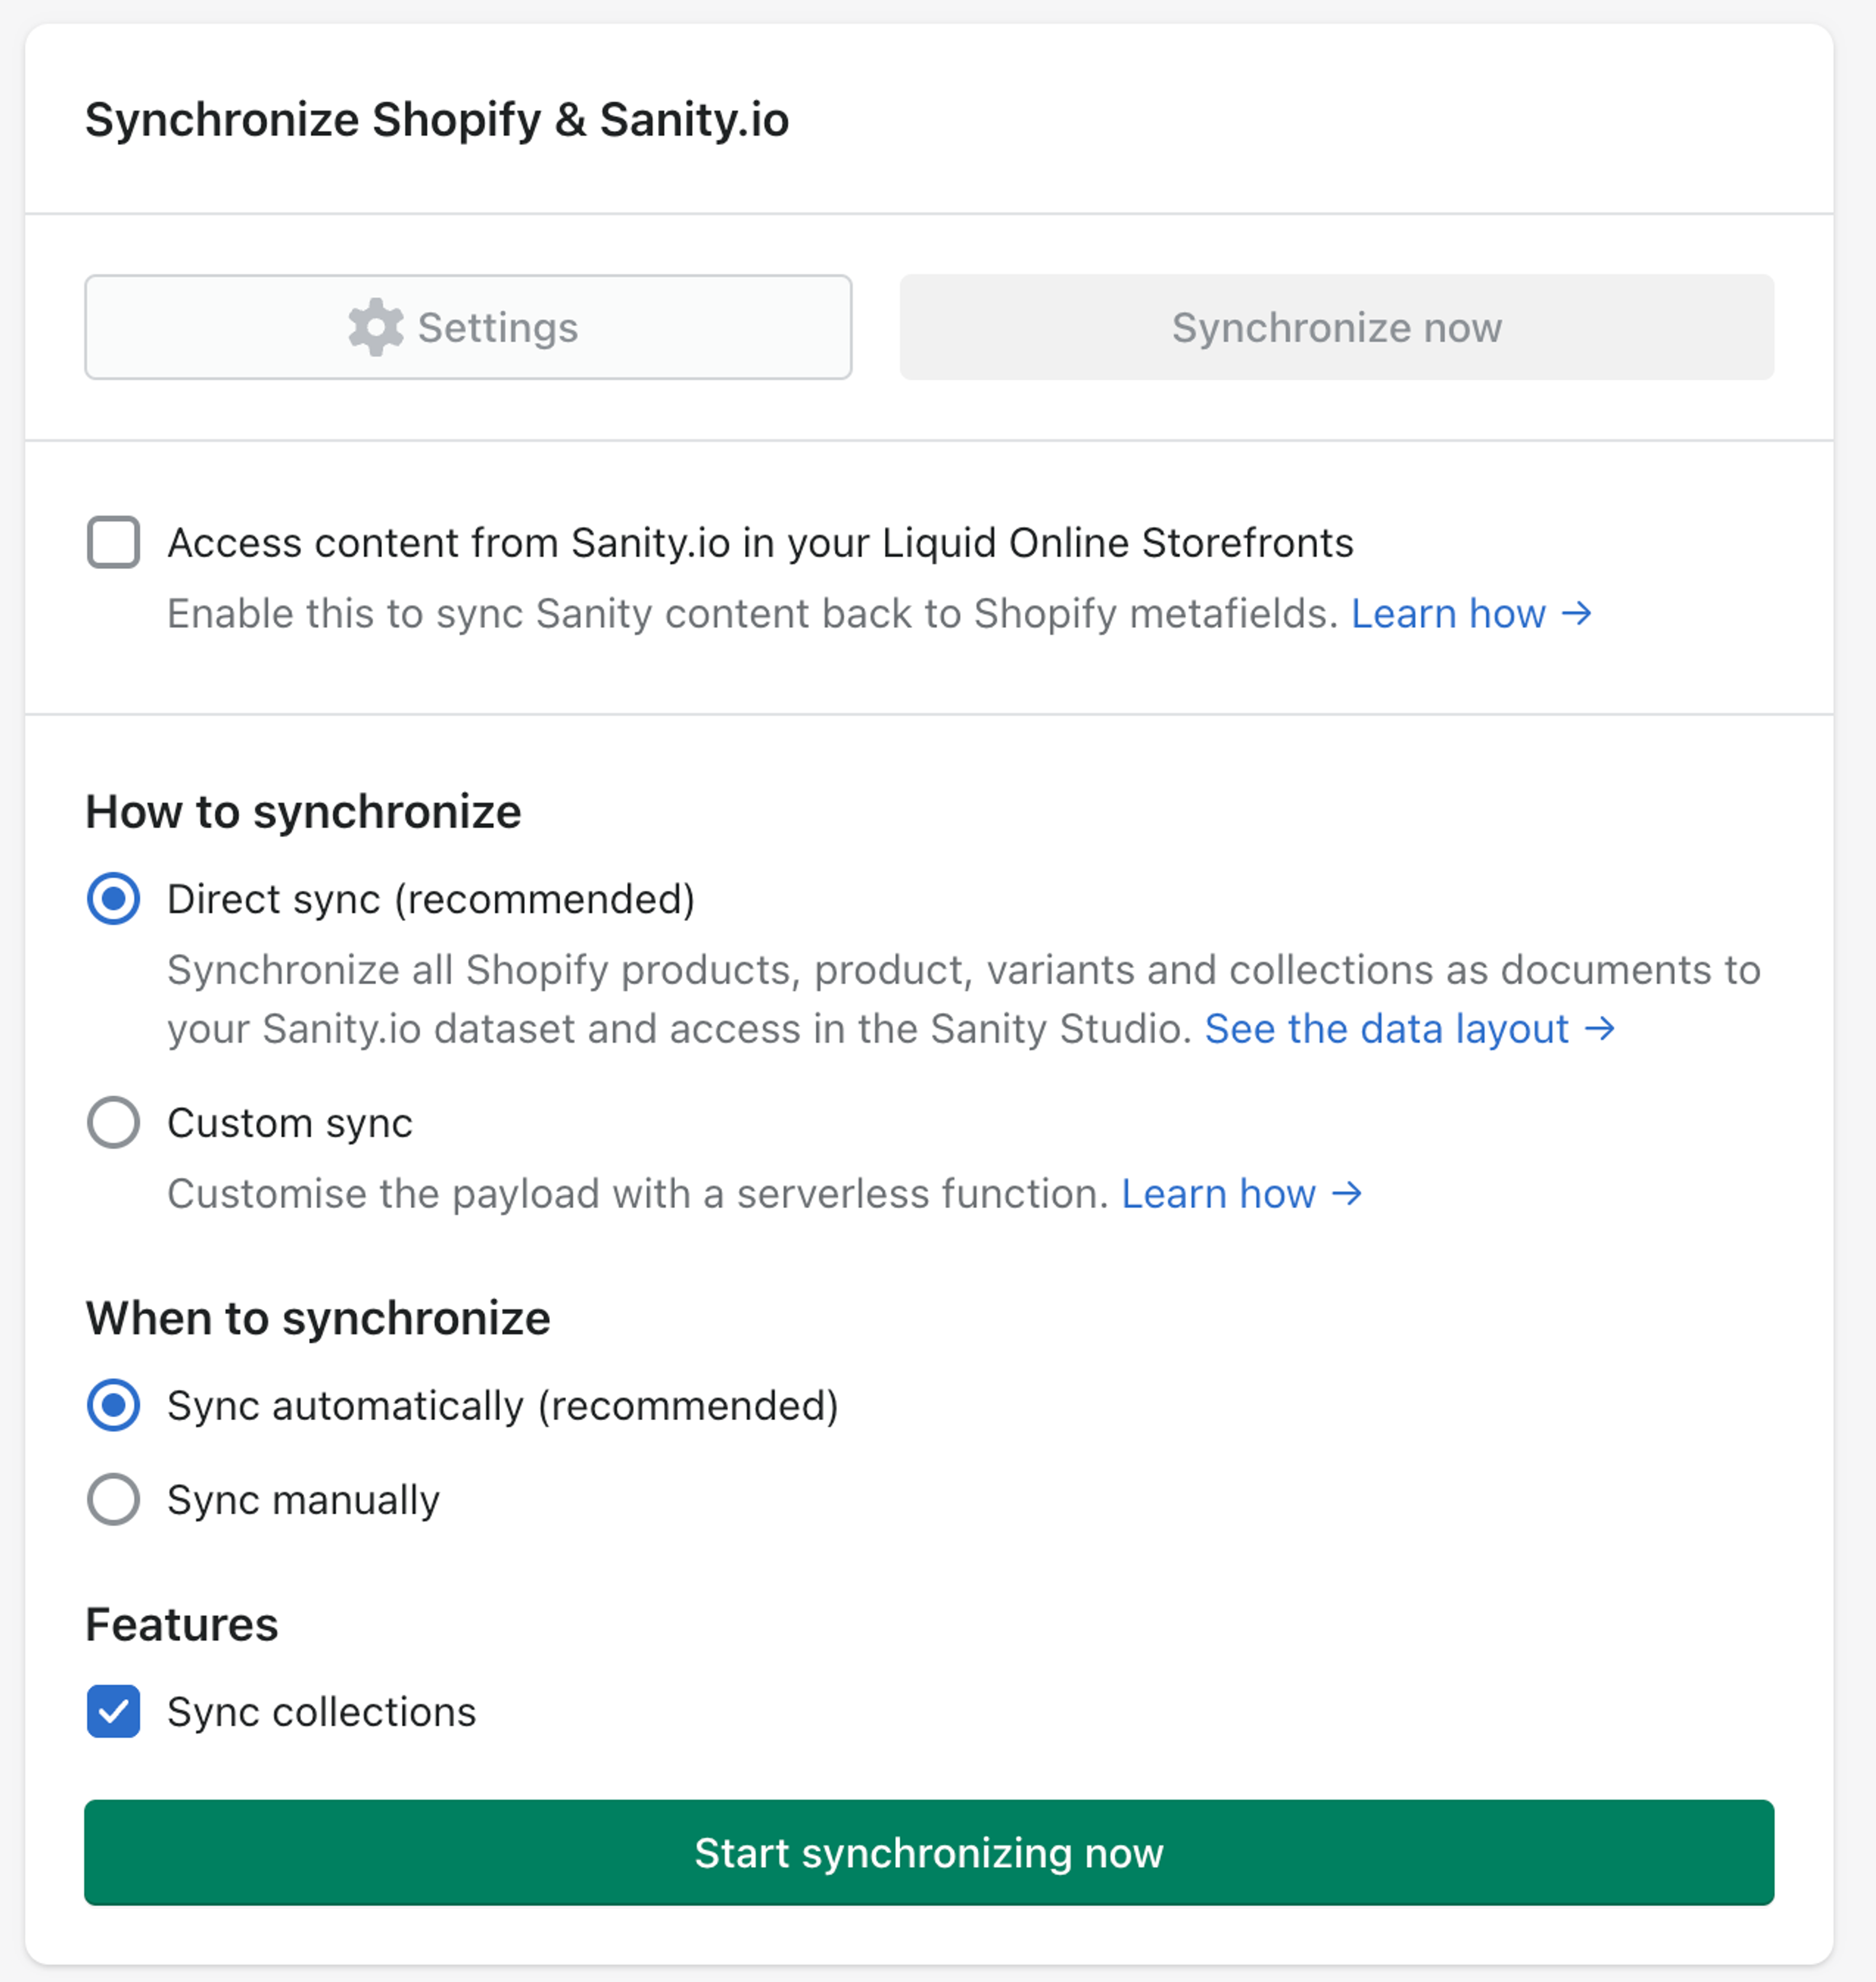
Settings
You can configure how and when Sanity Connect should synchronize products to your content lake, and whether content should be synchronized back to your Shopify store. You can change these options at any time.
Sync content from Sanity to Shopify
This setting allows you to sync any custom fields and document types you've created in Sanity back into Shopify. Your custom content will sync as Shopify metafields and metaobjects.
For a deeper dive, review our documentation on displaying Sanity content within Shopify.
How to synchronize
Sanity Connect offers two ways to synchronize content from Shopify into your content lake - direct sync and custom sync.
Direct Sync
This will synchronize all products, product variants and collections as documents to your content lake. You can check the reference to preview the data model for these documents.
Protip
Synced documents created by Sanity Connect will count towards your Sanity document usage limit. One document will be created for every product, product variant and collection in your storefront.
Custom Sync
This option will let you enter an endpoint that receives updates from Shopify and syncs data to your content lake. Typically that will be a serverless function handler where you can reshape the data and do other business logic as part of the sync.
You may, for example, want to reduce document usage by syncing products but not variants, or sync variants as objects on a product document rather than individual variant documents.
We have further documentation on custom sync handlers including an example serverless function.
When to synchronize
Sync data automatically: Automatically sync whenever you save products. Note: The sync will update the Shopify information for both published and draft documents. An update is typically available in your content lake after a couple of seconds.
Sync manually: There will no automatic sync, and you'll have to go into the Sanity Connect settings to trigger a synchronization manually.
Sanity Connect will do an initial synchronization once you choose one of these options.
Shopify Connect will not sync versions
Content Release document versions are not supported at this time. Shopify Connect will only sync published and draft documents.
Sync collections
The Sanity Connect app can optionally sync collections data. This will sync data and properties about your collection, but it will not sync the product membership of your collections.
Set up your Studio
You can install a production-ready reference studio that's set up with a great editor experience by running this command in your local shell. Replace the PROJECT_ID and DATASET_NAME placeholders with the actual values from the project your Shopify store is connected to:
npx @sanity/cli init --template shopify --project PROJECT_ID --dataset DATASET_NAME
pnpm dlx @sanity/cli init --template shopify --project PROJECT_ID --dataset DATASET_NAME
yarn dlx @sanity/cli init --template shopify --project PROJECT_ID --dataset DATASET_NAME
bunx @sanity/cli init --template shopify --project PROJECT_ID --dataset DATASET_NAME
You'll find comprehensive documentation for this studio in its README.md.
Integrate with an existing studio
If you've already set up a studio instance, you can follow the patterns exposed in this example studio setup. This repository showcases the same studio customizations that are implemented when creating a new studio with the shopify template.