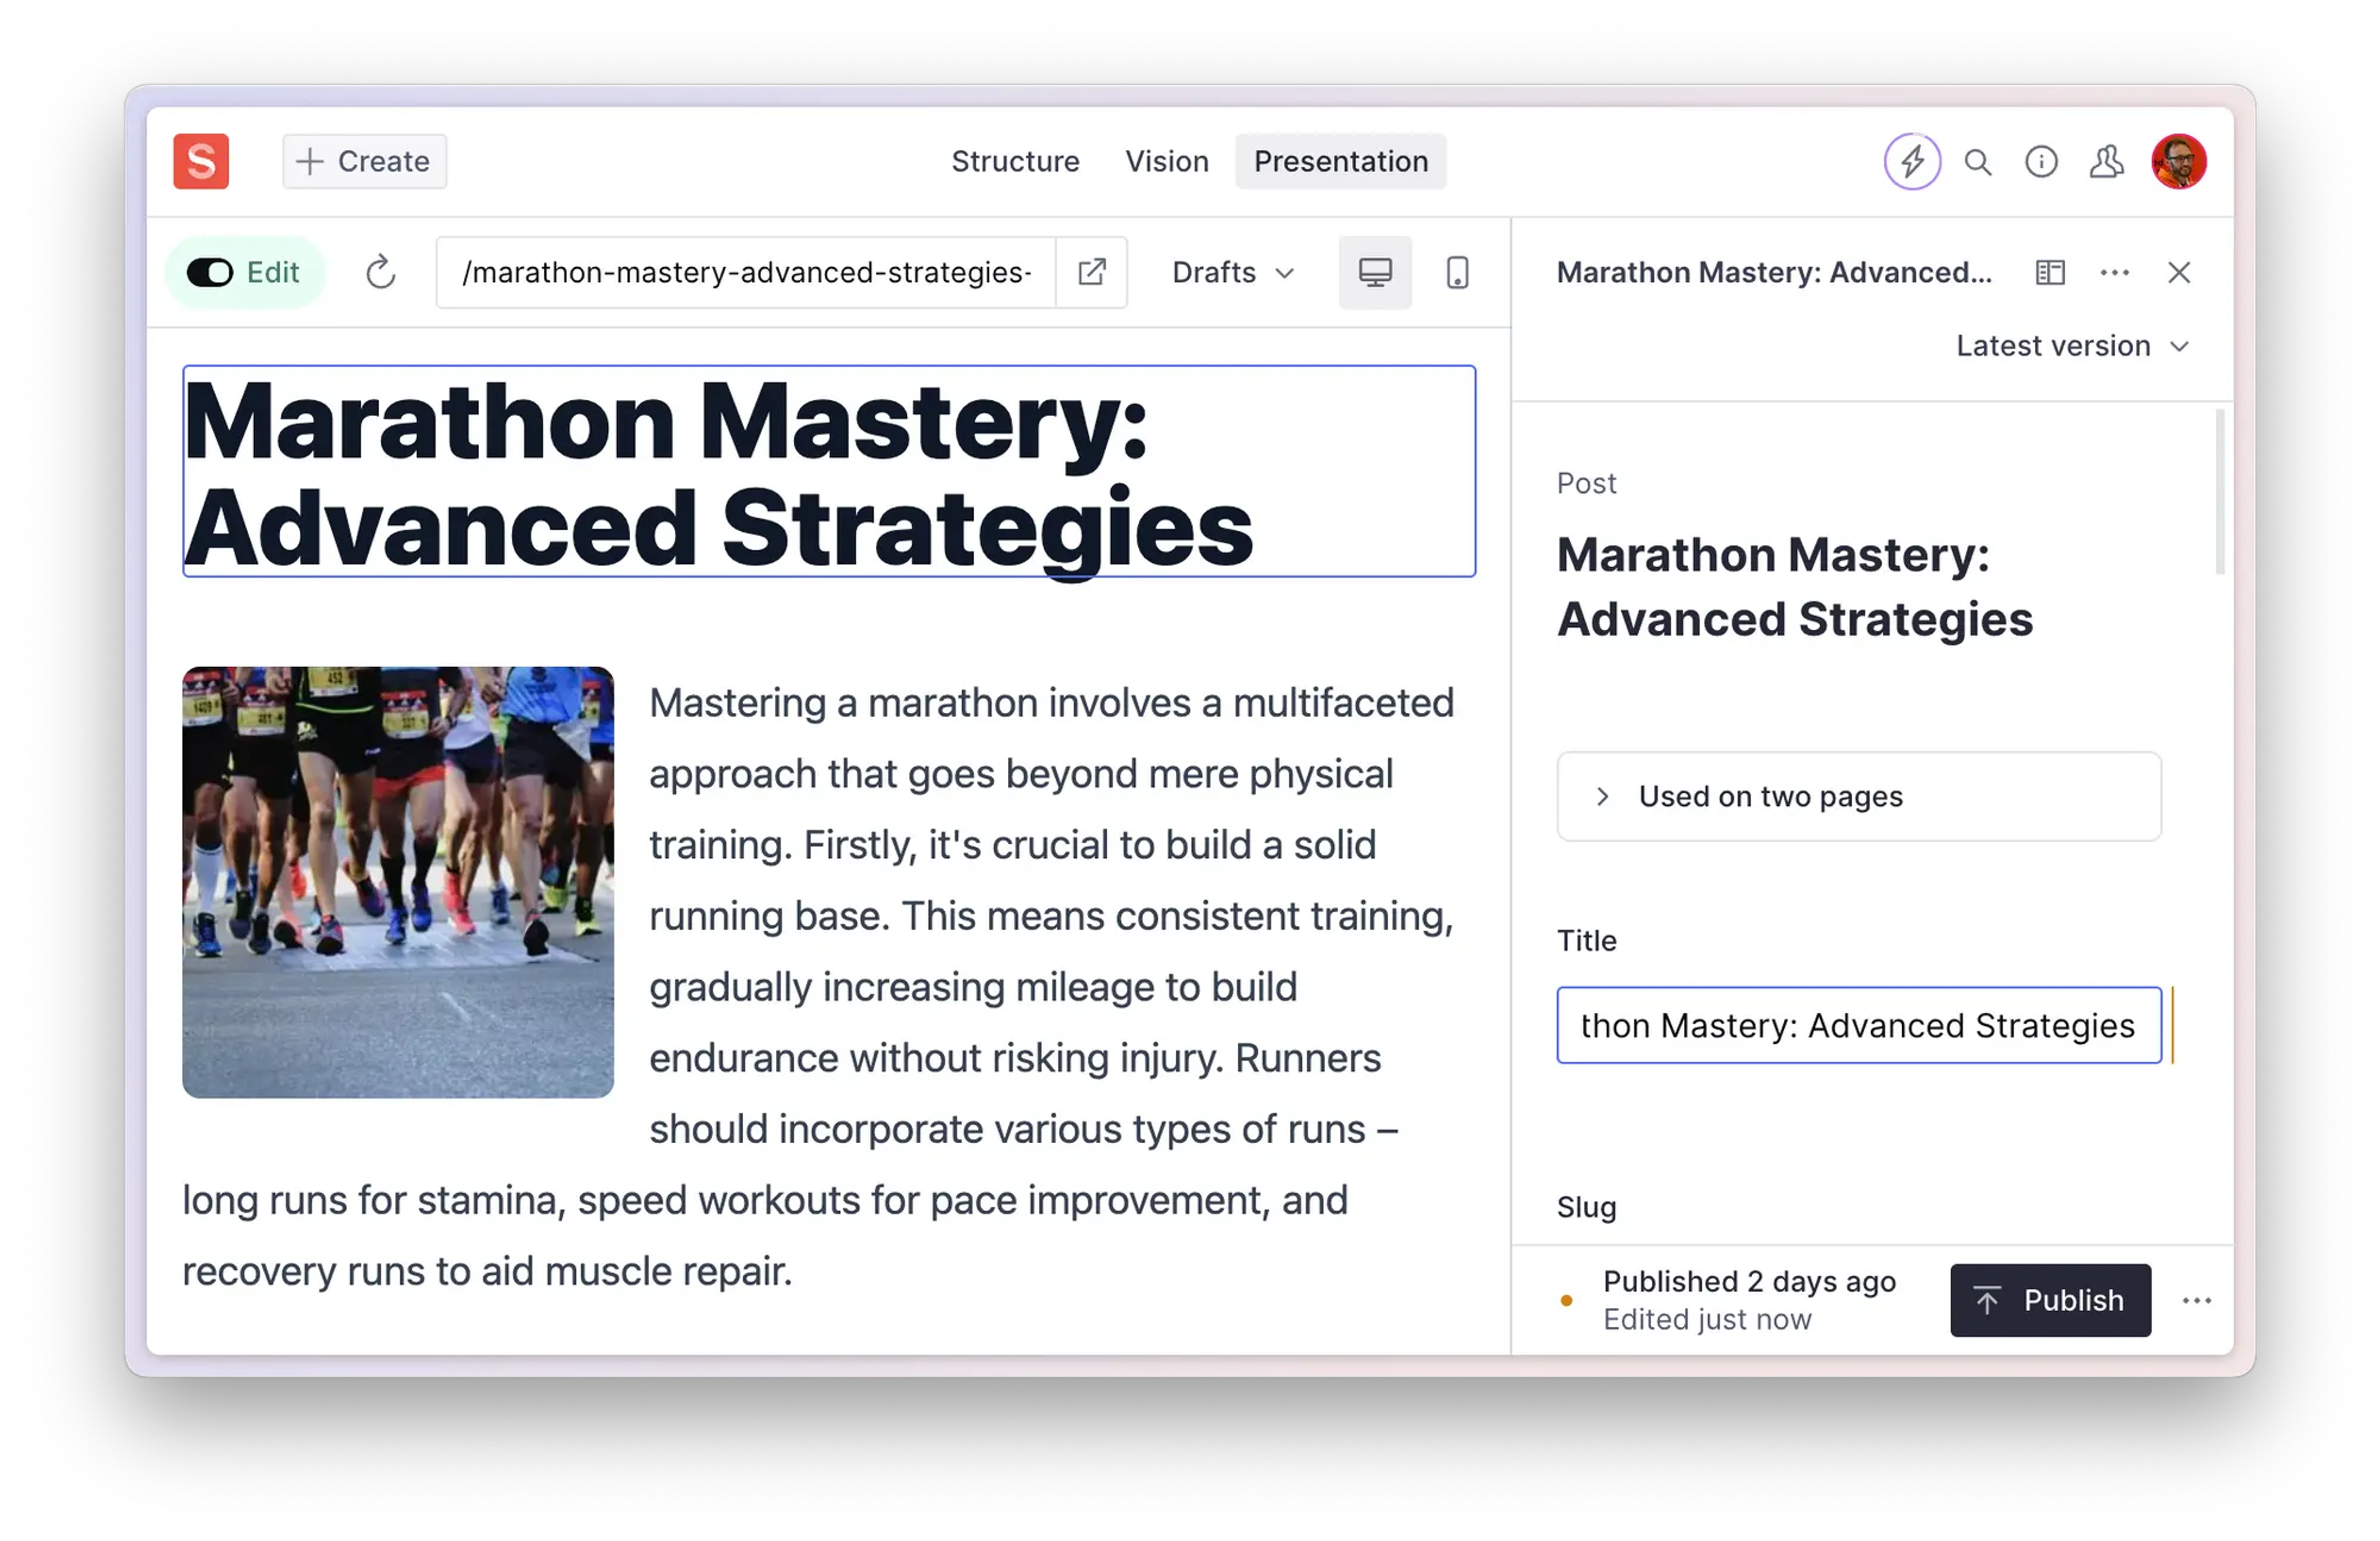
Vercel Visual Editing
Visual Editing enables content teams to enjoy more intuitive content editing directly from your Vercel-hosted website.
The feature works using a new concept invented by Sanity called Content Source Maps, which is also available as an API for you to use to build your own implementation. Visual Editing requires no changes to your website’s front-end code—just some updates to the Sanity client.
Enterprise Feature
Vercel Visual Editing is an opt-in feature for Enterprise customers of both Sanity and Vercel. If you are an existing enterprise customer, contact our sales team to have Visual Editing enabled on your project. Learn more about Sanity for Enterprise organizations here.
Enabling Visual Editing adds an overlay with a clickable Open in Sanity Studio-label to each editable element on your website. Clicking the label opens your studio in a new tab with the editor pane focused on the field corresponding to the frontend element.
Visual Editing works by embedding invisible metadata into your front-end elements, containing information about the document and field in your Content Lake that the data originated from. This metadata enables Vercel to link each element in your front end to its corresponding field in your Sanity Studio, allowing for easy access and editing.
You can learn more about Vercel's implementation here.
To enable Visual Editing, follow these steps:
Visual Editing is only available for Enterprise customers and is not enabled by default. Contact sales to turn on the feature for your project.
To include metadata for Visual Editing in your query results, you need the enhanced Sanity client included with either next-sanity
(for Next.js projects) or @sanity/preview-kit
(framework-agnostic). Using the vanilla JavaScript client from @sanity/client
will not work!
If you are already importing createClient
from either next-sanity
or @sanity/preview-kit/client
, skip to step 4. Otherwise, start by installing the appropriate npm package.
npm i @sanity/preview-kit
#Or:
npm i next-sanity
The client included in next-sanity
and @sanity/preview-kit
is a drop-in replacement for the vanilla JavaScript client with some extra features. Therefore, after installing either of these clients, everything should still work the same when you change your import statements.
// Depending on which package you installed, replace this:
import {createClient} from '@sanity/client'
// ... with one of these:
import {createClient} from 'next-sanity'
import {createClient} from '@sanity/preview-kit/client'
Finally, add the following lines to your client configuration:
const client = createClient({
projectId: '<projectId>',
dataset: 'production',
apiVersion: '2022-05-03',
useCdn: true,
studioUrl: '/studio', // Or: 'https://my-cool-project.sanity.studio'
encodeSourceMap: true, // Optional. Default to: process.env.VERCEL_ENV === 'preview',
})
The studioUrl
is necessary to allow Vercel to construct complete URLs to content in your Sanity Studio. It can be a relative path for embedded studios – e.g., “/studio”
– or a fully qualified URL for studios hosted elsewhere. The encodeSourceMap
-property lets you conditionally enable or disable the generation of content source maps that are needed for Visual Editing. It is enabled for preview environments by default.
Once you have completed these steps, your client should be ready to include the metadata Vercel needs to enable the Visual Editing feature.
Gotcha
The first time you view a preview deployment that has Visual Editing enabled, you will be prompted to add the preview URL to the list of allowed CORS origins for your project. This is necessary to enable the feature. Read more about CORS here.
The enhanced Sanity client accepts an optional logger
parameter. Pass it the global console
, to show debug information about which fields are being encoded and which (if any) are skipped.
const client = createClient({
projectId: '<projectId>',
dataset: 'production',
apiVersion: '2022-05-03',
useCdn: true,
studioUrl: '/studio',
logger: console,
})
This should provide a nicely formatted report in your console, whether you are looking at your browser’s dev tools or Vercel’s deployment logs.
[@sanity/preview-kit]: Creating source map enabled client [@sanity/preview-kit]: Stega encoding source map into result [@sanity/preview-kit]: Paths encoded: 3, skipped: 17 [@sanity/preview-kit]: Table of encoded paths ┌─────────┬──────────────────────────────────┬───────────────────────────┬────────┐ │ (index) │ path │ value │ length │ ├─────────┼──────────────────────────────────┼───────────────────────────┼────────┤ │ 0 │ ["footer",0,"children",0,"text"] │ '"The future is alrea...' │ 67 │ │ 1 │ ["footer",1,"children",0,"text"] │ 'Robin Williams' │ 14 │ │ 2 │ ["title"] │ 'Visual Editing' │ 14 │ └─────────┴──────────────────────────────────┴───────────────────────────┴────────┘ [@sanity/preview-kit]: List of skipped paths [ [ 'footer', number, '_key' ], [ 'footer', number, 'children', number, '_key' ], [ 'footer', number, 'children', number, '_type' ], [ 'footer', number, '_type' ], [ 'footer', number, 'style' ], [ '_type' ], [ 'slug', 'current' ], ]
The encodeSourceMapAtPath
callback can be used to make a custom selection of which paths to encode and which to skip.
const client = createClient({
// ...rest of config omitted for brevity
encodeSourceMapAtPath: props => {
if(props.path[0] === 'externalUrl') {
// absolute urls in <a href> can't contain source maps, or they'll render as broken relative urls
return false
}
return props.filterDefault(props)
}
})
By default, keys that start with an underscore (e.g., _type
) isn’t encoded. If you want keys like these to be included, you can skip invoking props.filterDefault(props)
in your return statement.
const client = createClient({
// ...rest of config omitted for brevity
// returning `true` in every case to include all keys
encodeSourceMapAtPath: () => true
})
To have the underlying content source map returned as part of your query result, set the filterResponse
option of the fetch call to false
.
// The snippet below works with the standard client
import {createClient} from '@sanity/client'
// As well as the preview kit one, regardless of whether encoding to stega is on or off
import {createClient} from '@sanity/preview-kit/client'
// And next-sanity
import {createClient} from 'next-sanity'
const client = createClient({
// ...rest of config omitted for brevity
apiVersion: '2022-05-03',
resultSourceMap: true // Tells Content Lake to include content source maps in the response
})
// const result = await client.fetch(query, params)
const {result, resultSourceMap} = await client.fetch(
query,
params,
{filterResponse: false} // This option returns the entire API response instead of selecting just `result`
)
doSomethingAwesome(resultSourceMap)
To learn more about working with content source maps, including how to develop your own implementation of Visual Editing for your own deployment architecture, you can visit this link.
If the text on the page is breaking out of its container, it can be resolved by splitting the encoded text out from the original text.
Note: This is not due to the encoded characters themselves. This problem should only present itself if the element also uses negativeletter-spacing
in its CSS or is inside of a<ReactWrapBalancer>
.
Add the @vercel/stega
npm package to your project, if it’s not already installed.
npm i @vercel/stega
Then identify where the problematic element is rendered in code, for example:
function MyComponent({ text }) {
return (
<h1>{text}</h1>
);
}
Rewrite using @vercel/stega
to avoid any styling issues:
import { vercelStegaSplit } from '@vercel/stega';
function MyComponent({ text }) {
const { cleaned, encoded } = vercelStegaSplit(text);
return (
<h1 data-vercel-edit-target>
{cleaned}
<span style={{ display: 'none' }}>{encoded}</span>
</h1>
);
}
In some cases you can experience type errors when trying to format dates.
Add the @vercel/stega
npm package to your project, if it’s not already installed.
npm i @vercel/stega
Then identify where the date is formatted in code, for example:
function formatDate(datestring) {
const date = new Date(datestring);
return date.nicelyFormatted();
}
Rewrite using @vercel/stega
to avoid any styling issues:
import { vercelStegaSplit } from '@vercel/stega';
function formatDate(datestring) {
const { cleaned, encoded } = vercelStegaSplit(datestring);
const date = new Date(cleaned);
return `${date}${encoded}`;
}
If the wrong element is highlighted when you start editing, it can be resolved by adding an attribute to the correct element.
For example, if this component highlights the <h1>
and you want it to highlight the entire <section>
element:
<section>
<h1>{dynamicTitle}</h1>
<div>Hardcoded Tagline</div>
</section>
You could add the [data-vercel-edit-target]
attribute to the element you expect it to highlight:
<section data-vercel-edit-target>
<h1>{dynamicTitle}</h1>
<div>Hardcoded Tagline</div>
</section>