Media Library quick start guide
Practical tips and instructions for managing your media assets within the Sanity ecosystem
This guide helps you manage media assets in the Sanity ecosystem. You'll find practical tips for your Media Library workflow, whether you're a content editor, marketer, designer, photography specialist, or product owner. Media Library typically integrates with Sanity Studio. You can access, search, and use it while working on content.
This is a paid feature
This feature is available as an addon for certain Enterprise plans. Talk to sales to learn more.
Get started with Media Library
Media Library is your organization's asset management interface. You'll centrally manage assets like images, videos, and documents so they can be reused across multiple projects and datasets. Here's how to get started:
- Log in: Access your workspace through sanity.io/welcome, which redirects you to your organization's domain.
- Sanity Dashboard: When you first log in, you'll see your organization's dashboard. From here you can quickly access Media Library, your studios, and other apps. You can find Media Library in the left hand menu, along with any pinned studios.
- Media Library navigation: Once in Media Library, you'll see all your organization's assets organized in a grid or list view. Use the left sidebar to filter by asset type (images, videos, documents) or collections if your team has set them up. The search bar at the top helps you quickly find assets by filename, description, or tags.
As an editorial user, you mainly interact with it through the web interface. The screen is divided into three main areas:
- Asset list: Browse assets, filter results, and upload new files.
- Library menu: Narrow your view, explore collections, and see recent uploads.
- Asset sidebar: Edit asset metadata, apply aspects, and see details.
Refer to the Media Library interface guide for more details.
Finding and searching for media assets
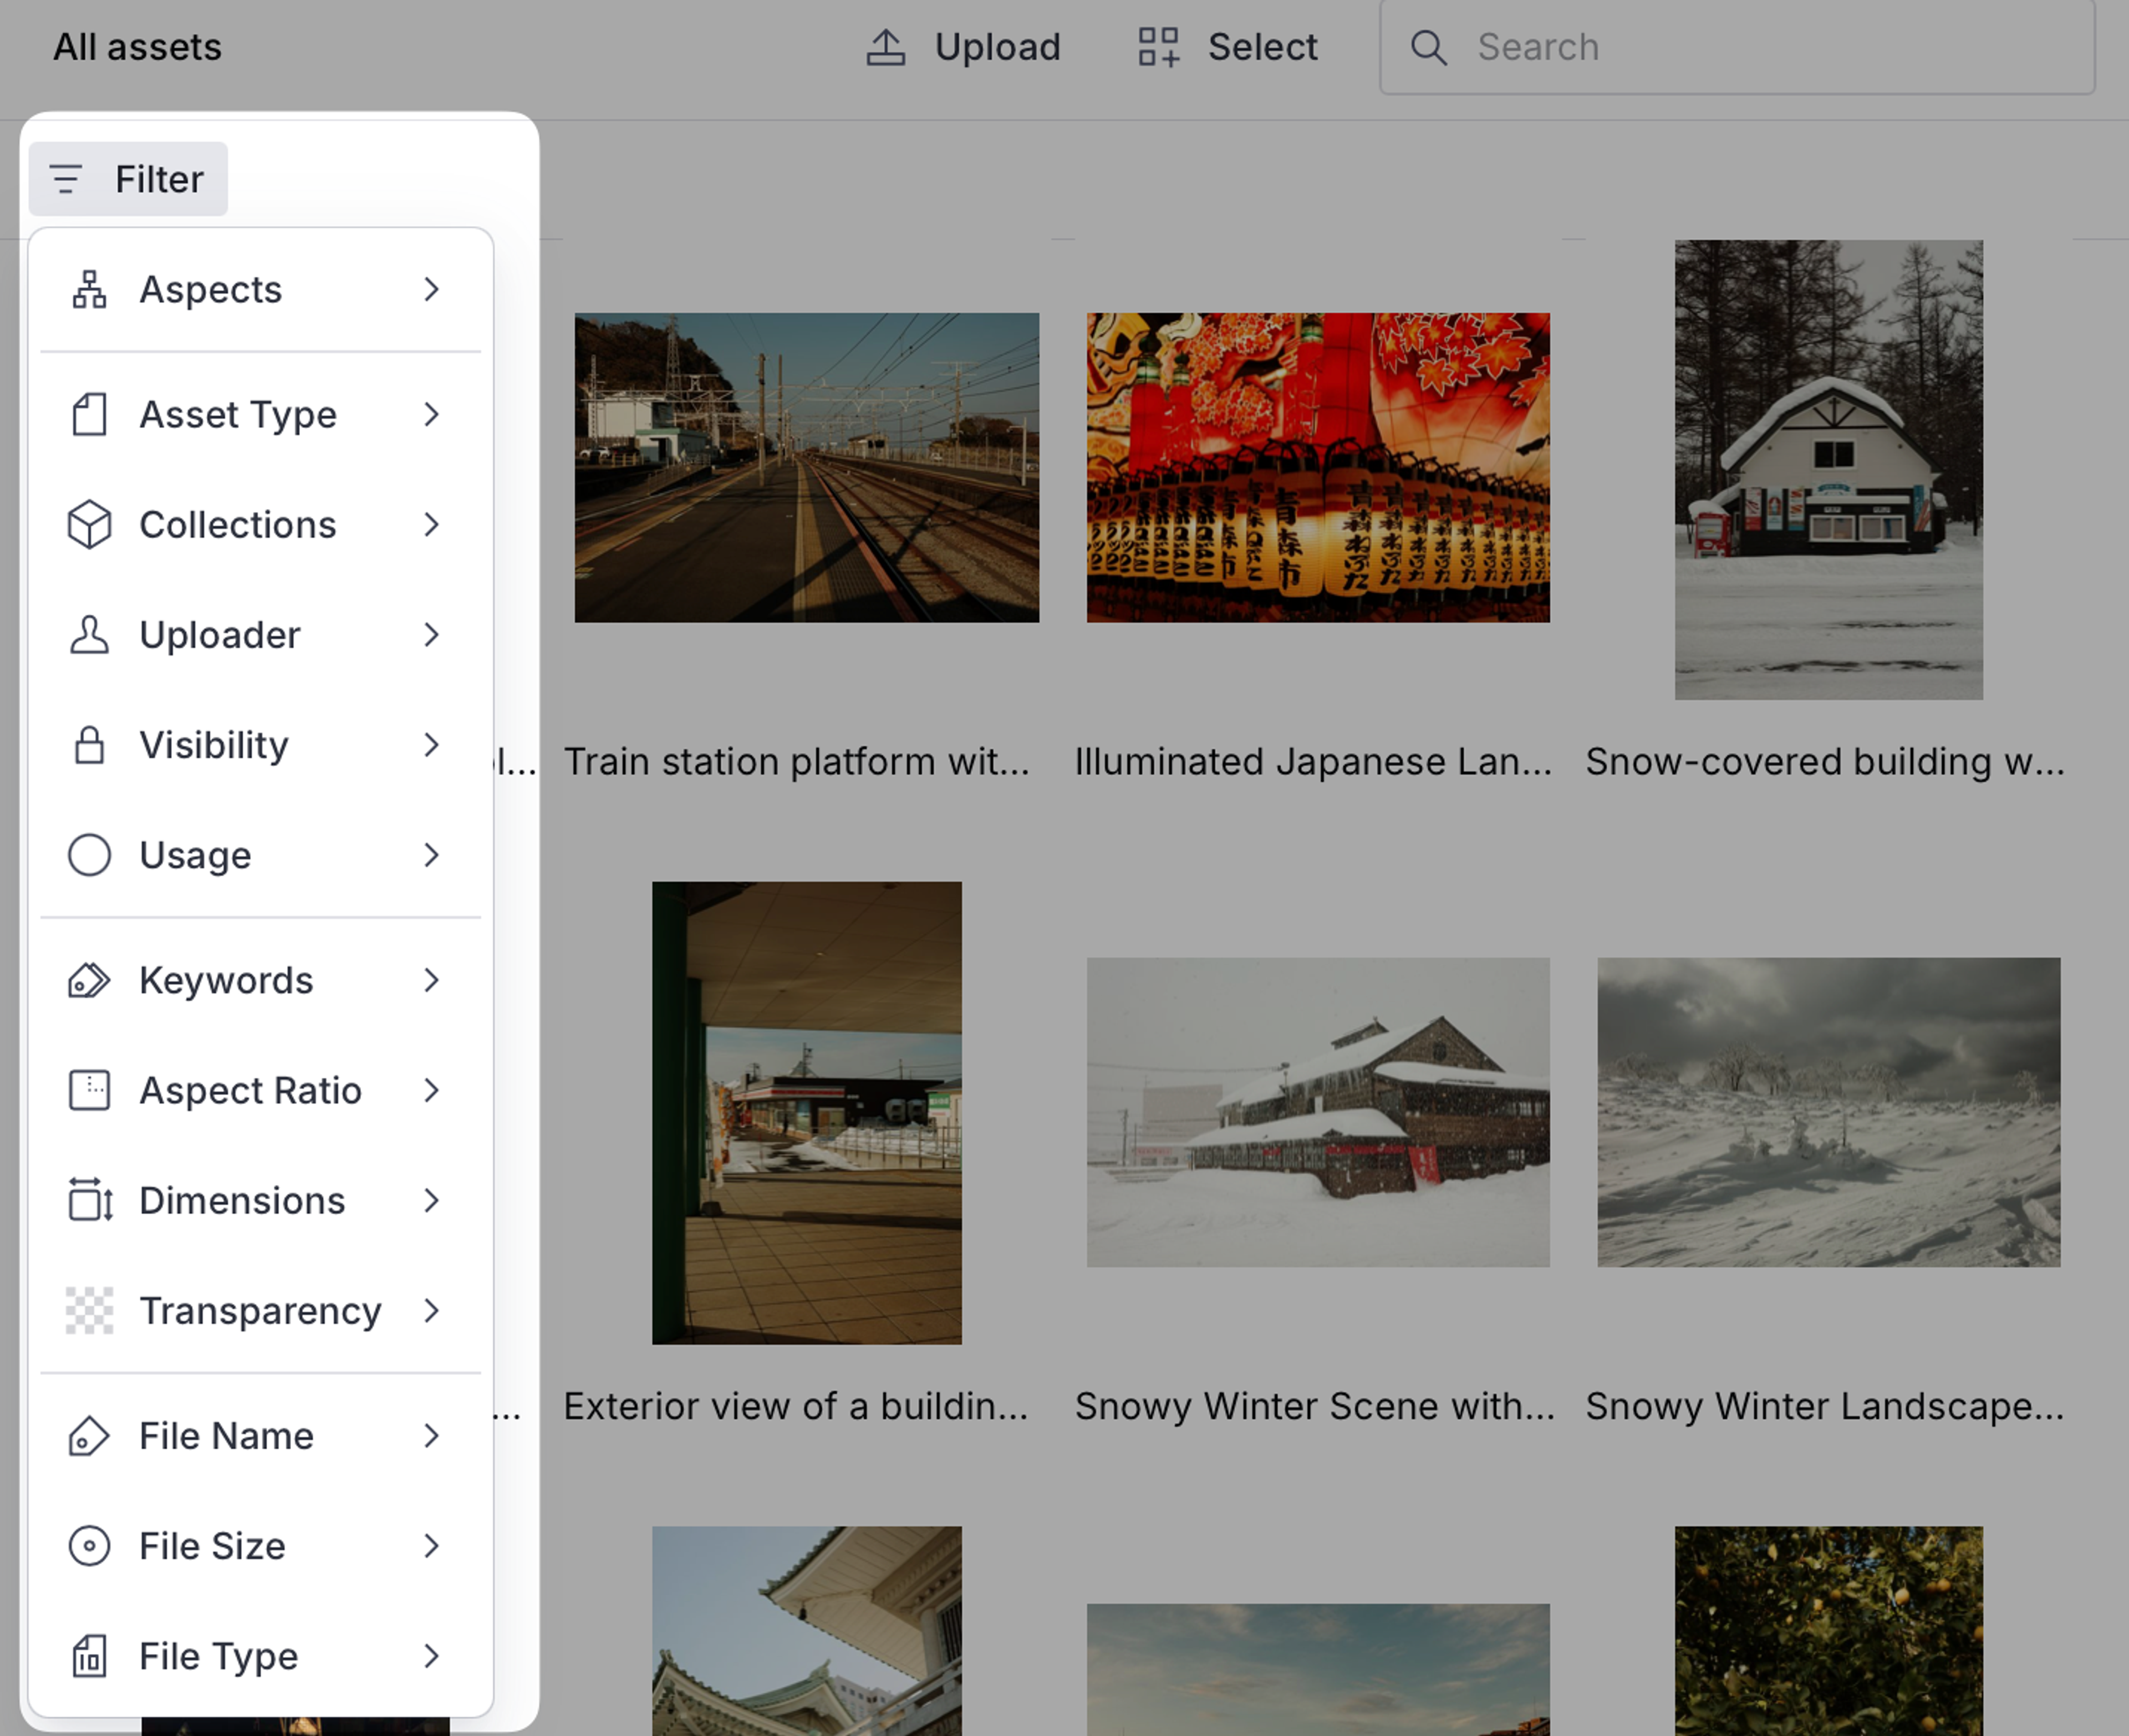
Navigating the asset list can be challenging when your organization has numerous assets. To make browsing easier, use the filter menu with its various controls to narrow down your results. These filters typically allow you to sort by asset type, collection, visibility, keywords, uploader, aspect ratio, file type, and usage status.
Media asset versioning
Asset versioning helps you introduce new versions safely, control when they go live, and track usage. It's useful for managing subtle variations like retouched photos or updated files, without creating separate assets.
First, select the asset you want to update. You’ll see a dropdown labeled Aspects in the right panel. Select it, then select Versions. When you select it, it will reveal the Versions panel:
- The current version (blue indicator).
- Any outdated versions in use (orange indicators).
Upload a new version
Versions can be anything from retouched originals, watermarked images, or new logos and appear as a new version of the same asset, not as a separate asset.
Learn more about interacting with asset versions.
Advanced Media Library operations
Aspect-based media management
Aspect-based management streamlines your workflow. It eliminates tedious folder searches, prevents rights violations, and enables smart filtering across your entire asset library. When information changes, such as extended usage rights or updated product details, you update it once. The changes automatically apply everywhere the asset appears. This structured approach prevents disorganization and creates a more efficient system. It saves time and reduces errors.
Real-world examples
- Campaign photography: Tag assets with campaign name, usage rights, and expiration dates so teams can quickly find approved images and avoid using expired content.
- Product imagery: Attach product IDs, SKU information, and seasonal relevance to images so they automatically appear in the correct product listings across all digital channels.
- Brand assets: Apply corporate identity guidelines, approved usage contexts, and regional restrictions to ensure consistent brand representation worldwide.
- Event photography: Tag with event details, featured people, and consent information to maintain compliance while making assets easily searchable for future content creation.
Best practices for media management
Organizing your assets
It’s not a new best practice to use consistent naming conventions for all uploaded files or to use focused collections for major projects and campaigns. What is new though, is the possibility to apply comprehensive aspects immediately upon upload by setting up automations such as:
- AI-powered content recognition that can identify objects, scenes, colors, and people in images.
- Extraction of embedded metadata from file properties like camera settings, creation date, and location.
- Integration with third-party systems to maintain metadata consistency within your assets. For example, product photography can be automatically tagged with the correct product IDs, campaign assets can inherit campaign-specific metadata, and usage rights can be applied based on source or creator information.
Localizing media assets
For global organizations, effective media asset localization is essential for delivering exceptional user experiences across different regions. This can be achieved by:
- Enriching assets with region-specific metadata to ensure proper contextual usage. Add country-specific usage rights, regional campaign tags, market-specific product descriptions, or localized seasonal relevance indicators. For example, an image might have aspects indicating it's approved for European markets but not North American ones. It might contain culturally-specific content appropriate only for certain regions.
- Create region-specific collections to organize assets by market or territory.
- Implement language-specific aspects to quickly filter assets by supported languages.
- Track regional usage rights with expiration dates to maintain compliance.
- Apply cultural context aspects to prevent inappropriate asset usage across regions.
Optimizing workflow efficiency
- Document your organization's media management guidelines.
- Train team members on best practices for asset uploading and tagging.
- Establish clear naming conventions for collections.
- Use aspects consistently across similar asset types.
- Use bulk operations for efficient updates to multiple assets.
- Establish clear roles and responsibilities for media management.
- Set up automated workflows for common tasks like archiving outdated assets.
Continue learning
Official user guides
Ready to dive deeper? Explore official Sanity documentation for advanced features and best practices.
We recommend you start with our Media Library Overview.
Glossary of common terms
Understanding the terminology used in Sanity Media Library will help you navigate the system more effectively:
- Aspects: Metadata attributes attached to assets that describe their properties, usage rights, and relationships to other content.
- Asset sidebar: Panel displaying detailed information and editing options for a selected asset.
- Asset versions: Different iterations of the same asset that allow for controlled updates and tracking of usage.
- Bulk operations: Actions performed on multiple assets simultaneously.
- Collections: Curated groups of assets organized for specific purposes like campaigns, projects, or themes.
- Filters: Controls that help narrow down asset search results based on specific criteria.
- Sync: Process of updating asset versions across multiple references.
- Usage tracking: Feature that shows where assets are being used across your content.