Sanity Connect for Salesforce Commerce Cloud
Install, configure, and use Sanity Connect to sync SFCC catalogs into Sanity and power enriched composable storefronts.
Sanity Connect for Salesforce Commerce Cloud (SFCC) synchronizes your B2C Commerce product catalog into Sanity, where your team can enrich it with editorial content such as rich text, media, localized copy, and custom fields, without touching SFCC directly. The enriched content is then available to any frontend that can query Sanity's APIs, including the SFCC PWA Kit.
The connector has three parts:
- SFCC Cartridge: runs inside your B2C Commerce instance and pushes product and category data into Sanity
- Sanity Studio plugin (
@sanity/sfcc): adds SFCC-aware document schemas, structure, and UI to your Studio - PWA Kit integration: utilities and patterns for fetching Sanity-enriched content from your composable storefront, including live preview of draft changes
How it works
The SFCC Cartridge hooks into B2C Commerce's job framework to perform an initial full catalog sync and then keeps Sanity up to date as products and categories change. Each SFCC product and category becomes a document in Sanity, carrying read-only commerce fields (like ID, name, prices, variants) alongside editable fields that your editors control to enrich your content.
On the storefront side, any frontend can fetch this enriched content from Sanity at runtime, merging it with product data returned by the Salesforce Commerce API.
The PWA Kit is a common choice for composable storefronts built on SFCC, but Next.js, Nuxt, Astro, Remix, and other frameworks work equally well.
Requirements
Before you begin, make sure you have:
- A Sanity project with an API token with Editor write access. Create a new project
- A Salesforce B2C Commerce instance with access to Business Manager and permissions to manage cartridge paths, import metadata, configure services, and manage jobs.
- Your Sanity project details: Project ID, dataset name and API token.
Protip
Always install and validate in a sandbox before deploying to staging or production.
Part 1: Install the SFCC Cartridge
The int_sanity_connect cartridge runs inside your B2C Commerce environment and synchronizes catalog data, categories and products, to Sanity using the SFCC Jobs framework and Sanity's API.
1.1 Add the cartridge to your codebase
Clone the connector repository and place the int_sanity_connect cartridge into your SFCC codebase alongside your other cartridges:
git clone https://github.com/sanity-io/sanity-sfcc.git
Your cartridge directory should look something like this:
/cartridges
   /app_storefront_base
   /int_sanity_connect
1.2 Deploy to your instance
Deploy the cartridge using your standard deployment process – CI/CD pipeline, WebDAV upload, or UX Studio. Confirm the cartridge is present in the instance after deployment before proceeding.
1.3 Update the cartridge path
- Log into Business Manager.
- Navigate to Administration → Sites → Manage Sites.
- Select your site and open the Settings tab.
- Locate the Cartridges field and add the cartridge to the path, for example:
int_sanity_connect:app_storefront_base. - Select Apply.
- Clear the cache: Administration → Sites → Manage Sites → Clear Cache.
Cartridge order matters
If the cartridge extends or overrides logic, position it accordingly relative to other cartridges in the path.
1.4 Import metadata
The cartridge ships with required metadata in the /metadata folder, which registers the site preferences, custom object types, services, and jobs used by the connector.
Step 1 – Prepare the ZIP file
Zip the /metadata folder from the repository.
Step 2 – Upload the ZIP
- In Business Manager, navigate to Administration → Site Development → Site Import & Export.
- Under the Import section, select Choose File and select your ZIP.
- Select Upload.
Step 3 – Run the import
- Select the uploaded ZIP file.
- Click Import.
- Monitor the import status. You should see Status: Finished with no errors in the logs.
1.5 What gets created after import
After a successful import, the following are available in Business Manager:
- Site preferences: a Sanity group under Merchant Tools → Site Preferences → Custom Preferences holding all cartridge configuration values.
- Custom object type:
sanityProductFeedLastSyncInfo, which stores the timestamp of the last successful product sync for use by the delta job. - Service:
sanity.http.apiunder Administration → Operations → Services. - Jobs:
FULL_Sanity_Export_Categories_and_ProductsandDELTA_Sanity_Export_Categories_and_Productsunder Administration → Operations → Jobs.
See the Sanity Connect for SFCC reference for the full list of site preferences, attribute mapping configuration, and job step parameters.
1.6 Configure the site preferences
Navigate to Merchant Tools → Site Preferences → Custom Preferences → Sanity and fill in the values for your environment. The three fields you must set to get syncing are:
| Preference ID | Description |
|---|---|
| sanityProjectId | Your Sanity project ID |
| sanityDataset | Your target dataset, e.g., production |
| sanityBearerToken | Your Sanity API token, with write access |
Also ensure that isSanityIntegrationEnabled is set to true to activate the integration. For the full list of available preferences, see the reference doc.
Keep your bearer token secure. The sanityBearerToken field is stored as a Password type and is masked in Business Manager. Use a dedicated token for the cartridge and rotate it via sanity.io/manage if it is ever exposed.
1.7 Verify the service
Navigate to Administration → Operations → Services and confirm the sanity.http.api service is listed. If it is not visible, re-import the metadata ZIP and check the import logs for errors.
1.8 Full catalog sync
The FULL_Sanity_Export_Categories_and_Products job performs a complete sync of all categories and products from your SFCC catalog to Sanity. Run this job manually for your initial import and whenever you need to resync the full catalog.
The job contains multiple steps, one per locale, so if your storefront supports multiple locales, confirm that each locale has a corresponding step configured before running. See the job step parameters reference for the full list of options.
To run the job: navigate to Administration → Operations → Jobs, open FULL_Sanity_Export_Categories_and_Products, and select Run Now. Monitor the execution status and check the logs to confirm no errors and that records were sent to Sanity.
The full sync creates one Sanity document per product, variant, and category. This counts towards your Sanity plan's document limit. Check your usage at sanity.io/manage.
1.9 Delta sync (scheduled)
The DELTA_Sanity_Export_Categories_and_Products job sends only products modified since the last successful sync, using the timestamp stored in the sanityProductFeedLastSyncInfo custom object. All categories are always included in each delta run.
This job should be set up on a recurring schedule to keep Sanity up to date as catalog changes happen in SFCC. Configure the schedule under the job's Schedule & History tab in Business Manager.
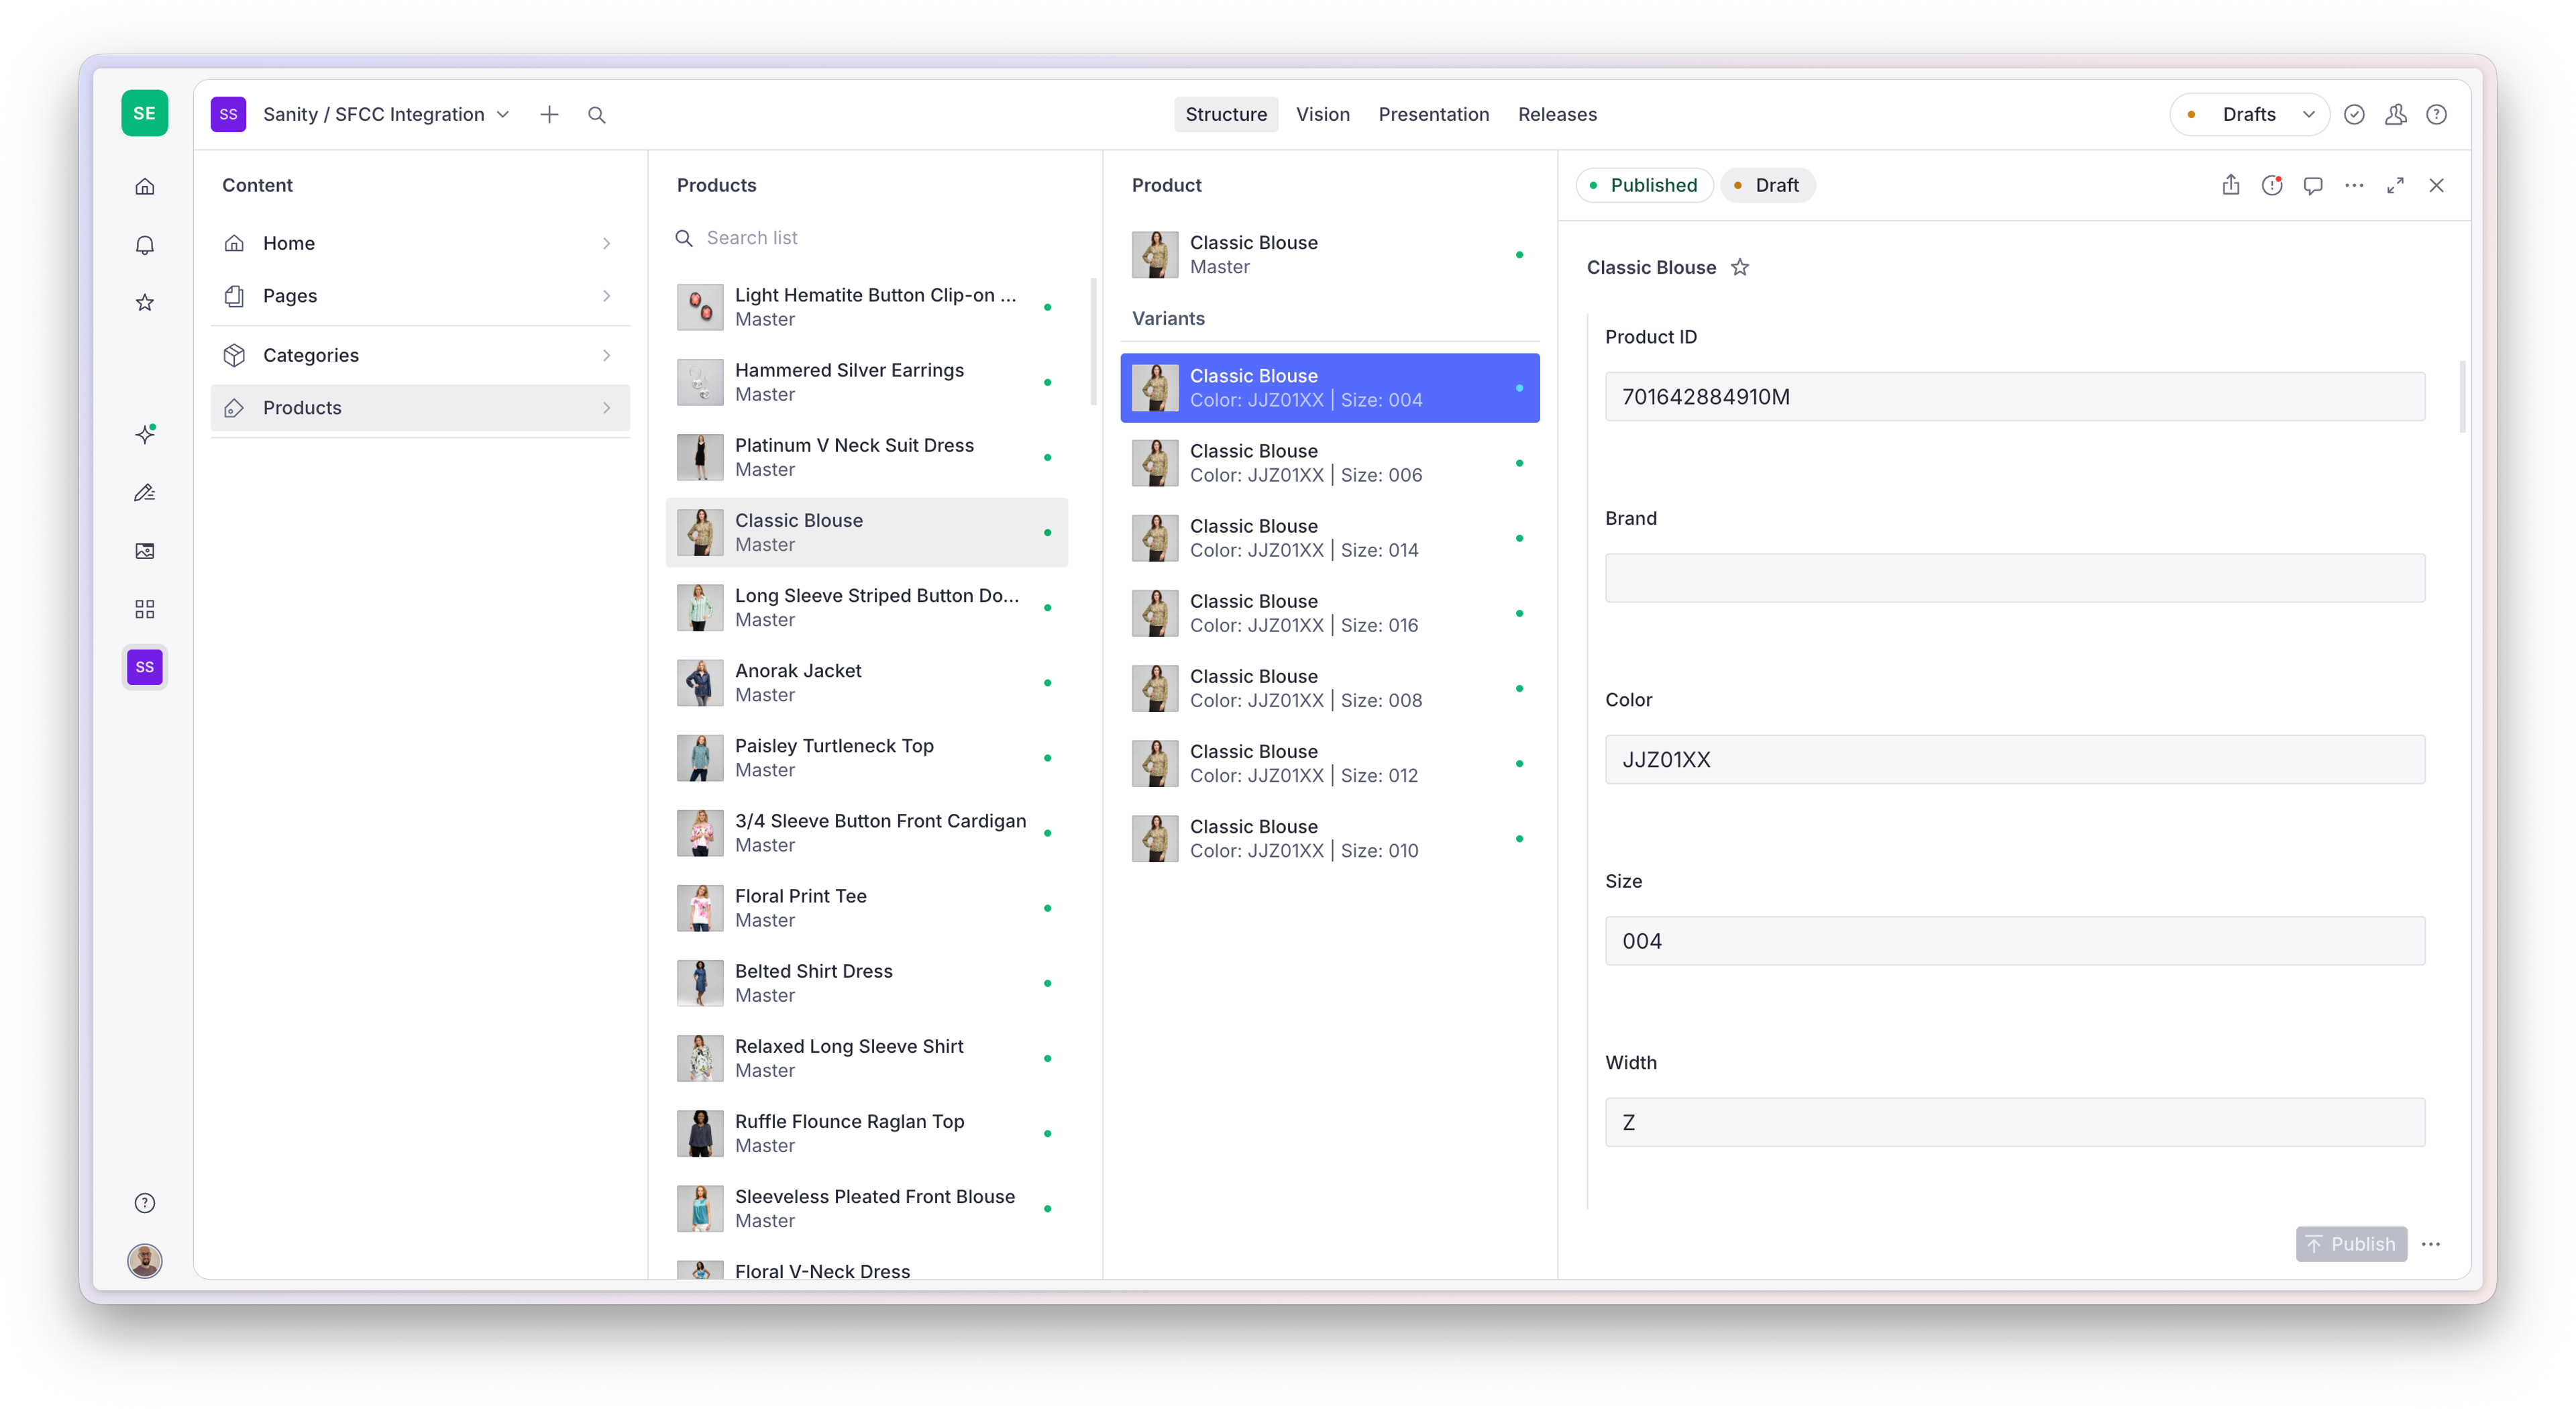
Part 2: Set up your Sanity Studio
The @sanity/sfcc package provides schema building blocks, desk structure helpers, document actions, and UI components for working with SFCC-synced data in Sanity Studio. Rather than registering document types for you, it gives you the pieces to compose your own product and category document types – so you can add whatever editorial fields your team needs alongside the read-only SFCC data.
2.1 Install the plugin
In your Studio project:
npm install @sanity/sfcc sanity-plugin-internationalized-array
pnpm add @sanity/sfcc sanity-plugin-internationalized-array
yarn add @sanity/sfcc sanity-plugin-internationalized-array
bun add @sanity/sfcc sanity-plugin-internationalized-array
sanity-plugin-internationalized-array is required because the synced SFCC store fields use its internationalizedArrayString and internationalizedArrayText types for localized product and category data.
2.2 Configure the plugins
Add sfccPlugin() and internationalizedArray() to your sanity.config.ts. Configure internationalizedArray with the languages your SFCC instance supports. These should match the locales configured in the cartridge job steps:
import { sfccPlugin } from '@sanity/sfcc'
import { defineConfig } from 'sanity'
import { internationalizedArray } from 'sanity-plugin-internationalized-array'
import { structureTool } from 'sanity/structure'

export default defineConfig({
  // ...
  plugins: [
    structureTool({ structure }), // see step 4
    sfccPlugin(),
    internationalizedArray({
      languages: [
        { id: 'en_US', title: 'English' },
        { id: 'fr', title: 'French' },
      ],
      defaultLanguages: ['en_US'],
      fieldTypes: ['string', 'text'],
    }),
  ],
  schema: {
    types: [productType, categoryType], // see step 3
  },
})
2.3 Define your document types
Create your product and category document types using the building blocks exported from @sanity/sfcc. Each type should include the relevant store field (which holds all the read-only synced SFCC data), the preview config, and the offline banner – then add your own fields alongside them:
import { PackageIcon, TagIcon } from '@sanity/icons'
import {
  sfccCategoryPreview,
  sfccCategoryStoreField,
  sfccProductPreview,
  sfccProductStoreField,
  sfccRenderMembers,
} from '@sanity/sfcc'
import { defineField, defineType } from 'sanity'

export const productType = defineType({
  name: 'product',
  title: 'Product',
  type: 'document',
  icon: TagIcon,
  renderMembers: sfccRenderMembers,
  fields: [
    // Add your own enrichment fields here
    defineField({
      name: 'promotionalContent',
      title: 'Promotional Content',
      type: 'array',
      of: [{ type: 'block' }],
    }),
    // Read-only synced SFCC data
    sfccProductStoreField,
  ],
  preview: sfccProductPreview,
})

export const categoryType = defineType({
  name: 'category',
  title: 'Category',
  type: 'document',
  icon: PackageIcon,
  renderMembers: sfccRenderMembers,
  fields: [
    defineField({
      name: 'name',
      title: 'Name',
      type: 'string',
    }),
    sfccCategoryStoreField,
  ],
  preview: sfccCategoryPreview,
})
2.4 Set up the studio structure
Use the exported structure builders to organize products and categories in the Studio sidebar, with Master/Simple products grouped alongside their variants:
import { categoryStructure, productStructure } from '@sanity/sfcc'
import { type StructureResolver } from 'sanity/structure'

export const structure: StructureResolver = (S, context) =>
  S.list()
    .title('Content')
    .items([
      categoryStructure(S, context),
      productStructure(S, context),
      S.divider(),
      ...S.documentTypeListItems().filter((item) => {
        const id = item.getId()
        return id ? !['category', 'product'].includes(id) : false
      }),
    ])
2.5 What the plugin provides
sfccPlugin() itself registers two behaviours for documents of type product and category:
- The duplicate action is removed. These documents are managed by the SFCC sync process, not created manually.
- The delete action is replaced with a custom version that, for products, also deletes all associated variant documents in a single transaction.
- Both types are hidden from the Create new document menu for the same reason.
The individual building block exports, like sfccProductStoreField, sfccCategoryStoreField, sfccRenderMembers, the preview configs, and the structure builders, are what you compose into your own document types as shown in steps 2.3 and 2.4 above.
Part 3: Integrate your storefront
Sanity's APIs are framework-agnostic. You can query enriched content from any frontend using GROQ over HTTP. The connector repository includes a PWA Kit demo application that shows one way to approach this integration, and it's a useful reference regardless of which framework you're using.
This is an example, not a template.
The demo is built on the @salesforce/retail-react-app extensibility framework using the PWA Kit overrides pattern. Study it as a reference for key patterns, but don't treat it as a drop-in starting point for production. Browse the demo source
3.1 The sanity/ module
All Sanity-related code in the demo is consolidated under overrides/app/sanity/:
overrides/app/sanity/
  lib/
    client.js      – Browser-side Sanity client (CDN-enabled, no token)
    server.js      – Server-side published and preview clients
    queries.js     – All GROQ queries, defined with defineQuery()
    queryStore.js  – SSR query store, useSanityQuery hook
    image.js       – Image URL builder and responsive image helper
    utils.js       – Link resolution and marketing tile insertion
  components/
    SanityLink.jsx           – Internal/external link component
    visual-editing.jsx       – Presentation tool visual editing integration
    draft-mode-indicator.jsx – Preview mode banner
The key architectural decisions in this structure are worth understanding before adapting for your own frontend:
Server/browser client separation. server.js creates two clients: a published client (CDN, no token) and a preview client (no CDN, token-authenticated). The browser client in client.js never receives the API token. All client-side GROQ queries are proxied through a /api/sanity/query server endpoint that selects the right client based on cookie state.
Centralised queries. queries.js defines all GROQ queries in one place using defineQuery() from the groq package. Reusable fragments handle image and link projections so queries return pre-shaped data that components can use directly.
Feature flag. A SANITY_INTEGRATION_ENABLED environment variable gates all Sanity rendering. Setting it to false disables Sanity content completely without code changes.
3.2 Wiring into ssr.js
The demo's overrides/app/ssr.js adds three things on top of the standard PWA Kit server:
Preview endpoints. GET /api/preview/enable validates the secret from the Sanity Presentation tool (using @sanity/preview-url-secret), sets an HTTP-only signed cookie with the preview perspective, and redirects. GET /api/preview/disable clears the cookie.
Preview middleware. On every request, the middleware reads the __sanity_preview cookie. If valid, it sets res.locals.isPreview, res.locals.previewPerspective, and res.locals.sanityPreviewToken. Downstream code uses these to swap the Sanity client.
GROQ proxy endpoint. POST /api/sanity/query executes GROQ queries server-side, selecting the published or preview client based on res.locals. This keeps the API token out of the browser entirely.
The server also adds *.sanity.io to the Content Security Policy for images, connections, frames, and frame ancestors (to allow the Presentation tool to embed the storefront).
3.3 Wiring into _app-config/index.jsx
overrides/app/components/_app-config/index.jsx is the PWA Kit app wrapper, and is where the demo wires in the per-request Sanity client swap and the visual editing components:
// Swap the Sanity server client per-request during SSR
if (res?.locals?.isPreview && res.locals.sanityPreviewToken) {
    setServerClient(createPreviewClient(res.locals.sanityPreviewToken, res.locals.previewPerspective))
} else if (typeof window === 'undefined') {
    setServerClient(createPublishedClient())
}
It also mounts the two Sanity UI components:
<DraftModeIndicator />
{typeof window !== 'undefined' && window.self !== window.top && <SanityVisualEditing />}
DraftModeIndicator shows a fixed banner when the __sanity_preview cookie is active (but not inside the Presentation tool iframe). SanityVisualEditing enables stega encoding and live mode only when the app is running inside the Presentation tool.
3.4 Fetching Sanity data in a page
Page components use the useSanityQuery hook from queryStore.js. On the server it calls loadQuery directly; on the client it proxies through /api/sanity/query. The result is passed to useQuery from @sanity/react-loader, which enables live updates when the Presentation tool is active.
The home page is the simplest example:
import {useSanityQuery} from '../../sanity/lib/queryStore'
import {HOMEPAGE_QUERY} from '../../sanity/lib/queries'

const {data: sanityHomepage} = useSanityQuery(HOMEPAGE_QUERY, {id: 'home-page'})
const hero = sanityHomepage?.hero
const marketingTiles = sanityHomepage?.marketingTiles

// Rendering is gated by the feature flag and the presence of data
{isSanityIntegrationEnabled && hero && <HeroBanner heroData={hero} />}
{isSanityIntegrationEnabled && marketingTiles && <MarketingTilesCarousel tiles={marketingTiles} />}
The category and product detail pages follow the same pattern, using CATEGORY_QUERY and PRODUCT_QUERY respectively.
3.5 Environment variables
The demo uses the following environment variables. The SANITY_STUDIO_* variables are set in .env. SANITY_API_READ_TOKEN must be set as a server-side environment variable only and never committed to source control.
| Variable | Purpose |
| SANITY_STUDIO_PROJECT_ID | Sanity project ID |
| SANITY_STUDIO_DATASET | Sanity dataset name |
| SANITY_STUDIO_API_VERSION | Sanity API version date string, e.g. 2025-05-30 |
| SANITY_INTEGRATION_ENABLED | Feature flag – set to false to disable all Sanity rendering |
| SANITY_API_READ_TOKEN | Server-only viewer token for preview/draft mode – never expose to the browser |
Cookie configuration required for preview mode
Preview mode relies on the __sanity_preview cookie being set and read server-side. Two settings need to be in place:
Local development: set localAllowCookies: true in the options object in ssr.js.
MRT deployment: enable the equivalent cookie-handling setting in the Managed Runtime dashboard for your environment. Without this, MRT will strip cookies and preview mode will not function.