Create an array input field with selectable templates
Make repetitive content creation tasks a breeze by supplying content creators with buttons to populate complex fields.
This developer guide was contributed by Simeon Griggs (Principal Educator).
Make repetitive content creation tasks a breeze by supplying content creators with buttons to populate complex fields.
What you need to know:
This guide assumes that you know how to set up and configure a Sanity Studio and have basic knowledge about defining a schema with document and field types. Basic knowledge of React and TypeScript is also useful, although you should be able to copy-paste the example code to get a runnable result.
Custom form components by example
One of Sanity Studio’s most powerful features is custom drop-in replacements for form fields. This guide is one in a series of code examples.
You can get more familiar with the Form Components API in the documentation.
- Create a “coupon generator” string field input
- Create a visual string selector field input
- Create a survey rating number field input
- Create a time duration object field
- Create an array input field with selectable templates
- Create interactive array items for featured elements
- Create richer array item previews
- Create a document form progress component
What you’ll be making
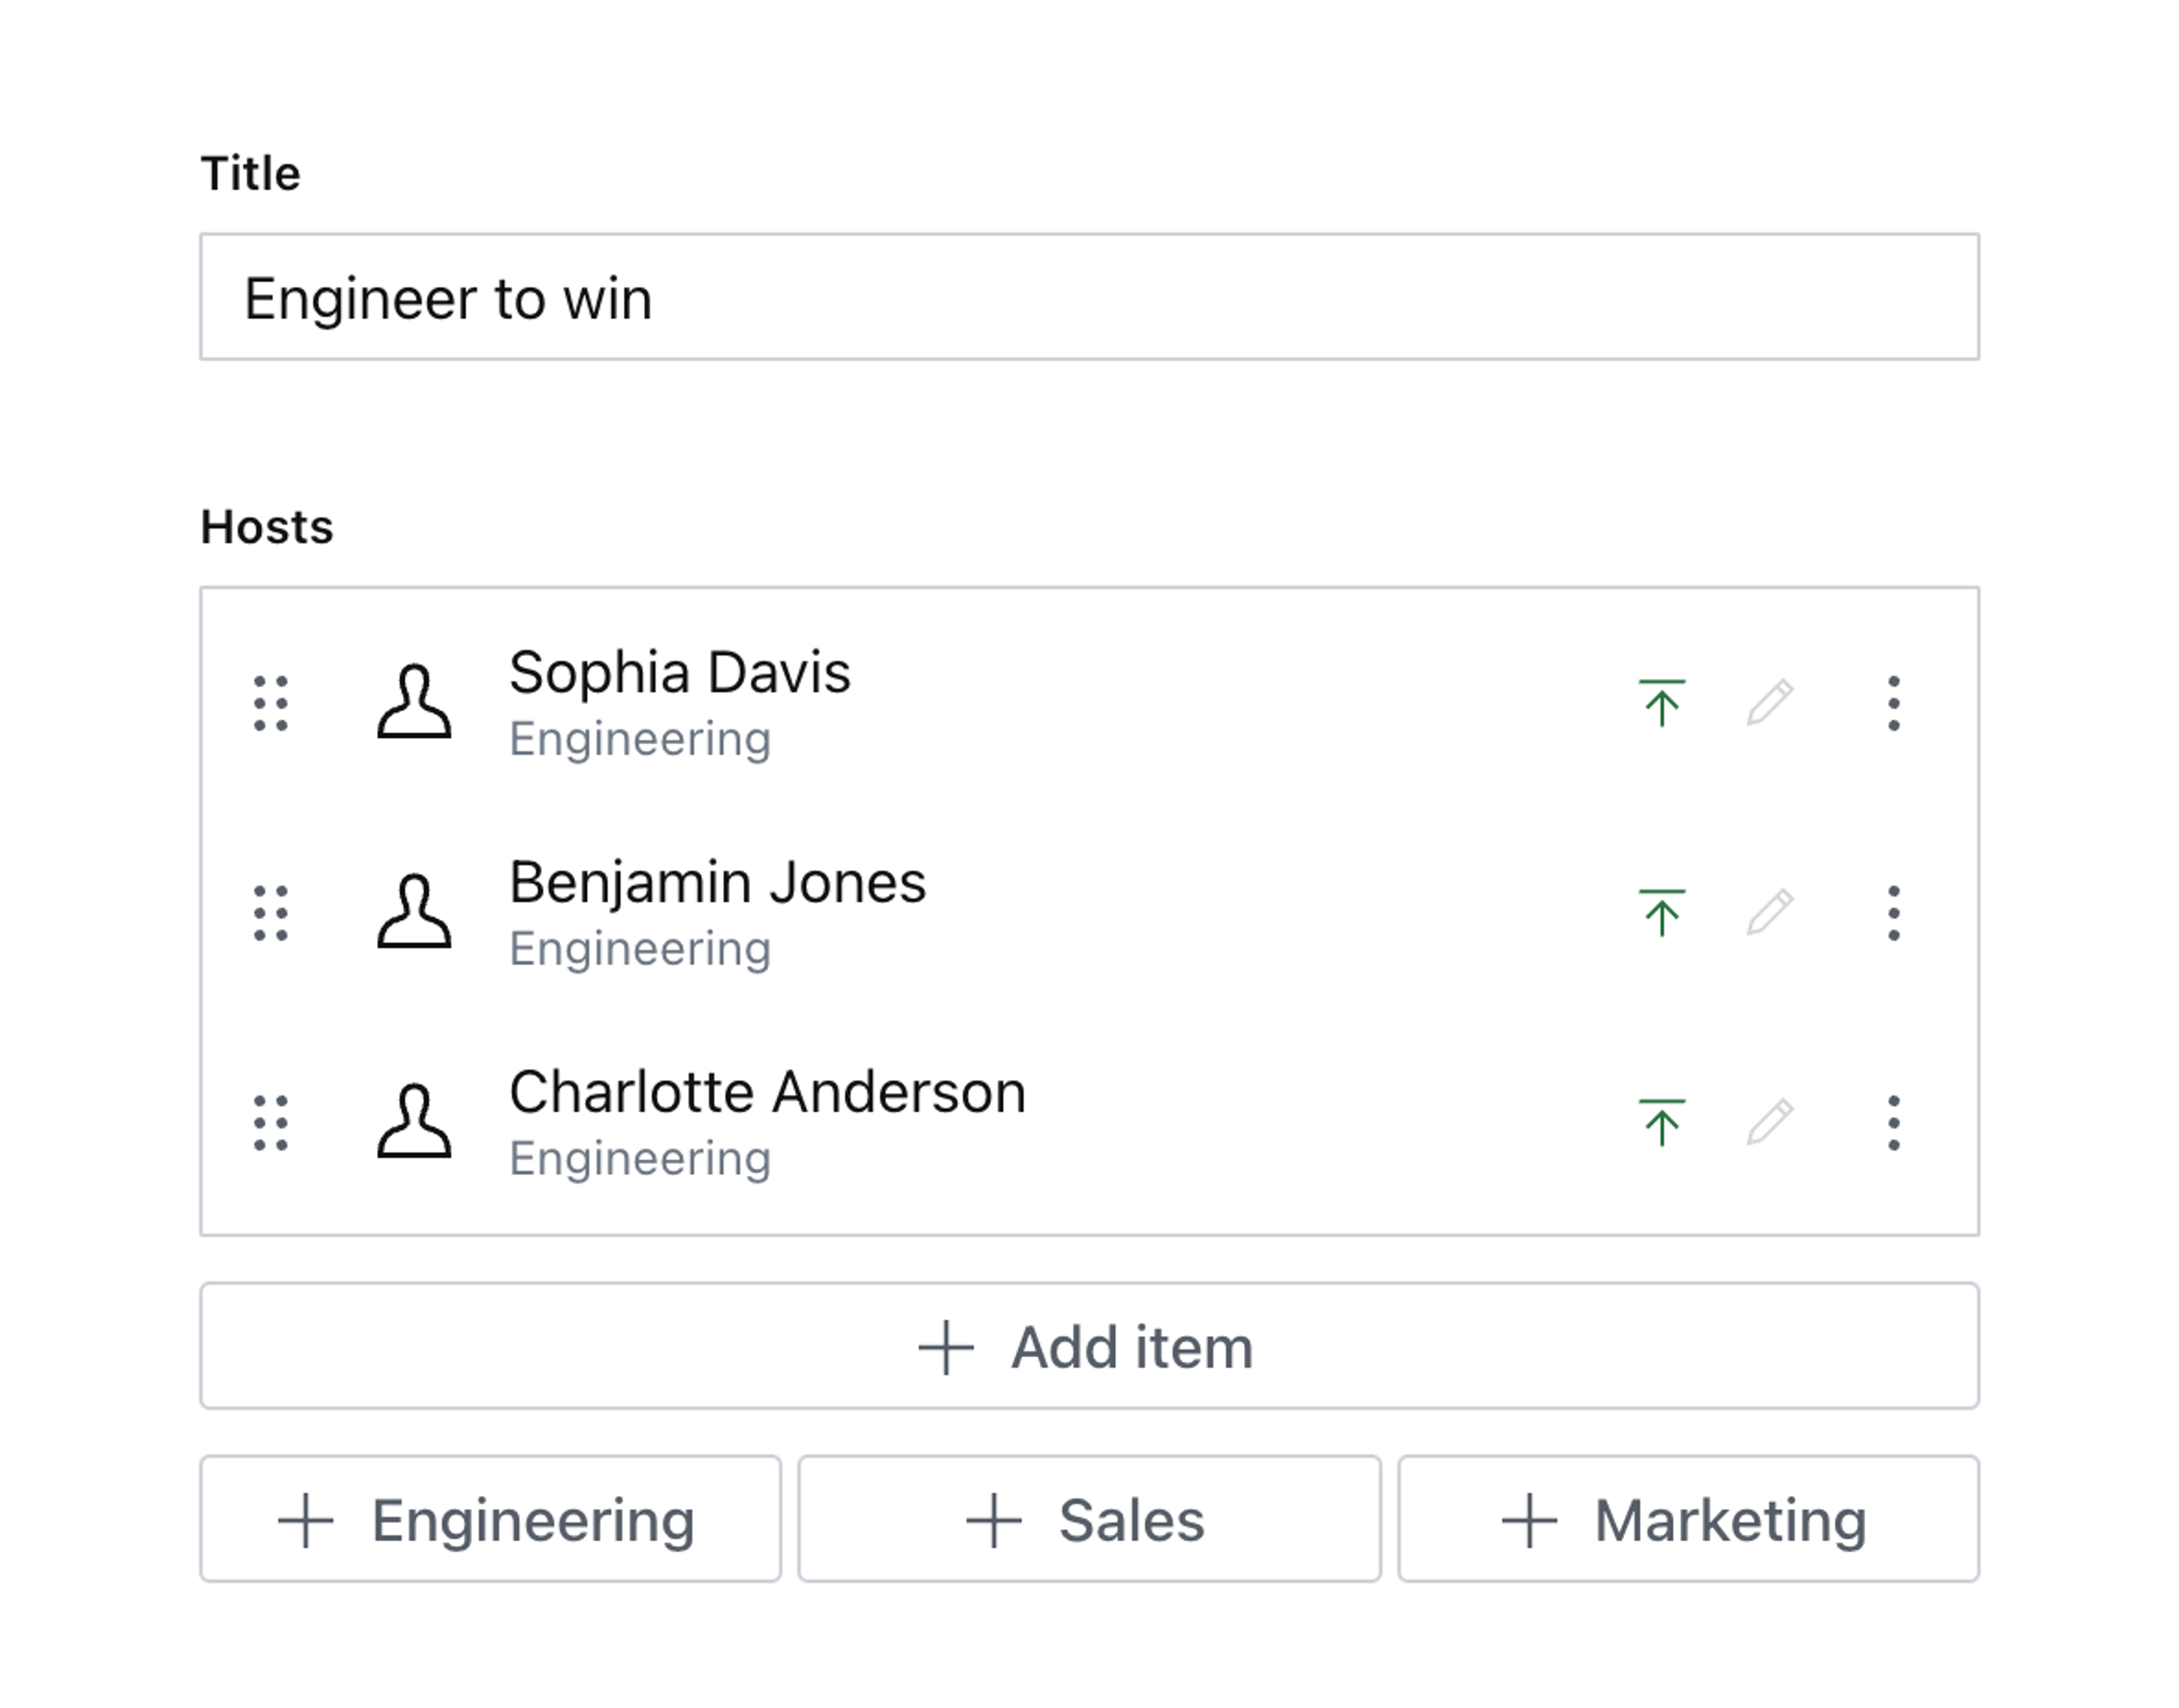
An array field with additional buttons that can add multiple items to the field. The buttons let you add multiple array items based on an assumed value in the referenced documents. In the video example below, you can see that selecting “+ Sales” add items with references to people who belong to the Sales department, as defined in their person document.
Setting the stage
In this example, you’ll be working on a seminar type document with a field named hosts which is an array of references to people documents.
For this imagined scenario, our content creators regularly create new seminar documents, but the same people tend to host the same one based on the topic. Instead of making authors search and add each person one-by-one – we can provide them with some buttons to instantly add all people of a specific type, which they can then edit.
To prepare, create some new schema type files, first a person document type:
// ./schema/personType.ts

import {defineField, defineType} from 'sanity'
import {UserIcon} from '@sanity/icons'

export const DEPARTMENTS = [
  {title: 'Engineering', value: 'engineering'},
  {title: 'Sales', value: 'sales'},
  {title: 'Marketing', value: 'marketing'},
]

export const personType = defineType({
  name: 'person',
  title: 'Person',
  type: 'document',
  icon: UserIcon,
  fields: [
    defineField({
      name: 'name',
      type: 'string',
    }),
    defineField({
      name: 'department',
      type: 'string',
      options: {list: DEPARTMENTS},
    }),
  ],
  preview: {
    select: {
      name: 'name',
      department: 'department',
    },
    prepare(selection) {
      const {name, department} = selection
      return {
        title: name,
        subtitle: DEPARTMENTS.find((item) => item.value === department)?.title,
      }
    },
  },
})
Second, the hosts array of references:
// ./schema/hosts/hostsType.ts

import {defineField, defineType} from 'sanity'

export const hostsType = defineType({
  name: 'hosts',
  title: 'Hosts',
  type: 'array',
  of: [
    defineField({
      name: 'host',
      type: 'reference',
      to: [{type: 'person'}],
    }),
  ],
})
Lastly, the seminar document:
// ./schema/seminarType.ts

import {defineField, defineType} from 'sanity'

export const seminarType = defineType({
  name: 'seminar',
  title: 'Seminar',
  type: 'document',
  fields: [
    defineField({
      name: 'title',
      type: 'string',
    }),
    defineField({
      name: 'hosts',
      type: 'hosts',
    }),
  ],
})
Create these schema type files and ensure they’re imported to your schema in sanity.config.ts.
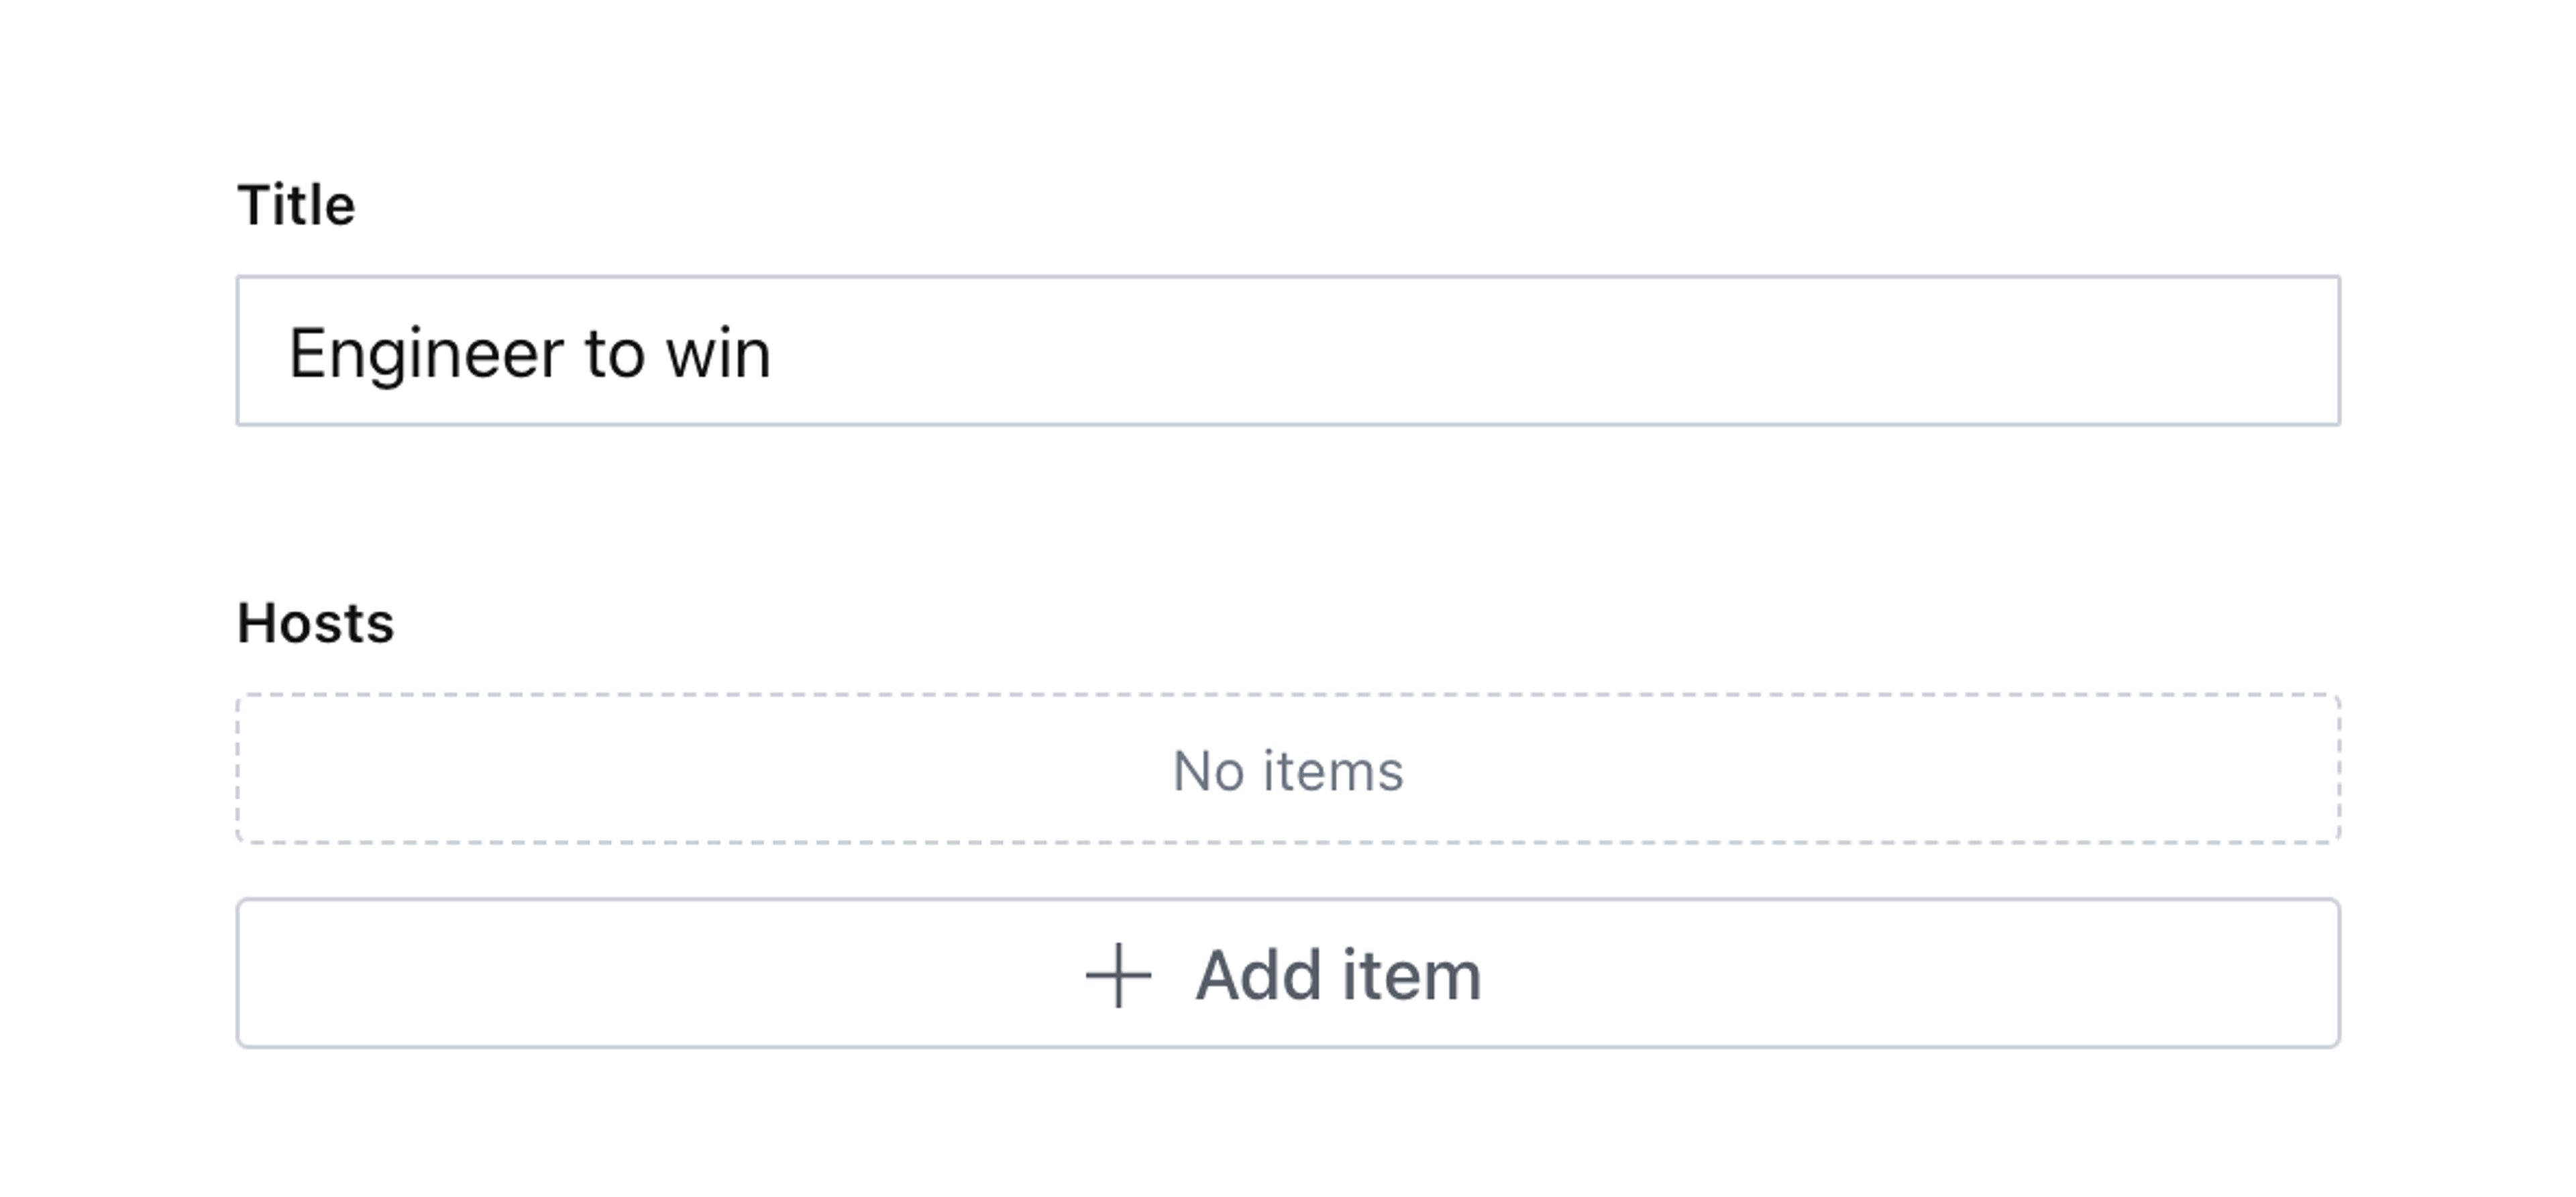
Once complete, you should be able to compose a new seminar document that looks like this:
This works, but it’s time-consuming! Each person needs to be added individually. Looking up people by their department is time consuming. You can quickly customize this to make it better!
Create a decorated component
When we talk about “decorated” components, it still uses the same customization API as seen in other custom form component guides (links in the introduction). It simply means we are only adding extra detail or interactivity around the field and not directly changing how it works.
In the code example below, the default array input is rendered by the props.renderDefault(props) callback. This is useful because the array input is such a complex piece of the Studio; it wouldn’t be pleasant to try and recreate it!
Also, decorated inputs can compose. You may have a plugin that also wraps your input to bring additional functionality. As often as you can render the default input and let the Studio resolve the component, the better.
Make a new component in your project:
// ./schema/hosts/HostsInput.tsx

import {Grid, Stack, Button} from '@sanity/ui'
import {AddIcon} from '@sanity/icons'
import {ArrayOfObjectsInputProps} from 'sanity'
import {DEPARTMENTS} from '../personType'

export function HostsInput(props: ArrayOfObjectsInputProps) {
  return (
    <Stack space={3}>
      {props.renderDefault(props)}
      <Grid columns={DEPARTMENTS.length} gap={1}>
        {DEPARTMENTS.map((department) => (
          <Button key={department.value} icon={AddIcon} text={department.title} mode="ghost" />
        ))}
      </Grid>
    </Stack>
  )
}
Then update your hosts field to use it
// ./schemas/hosts/hostsType.ts
import {HostsInput} from './HostsInput'
export const hostsType = defineType({
name: 'hosts',
// ...all other settings
components: {input: HostsInput},
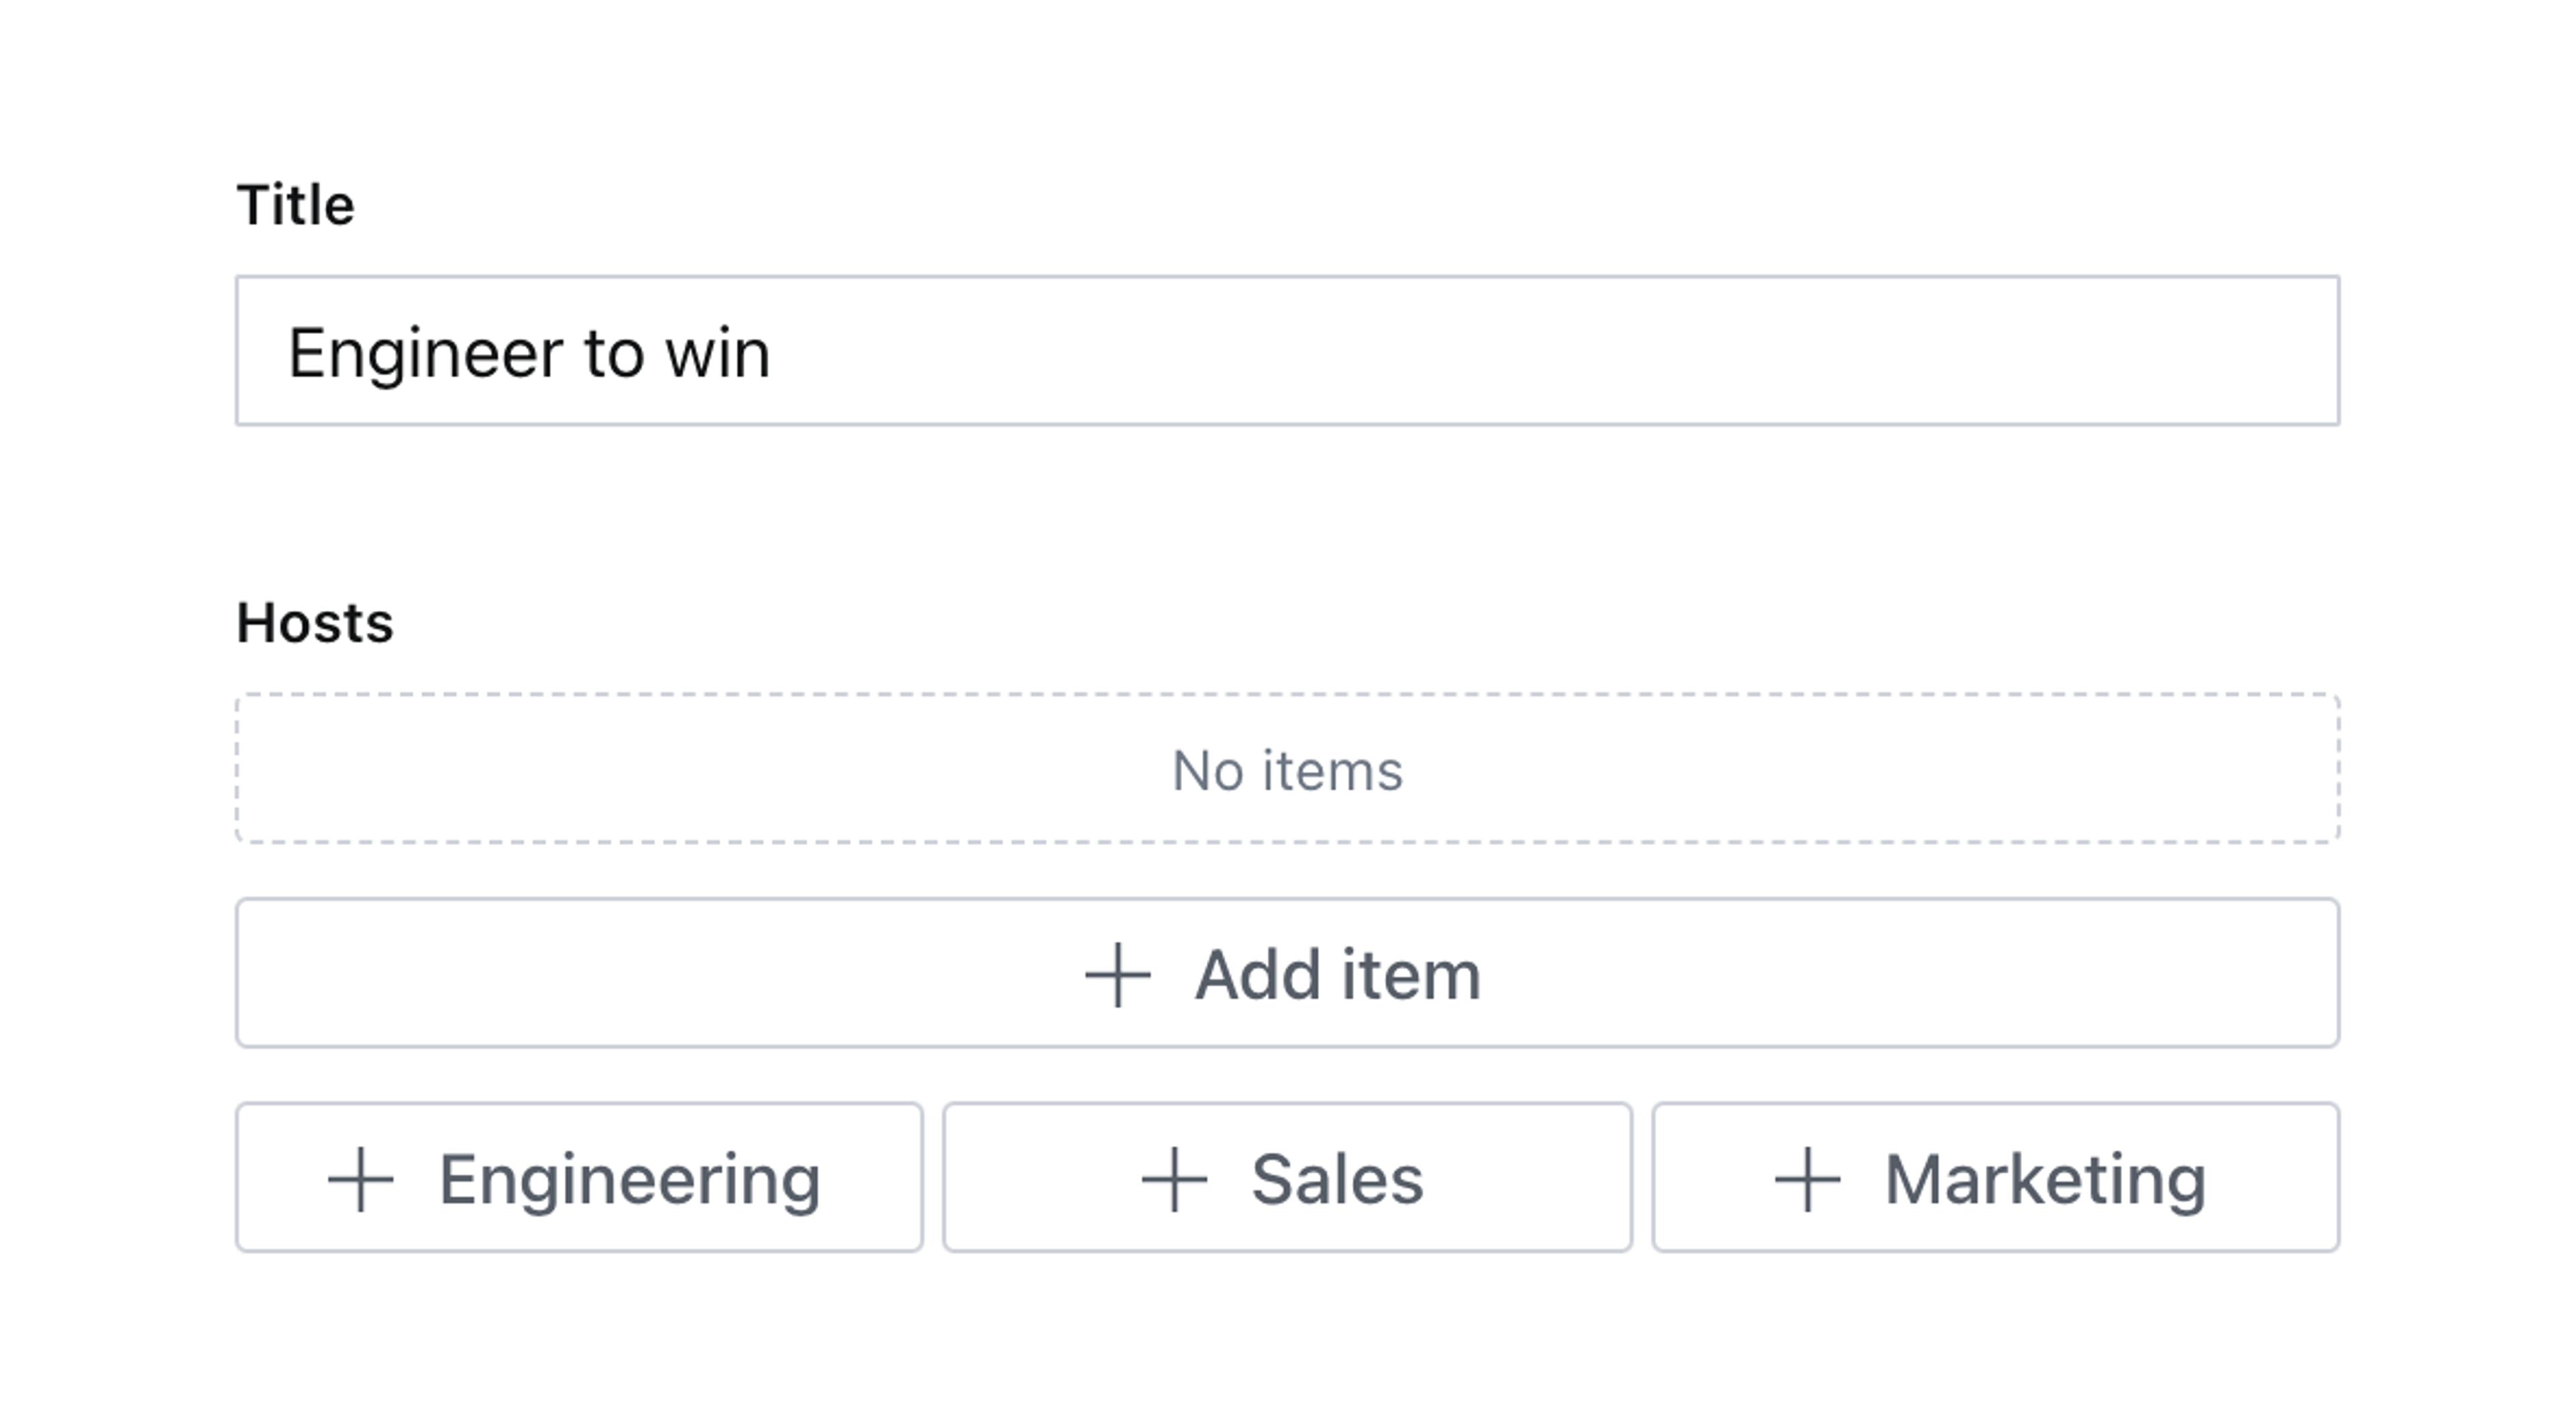
})Now create or edit a new seminar document and you will see the decorated hosts array with some extra buttons.
Extra buttons that right now don’t do anything.
Ideally, when clicked, a query is run to find every person matching that department and attaches them as a reference to the array.
Fetch and use content from other documents
You’ll need to perform a few actions when a button is pushed:
- Perform a query to find every
persondocument that has the same department value as the one which was clicked - Map over every person and create an array item with a unique
_keyvalue, the correct_typevalue and a reference to the published person document_idas a_ref - Create an array of
insertpatches which will append each person to the end of the array - Set the initial empty array value on the field if it is missing
The code below performs all of that!
// ./schema/hosts/HostsInput.tsx

import {Grid, Stack, Button} from '@sanity/ui'
import {AddIcon} from '@sanity/icons'
import {randomKey} from '@sanity/util/content'
import {ArrayOfObjectsInputProps, Reference, insert, setIfMissing, useClient} from 'sanity'
import {useCallback} from 'react'
import {DEPARTMENTS} from '../person'

export function HostsInput(props: ArrayOfObjectsInputProps) {
  const {onChange} = props

  const client = useClient({apiVersion: `2023-04-01`})

  // When a department button is clicked
  const handleClick = useCallback(
    async (event: React.MouseEvent<HTMLButtonElement>) => {
      // Find the value of the button, the department name
      const department = event.currentTarget.value

      const query = `*[
        _type == "person" &&
        department == $department &&
        !(_id in path("drafts.**"))
      ]._id`
      const peopleIds: string[] = (await client.fetch(query, {department})) ?? []
      const peopleReferences: Reference[] = peopleIds.map((personId) => ({
        _key: randomKey(12),
        _type: `host`,
        _ref: personId
      }))

      // Individually "insert" items to append to the end of the array
      const peoplePatches = peopleReferences.map((personReference) =>
        insert([personReference], 'after', [-1])
      )

      // Patch the document
      onChange([setIfMissing([]), ...peoplePatches])

      // To reset the array instead you'd do this:
      // onChange(set(peopleReferences))
    },
    [onChange, client]
  )

  return (
    <Stack space={3}>
      {props.renderDefault(props)}
      <Grid columns={DEPARTMENTS.length} gap={1}>
        {DEPARTMENTS.map((department) => (
          <Button
            key={department.value}
            value={department.value}
            icon={AddIcon}
            text={department.title}
            mode="ghost"
            onClick={handleClick}
          />
        ))}
      </Grid>
    </Stack>
  )
}
With this setup, you should now be able to click one of the buttons and see it populated with matching people – if those documents exist!
For a truly polished experience, you might like to add loading or patching states or toast pop-ups for feedback. See the next steps section below.
Next steps
Take this input to the next level by adding
- The
useToasthook from Sanity UI to notify instances where no people are found, or once a successful patch has been completed. - The
useStatehook could disable the field and all buttons while the patch is happening to prevent multiple clicks and race conditions. - Using the document store and a listening query, you could show a count of the number of people resolved by the query on the button itself before the button is clicked!