Published August 10, 2022
Create a podcasting web app with Sanity Podcast Studio

In this guide, I'll show you how to create a podcast web app using Sanity Podcast Studio, Next.js, and Vercel.
We all have a friend who started a podcast during the pandemic and stopped after the third episode.
Or maybe you’re like me, half-heartedly listening to at least three shows at the moment and still making time for another one.
Or maybe you’re more into creating your own show and you’re looking for a place to host it that’s not Spotify, Apple Podcasts, or Anchor.
If you’re in that last spot, using a headless CMS to host your podcast might be for you. We can choose a CMS like Sanity with powerful content modeling that will allow you to have your episodes live alongside your other content, be it blog posts, images, or additional content. Sanity’s content models and Sanity Studio are a great place to start, so my idea is to install a podcast content schema into Sanity Studio, build a frontend on Next.JS, and use GROQ to query the backend for data to present to visitors.
Before we start, I want to thank the Sanity community as a whole and two people in particular: Kitty Giraudel and Henrique Doro. Whatever you read in this article, I wrote only because I’m standing on the shoulders of some very generous giants!
1. Requirements
This is what you need to get started:
- Basic knowledge of JavaScript, React, and Next.js (Here’s a video tutorial to help get you started)
- Node.js installed
- Setting up the Sanity CLI
- Beginner GROQ knowledge for fetching data from your Sanity Studio
2. Initialize Sanity Studio
First things first, locate the place you want your app to live and create a folder there.
Next, head to sanity.io and click on “Get started.” Sign up or in with either Google or Github. Once you’re authenticated, Sanity will ask you to install Sanity Studio using the command line interface.
<aside> 💡 To make sure we’re installing Sanity in the right folder, go to your terminal or console and ´cd´ into your project folder.
</aside>
Now, paste this command into your console or terminal (I’m in the VSCode terminal).
npm install -g @sanity/cli && sanity init
Once you’ve installed and initialized Sanity, we need to set up a project. Select the “Create a new project” option and name your project. I named mine tuxedo-cats-podcast. Now your terminal will ask you if you want to use a starter project and will offer you a series of options, but for this tutorial let’s use ‘Clean project with no predefined schemas’. Now you should have a clean project where we will add the podcast schema.
3. Locate projectId
To find your projectId, go to your code editor and locate the sanity.json file. Inside there, you will find something like this:
"api": { "projectId": "7yydvelu", "dataset": "production" },
Our frontend will need that projectId when we are trying to connect a front end later, so copy it down now or keep this file open.
4. Start up Sanity Studio
Go back to your terminal and type:
sanity start
Ideally, you should get a “Content Studio successfully compiled! Go to http://localhost:3333” message. Control-click on the message, and you should see your instance of Sanity Studio.
Since we chose a project without any predefined schema, our UI should be rather barren, like this:
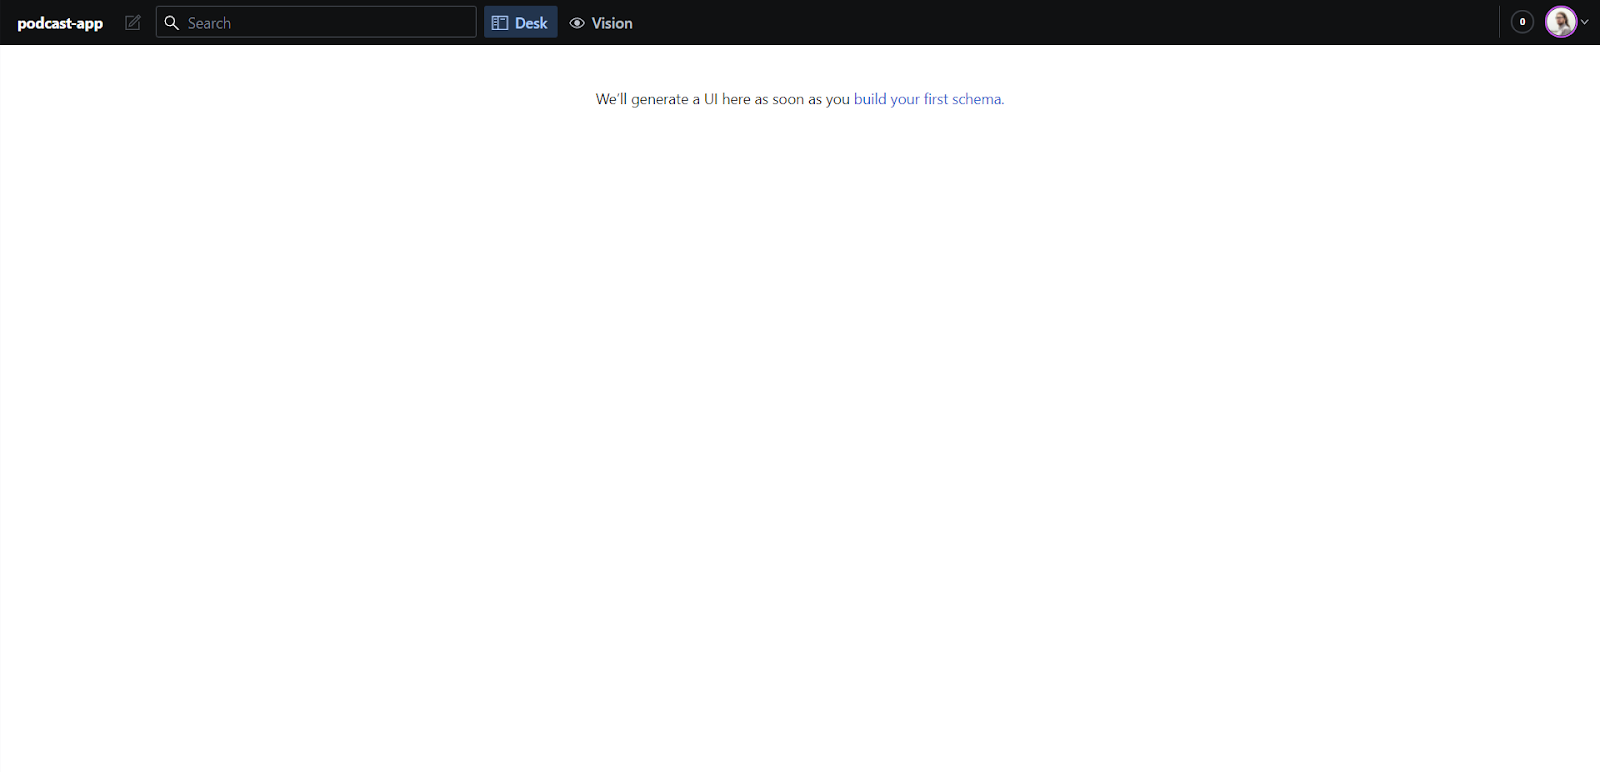
But don’t worry, we’ll fill this out with content in a minute.
5. Install Sanity Podcast Plugin
While there is a way to manually paste Sanity’s podcast schema, Knut, one of Sanity’s Developer Advocates, uploaded a handy podcast plugin to Github, and that’s what we’re going to use.
To install the plugin, let’s open another terminal, cd into our project, and type
sanity install podcast
Refresh your browser at http://localhost:3333, and you should see some changes.
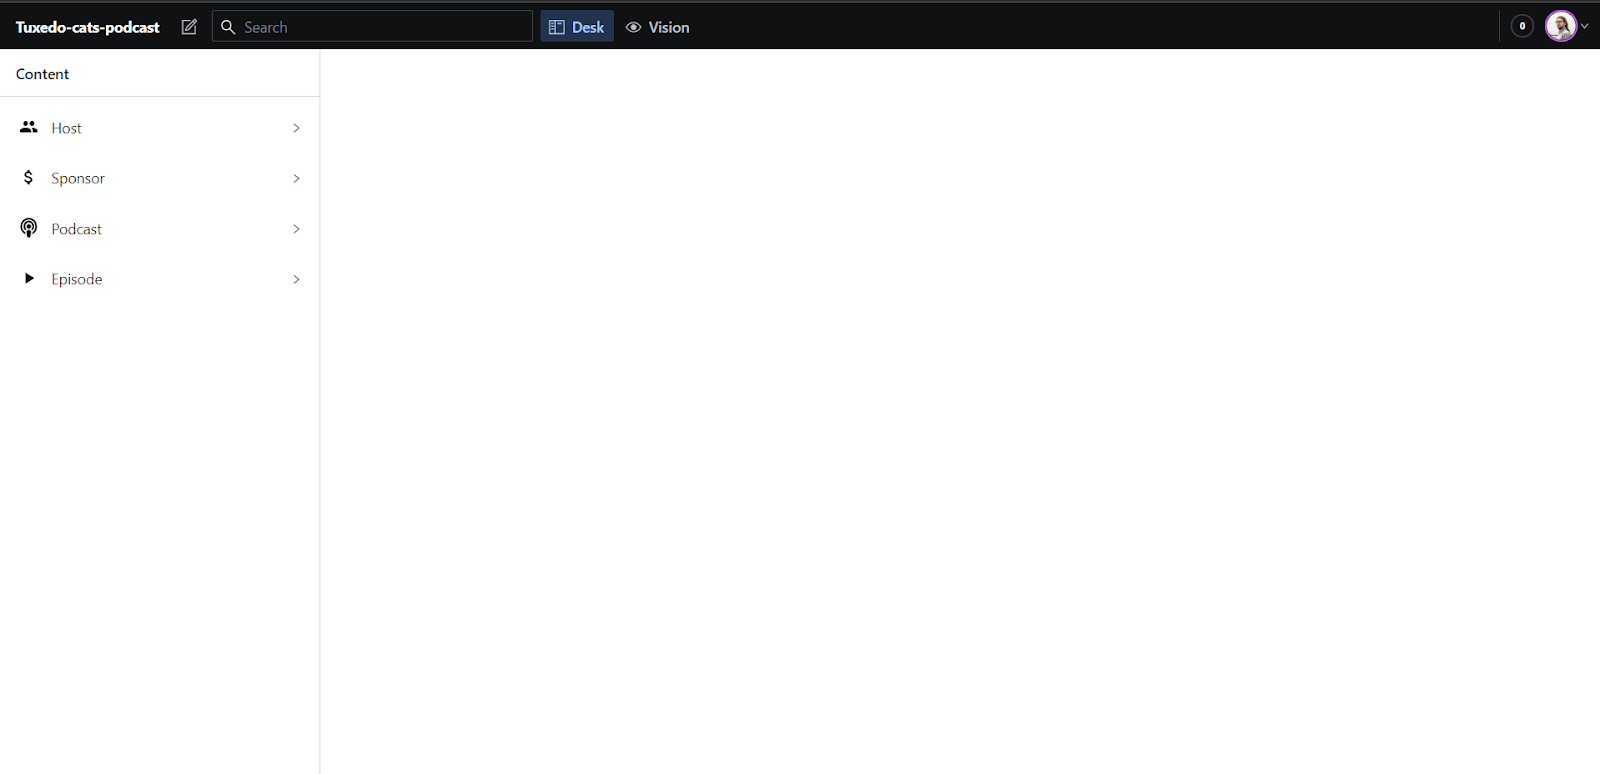
At the left tab, you can see all the different parts of the podcast schema we installed on our Sanity Studio.
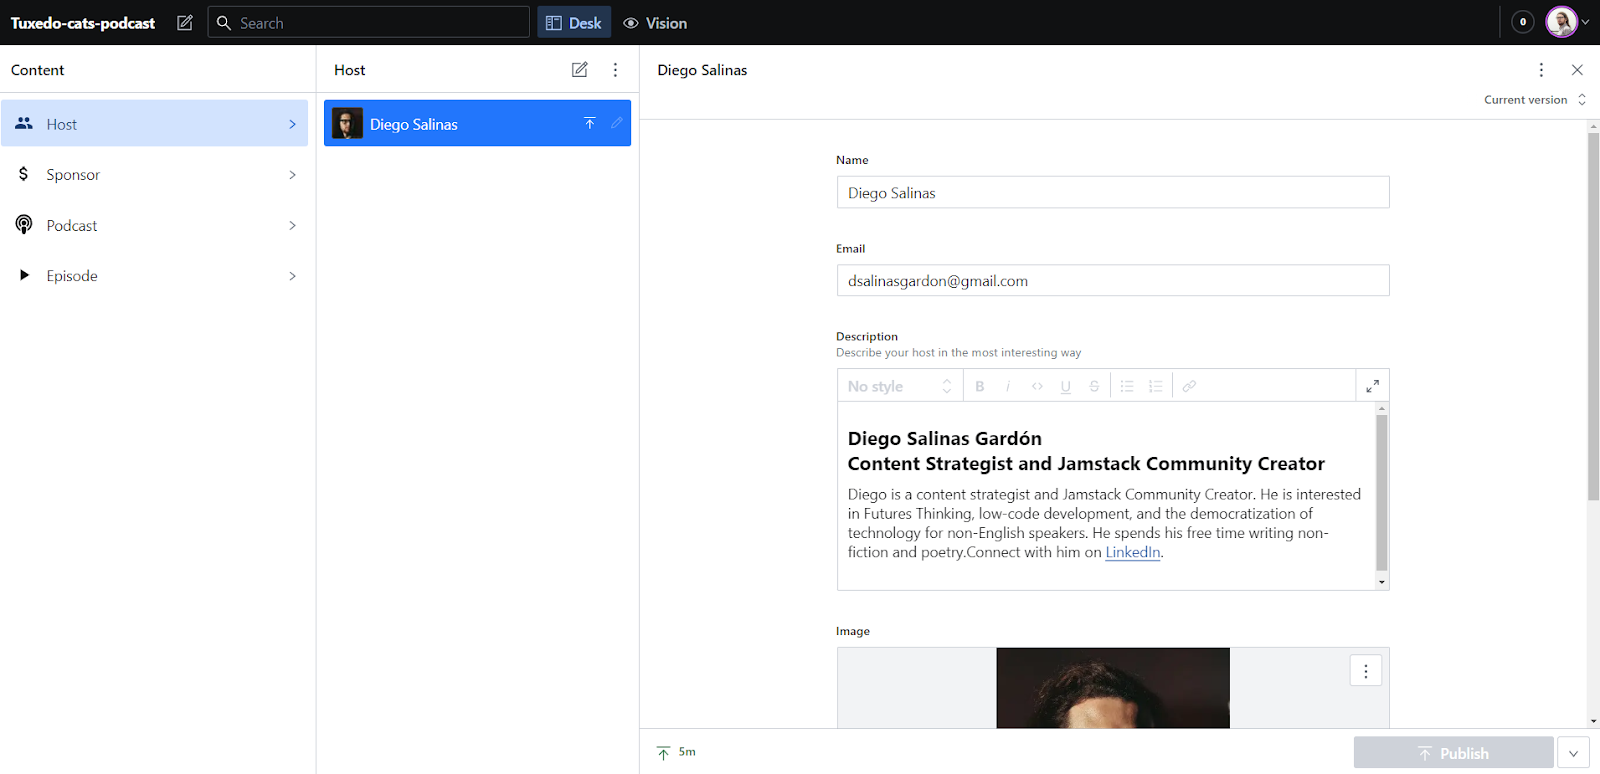
6. Fill your fields with content
Sanity Studio works hard to make this step straightforward. Just click on the pencil button inside each field.
Alright! So far, we’ve successfully installed Sanity Studio, created a podcast, and populated your fields with content. It’s time to bring our friend Next.js to help us build a frontend.
When adding the content for your episode, don’t forget to create a slug for your post; otherwise, Next.js won’t be able to pick it and render your content.

7. Configure Next.js
Next.js offers us an easy-to-use setup for creating React-based websites using server-rendered content. If you have some experience with React, working with Next.js shouldn’t be too painful, but if you need guidance, watch the video tutorial I suggested in step 1.
Let’s create a folder called web in your root file, open a new terminal, cd into that folder, and type:
npm init -y
After that install your Next.js dependencies with:
npm install next react react-dom
This should create a package.json file in your web folder. Make sure the scripts object inside that file looks like this:
"scripts": { "dev": "next", "build": "next build", "start": "next start" }
That gives us a couple easy commands we can run in our terminal to run and build our project straight through NPM.
8. Setting your index page
Now that we have set up Next.js, it’s time to create a pages folder where you will add an index.js file that will show up as our podcast’s homepage.
Paste this placeholder code into your index.js file and save it to see how your page changes to a “Hello world” sign.
const Index = () => { return ( <**div**> <**p**>Hello world!</**p**> </**div**> ); } export default Index;
9. Creating a dynamic page template
Now let’s fetch some content from Sanity and render it in Next.js. We need to run another terminal command, so you’ll have to close your open dev server and then run:
npm install @sanity/client
This should install Sanity in your frontend folder. Once you’ve done that, go to your web folder and create a new file called client.js where you will the following lines:
import sanityClient from '@sanity/client' export default sanityClient({ projectId: 'your-project-id', dataset: 'production', useCdn: true // `false` if you want to ensure fresh data })
This is where we use our projectId from earlier! Now you can import this client when you need to fetch some content from your Sanity project.
Now that we have our import done, it’s time to get started with our podcast episodes. Since adding a new file on our code editor for each episode would be a tremendous amount of work, let’s create a page template that will allow us to use the URL slugs from the episodes you have in Sanity Studio. To do that, we will make use of the Next.js dynamic routing features.
To set this up, we need to add a file called pages/episodes/[slug].js. Open it and paste the following code inside:
import { useRouter } from 'next/router'; const Episodes = () => { const router = useRouter(); return ( <article> <h1>{router.query.slug}</h1> </article> ); }; export default Episodes;
This means that whatever comes right after episodes/ in our URL will be plugged into the router.query.slug variable from the useRouter hook, so this one file is actually loaded for every version of the /episodes/_________ URL. If you restart your dev server and actually visit that URL, you should see whatever you put in the URL slug as an h1 on the page.
10. Set dynamic routes
We can use getStaticProps and getStaticPaths to fetch data at build time. They both allow us to write server-side code directly in the component, perfect for when you’re pulling data from a headless CMS. getStaticPaths specifically fetches the full list of possible paths that should be generated with this component for Next.js. getStaticProps queries Sanity for the relevant data for a given page based on its route argument. For instance, the getStaticProps function of the /episodes/[slug] route would take the given slug and query Sanity specifically for the one podcast episode that matches that slug.
So, let’s remove what we had and paste the following code into our [slug].js:
import sanityClient from '@sanity/client'; const client = sanityClient({ projectId: '', // Add your projectId dataset: '', // Add your dataset apiVersion: '2022-06-01', useCdn: true }); const episode = props => { return ( <div> <h1>{ props.episode.title }</h1> <h2> { props.episode.description } </h2> <p> { props.episode.summar } </p> </div> ); }; export async function getStaticPaths() { const pagedata = await client.fetch(`*[ _type == "episode"] {"slug": slug.current}`); const paths = pagedata.map(episode => ({ params: { slug: episode.slug } })); return { paths, fallback: false } }; export async function getStaticProps({ params }) { const slug = params.slug; const pagedata = await client.fetch( `*[ _type == "episode" && slug.current match $slug ] {...} [0],`, { slug } ); if (!pagedata) return { notFound: true }; else return { props: { episode: pagedata } }; }; export default episode;
Go to the /episodes/slug URL of your dev server, where you replace slug with the slug you previously inputted into Sanity Studio for your episode. For me, that was tuxedo-cat.
If everything worked correctly, you should get something like this:
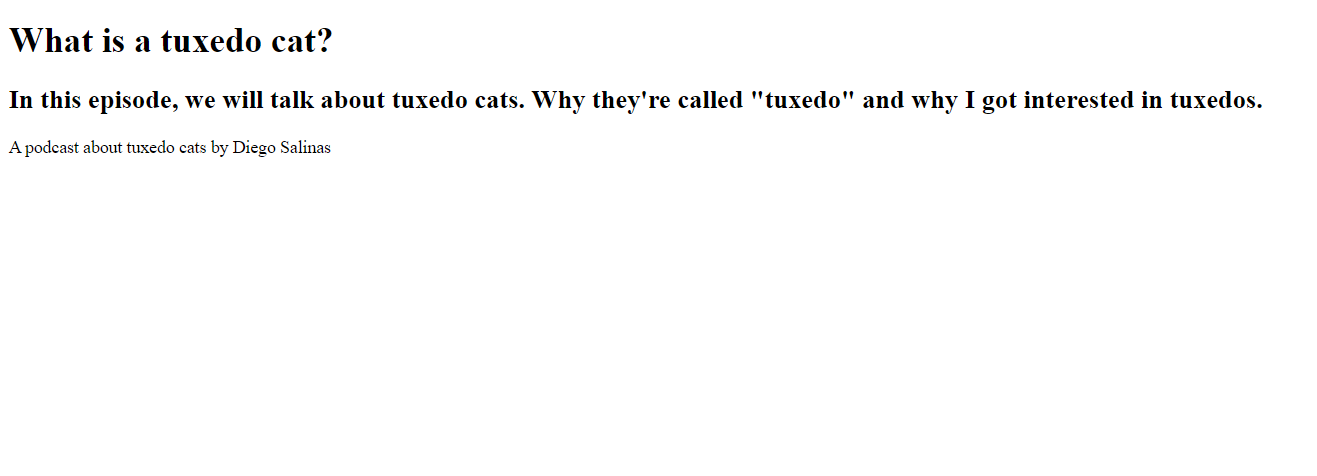
Of course, the information you will get will vary depending on the content you have added to Sanity Studio.
A quick note: I used a couple GROQ queries in the example above. If you’re having problems understanding GROQ, I’ll defer to Knut’s explanation of a GROQ query or you can read how queries work.
One thing I ran into a bit was Sanity just not returning information to the frontend of my website. Usually this is because Sanity actually has a whitelist for which domains are allowed to query the CMS. For me, I still had to whitelist http://localhost:3000/ by visiting Sanity Studio, clicking Manage Project, and then finding the whitelist in Settings > API settings > CORS origins > Add CORS origin.
11. Adding images and audio files to your podcast
Now we’re fetching some data from our studio, but you can’t have podcasts without audio and a nice image to accompany it! Let’s use GROQ to fetch more data using a projection.
To do that, replace the query we have in slug.js with the following one. I’m adding newlines for readability, but it’ll all get condensed and encoded into the URL anyway.
*[ _type == "episode" && slug.current match $slug ] { ..., coverArt { "url": asset -> url }, file { "url": asset -> url }, } [0]
In this query, we’re using two projections that will query for the coverArt and file content types. In this projection, we want the API to follow the reference and return the url value for that particular document. In this case, that means it’s fetching the cover art and the audio file for the episode.
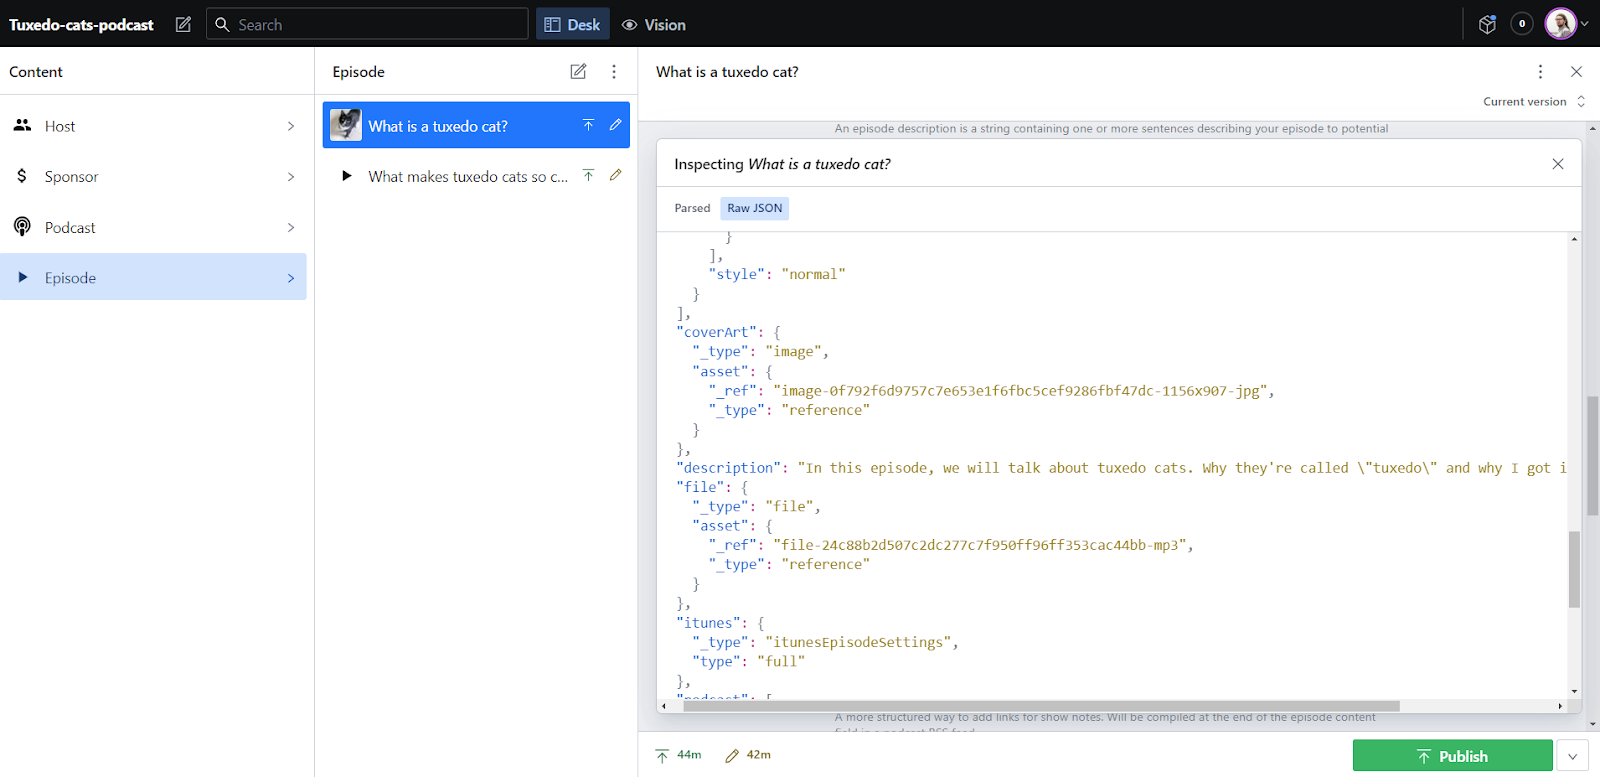
Let’s see this in Sanity Studio. Go to the “Content” tab, choose “Episode” and click on the menu at the right side of the screen. Alternatively, you can use Crtl+Alt+I to inspect the document. You should see something like this:
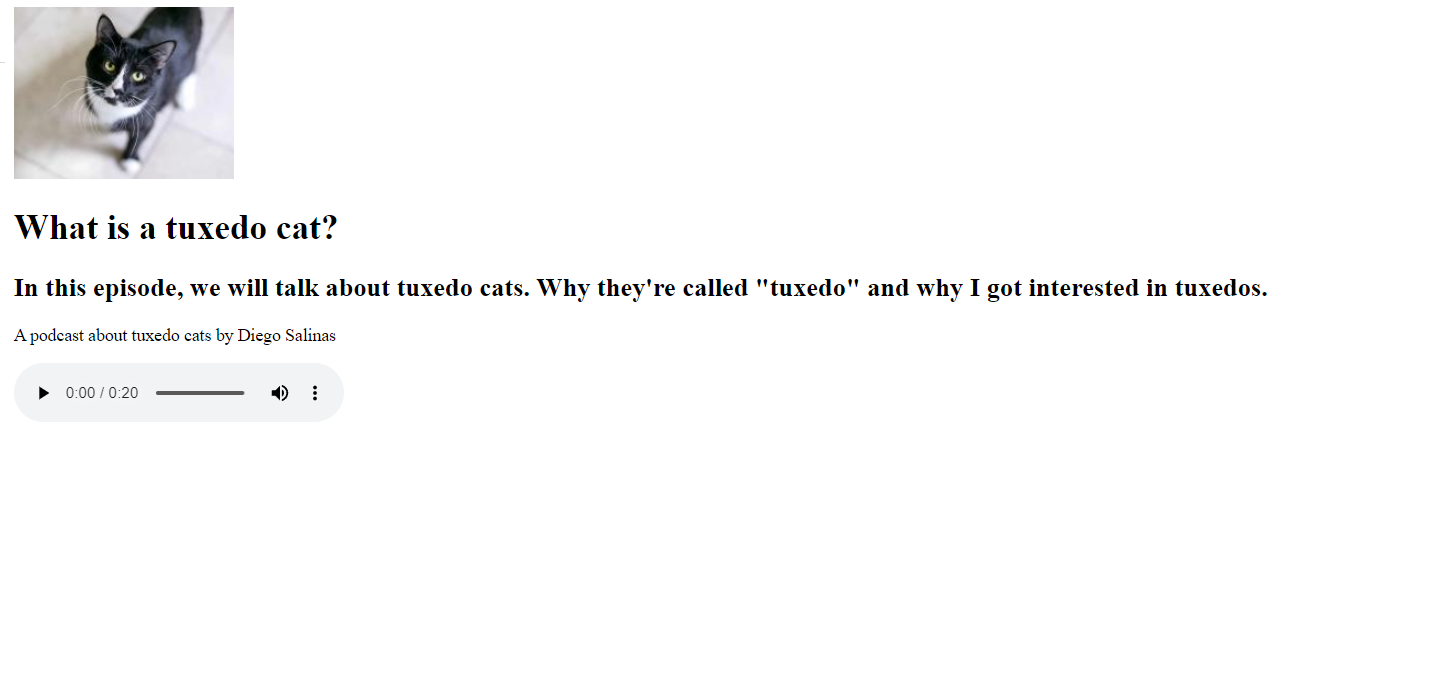
If everything works as it should, you should see something like this in your frontend. Refresh the slugged URL on your dev server and you should see something like this:
12. Build a home page that shows the episodes
Now that we have our episode up and running, let’s build a home page that serves as your podcast’s list of episodes.
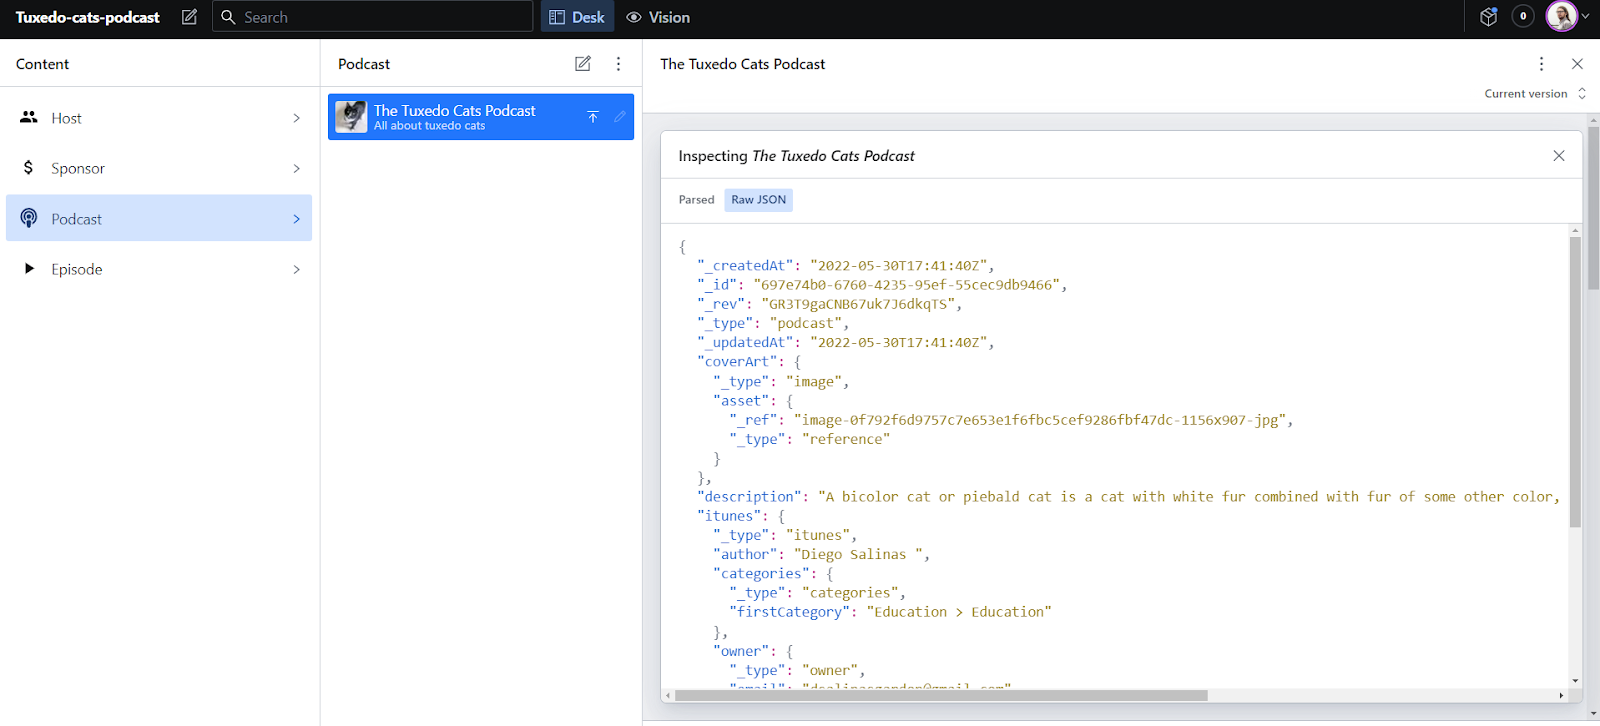
First, find your podcast ID; you can find it by inspecting your podcast’s properties.
Now that you have your podcast’s ID, go to index.js and add the following code:
import Link from 'next/link' import sanityClient from '@sanity/client' const client = sanityClient({ projectId: '7yydvelu', dataset: 'production', apiVersion: '2022-06-01', useCdn: true }) const Index = ({ episodes, podcast }) => { return ( <**div**> <**h1**>{podcast.title}</**h1**> <**p**>{podcast.description}</**p**> <**img** src= {podcast.coverArt.url+"?w=200"}/> {episodes.length > 0 && episodes.map( ({ _id, title = '', slug = '', publishedAt = '2022-06-08' }) => slug && ( <**li** key={_id}> <**Link** href="/episodes/[slug]" as={`/episodes/${slug.current}`}> <**a**>{title}</**a**> </**Link**>{' '} ({new Date(publishedAt).toDateString()}) </**li**> ) )} </**div**> ) } export async function getStaticProps() { const pagedata = await client.fetch(groq`{ // add your podcast id here "podcast": *[_id == ""] [0] { ..., coverArt { "url":asset->.url}}, "episodes": *[_type == "episode" && schedule.publish < now()] | order(schedule.publish desc) } `) console.log(pagedata) return { props: pagedata } } export default Index
If you check the GROQ query in getStaticProps, you'll notice that we look for documents with the name podcast in the document and we filter it by its id to obtain the id of that particular podcast in case you have many different ones.
We also loop (map) over the episodes and build the links using Next.js Link component. We point the href to the file path and use that for the URL slug.
13. Deploy to Vercel
Finally, the last step: deploying to Vercel and seeing our work live.
To deploy to Vercel, let’s install the CLI using:
npm i -g vercel
Run vercel login to create your account and then run vercel inside your /web folder.
That’s it. You should have a deployed site now! Check mine here: https://tuxedo-cats-podcast-dsalinasgardon.vercel.app/
We have barely scratched the surface of what Sanity can do, but I hope this tutorial guides you on how to build a podcasting app and share your show with everyone!
Keep in mind that your work shouldn’t stop here. Customize this template with as much code as you need to make it yours.
If you want, feel free to clone my Github repo for a quick start.
Sanity – The Content Operating System that ends your CMS nightmares
Sanity replaces rigid content systems with a developer-first operating system. Define schemas in TypeScript, customize the editor with React, and deliver content anywhere with GROQ. Your team ships in minutes while you focus on building features, not maintaining infrastructure.
Sanity scales from weekend projects to enterprise needs and is used by companies like Puma, AT&T, Burger King, Tata, and Figma.