Published January 26, 2021
Svelte Tutorial: Make a blog with Sapper

In this guide, you'll learn how to build a Markdown blog with Sapper, Svelte, and Sanity. To get up and running with this combination, we'll cover:
- What is Svelte & why it pairs well with Sanity
- Svelte Basics
- What is Sapper?
- Setting Up a Sanity Studio
- Setting Up Sapper w/ TypeScript
- Moving from Portable Text to Markdown in Sanity
- Querying Sanity from Sapper
What is Svelte?
Within the vast landscape of JavaScript frameworks, Svelte has transformed from the new kid on the block to a serious competitor to other frameworks. This is largely due to Svelte's bold approach to front-end JavaScript development, and its community-driven nature.
Svelte was originally released in 2016 by its original author Rich Harris. Its primary difference from other JavaScript frameworks is its unique build step. While compiling, Svelte strips away any unused HTML, CSS, and JS.
The release of Svelte 3 in early 2019 brought a rebuild of reactivity which reduced the complexities of component state. This made Svelte's syntax even more approachable.
Why use Svelte?
The characteristic that sets Svelte apart from its peers is how accessible the code is.
As Rich frequently mentions, this "JavaScript framework" is technically a compiler. The compiler transforms a superset of HTML into HTML, CSS, and JavaScript that can be run in the browser with no runtime library needed. This makes the syntax feel just like a vanilla web stack with just a dash of framework magic.
When comparing Svelte syntax to frameworks like React or Vue, we can see that those frameworks are undeniably JavaScript. They both render components with functions, unlike Svelte. Don't get me wrong, I love JavaScript, but when building interfaces for the web, it's far more intuitive to think first of the structure, the HTML.
Because Svelte is a compiler, we can build with components that are closer to the authoring experience of HTML and CSS, making the syntax easier to learn for both seasoned JavaScript developers and those who only know HTML and CSS. This makes it great for teams working in production or those still learning JavaScript.
The last advantage I will mention is this: because Svelte compiles away any unused code and doesn't utilize a client-rendered library, the performance gains are astounding. Svelte apps are so small, some of Svelte's earliest adopters were companies building small Internet of Things products, Point of Sale systems, and other low-power computing electronics that require user interfaces.
Other companies currently using Svelte in production include The New York Times, Spotify, Ikea, Bloomberg, and Alaska Airlines. If you're not sold yet, you should also know that Svelte ranked highest for Satisfaction & Interest in the 2020 State of JS survey.
Sapper: The application framework for Svelte
If you've heard of Svelte, it's likely you've heard of Sapper, the application framework for Svelte. Sapper is to Svelte what Next.js is to React. It's even modeled, in part, after Next. Sapper brings features like file-based routing & static export to Svelte apps. This makes Sapper not only a great way to build web apps, but also websites; in our case, a blog.
Sanity.io as a content platform for our Svelte app
The data source for our blog will be Sanity.io. We'll connect to the API through the JavaScript client provided by Sanity.
Sanity approaches content as data, allowing developers and editors to access or edit it through its APIs or through their open-source Studio platform. This approach pairs wonderfully with frameworks like Svelte, especially in data-light use cases like a blog where our data fetching can happen in the browser.
This approach to content also means the entire content platform is built around schemas that are constructed with JavaScript objects. This means we can scaffold custom data types and configurations in minutes, something I used to spend hours doing in other solutions.
Building our blog
Before we get started, some prerequisites for following this tutorial are:
- Comfort using the command line
- A solid understanding of HTML, CSS & Javascript
- Experience with node/npm.
I'll do my best to explain everything that Svelte is handling in our app, but if you find yourself wanting to dig deeper, please consult the excellent tutorial at svelte.dev.
This tutorial also assumes you have the latest versions of Node.js & npm installed, and that you have a Sanity account created.
Step 1: Creating our Sanity project
The first step in building our Sanity-powered blog is to get our Sanity project created. For this, we will use the Sanity CLI. To install the CLI globally, run the following command:
# root/
$ npm install -g @sanity/cli
We then need to scaffold the folder structure for our project. It will look something like this:
-- sanity-md
  -- content (our Sanity project lives here)
  -- web (our Svelte/Sapper project lives here)
To achieve this structure, we need to create our parent directory, and then our content directory. Feel free to name the parent directory anything you'd like. In your command line, run this command to create the parent directory and cd into the directory.
# root/
$ mkdir sanity-md && cd sanity-md
Next, create a content directory and cd into that, as well.
# root/sanity-md
$ mkdir content && cd content
Once we're in the content directory, we can run our first command with the Sanity CLI.
# root/sanity-md/content
$ sanity init
This command does a few things:
- Prompts you to log in, if you're not already
- Creates a new Sanity project in your account
- Creates a dataset for the project
- Installs everything needed to run Sanity Studio locally
For the purposes of this tutorial, we're going to select the default blog schema offered to us in the CLI prompt. Once the Sanity project is created, we can open it up in our code editor to take a look at the blog schema the CLI gives us.
-- sanity-md
  -- content
    -- config
    -- node_modules
    -- plugins
    -- schemas
    -- static
    package.json
    README.md
    sanity.json
    tsconfig.json
    yarn.lock
The only directory we need to use right now is our schemas directory. It should have the following structure:
-- schemas
  author.js
  blockContent.js
  category.js
  post.js
  schema.js
In a Sanity project, each content type needs a schema defined. These schemas are then imported by schema.js, which is used to build the Studio. The main schema we're going to be working on in this tutorial is post.js.
//sanity-md/content/schemas/post.js

export default {
  name: 'post',
  title: 'Post',
  type: 'document',
  fields: [
    {
      name: 'title',
      title: 'Title',
      type: 'string',
    },
    {
      name: 'slug',
      title: 'Slug',
      type: 'slug',
      options: {
        source: 'title',
        maxLength: 96,
      },
    },
    {
      name: 'author',
      title: 'Author',
      type: 'reference',
      to: {type: 'author'},
    },
    {
      name: 'mainImage',
      title: 'Main image',
      type: 'image',
      options: { hotspot: true, },
    },
    {
      name: 'categories',
      title: 'Categories',
      type: 'array',
      of: [{type: 'reference', to: {type: 'category'}}],
    },
    {
      name: 'publishedAt',
      title: 'Published at',
      type: 'datetime',
    },
    {
      name: 'body',
      title: 'Body',
      type: 'blockContent',
    },
  ],
  preview: {
    select: {
      title: 'title',
      author: 'author.name',
      media: 'mainImage', },
      prepare(selection) {
        const {author} = selection return Object.assign({}, selection, { subtitle: author && `by ${author}`,
        })
      },
    },
  }
In this schema, we are defining the post content type and its fields, including a title, image, body, and a few other pieces of data and customizations, like the preview. The preview definition in our schema is how Sanity knows how to construct content previews. This isn't entirely pertinent to this article, but if you'd like to learn more, check the Sanity docs.
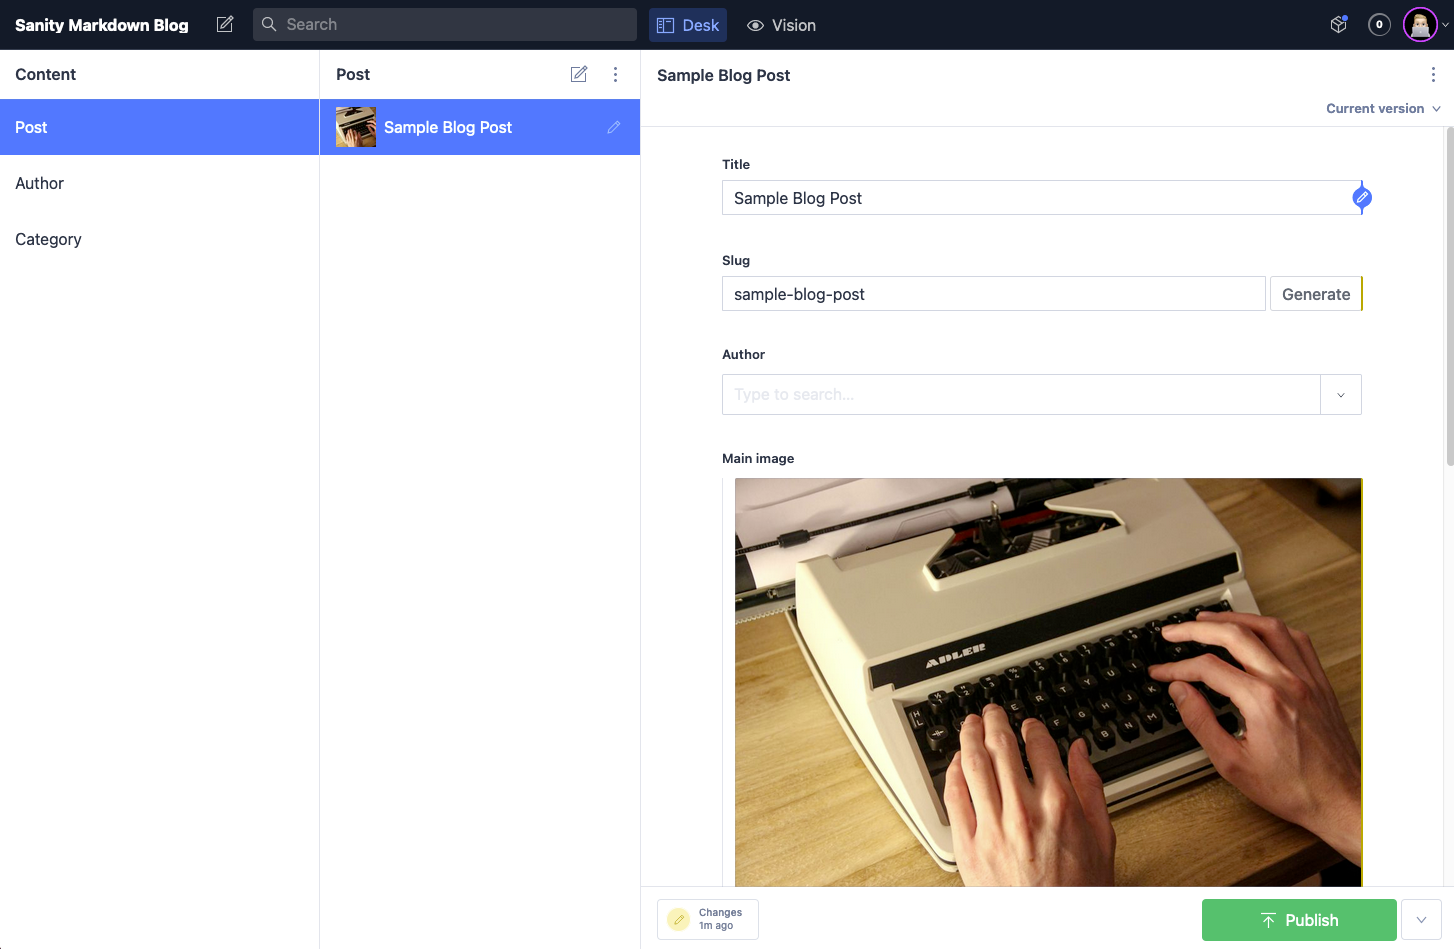
Later, we'll look at using a Markdown input instead of the locally defined blockContent that comes with this predefined schema, but for now, let's fire up our Sanity Studio and create a sample blog post! To run the studio locally, just navigate back into the content directory and run the following command:
# root/sanity-md/content
$ sanity start
This command will compile our studio and serve it locally at localhost:3333. Opening the studio, we can see we have three content types - Author, Post & Category. For now, we're just going to make a single sample post we need to build out our Sapper app.
Enter whatever content you like for this post and make sure to include data for every field except 'Author' & 'Category'. Since both of these need to be declared elsewhere in the studio first, we are going to leave them empty to keep it simple.
Once your post is created, hit publish, and then we can move onto the last step of our back-end configuration.
In order for our Sapper front end to be able to query our Sanity data source from the browser, we need to declare which URL is going to be making the requests or Sanity will throw a CORS error. This architecture allows us to create front-end-first applications without worrying about bad actors getting our Sanity data. If the request isn't coming from a declared origin, an error will be thrown.
To declare these allowed origins, navigate to manage.sanity.io, open the project you've created for this tutorial, and then navigate to Settings > API and then click "Add New Origin". Our Sapper app will be running locally at http://localhost:3000 so that's the URL we want to insert here. When you deploy your Sapper app, you'll need to add another origin for the URL where the app is deployed.
Step 2: Svelte & Sapper
We've already covered the "why" of Svelte, so now let's dig into some code and see the "how." A Svelte app consists of Svelte components in the form of .svelte files. The app will also have a root App.svelte which will be rendered by a main.js file using the Svelte compiler. Here is the basic structure of a Svelte component:
<!-- Component.svelte -->
<script>
	export let hello = "hello"
	const world = "world"
</script>

<h1>{ hello }<span>{ world }</span></h1>

<style>
	h1 {
		font-size: 2rem;
		color: purple;
	}
	span {
		color: red;
	}
</style>
In Svelte, the Javascript, HTML (template), and styles are all handled at the component level and are scoped to that component. In the above example, we define two variables; hello and world. The export in front of 'hello' defines this variable as a prop that will be passed down from a parent component. If no prop is passed when the component is rendered, it will use the default value we've defined to be 'hello'.
We can then include these variables in our template, which is just regular HTML markup. To add dynamic data to our template, we just need to use single curly braces, shown above. Due to Svelte's approach to reactivity, any time a value referenced in the template changes, this causes a re-render of the component. So if we wanted to create a button that can update the state variable world, we can do this:
<!-- Component.svelte -->
<script>
	export let hello = "hello"
	<!-- Change const to let -->
	let world = "world"

	const updateWorld = () => {
		world == "world" ? world = "there" : world = "world"
	};
</script>

<h1>{ hello }<span>{ world }</span></h1>
<button on:click={() => updateWorld()}> Update World </button>

<style>
	h1 {
		font-size: 2rem;
		color: purple;
	}
	span {
		color: red;
	}
</style>
Now when we click our button, our world variable is updated based on the current value. The on:click directive runs the updateWorld function whenever we click the button. Our template will then re-render when the world variable changes. This is a birds-eye view of Svelte, so feel free to check the tutorial, docs, and REPL at svelte.dev
Like I mentioned above, Sapper is an application framework that uses Svelte. The quickest way to get a Sapper project up and running is to use degit to clone the template repository to your local dev environment. In a new terminal tab (leave your Sanity Studio running), navigate back to the parent directory for our project and run this command:
# root/sanity-md
$ npx degit "sveltejs/sapper-template#rollup" web
This will clone the template into a directory named web next to our content directory. Let's cd into the web directory and install our Node dependencies.
# root/sanity-md
$ cd web && npm install
We also need to bring in the Sanity JavaScript Client so we can connect to the Sanity API. To do so, run this command inside the Sapper project:
# root/sanity-md/web
$ npm install --save @sanity/client
Once the dependencies are installed, we can convert our Sapper project to use TypeScript. TypeScript brings a lot of great features to Javascript that allows you to catch bugs before they run and write cleaner JS code in general. If you're unfamiliar with TS don't fret; any valid JavaScript is valid TS so you can learn it bit by bit. To convert our Sapper to TS, run the following command in the web directory:
# root/sanity-md/web
$ node scripts/setupTypeScript.js
You will then receive this prompt from the command line:
# root/sanity-md/web
Next:
1. run 'npm install' again to install TypeScript dependencies
2. run 'npm run build' for the @sapper imports in your project to work
Complete these steps and then we're ready to rock! To get started, we need to start our development server using npm run dev which will serve our Sapper app at localhost:3000.
Step 3: Connecting Sanity & Sapper
Let's open up our project in our code editor and take a look at the folder structure of a Sapper app:
-- sanity-md
	-- content
	-- web
		-- __sapper__
		-- .vscode
		-- node_modules
		-- src
		-- static
		.gitignore
		package-lock.json
		package.json
		README.md
		rollup.config.js
		tsconfig.json
All of our work is going to be within the src directory.
-- src
	-- components
	-- node_modules
	-- routes
	ambient.d.ts
	client.ts
	server.ts
	service-worker.ts
	template.html
Our Svelte components live inside the components directory and our routes live within the routes directory. Sapper uses a file-based routing system similar to Next.js, where every route in the app is represented by a .svelte file in the routes directory. Additionally, a directory within the routes directory will also represent a route as long as it contains an index.svelte file.
--routes
	--blog
	# these file prepended with an underscore won't be rendered as pages
	_error.svelte
	_layout.svelte
	about.svelte
	index.svelte
In this template project, our blog directory contains an index.svelte file, a [slug].svelte file, and some other JavaScript files that are currently just placeholder content. Since the index.svelte file is in the blog directory, it will represent the /blog route of our site. Likewise, the [slug].svelte file is a dynamic route for all of our single blog posts. The square brackets indicate to Sapper that this is a dynamic route, but more on that later! First, we need to make a Sanity client module that can be reused throughout our app.
In the components directory, create a file named SanityClient.ts. This will act as a module we can import into our Svelte components to easily query our Sanity data source. The module will look like this:
// sanity-md/web/src/components/SanityClient.ts

import sanityClient from '@sanity/client';

// create Client interface to type check options
type Client = {
  projectId: string,
  dataset: string,
  token: string,
  useCdn: boolean
}

// create instance of sanityClient
// this is how you connect your frontend to your sanity studio
const options:Client = {
  //your project ID
  projectId: 'PROJECT-ID',
  //your dataset; defaults to production
  dataset: 'production',
  token: '',
  useCdn: true
}

const client = sanityClient( options );

export { client }
This little module imports the sanityClient we installed earlier, creates a Client interface, defines an options variable that contains all the information we need to give Sanity, and, creates a client variable, which calls the sanityClient with our given options. The client variable is then exported so we can bring it into any part of our app.
Now let's hop into routes/blog and start to build out the meat of our application. First, we can delete all files in the blog directory except for the two Svelte files. Then, we open up the index.svelte file in the blog directory.
<!-- sanity-md/web/src/routes/blog/index.svelte -->
<script context="module" lang="ts">
	import { client } from '../../components/sanityClient'

	export async function preload() {
		const query = "*[_type == 'post']{_id, slug, title}";
		const posts = await client.fetch(query);
		return { posts };
	}
</script>
<script lang="ts">
	type Slug = {
		_type: string,
		current: string,
	}

	export let posts: { slug: Slug; title: string }[] = [];
</script>

<h1>Recent posts</h1>
<ul>
	{#each posts as post}
		<li><a rel="prefetch" href="blog/{post.slug.current}">{post.title}</a></li>
	{/each}
</ul>
This is the final code for our new blog index page; let's break it down into pieces.
First, you'll notice that we actually have two script tags in this component. Svelte gives us a really handy way to fetch data almost outside of the component life cycle. The explanation for context='module' in the docs is "A <script> tag with a context='module' attribute runs once when the module first evaluates, rather than for each component instance."
We could just as easily move our client.fetch() call into our normal script tag; however, this would cause the page to load before our list of blog posts has been fetched. The user would then see an empty page for a moment while that data is being fetched. By using context='module' the data has already been fetched by the time the component renders in the DOM. Thanks, Svelte!
Now, let's break the module down line by line.
First, we import our client module using ESM syntax, then we exporting an async function that defines a GROQ query, and then awaits the client.fetch() call using the query we've just defined. The function then returns our 'posts' state variable with all of our blog posts included; this return value is passed as props to the normal script tag in our Svelte component. Because this is just a list of the blog titles and links to their respective routes, our GROQ query includes a projection. This projection allows the query to only return the values we explicitly ask for, meaning we don't have to fetch all of the post content, just the _id, slug, and title.
Moving on to our normal script tag, the first definition is again a TypeScript interface. Interfaces are a way for us to tell TypeScript what any one piece of data should look like. In our case, the Sanity content type slug returns a _type property and a current property. By creating this interface, we can now explicitly tell TypeScript how the slug we get from Sanity should look.
Then we create our posts prop, which itself has type definitions alongside it describing what shape it should have. This prop is receiving the returned posts array from the module mentioned earlier because they share the same name.
Lastly, is our template, which is just a headline and an unordered list. The list contains a Svelte {#each} block, which is one of the many array methods built into Svelte templates. An each block takes an array as a parameter and renders a copy of any code in the each block for each item in the given array. For each item in the posts array, Svelte creates a list item containing a link to the blog post using slug.current and the title. The second argument of the 'each' block, as post, defines how the array item will be referenced inside the block; this can be anything, but if the array is in a plural form (like posts), it's usually best practice to use the singular form here. This makes the templates read almost like plain English.
Step 3: Adding Markdown to Svelte

Wow, that was a lot to take in. Luckily, the [slug].svelte file looks very similar to this and functions in essentially the same way. Before we get to that, we need to talk about our blog content.
By default, the main body of our blog is block content in our Sanity Studio, otherwise known as Portable Text. Portable Text is a JSON-based rich text specification created and maintained by Sanity. As is stated in the README, "Portable Text is an agnostic abstraction of rich text that can be serialized into pretty much any markup language."
However, in this tutorial, we are using Markdown as the main blog content. A personal blog like this is likely the only case I would choose Markdown over Portable Text for a few reasons. First, I've found I can write a lot faster using Markdown over any form of rich text including Portable Text. The second reason is that this blog content will only ever be used within this site. In any other case, I would stick with Portable Text since you can mix rich text with data and it's extremely flexible across different platforms, and it fits with the Structured Content model of Sanity much better than Markdown. We also need to bring in additional packages to write & render Markdown, making it much less flexible than Portable Text. If you're not in love with Markdown like I am, or you have to use something like MDX, definitely stick with Portable Text.
Let's bring the first of these packages into Sanity. First, let's navigate to the content directory via a terminal and run this command:
# root/sanity-md/content
$ sanity install markdown
This will install the Markdown input in our studio; all we need to do now is open our post.js schema in VS Code and make a quick edit to the body field.
//sanity-md/content/schemas/post.js

export default {
	  name: 'post',
	  title: 'Post',
	  type: 'document',
	  fields: [...

			{
	      name: 'body',
	      title: 'Body',
	      type: 'markdown',
	      options: {
	        minRows: 20
	      }
	    },

		...]
}
Now, if we restart the studio, the body input will be replaced with a markdown editor. Enter in a bit of markdown that we can use to make our last Sapper page – our dynamic single blog post page.
Before we do that, we need a way to render the string of markdown that will be returned from Sanity. To do this, we just need to install Snarkdown – my favorite markdown parser for Svelte apps. To install the package, run this command in the web directory containing our Sapper app:
# root/sanity-md/web
$ npm i --save snarkdown
Now that we have a markdown parser, let's take a look at [slug].svelte:
<!-- sanity-md/web/src/routes/blog/[slug].svelte -->
<script context="module" lang="ts">
import { client } from '../../components/sanityClient'
export async function preload({ params: { slug }) {
const query = `*[slug.current == "${slug}"]`;
const res = await client.fetch(query)
const post = await res.shift();
return { post }
}
</script>
<script lang="ts">
import snarkdown from 'snarkdown';
export let post: { slug: string; title: string, body: string };
</script>
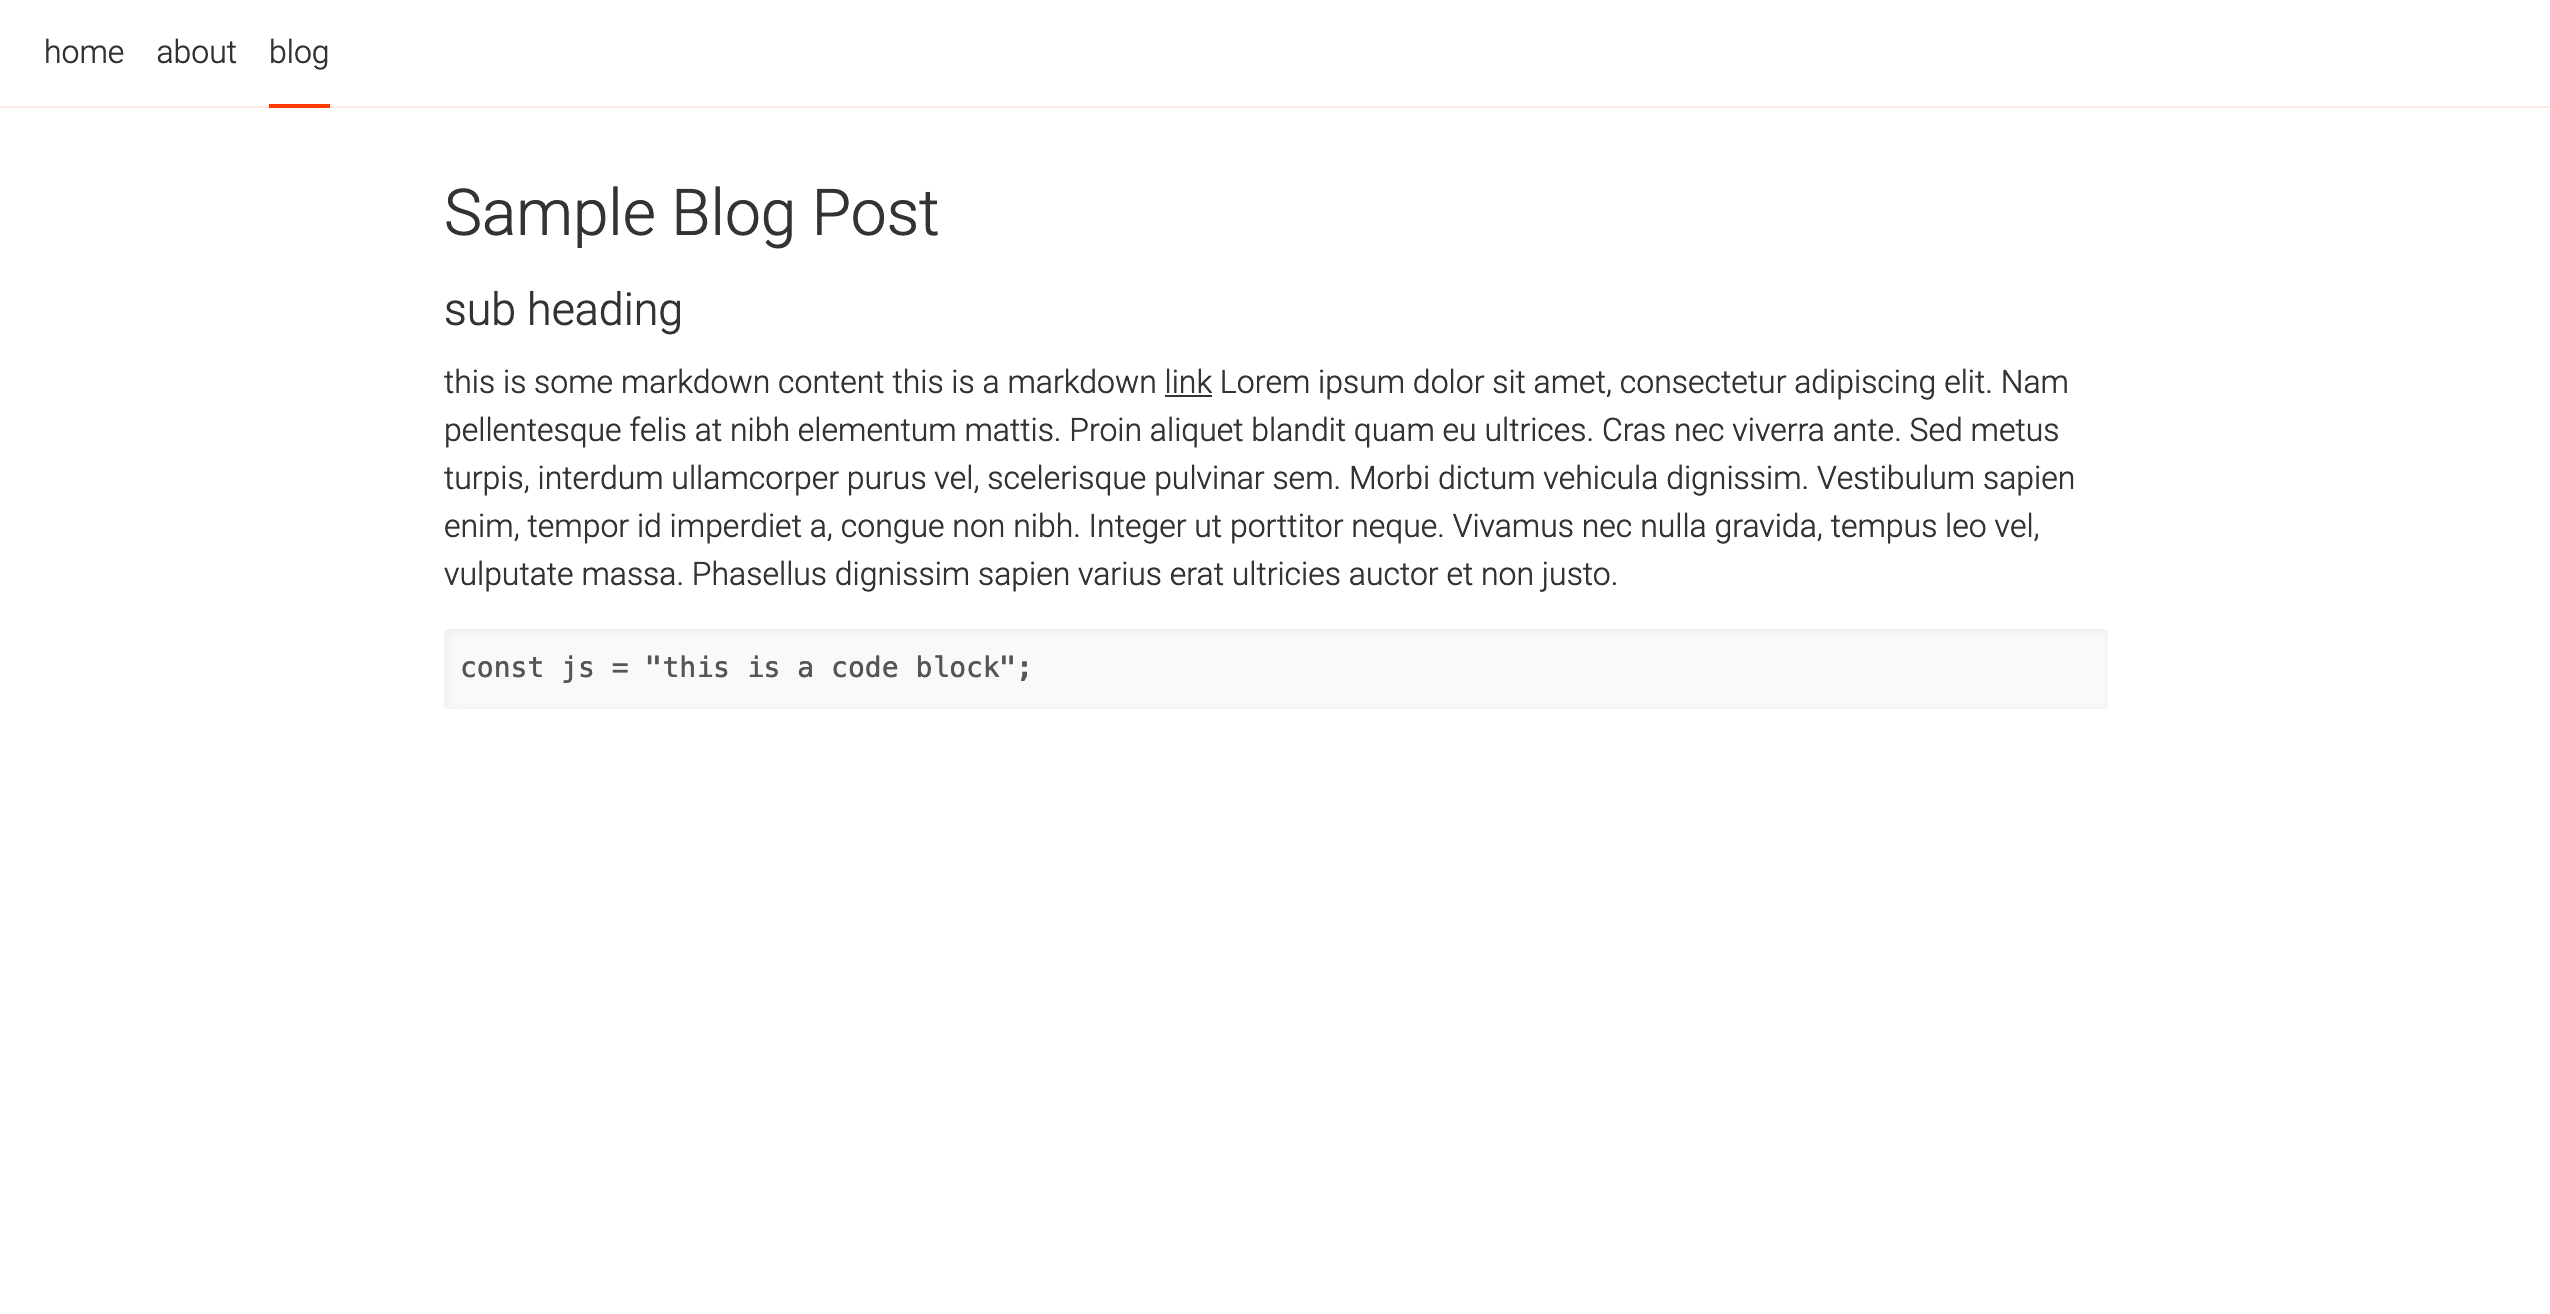
<h1>{post.title}</h1>
<div class="content">
{@html snarkdown(post.body)}
</div>You'll notice that the same basic structure applies here - we have a module script tag that is using our sanityClient to fetch data from Sanity; however, there is one difference here. Because this Sapper route is dynamic (hence the square brackets in the file name), we have access to { params } in our async preload function.
We can de-structure those params to get access to the slug being passed to this page. Then we can employ a template literal to use that slug in our GROQ query. Lastly, instead of just returning the array we receive from client.fetch, we can use .shift() to pull the first object (in our case the only object) out of the array. This will help keep our markup clean and readable.
Moving down to the normal script tag, the only change here is that we're importing Snarkdown and our prop has a different type definition. Instead of an array of objects, this post prop is a single object with a slug, title, and body. Moving to the template, we're rendering the blog post title in a <h1> before rendering the post content.
Svelte provides a handy {@html } renderer for us to use.
The snarkdown() function returns HTML raw, so all we have to do is pass our post's body string to Snarkdown inside the {@html } renderer and - boom! We're parsing our Markdown from Sanity! If your Sapper development server is still running, save this file and then navigate back to your browser to see our new blog working better than ever.
Step 4: Reviewing our Svelte Blog
We now have the bones for a Sanity-powered Markdown blog with a Sapper front-end, just add other pages/routes you may want, tweak the styling, and voila! Also remember we still have other data that can be managed in Sanity and displayed on our Sapper site, like post categories and post authors. The possibilities are endless! Deploy your studio to Sanity by running sanity deploy in the content folder and then you can deploy your Sapper app just about anywhere.
Check the Sapper docs for more info on deploying.
You can view the source code for this blog on my Github & make sure to check out my Learning Svelte series at stordahl.dev if you're new to Svelte.
Sanity – The Content Operating System that ends your CMS nightmares
Sanity replaces rigid content systems with a developer-first operating system. Define schemas in TypeScript, customize the editor with React, and deliver content anywhere with GROQ. Your team ships in minutes while you focus on building features, not maintaining infrastructure.
Sanity scales from weekend projects to enterprise needs and is used by companies like Puma, AT&T, Burger King, Tata, and Figma.