Published April 05, 2021
Easier editor tasks with custom actions
By Rune Botten

A client's editors spent a lot of time manually publishing image assets in their third-party digital asset management before publishing content on Sanity. It was laborious and error-prone. Could Sanity help make their job easier?
The workflow looked like this
- Upload images as private assets on Cloudinary, ensuring they are inaccessible to the public until content that uses them are published
- Use our Cloudinary plugin to reference the image assets in their content on Sanity
- Before publishing the content - go through the Cloudinary media library and make sure all the relevant assets have access mode set to public
Step 1 and 2 are good, but 3 can be solved much better with Sanity. We opted to go with a custom Studio document action. This gives editors a custom button on their documents to set any related Cloudinary asset to public through the Cloudinary Admin API.
Custom Studio document action
First we enable the document actions api in the Studio by adding the following to the sanity.json parts array
{
  "implements": "part:@sanity/base/document-actions/resolver",
  "path": "src/actions.js"
}
The file src/actions.js resolves which actions (such as Publish, Duplicate, Delete etc) should be available to editors for a given document.
In this file we return the built in actions and our custom PublishAssets action
// src/actions.js
import defaultResolve from "part:@sanity/base/document-actions";
import PublishAssets from "./publishAssets"

export default function resolveDocumentActions(props) {
  return [...defaultResolve(props), PublishAssets];
}
And here is the custom action implementation
// src/publishAssets.js
import { useState } from "react";
import { useToast } from "@sanity/ui";
import { extract } from "@sanity/mutator";
import PublishIcon from "part:@sanity/base/publish-icon";
function PublishAssets(props) {
const { draft, published } = props;
const doc = draft || published;
const [isPublishing, setIsPublishing] = useState(false);
const toast = useToast();
// Using JSONMatch, find all `cloudinary.asset` objects on this document
const assets = extract(`..[_type == "cloudinary.asset"]`, doc);
// Make a distinct list of no duplicates
const uniqueAssets = Array.from(new Set(assets));
return {
label: isPublishing ? "Publishing assets..." : "Publish assets",
disabled: isPublishing || uniqueAssets.length === 0,
icon: PublishIcon,
onHandle: () => {
setIsPublishing(true);
fetch("/api/publishAssets", {
method: "POST",
headers: { "Content-Type": "application/json" },
body: JSON.stringify({ assets: uniqueAssets }),
})
.then((response) => response.json())
.then((json) => {
const success = json.success === true;
const msg = {
status: success ? "success" : "error",
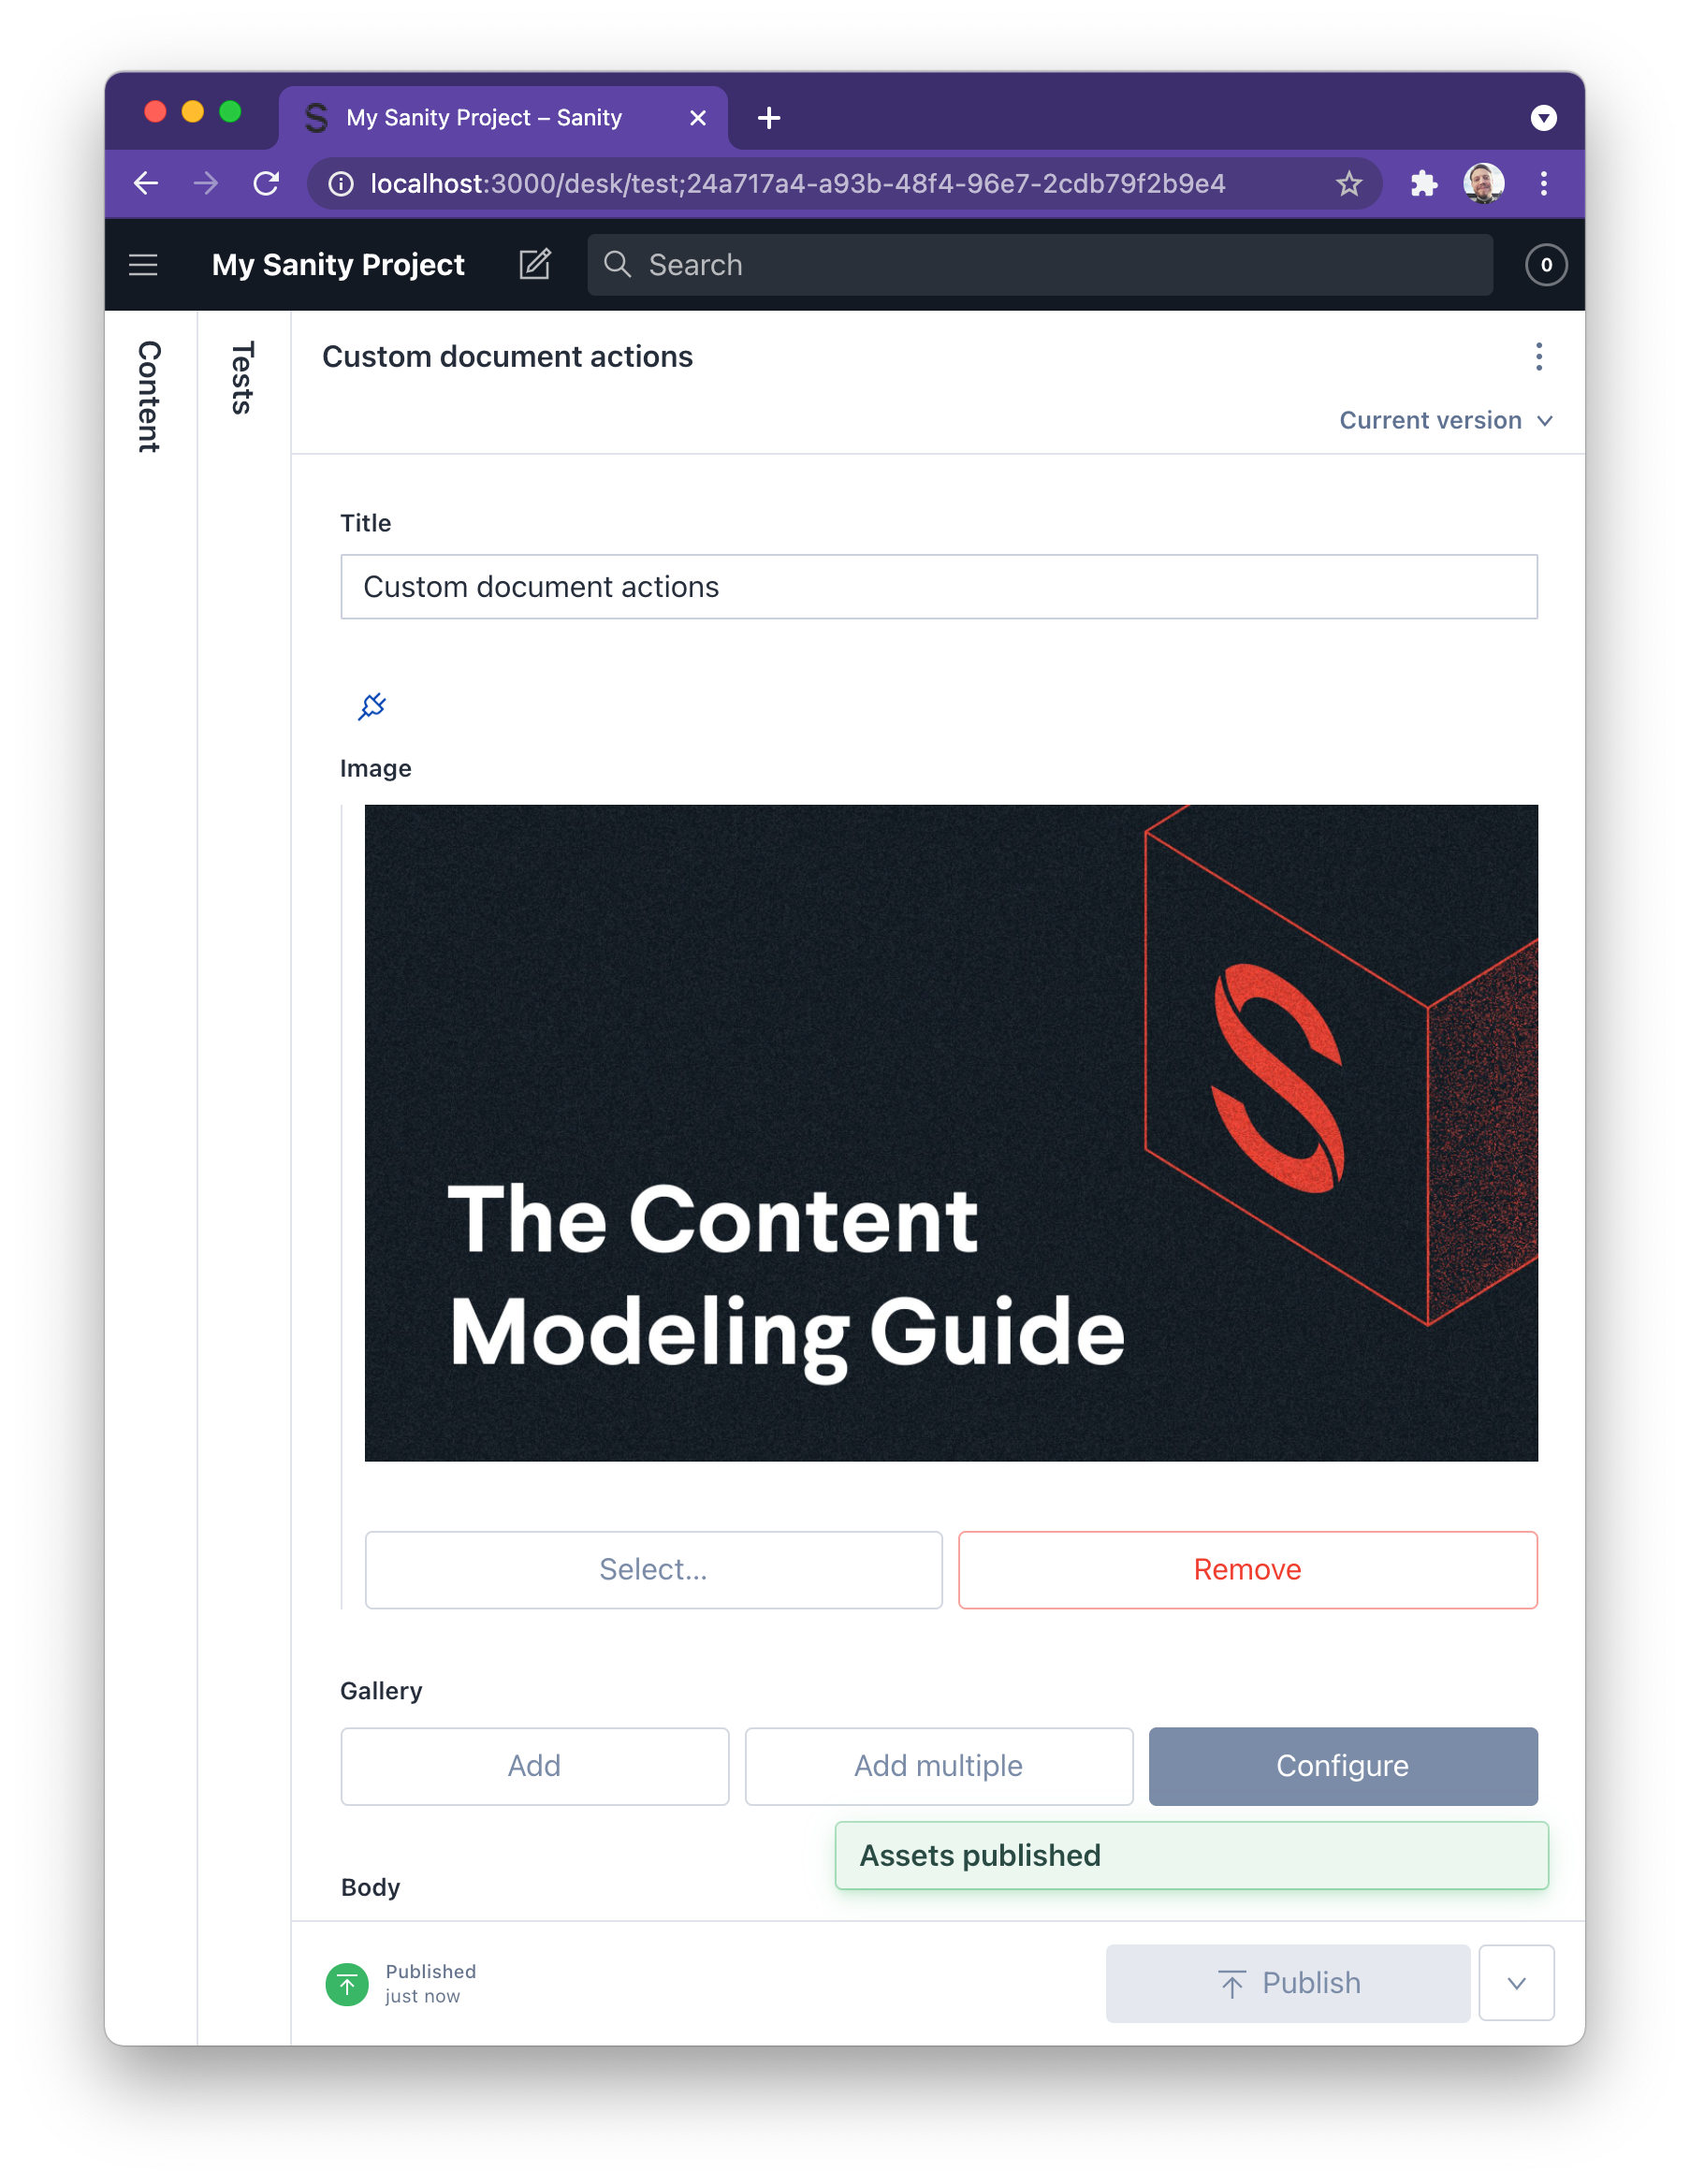
title: success ? "Assets published" : "Could not publish assets",
};
toast.push(msg);
})
.catch((error) => {
toast.push({
status: "error",
title: error.message,
});
})
.finally(() => {
setIsPublishing(false);
props.onComplete();
});
},
};
}
export default PublishAssets;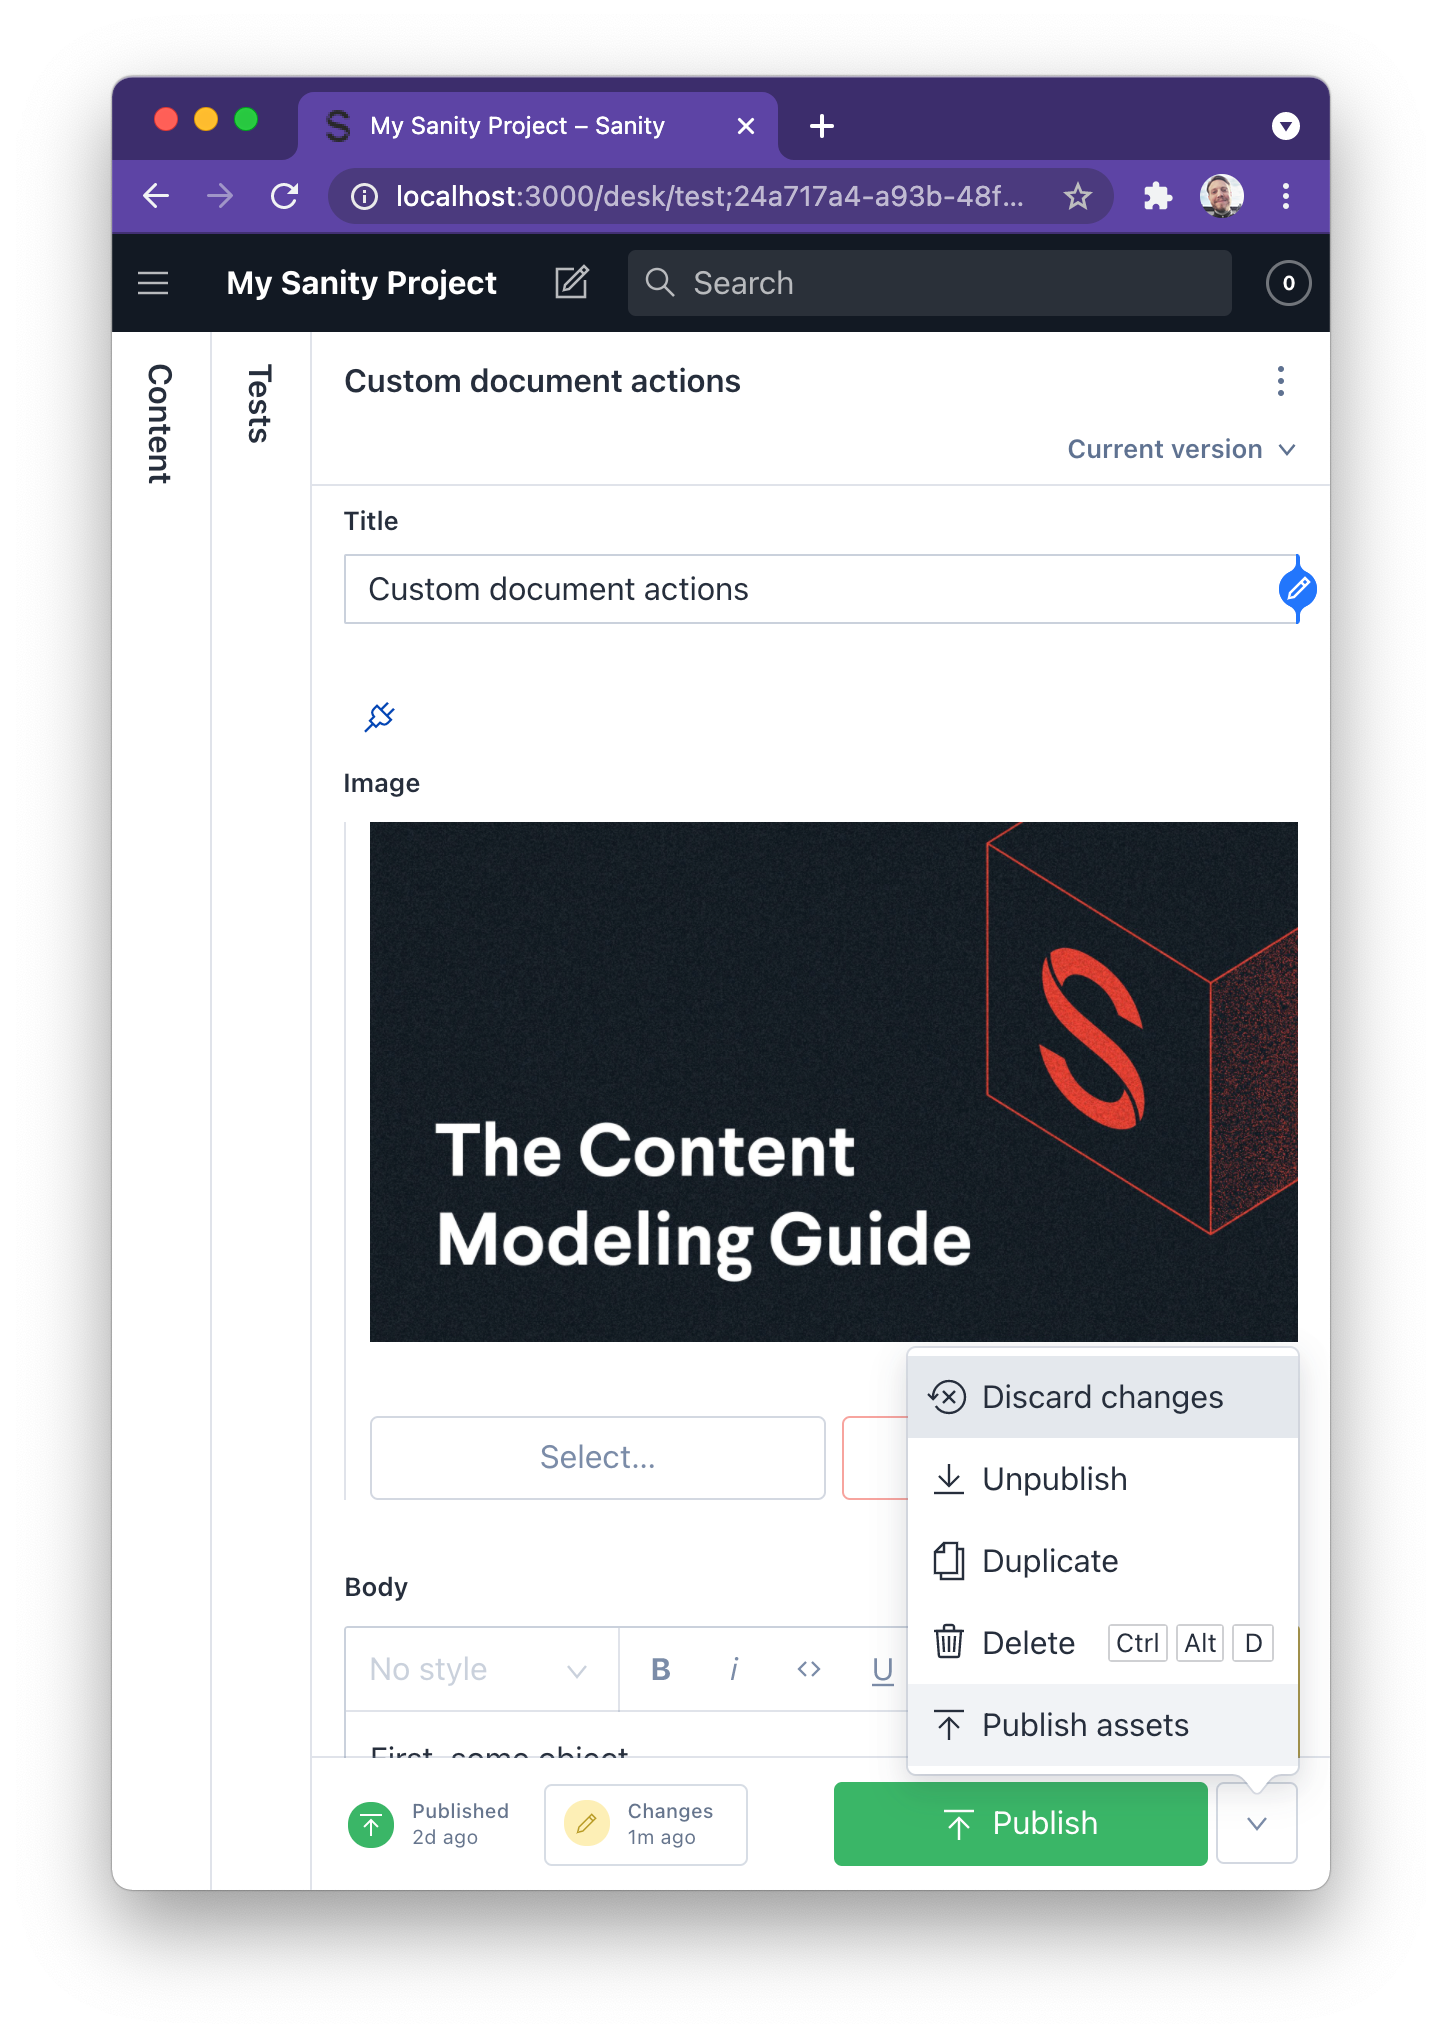
When editors push the button we post the Cloudinary objects to /api/publishAssets which is the final piece to this customization.
Cloudinary Admin API
Since Cloudinary does not allow CORS requests it unfortunately means we cannot call their API directly from the Studio. The browser will block our request since it is going directly from the client-side Studio application on one domain to the Cloudinary API on a different domain. For that to work the Cloudinary backend would have to explicitly allow it, which they don't.
Luckily there is an easy solution for this with modern hosting services like Netlify and Vercel supporting easy deployment of serverless functions. With Vercel, for instance, creating an api folder in my Studio project deploys any file in that folder as a serverless function, and from there we can call the Cloudinary Admin API
// api/publishAssets.js
const fetch = require("node-fetch");

const secrets = {
  apiKey: process.env.CLOUDINARY_API_KEY,
  apiSecret: process.env.CLOUDINARY_API_SECRET,
  cloudName: process.env.CLOUDINARY_CLOUD_NAME,
};

// This function sets all `public_ids` assets of type `type` to public.
const makePublic = (type, public_ids) => {
  const body = {
    access_mode: "public",
    public_ids,
  };

  const {apiKey, apiSecret, cloudName} = secrets
  const url = `https://${apiKey}:${apiSecret}@api.cloudinary.com/v1_1/${cloudName}/resources/${type}/upload/update_access_mode`;

  return fetch(url, {
    method: "POST",
    headers: { "Content-Type": "application/json" },
    body: JSON.stringify(body),
  })
};

// The serverless function itself.
// We have not included any authentication or security in this short example.
module.exports = async (req, res) => {
  const { assets = [] } = req.body;
  const types = {};

  // Collect the different resource types, such as `image`, `video` and `raw`.
  assets.forEach((a) => {
    if (!types[a.resource_type]) {
      types[a.resource_type] = [];
    }
    types[a.resource_type].push(a.public_id);
  });

  // The API seems to need one call per resource type.
  const posts = Object.keys(types).map((type) => makePublic(type, types[type]));
  return Promise.all(posts)
  .then((results) => {
    res.json({ success: results.every(r => r.status === 200) })
  });
};
Bonus: Full automation
You can fully automate this whole workflow by implementing a webhook instead of a document action. Sanity webhooks trigger when published content changes in your dataset. See the webhook documentation to learn how.
Sanity – The Content Operating System that ends your CMS nightmares
Sanity replaces rigid content systems with a developer-first operating system. Define schemas in TypeScript, customize the editor with React, and deliver content anywhere with GROQ. Your team ships in minutes while you focus on building features, not maintaining infrastructure.
Sanity scales from weekend projects to enterprise needs and is used by companies like Puma, AT&T, Burger King, Tata, and Figma.