Published July 20, 2020
How to get started with the 11ty (Eleventy) Blog Starter

Much like Sanity, 11ty is a highly customizable framework for building modern Jamstack websites. In this guide, we'll explore Sanity's 11ty Starter and modify it to show excerpts pulled from Studio.
In this guide, we’ll set up the 11ty (Eleventy) Blog Template from sanity.io/create and extend its functionality.
That link will walk you through connecting your Sanity account, connecting, and creating a repository in GitHub and setting up hosting on Netlify.
Once that’s done, we’ll walk through the following:
- An overview of our new technology stack
- An inventory of our 11ty project folder
- Adding an excerpt for our blog posts
Project Overview
If you’re already familiar with 11ty, Sanity, and Netlify, you can safely skip to the next section.
11ty
11ty is a static site generator (SSG) written in JavaScript. Unlike other JavaScript web frameworks like Gatsby or NuxtJS, 11ty doesn’t come bundled with a front-end library. 11ty is more like a traditional SSG (such as Hugo or Jekyll) where it takes a series of templates, markdown files, and data and renders HTML files to serve.
The power of 11ty comes in its flexibility. It can be configured to use various template languages like Nunjucks, Liquid, Handlebars, and others. It can use one for an entire site or mix and match engines between pages for maximum customization.
Netlify
Netlify is a service that lets you easily build and deploy websites from Git. If you use a static site generator, Netlify can build the site before making it available on a global scalable network. You can also host Single Page Applications on Netlify, like we do with Sanity Studio, the customizable editing environment, in this template.
Sanity
Sanity.io is where you create, store, and manage your structured content. When you create a new project with this template we will put the customizable editing environment in the GitHub repository along with the code for the frontend. The content types and the input fields are configured with simple JavaScript objects, and you can optionally inject your own React components if you want to extend the Studio further.
The Studio connects the hosted APIs. Those are built to make it possible to integrate almost any application or service. The Studio let’s you read and write content to it, while the site mainly reads content from it, and fetches optimized images from the asset API. It’s good to know that even if you can run the Studio locally while you develop, the content is always synced in real-time to the cloud.
Get 11ty and Sanity Studio running locally
After running through the steps at sanity.io/create, we’ll need to do a little extra to get it set up locally.
The creation script from Sanity will copy the files you need into a repository in your account, so we’ll need to clone the repository down to our computer.
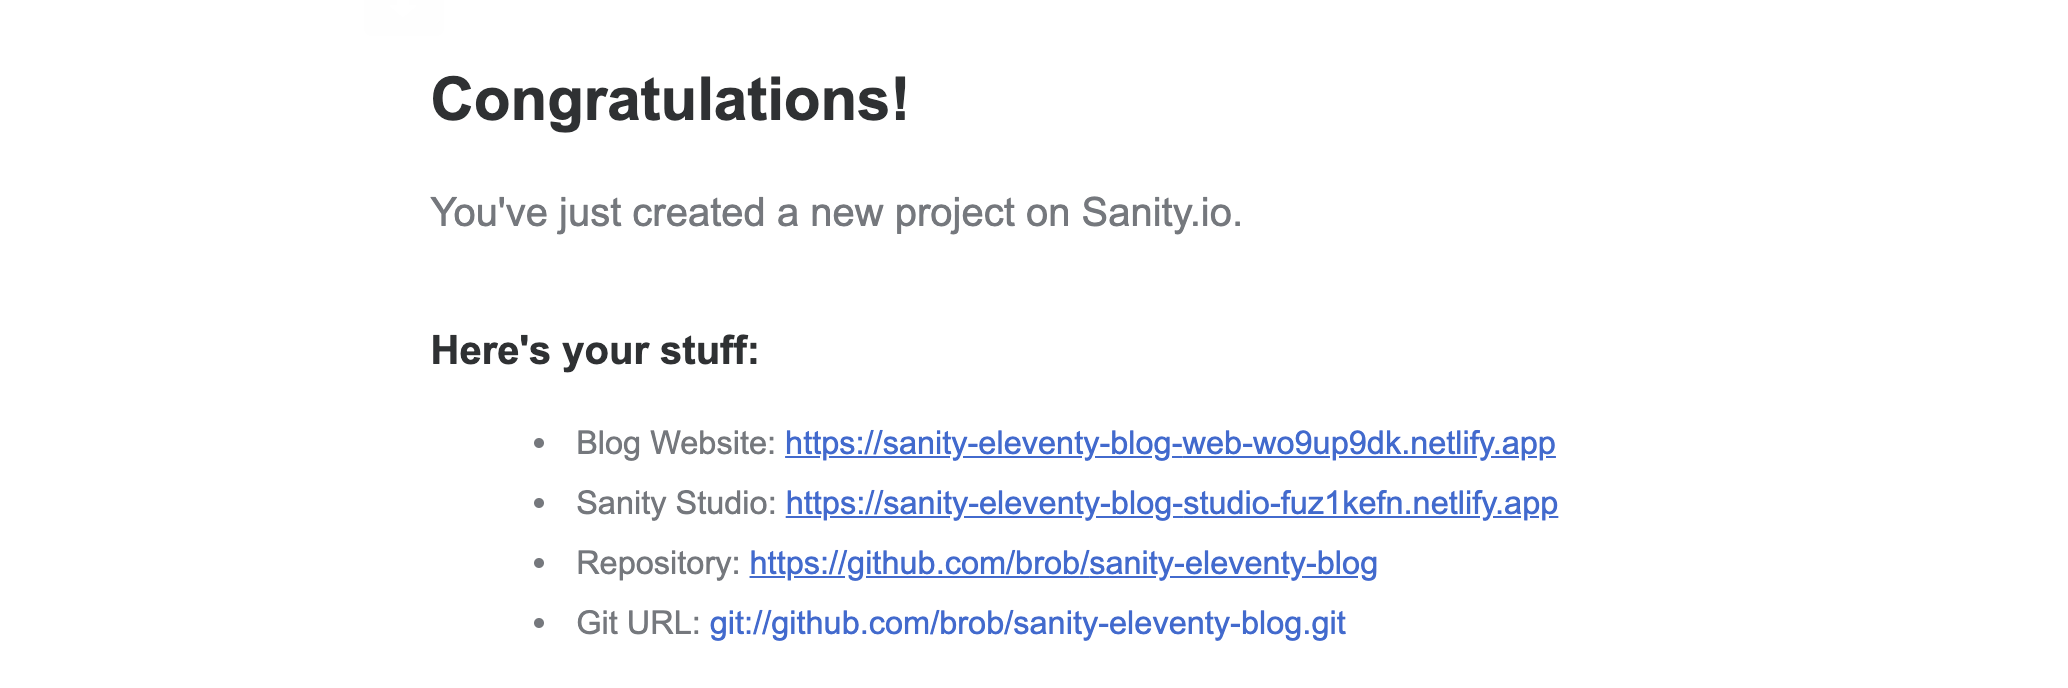
Once the bots have done their jobs, you'll get an email from Sanity giving you a lot of helpful links. Among those links is the Git URL we'll need for cloning. This email also contains links to your site's 11ty frontend, your new Studio and the repository link in your GitHub account.
In your terminal (or Git GUI) of choice, clone the repository listed in the email. Once the assets are local, cd into the newly created directory and you'll see the project structure. Unless you renamed it, the directory should be named sanity-eleventy-blog.
The repository is a monorepo that includes both Sanity Studio in /studio/ and the 11ty project in /web/.
After the files are local, we need to install all the dependencies. So, we want to open the project in our terminal of choice and run
~/sanity-eleventy-blog
> npm install
To run both Studio and 11ty at the same time, one of the dependencies installed is the Lerna package. Lerna will run them both in parallel.
To get things running, run the following command in your project’s root folder:
~/sanity-eleventy-blog
> npm run dev
This will get Studio running using Hot Module Reloading and 11ty running using Browsersync. The output of running this should provide you a localhost link for both Studio and the front-end of your site.
When you make any changes to the /studio/ directory or the /web/ directory the proper watchers will reload the sites automatically for you.
The anatomy of an 11ty site
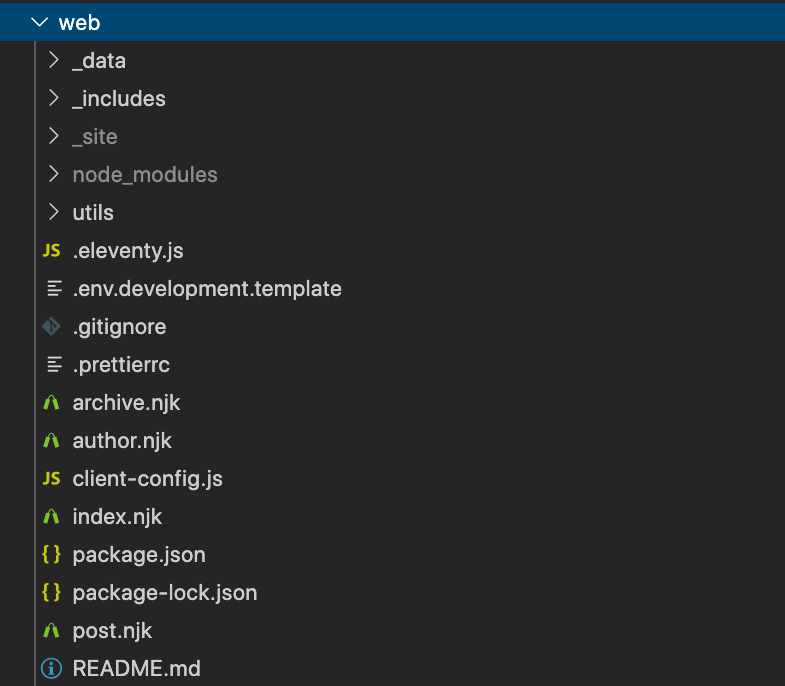
Inside of our /web/ directory, we have some special files and folders that we’ll use throughout this guide.
These files are all using common 11ty naming patterns, but can all be configured.
Configuring 11ty in .eleventy.js
The .eleventy.js file is 11ty’s main configuration file. Our starter is set up with some common preferences and helpers. This file is where you’ll add any plugins, custom filters, configuration changes, and more.
Creating pages in the root
Alongside our configuration file, you’ll find a handful of files with the .njk extension. These are the main pages of our site. Any file with a template extension that 11ty understands in the root will become a page on our site. Unless overridden, the path will be the same as the filename.
Setting site templates in _includes
The _includes directory is where our site’s template files live. Inside this directory is a layouts directory that contains the top-level templates for most of our content types.
Including data in _data
11ty has many ways of including various sorts of data both globally and specifically in your projects. The quickest way to create global data is by adding files in the _data directory. Files included in this directory can be .json files or .js files. JSON files provide any static data you need globally. JavaScript data files can run any arbitrary JS. This is particularly handy when using data from a third-party source, such as Sanity!
The data in these files will be available to any template with a variable named the same as the file. If you have metadata.js, you can access any item in the returned object in your templates as {{ metadata.variableKey }}.
Viewing the site
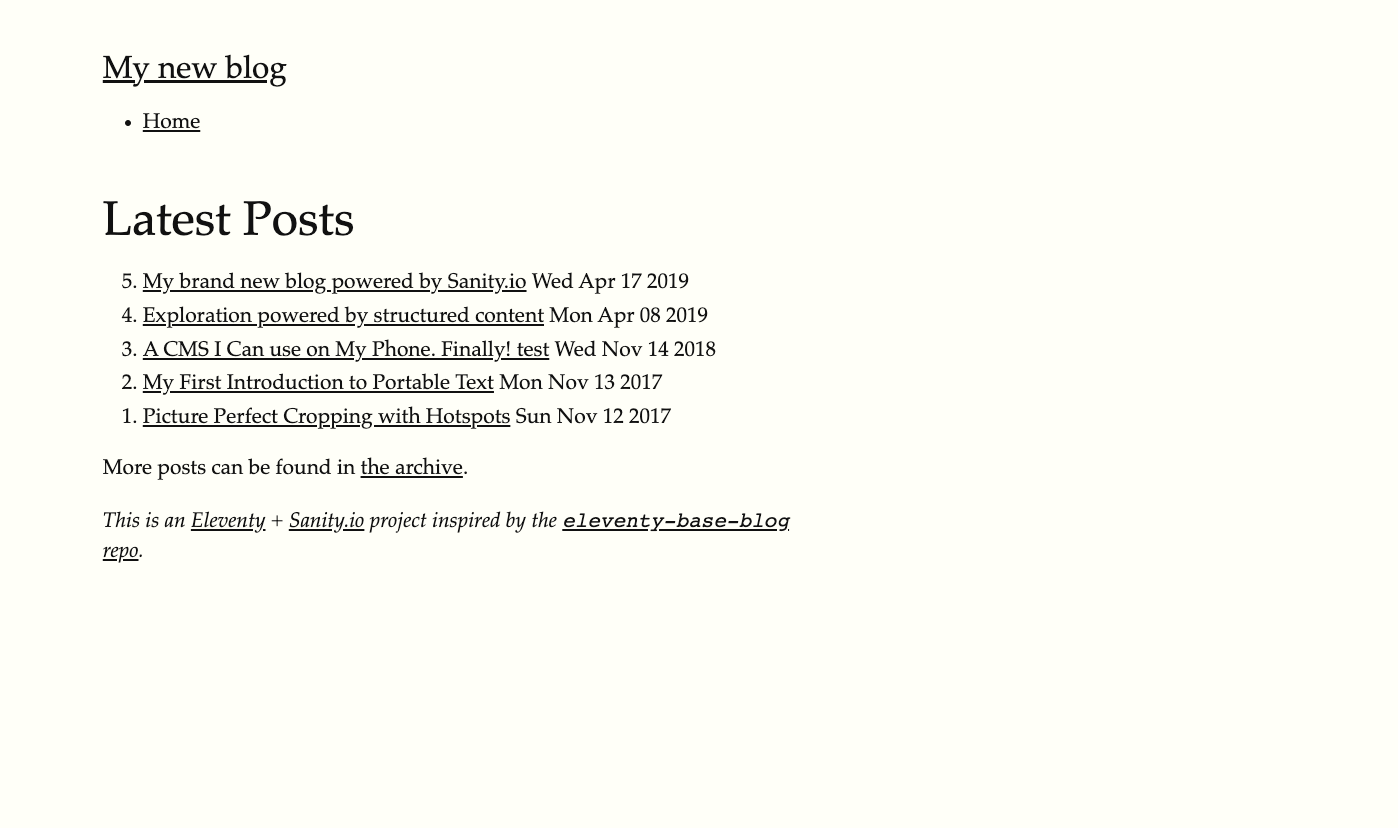
When you’re ready to view the site, you can find the local URL in terminal. By default, it will run at localhost:8080.
This starter doesn’t have a lot of flourish to it. The homepage lists the latest blog posts. Each blog post has a page. There’s an archive page that lists all blog posts.
Let’s make a change to add an excerpt for the blog posts on the listing pages.
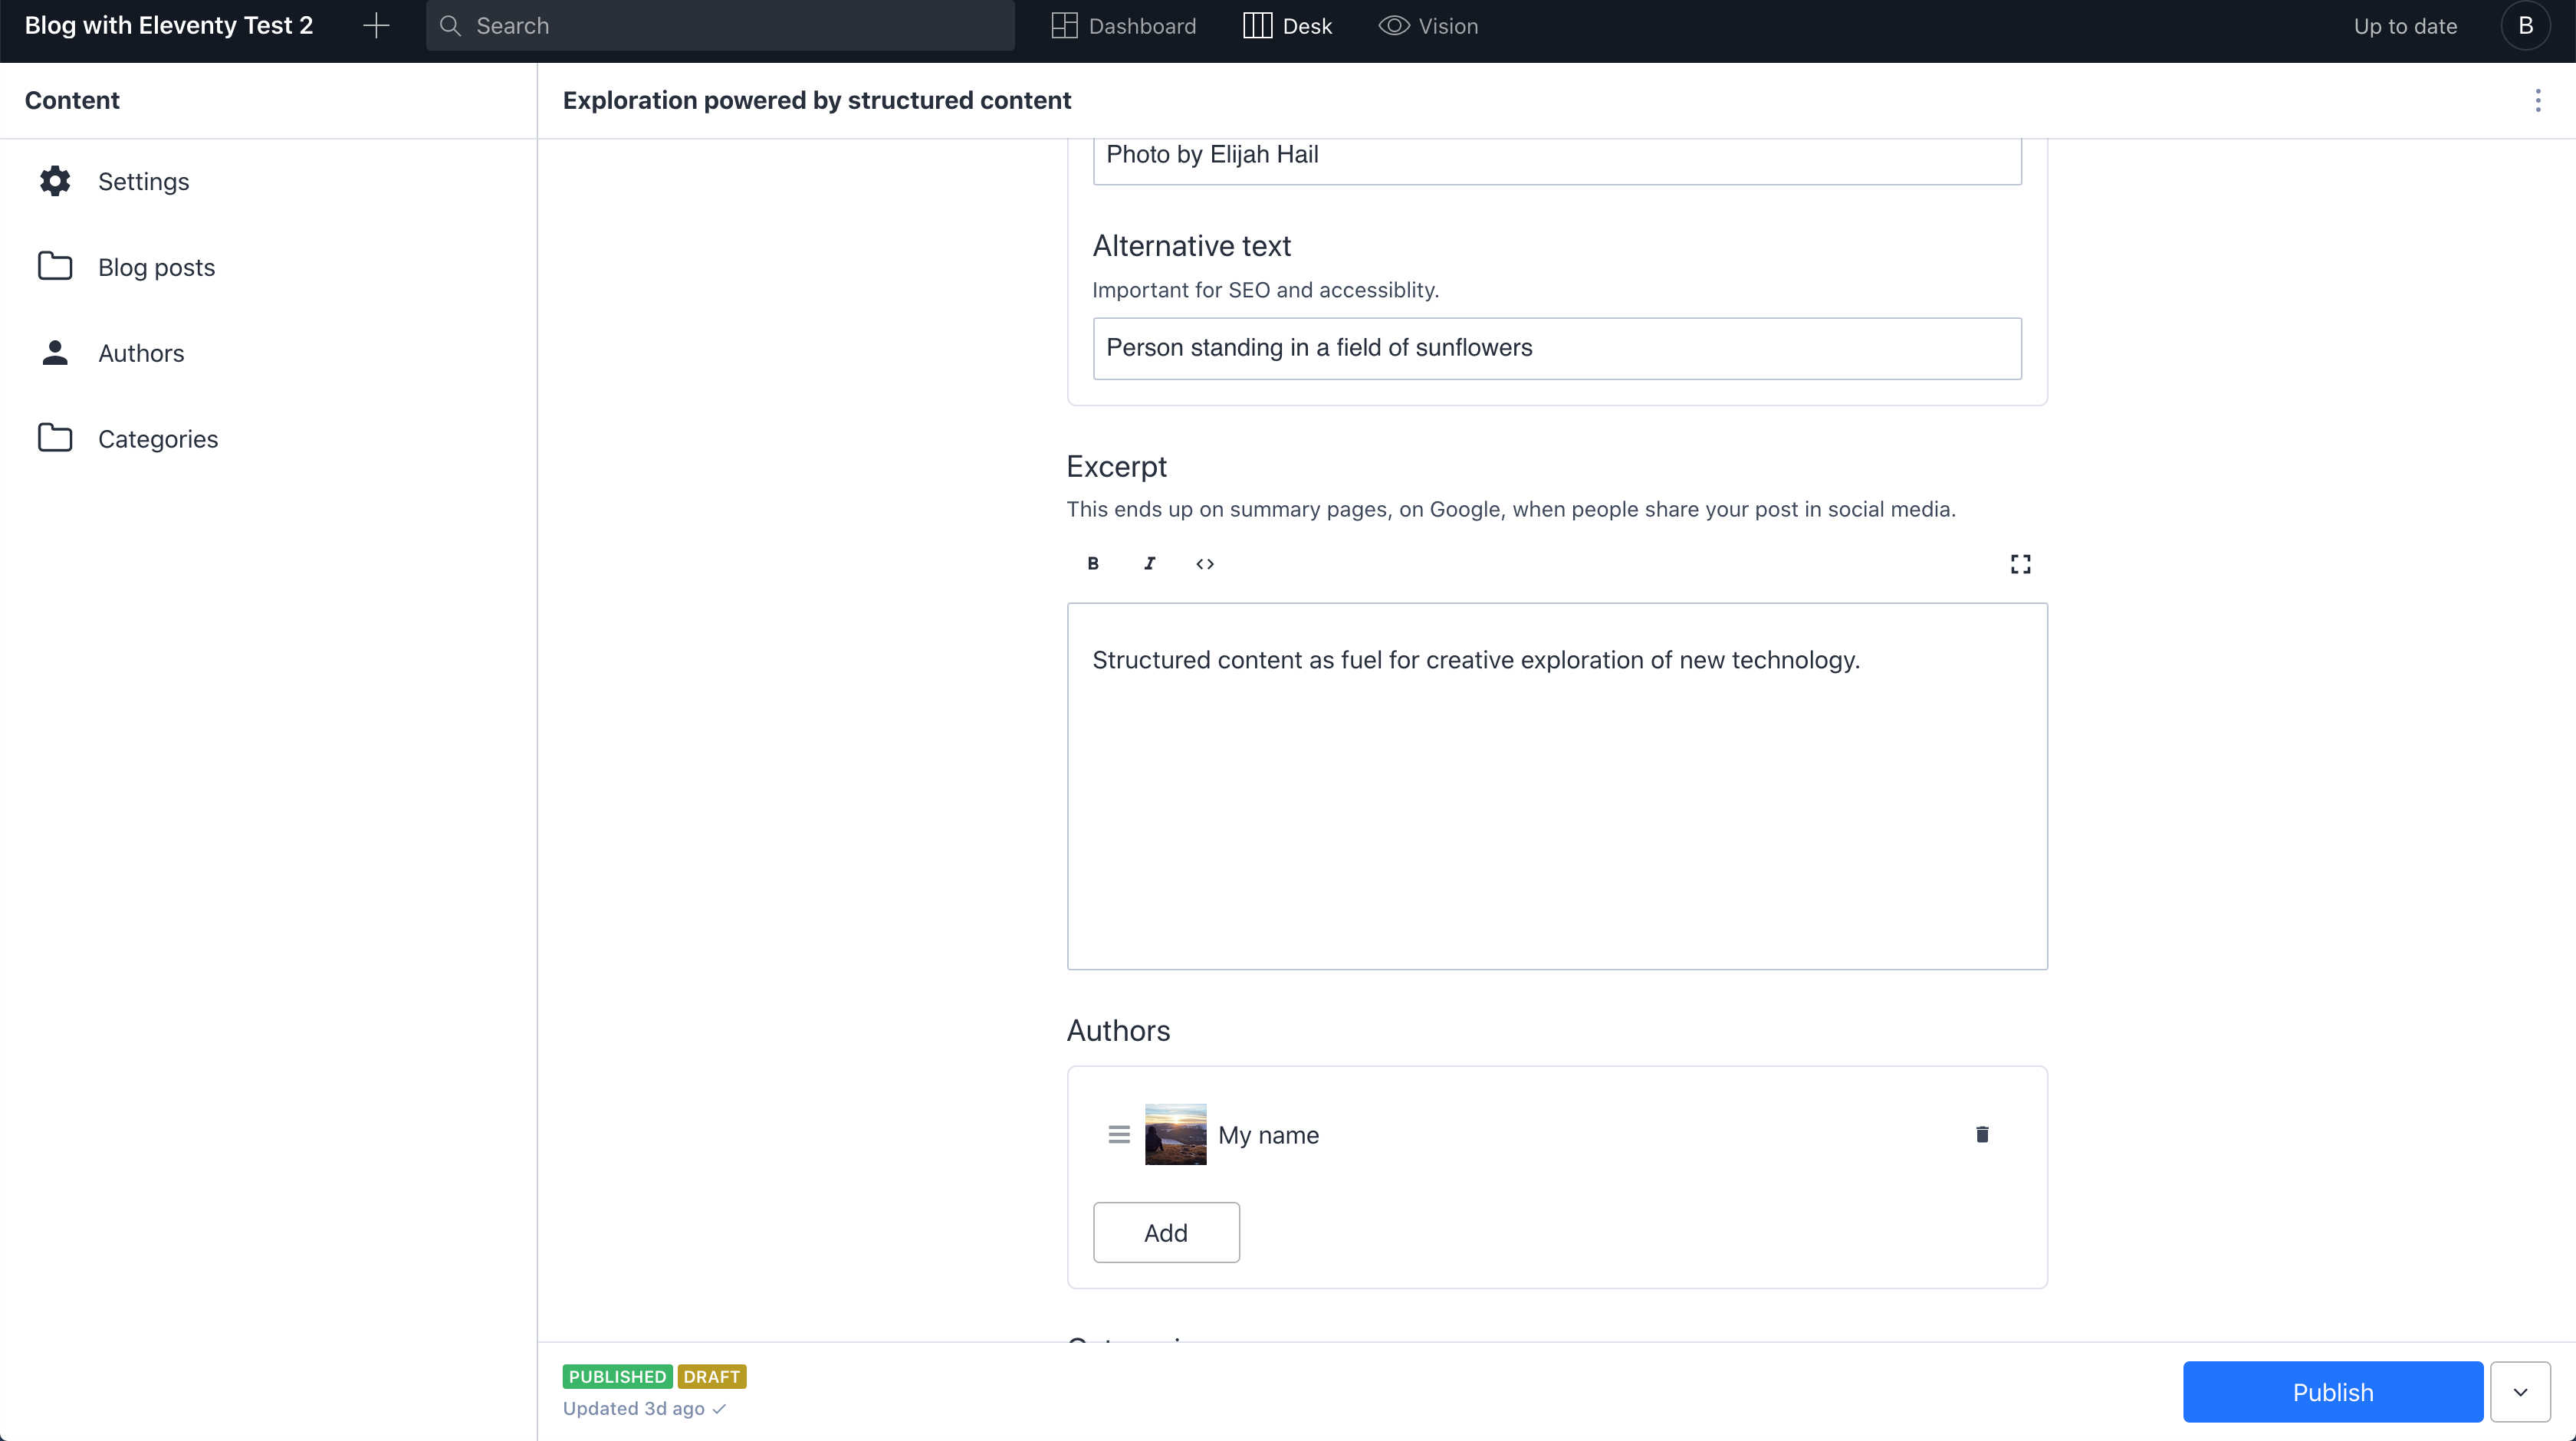
Adding an excerpt
Our first change will be to incorporate an excerpt into our frontend. Often an excerpt can help a user engage with an article, so this small change could offer large benefits in the end.
Luckily for us, our Studio setup already has all the fields we need to enter excerpts for each blog post.
Now all we have to do is modify our GROQ query and update the proper templates within 11ty.
Modifying the Post data we return from Sanity
All of the data related to our Posts is being pulled in a JavaScript data file in our /web/_data/ directory. To get the excerpt information from Sanity, we’ll need to modify two areas of the code in the posts.js file in that directory. We need to request the excerpt data in our GROQ projection and then serialize that data in our generatePost function.
To get the excerpt back as data, we’ll start by modifying the query we send to the Sanity API. The query is built in 3 pieces.
const filter = groq`*[_type == "post" && defined(slug) && publishedAt < now()]`
The filter tells the API what kind of content we want. In this case, we want a post with a defined slug that is published before now.
const projection = groq`{
    _id,
    publishedAt,
    title,
    slug,
    body[]{
      ...,
      children[]{
        ...,
        // Join inline reference
        _type == "authorReference" => {
          // check /studio/documents/authors.js for more fields
          "name": @.author->name,
          "slug": @.author->slug
        }
      }
    },
    "authors": authors[].author->
  }`
The projection tells the API what data we want back from the query. This is where we’ll add our excerpt request.
const order = `| order(publishedAt asc)`
The order is in what publishable order we want the data back. In this case, we’re asking for it to be ordered by publish time in ascending order.
To request the excerpt data back for each of our posts, we need to add a line to the projection. In this case, we need to only add the key excerpt to the main query object. This key should match the excerpt key in our Sanity data. While you can add this anywhere within the top-level of our projection, it can be easier to maintain in the future by keeping this close to the order of the schema.
const projection = groq`{
    _id,
    publishedAt,
    title,
    slug,
    excerpt, // Adds Excerpt here
    body[]{
      ...,
      children[]{
        ...,
        // Join inline reference
        _type == "authorReference" => {
          // check /studio/documents/authors.js for more fields
          "name": @.author->name,
          "slug": @.author->slug
        }
      }
    },
    "authors": authors[].author->
}`Once we return the excerpt data from Sanity, we need to get it into a format that 11ty will find useful. The current excerpt field is a Portable Text field allowing for WYSIWYG editing.
To extract the code from this, we’ll run it through the same function our post body goes through to get our excerpt ready for 11ty.
In our generatePost function, we’ll add a new line to parse the excerpt to Markdown using the BlocksToMarkdown package already in use.
function generatePost (post) {
  return {
    ...post,
    excerpt: BlocksToMarkdown(post.excerpt, { serializers, ...client.config() }),
    body: BlocksToMarkdown(post.body, { serializers, ...client.config() })
  }
}
Using the excerpt in 11ty
Now that the data is in a format that 11ty can use, we can change our templates to accept it. To add this, we’ll add a variable expression in our Nunjucks template.
<ol reversed class="postlist" style="counter-reset: start-from {{ postslist.length + 1 }}">
{% for post in postslist | reverse %}
  {% set currentPost = post.data.post %}
  <li class="postlist-item{% if post.url == url %} postlist-item-active{% endif %}">
    <a href="{{ post.url | url }}" class="postlist-link">{% if currentPost.title %}{{ currentPost.title }}{% else %}<code>{{ post.url }}</code>{% endif %}</a>
    <time class="postlist-date" datetime="{{ currentPost.publishedAt }}">{{ currentPost.publishedAt|readableDate }}</time>
    {{ currentPost.excerpt | markdownify | safe }}
  </li>
{% endfor %}
</ol>
Here we get the data with currentPost.excerpt but then pass it through two template filters to get the desired result. The excerpt will come through first as Markdown, but we’re currently editing a file that is expecting Nunjucks/HTML. The | markdownify filter is to convert the Markdown to HTML. Then we pass it through the | safe filter to tell Nunjucks that it’s safe to render the code instead of displaying it as plain text.
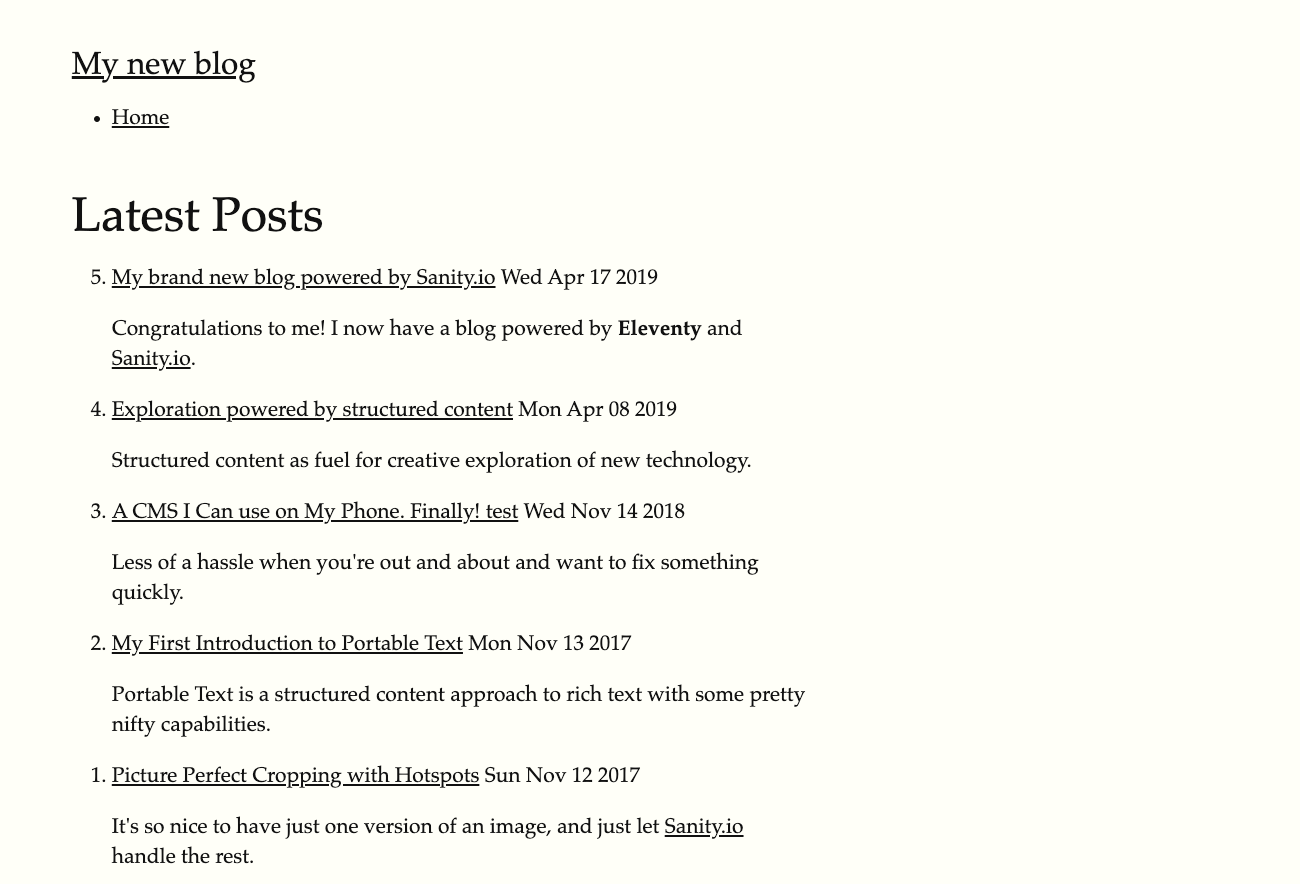
At this point, we have an excerpt pulling into our homepage and our archive page to entice a user to click on each blog post.
Next Steps
This is only the start of course! There’s loads of things you can do to take this blog further. We’ll cover more in future guides. In the meantime, check out our documentation and blog for more, and make sure to join our community on Slack to get help and see what other people are doing with Sanity.
Community Resources
- How to: Add Twitter and Instagram Embeds on an Eleventy website using Sanity
- Want to see a community resource added? Reach out on our Slack community!
Sanity – The Content Operating System that ends your CMS nightmares
Sanity replaces rigid content systems with a developer-first operating system. Define schemas in TypeScript, customize the editor with React, and deliver content anywhere with GROQ. Your team ships in minutes while you focus on building features, not maintaining infrastructure.
Sanity scales from weekend projects to enterprise needs and is used by companies like Puma, AT&T, Burger King, Tata, and Figma.