Published October 29, 2020
Creating a Sanity and Vercel 1-click Starter Project

Turn your Sanity and Vercel project into a reusable Starter template.
In this guide, we’ll take an existing Studio and Next.js app and turn it into a 1-click Starter project ready to deploy to Vercel. We can re-use this Starter for our own purposes, share it with others, or even submit it to be included as a featured Starter on create.sanity.io. If you want to be featured in the Starters list, be sure to post your Starter in the #i-made-this channel of our Slack community.
Key concepts for Starter creation
- Restructuring a project into proper directories
- Creation of metadata inside sanity-template.json
- Testing locally with sanity-template CLI
- Seeding the Starter with data
- Future-proof the Starter with Renovatebot
Prerequisites
- How to set up a Studio
- Knowledge of NPM scripts
- Working knowledge of the shell and CLIs
Getting Started
We can create a Starter that includes just a Studio or just a frontend. We can also create a Starter that contains both.
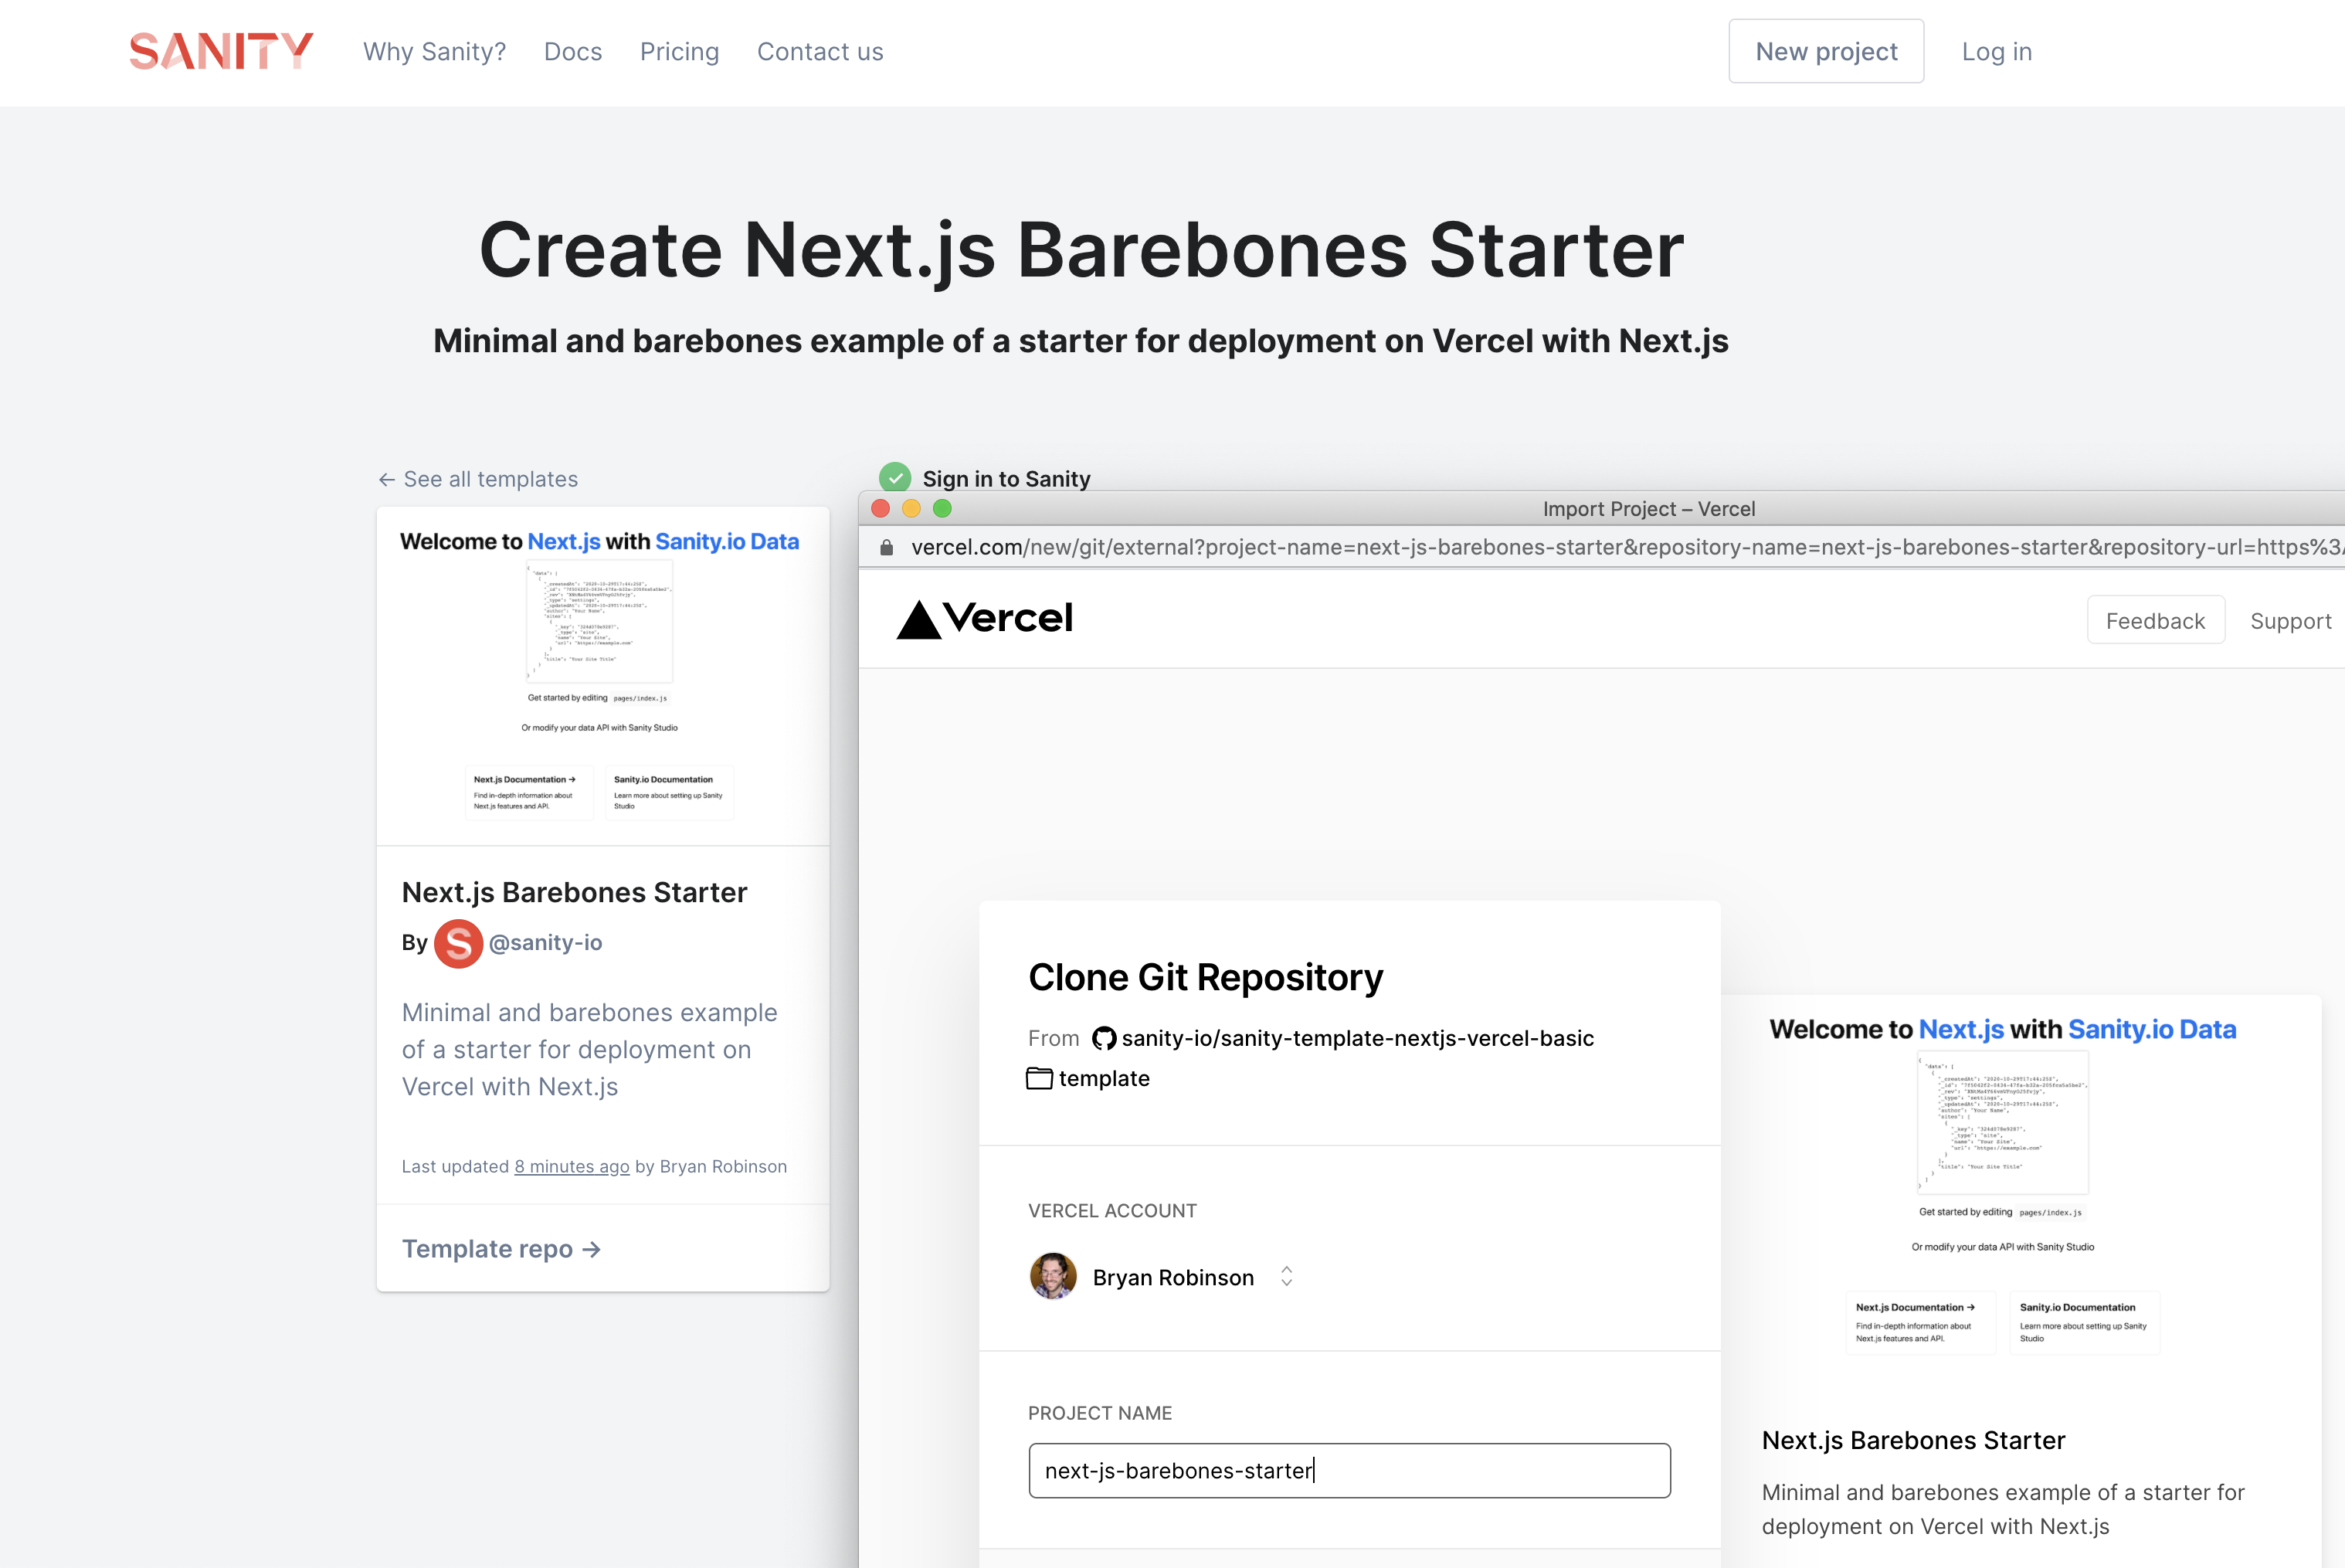
In this demo, we'll have a very light Studio schema with a Next.js frontend that will display the JSON response from Sanity. You can get the code by using this starter.
Clone the created repository, and we'll have a directory containing a Next.js app with a /studio directory containing our Studio. If you want to follow along with your own template, you can skip this step.
Structuring your project
A Starter project follows a specific structure. Our website and studio live in the root of the project in the /studio and /web directories. The .sanity-template directory contains all the metadata about the template, including the proper commands for Netlify to build the project.
Let’s take a look at the contents of the .sanity-template directory.
/assets– A directory for storing assets related to displaying information about our starter. In this case, preview images for the overall project and for each site the starter contains/data– A directory to store a Sanity dataset exportREADME.md– The README file for this project will be displayed on the Create pagemanifest.json– A JSON file containing details about the Starter as well as deployment information
Creating metadata and deployment information in manifest.json
In the manifest.json file we just created, we need to provide an object of information about our Starter.
Add Starter metadata
To start, we’ll add a bit of information about the starter. We’ll add a title, a description, a preview image, and an array of relevant technologies.
{
  "version": 2,
  "title": "Next.js Barebones Starter",
  "description": "Minimal and barebones example of a starter for deployment on Vercel with Next.js",
  "previewMedia": {
    "type": "image",
    "src": "assets/frontend.png",
    "alt": "Next.js frontend with Sanity data displaying"
  },
  "technologies": [
    {
      "id": "vercel",
      "name": "Vercel",
      "url": "https://vercel.com/"
    },
    {
      "id": "nextjs",
      "name": "Next.js",
      "url": "https://nextjs.org"
    }
  ],
  // ... deployment information next
}
This information is primarily displayed on sanity.io/create. The version property is important to note. This property is the version of the Create API and should be set to 2.
The overall Starter can have a previewMedia object. This is where we can define out an image to use to preview what the final project will look like. This image will also be used during the project creation flow inside of Vercel.
The technologies array provides a list of relevant technologies. The main technologies of your starter can be listed here. For our demo, let's include Next.js and Vercel.
Add deployment information
Next, we need to create information for how to deploy the Starter. In this case, we'll be using Vercel for our deployment, so we need to add vercel as our provider. We need to provide a little information to make sure our build happens the way we want. We need to let the deployment know that our Studio lives at the /studio route instead of being a separate domain. We also need to set a default CORS Origin so that Sanity will provide data to the localhost port that Next will be running.
// sanity-template.json
{
  // ... Meta data created earlier in the guide
  "deployment": {
    "provider": "vercel",
    "studio": { "basePath": "/studio" },
    "corsOrigins": [
      {
        "origin": "http://localhost:3000",
        "allowCredentials": true
      }
    ]
  }
}
By default, Vercel will run the build script in our template/package.json file. Anything we need to have happen during the build needs to be in this script.
For this demo, our Studio will live as a subdirectory to our site, so we'll need to run a script to build the Studio, transfer it to the public directory that Vercel creates, and then build the front-end for the site. Our Studio lives in the template/studio directory, so we move into that directory, run the sanity build command, specifying the output path as ../public/studio to have it build into the public directory, and then move back to the root of the template. This will allow our frontend build script to run. In this case, we run next build in its default mode.
// /template/package.json
{
  // ... All the other needs for a package.json
  "scripts": {
    "build": "npm run build:sanity && npm run build:web",
    "build:web": "next build",
    "build:sanity": "cd studio && npx sanity build ../public/studio -y && cd ..",
    "postinstall": "lerna bootstrap"
  }
}
We also need to make sure that our studio directory has all its dependencies installed. We can use the postinstall script and pair that with Lerna to make this work.
// /template/lerna.json
{
    "packages": [
      "studio"
    ],
    "version": "0.0.0"
}
Testing the Starter locally
In order to test our Starter locally, we need to check that our sanity-template.json doesn't have any errors and run a test build. To do this, we need the sanity-template CLI.
# Install globally
npm install -g sanity-template
Testing JSON data with sanity-template check
Now that we have this installed globally, we can run commands in the CLI from the root of our project.
First, we want to test our configuration in sanity-template.json. Running the following command will show any errors in our JSON data.
# Run from the root of the Starter project
sanity-template check
Running a test build with sanity-template build
Next, we want to see how our template will actually build. To do that, we'll run another command from the CLI in our root directory.
# Run from inside the root directory
sanity-template build
The build command will find the directories and commands we listed in our sanity-template.json file and attempt to find those directories and run those commands. It will then create directories inside of a new /build directory for the final public files.
Refactoring out test projectId and dataset
We now have a built frontend and Studio. If we dive into the code for our Studio, we’ll see one small issue: inside /build/studio/sanity.json our project configuration is using our current project information.
{
  "root": true,
  "project": {
    "name": "Basic Next.js Site",
    "basePath": "/studio"
  },
  "api": {
    "projectId": "PULLED_FROM_ENV",
    "dataset": "PULLED_FROM_ENV"
  },

}
In most scenarios, when working with the sanity.json file, we'd see the actual projectId and dataset values in this file. In the case of a Vercel Starter template, these values are added during creation and stored as environment variables in Vercel. We just need placeholder values here, and the Studio will read from the environment variables if set.
We also specify the basePath for our Studio to make sure our paths start at /studio instead of the default root of the project while building.
Our frontend is already set up to use these values inside /template/utils/sanity.js. The file is using the SANITY_STUDIO_API_DATASET and SANITY_STUDIO_API_PROJECT_ID variables. You can use these in any space that will function in the build process. This file is using the next-sanity package to connect Next.js to the Sanity datastore with these variables.
This code will work when deployed, but if we want to develop locally, we'll need to create a local set of environment variables. We can do this by setting our development command to run vercel dev to get the variables from Vercel and run the server as it would run live.
Seeding our Starter with data
Whether we’re creating a Starter for our future selves or creating it for the community at large, seeding our Starter with a little data can go a long way.
To seed the project, we'll want to create data inside our test project. The current project has a small set of schema in the Studio code. We'll add data with the Studio. You can either run the Studio locally or visit the link provided when you used the Starter earlier in the guide.
// First, we must import the schema creator
import createSchema from 'part:@sanity/base/schema-creator'

// Then import schema types from any plugins that might expose them
import schemaTypes from 'all:part:@sanity/base/schema-type'

// Then we give our schema to the builder and provide the result to Sanity
export default createSchema({
  // We name our schema
  name: 'default',
  // Then proceed to concatenate our document type
  // to the ones provided by any plugins that are installed
  types: schemaTypes.concat([
    /* Your types here! */
    {
      name: 'settings',
      title: 'Site Settings',
      type: 'document',
      fields: [
        {
          name: 'title',
          title: 'Site Title',
          type: 'string'
        },
        {
          name: 'author',
          title: 'Site Author',
          type: 'string'
        },
        {
          title: 'External Sites',
          name: 'sites',
          type: 'array',
          of: [
            {
              name: 'site',
              title: 'External Site',
              type: 'object',
              fields: [
                {
                  name: 'name',
                  title: 'Site Name',
                  type: 'string'
                },
                {
                  name: 'url',
                  title: 'Site URL',
                  type: 'string'
                }
              ]
            }

          ],
        },

      ]
    }
  ])
})
Once the sample content has been added to our dataset, we can export it out using the sanity dataset export command in the root of the Studio we’re working in. When asked where you want to export the data, you’ll want to tell the CLI to put it in the root of our project in the /data folder we created. This will create a compressed file that the Create site will decompress and import into the new project set up by the script.
Set up automatic updating with Renovatebot
Keeping your starter up to date is important. It can also be a pain. We can use Renovate to keep an eye on certain packages and issue pull requests when they get out of date.
For the purposes of this guide, we’ll take a look at how we can set up Renovate to watch out for updates to Sanity and its various plugins. Renovate is a third-party watcher that can be configured as a GitHub app. For details on setting it up on your GitHub account, you can check out their docs.
Once Renovate is set up to watch our repository, we need to give it some instructions. To configure what Renovate is watching, we'll add a renovate.json to the root of our Starter.
In the JSON file, we define out any custom configuration. In our case, we want to watch anything associated with Sanity, which luckily, the Sanity team has set up as a preset we can use.
{
  "extends": [
    "github>sanity-io/renovate-presets:sanity-template"
  ]
}
This extends Sanity's presets which include anything prefixed with @sanity or sanity-plugin. See the configuration on GitHub to read the full file.
Share your Starter
At this point, your starter is ready to be used by anyone with the right link. Your repository's link will follow this pattern:
https://sanity.io/create?template=<github-username>/repository-name. Test it live and then share it out.
If you want to be included in the Community section of the Create page, be sure to let us know in the #i-made-this channel in our Slack community.
Sanity – The Content Operating System that ends your CMS nightmares
Sanity replaces rigid content systems with a developer-first operating system. Define schemas in TypeScript, customize the editor with React, and deliver content anywhere with GROQ. Your team ships in minutes while you focus on building features, not maintaining infrastructure.
Sanity scales from weekend projects to enterprise needs and is used by companies like Puma, AT&T, Burger King, Tata, and Figma.