Create a survey rating number field input
Give content creators quick access to valid values by replacing the default number field input with a list of options.
This developer guide was contributed by Simeon Griggs (Principal Educator).
Give content creators quick access to valid values by replacing the default number field input with a list of options.
What you need to know:
This guide assumes that you know how to set up and configure a Sanity Studio and have basic knowledge about defining a schema with document and field types. Basic knowledge of React and TypeScript is also useful, although you should be able to copy-paste the example code to get a runnable result.
Custom form components by example
One of Sanity Studio’s most powerful features is custom drop-in replacements for form fields. This guide is one in a series of code examples.
You can get more familiar with the Form Components API in the documentation.
- Create a “coupon generator” string field input
- Create a visual string selector field input
- Create a survey rating number field input
- Create a time duration object field
- Create an array input field with selectable templates
- Create interactive array items for featured elements
- Create richer array item previews
- Create a document form progress component
What you’ll build
A number field input with predefined values that are easy to select:
Getting started
In this guide, you’ll build an input for a number field with a button for each valid option. Uses might include survey responses to rank questions from 1–10, or a movie review for 1–5 stars.
First, create the minimum schema types required to create content.
Create a new field in your Studio, and import it to your schema in sanity.config.ts
// ./schema/rating/ratingType.ts

import {defineType} from 'sanity'

export const ratingType = defineType({
  name: 'rating',
  title: 'Rating',
  type: 'number',
  validation: (rule) => rule.min(1).max(10),
})
Creating a new schema type for this string type allows more flexible reuse throughout your Studio. For example, if multiple document types use this rating type with its custom input; but with unique options. By importing this schema type to the Studio schema, you can refer to this type with it’s value for name , in other words type: 'rating'.
Next, edit a document schema type and use this new rating field type. In the example below it is used twice for different fields.
// ./schema/survey.ts
import {defineField, defineType} from 'sanity'
export const surveyType = defineType({
name: 'survey',
title: 'Survey',
type: 'document',
fields: [
defineField({
name: 'title',
type: 'string',
}),
defineField({
name: 'wouldRecommend',
description: 'How likely are you to recommend this product to a friend?',
type: 'rating',
validation: (rule) => rule.min(1).max(10),
}),
defineField({
name: 'wouldBuyAgain',
description: 'How likely are you to buy this product again?',
type: 'rating',
validation: (rule) => rule.min(1).max(5),
}),
],
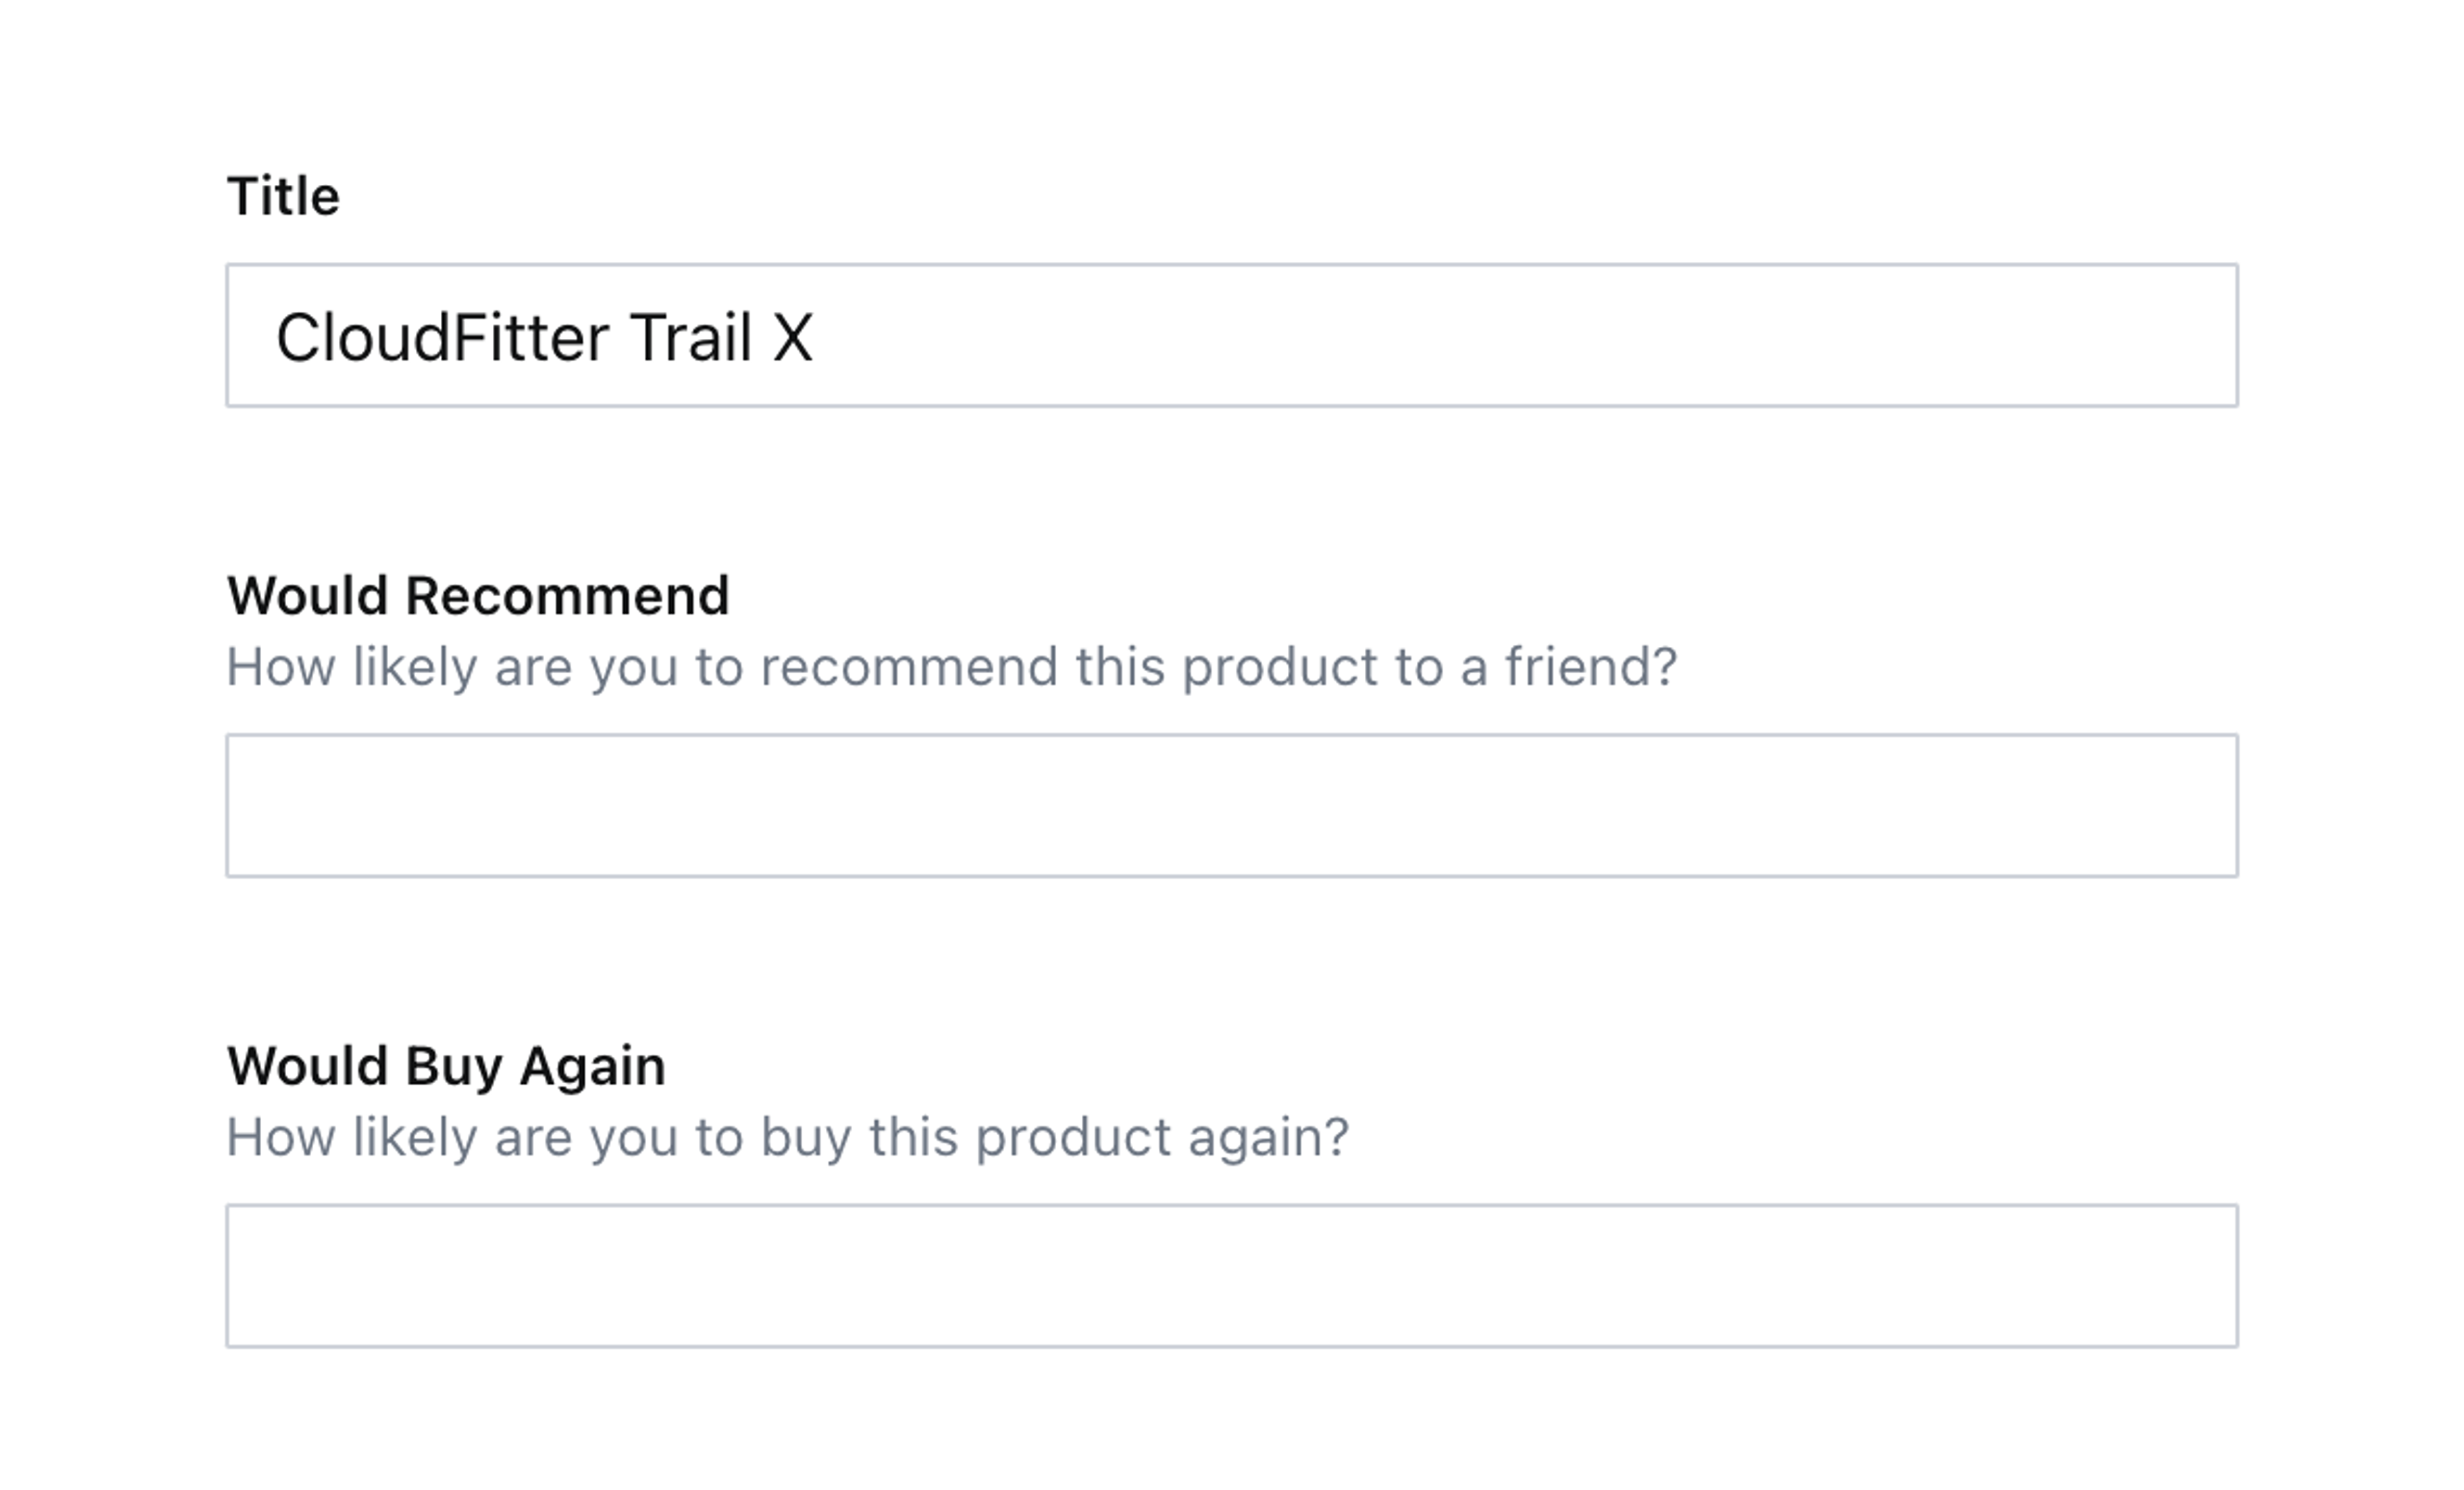
})Create a new survey type document, and look at the two number fields.
They’re functional but not practical. It can be much better!
Create a component
Create a new component in your Studio using the code below. Notice that you are accessing the validation rules in the schemaType to find the range of numbers to print out. This means that wherever you’re using type: 'rating', you’ll also have to add a validation rule for min() and max():
// ./schema/rating/RatingInput.tsx

import {Grid, Button} from '@sanity/ui'
import {NumberInputProps} from 'sanity'
import {useMemo} from 'react'

export function RatingInput(props: NumberInputProps) {
  const {schemaType, value} = props
  const {validation = []} = schemaType

  const range = useMemo(() => generateRange(validation as any[]), [validation])

  return (
    <Grid columns={range.length} gap={1}>
      {range.map((index) => (
        <Button
          key={index}
          mode={value === index ? 'default' : 'ghost'}
          tone={value === index ? 'primary' : 'default'}
          text={index.toString()}
          value={index}
        />
      ))}
    </Grid>
  )
}

/**
 * Function that finds the `min` and `max` rules from validations,
 * and generates the range of numbers between them
 **/
function generateRange(validation: any[]) {
  const [min, max] = validation
    .reduce((acc, {_rules}) => {
      return [...acc, ..._rules]
    }, [])
    .filter((rule: any) => ['max', 'min'].includes(rule.flag))
    .map((rule: any) => rule.constraint)

  let range = []
  for (let i = min; i <= max; i++) {
    range.push(i)
  }

  return range
}
Notice the following:
- On line 3, the imports from Sanity UI help you create custom inputs that look like first-class editorial experiences with the same components and design language as the rest of the Studio. See getting started with Sanity UI for more information.
- The code here assumes that both
min()andmax()is set. If you’re making a plugin or plan to ship to production, you should probably add additional guardrails to make sure both or set. There is also some TypeScript shortcuts usinganyto keep the code a bit more readable. - In this input we aren’t rendering the default input – usually rendered with
props.renderDefault(props)– though you might choose to render it for debugging purposes.
To use this component, you’ll need to load it into the correct slot back on the rating schema. You’ll use input here because you don’t want to replace the field’s title and description.
// ./schema/rating/ratingType.ts
import {RatingInput} from './RatingInput'
export const ratingType = defineType({
name: 'rating',
// ...all other settings
components: {input: RatingInput},
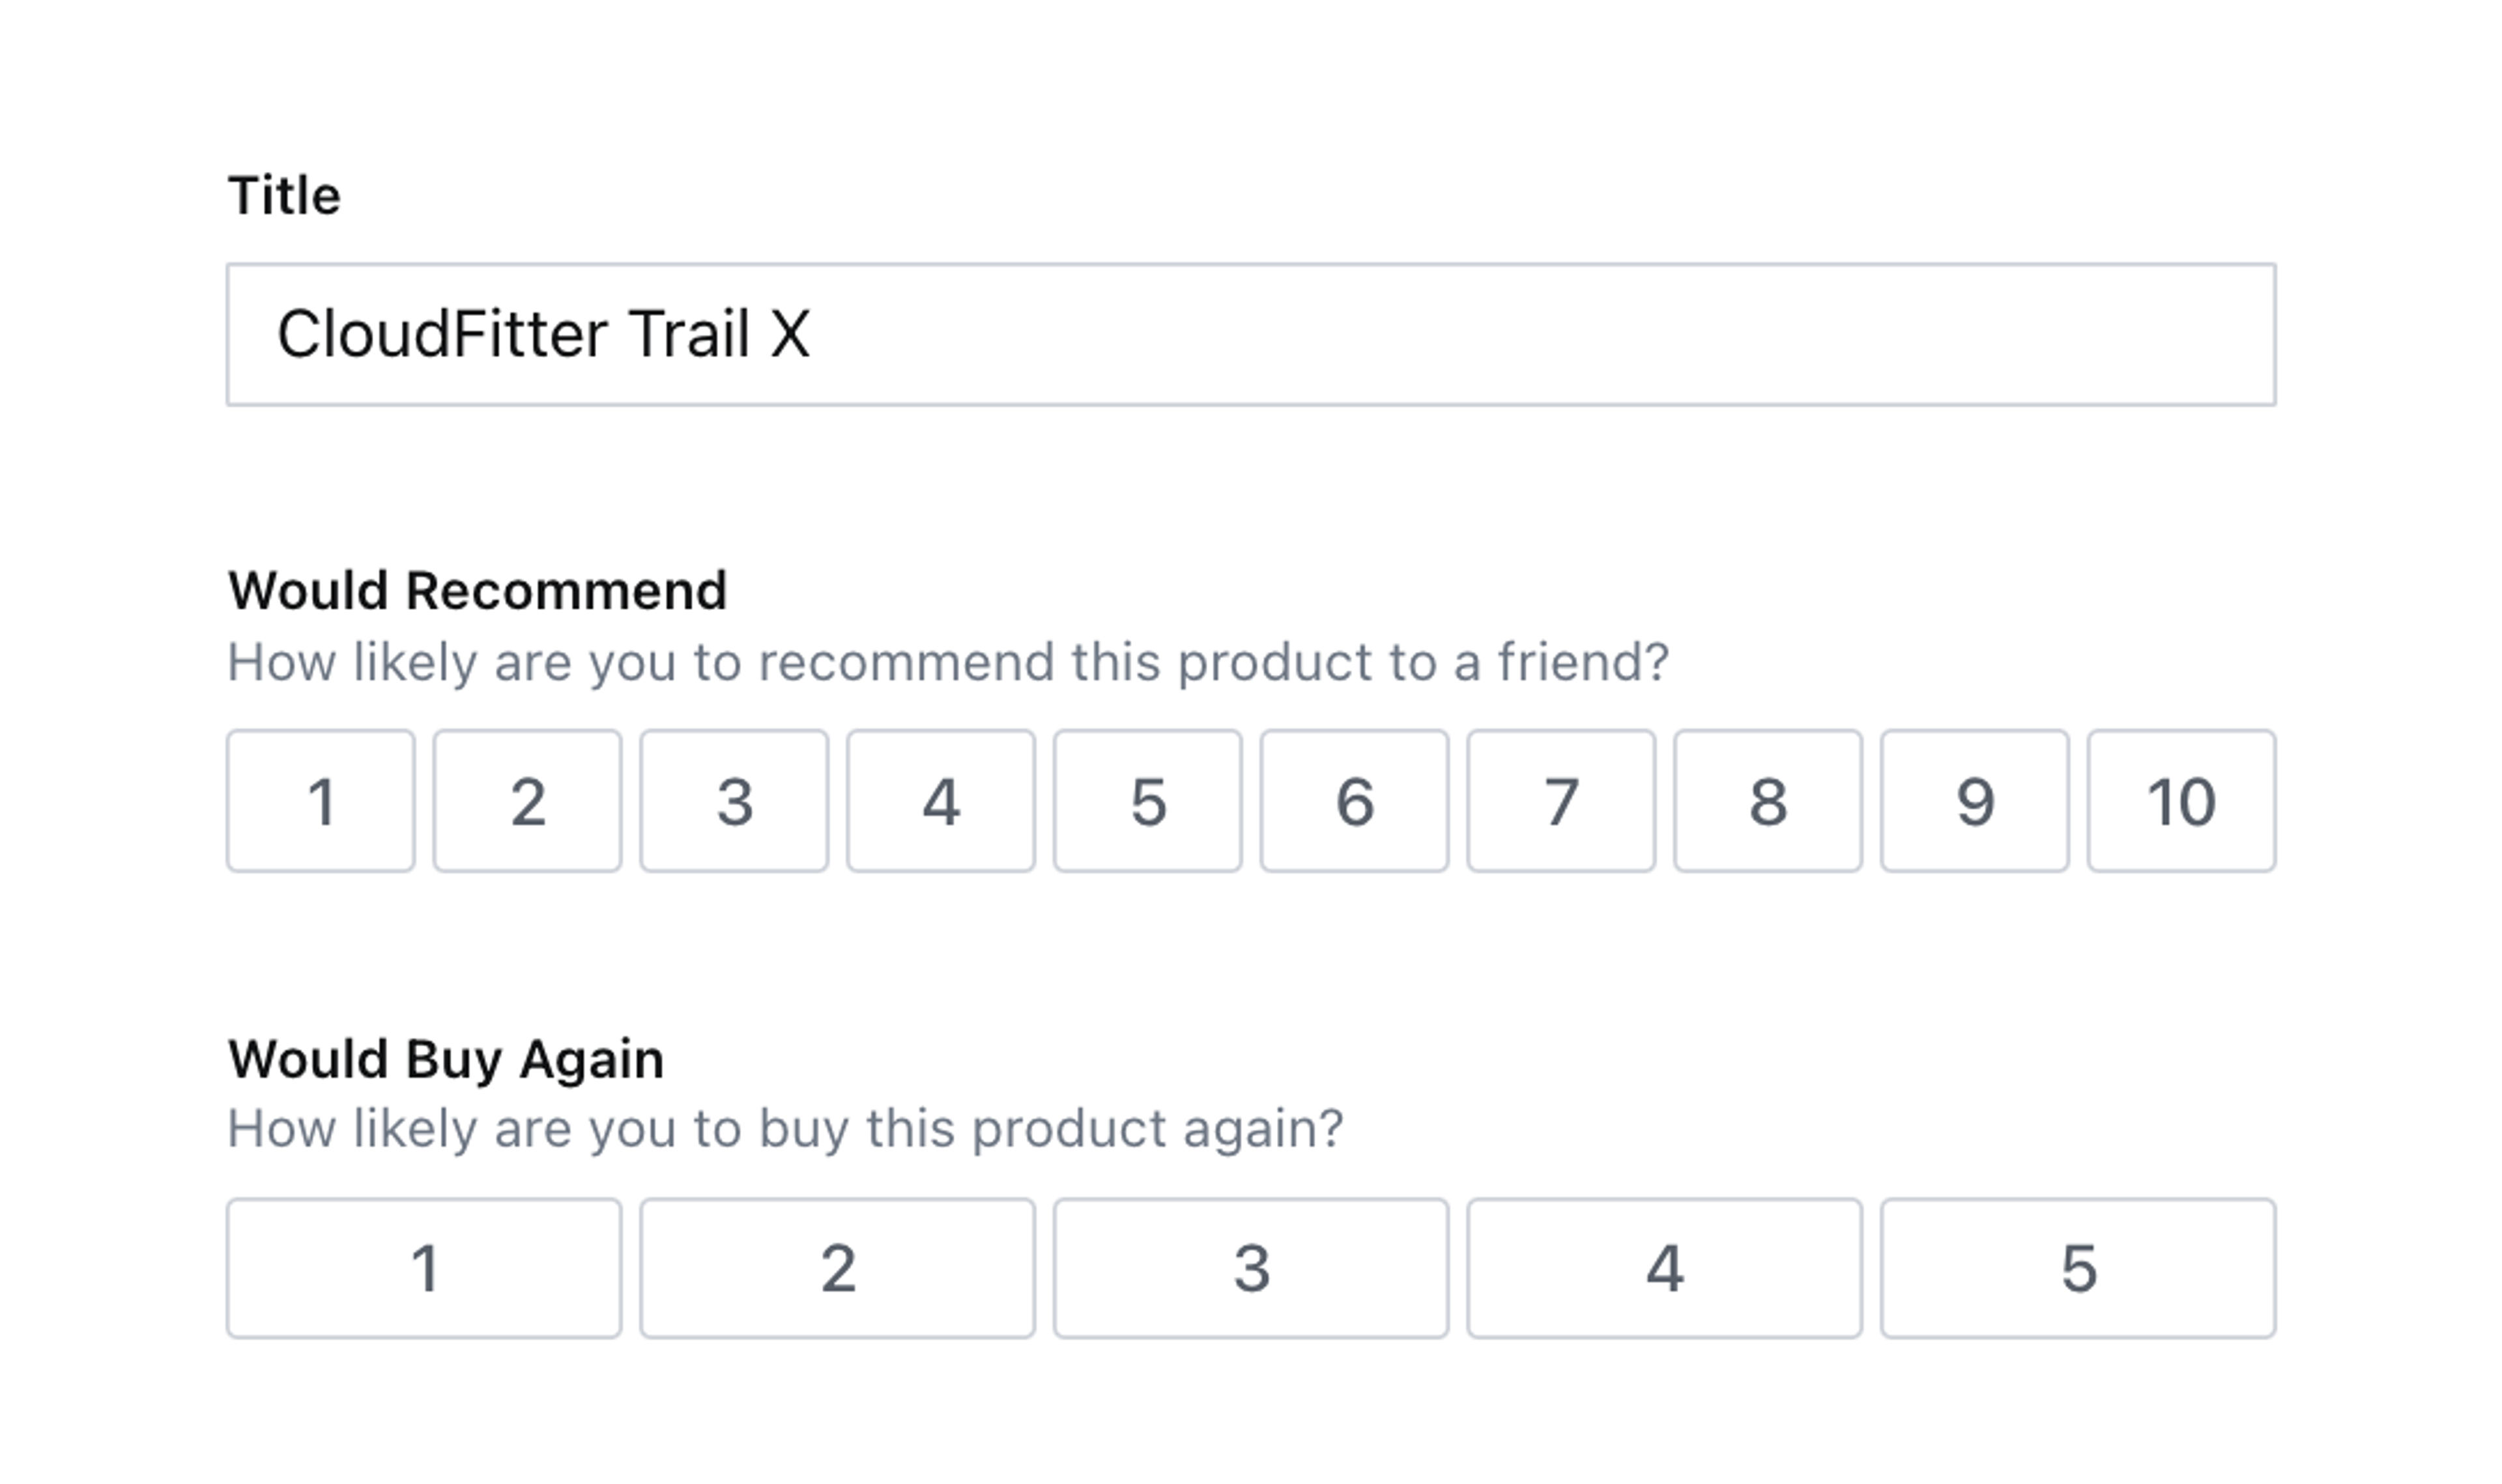
})Looking at your survey document again, it now contains clickable buttons. You can change the numbers for rule ⇒ rule.min(1).max(10) to see the number of boxes change.
Next, you’ll need to make them do something when selected!
Updating the field value
You’ll need to access the onChange function from the component’s props to write patches to the document.
This function wraps any patch – such as setting or unsetting the value of a field – and ensures the rest of the Studio stays up to date with changes.
When working with forms in React, you’re often recommended to store values in a component’s state. This is an anti-pattern working with Sanity Studio input components. Writing content to state is only reflected in the browser of the person using the input. By using Sanity’s real-time APIs you allow content creators to collaborate and avoid overwriting each other’s changes by always syncing directly to the Content Lake.
Update your RatingInput component to use the code below:
// ./schema/rating/RatingInput.tsx

import {Grid, Button} from '@sanity/ui'
import {NumberInputProps, set} from 'sanity'
import {useMemo, useCallback} from 'react'

export function RatingInput(props: NumberInputProps) {
  const {onChange, schemaType, value} = props
  const {validation = []} = schemaType

  const range = useMemo(() => generateRange(validation as any[]), [validation])

	const handleScore = useCallback(
    (event: MouseEvent<HTMLButtonElement>) => {
      const value = Number(event.currentTarget.value)
      onChange(set(value))
    },
    [onChange]
  )

  return (
    <Grid columns={range.length} gap={1}>
      {range.map((index) => (
        <Button
          key={index}
          mode={value === index ? 'default' : 'ghost'}
          tone={value === index ? 'primary' : 'default'}
          text={index.toString()}
          value={index}
					onClick={handleScore}
        />
      ))}
    </Grid>
  )
}
/**
 * Function that finds the `min` and `max` rules from validations,
 * and generates the range of numbers between them
 **/
function generateRange(validation: any[]) {
  const [min, max] = validation
    .reduce((acc, {_rules}) => {
      return [...acc, ..._rules]
    }, [])
    .filter((rule: any) => ['max', 'min'].includes(rule.flag))
    .map((rule: any) => rule.constraint)

  let range = []
  for (let i = min; i <= max; i++) {
    range.push(i)
  }

  return range
}- Notice how
onChangeandvalueare destructured from the component’s props. onChangeis called inside thehandleScore()function with theset()function, to update the field’s value. This means the new value will be instantly validated in the document and updated in the browser of any other authors currently viewing the same document.- The
handleScorefunction is registered with auseCallbackhook to cache it between re-renders.
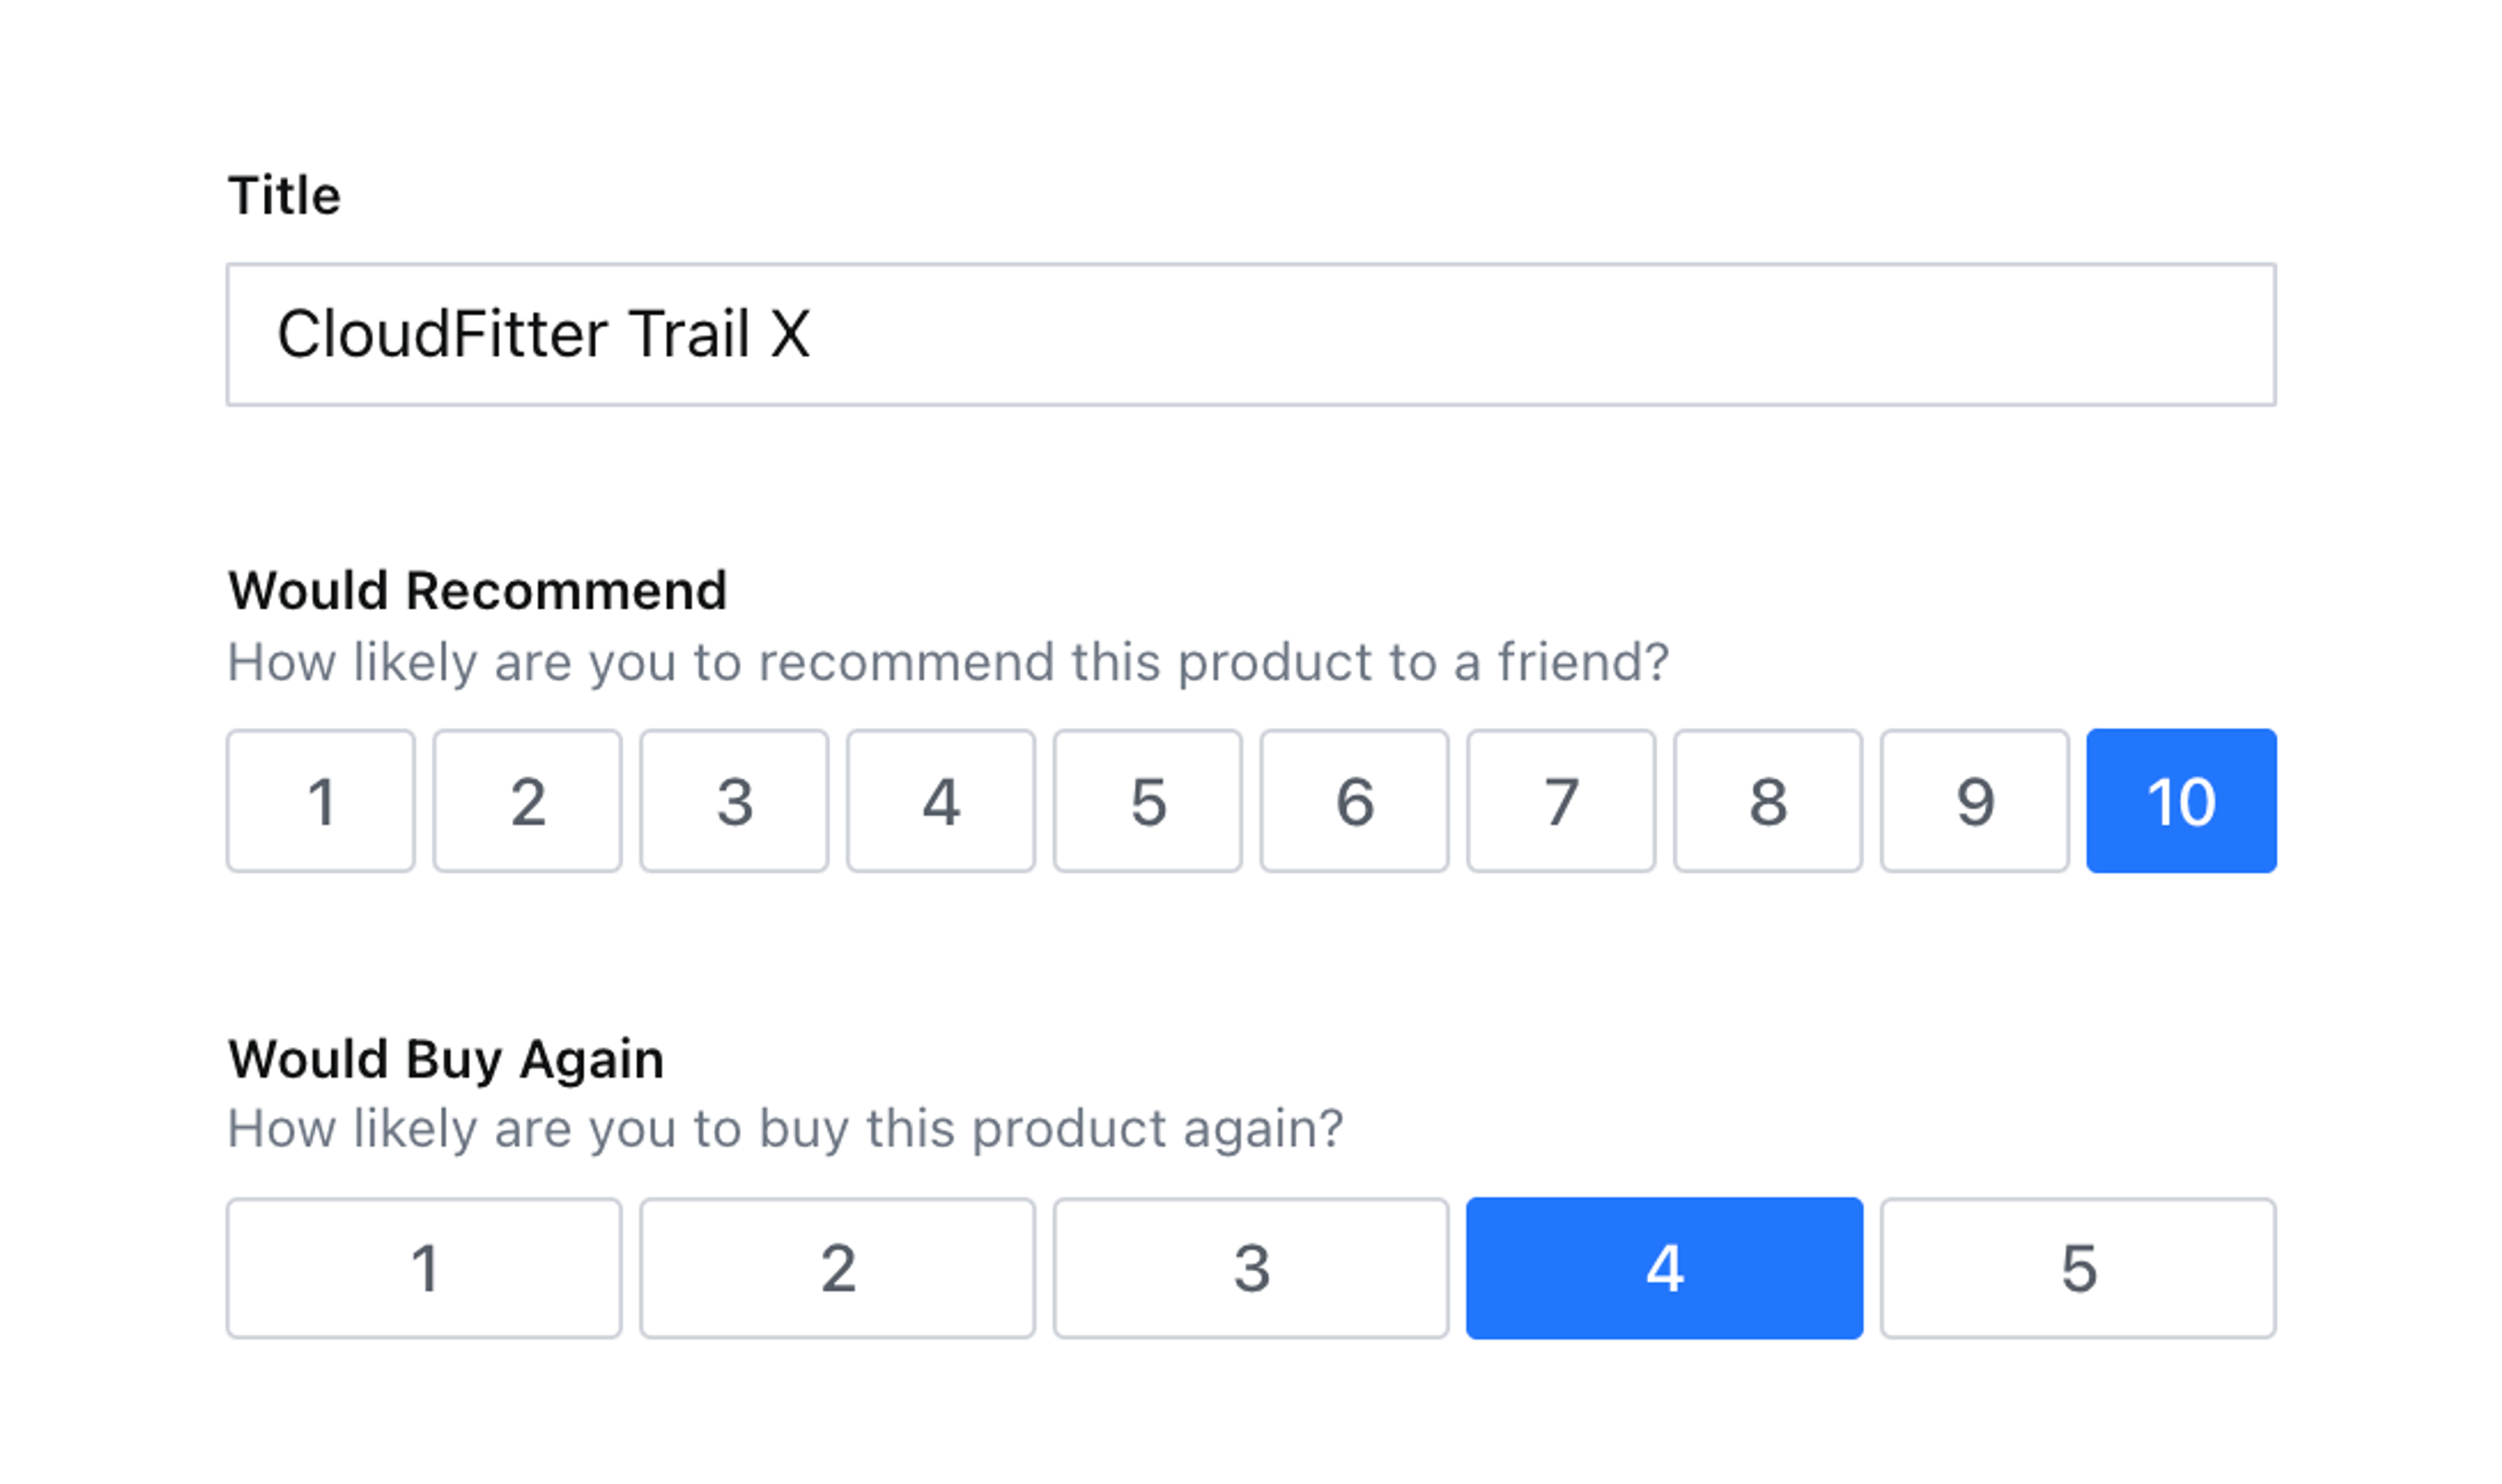
The rating field is now much more author-friendly, with selectable values and a clear indication of the current value.
Next steps
Some ideas to extend this custom input include:
- Add additional guardrails, or defaults, to support only a
max()rule being set to increase the developer experience for your team - Increase accessibility by supporting the number keys on a keyboard when the field has the focus
- Improve the UI for scales with more than 10 values in them by spreading them on more
rows - Import
unsetfromsanityand add an extra button to remove the value from the field. - Add text below the rating buttons to explain what each end of the scale represents, for example: “more likely” and “less likely”.