Zernio Social Publishing
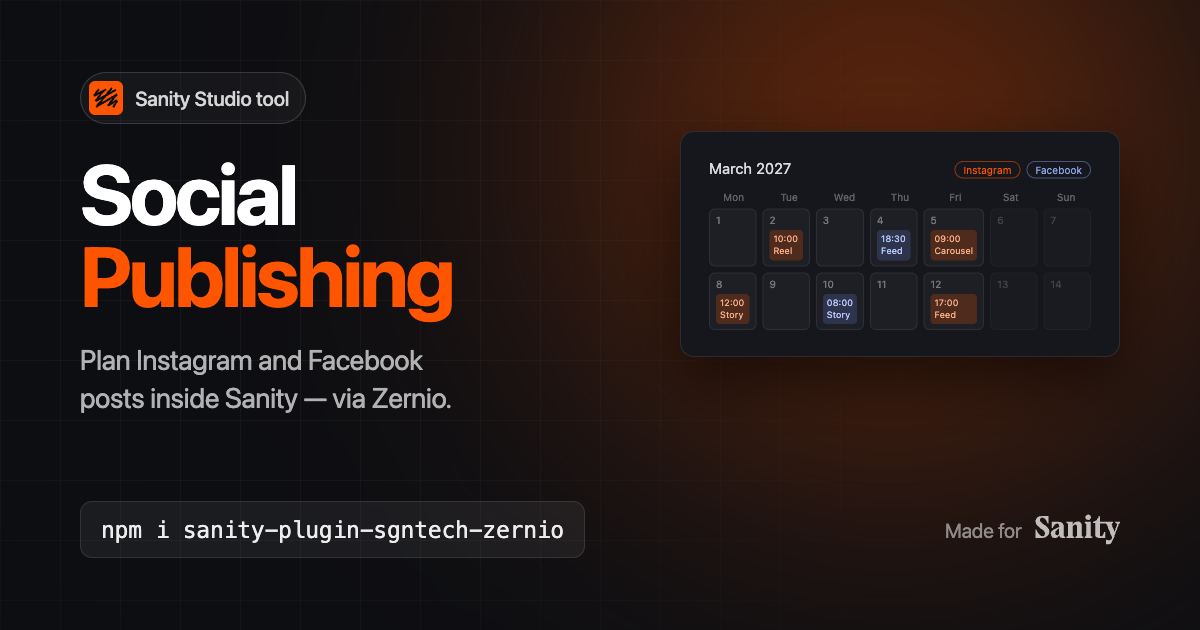
Plan, preview and publish Instagram and Facebook posts from inside Sanity Studio, through the Zernio API. Posts live in the dataset as documents, so they get drafts, version history, roles and a reference to the article or release they belong to. The tool adds a cockpit with a calendar, a filtered post list, true-to-scale previews per post type, and a settings panel for the API key, profiles and connected accounts. Covers Instagram feed, carousel, story and reel plus Facebook feed, story and reel, with per-type validation while writing.
By SGNTech
Install command
npm i sanity-plugin-sgntech-zernio
sanity-plugin-sgntech-zernio
Plan, preview and publish Instagram and Facebook posts from inside Sanity Studio, through the Zernio API.


What you get
- One place for everything. Compose, calendar, post list, detail pages, templates and settings are all in the Zernio tool. Writing, scheduling, sending, editing and deleting never send you to the desk.
- A composer that fits on one screen. No scrolling: the caption grows into the space that is left, media and accounts are single strips, and scheduling sits next to the send button.
- Previews that look like the app. The Instagram feed card with its profile row and action bar, the story with progress bars and reply field, the reel with its side rail, the Facebook post with its Like/Comment/Share row — in the right geometry per post type and with the caption folded where the platform folds it, at 125 characters on Instagram and 480 on Facebook.
- A page per post. Open one from the calendar or the list: caption, media, accounts, schedule, and what Zernio reported per platform, with edit, duplicate, status check, send and delete on it.
- Move and zoom the picture inside the frame the post type will show, with Instagram's safe zones on top so nothing important lands under the profile row or the reel buttons. The crop is stored in Sanity's own
cropshape, so the image field's crop tool and this one edit the same thing. - Templates for caption, first comment and hashtags — one template, three parts, applied together or one at a time.
{{title}},{{date}},{{time}},{{kind}}and{{accounts}}are filled in; unknown placeholders stay visible so it is obvious what is still missing. - Posts are documents. Every post is a
socialPostin your dataset, so it gets version history, roles, review — and a reference to the article or release it belongs to. That is the reason to do this in Sanity rather than in a separate dashboard. - Validation while writing, per platform and post type: media count, file size, aspect ratio, caption length. What the API would reject is an error; what the platform would crop or hide is a warning.
- Media without a second upload. Images go over as Sanity CDN URLs, cropped by the image pipeline to what the post type expects. Nothing is copied to a third place.
- Everything Zernio knows, not only your own work. The calendar and the list also show posts written in Zernio's dashboard or by another tool, marked as external.
- Status write-back. While the tool is open it asks Zernio about posts in flight and writes status, links to the published posts and errors back onto the document.
- Instagram feed, carousel, story and reel · Facebook feed, story and reel.
Before you install: where the API key lives
The plugin stores your Zernio API key in the dataset. A Sanity Studio is a browser application, so anything it can read at runtime can be read by anyone who opens that Studio, and by anyone with read access to the dataset.
A Zernio key with scope: full can post, delete, disconnect accounts, send SMS and spend ad budget.
Do not put one of those here. In Zernio, create a key that is
- limited to a single profile (
profileIds), - read-write, not full scope,
- given an expiry date.
The settings panel checks the key when you save it and warns if it has full access.
If that trade-off is not acceptable for your setup, do not use this plugin as it stands: put the key
on a server and route the calls through it. The client in src/lib/client.ts takes a baseUrl, so
pointing it at your own proxy is a small change.
Setup
Five steps, about ten minutes, no code beyond the config block.
1. Install
npm install sanity-plugin-sgntech-zernioSanity Studio v5 or v6, React 18 or 19. Nothing else to install — @sanity/ui and @sanity/icons
come with the Studio.
2. Add it to the config
// sanity.config.ts
import {defineConfig} from 'sanity'
import {structureTool} from 'sanity/structure'
import {zernio, zernioTypeNames} from 'sanity-plugin-sgntech-zernio'

const zernioConfig = {
  timezone: 'Europe/Berlin', // what new posts start with
  relatedTypes: ['post', 'release'], // what a post may point at, optional
}

export default defineConfig({
  name: 'default',
  title: 'My Studio',
  projectId: '…',
  dataset: 'production',

  plugins: [
    structureTool({
      // Everything about posts and templates happens in the Zernio tool,
      // so its types are kept out of the desk. Leave this out and they
      // appear in the content list like any other document type.
      structure: (S) =>
        S.list()
          .title('Content')
          .items(
            S.documentTypeListItems().filter(
              (item) => !zernioTypeNames(zernioConfig).includes(item.getId() ?? ''),
            ),
          ),
    }),
    zernio(zernioConfig),
  ],
})
Start the Studio. Zernio is now in the navigation, next to your content.
3. Make an API key in Zernio
In Zernio, under API keys, create one that is
- limited to a single profile (
profileIds), - read-write, not
fullscope, - given an expiry date.
The key is stored in your dataset and read by the browser — see
where the API key lives above for why that matters.
A full key can disconnect accounts and spend ad budget; the settings panel warns you if you paste
one.
4. Connect the Studio
Open the Zernio tool → Settings:
- paste the key and press Save and check — it is verified against Zernio straight away, and
the badge turns to
stored, - press Reload under Accounts.
Your connected Instagram and Facebook accounts appear as cards. That is the whole setup, provided the accounts are already connected in Zernio.
If the list stays empty: a profile filter is the usual reason. Leave the profile unset to see every account in the workspace — Show all accounts removes an existing filter. Connect a new … account is only for adding an account Zernio does not have yet; it opens Zernio's own OAuth flow in a new tab, after which you press Reload again.
Under Defaults, set the timezone Zernio should read scheduled times in, e.g. Europe/Berlin.
5. Write the first post
Compose is the first tab:
- give it an internal name, pick the post type (feed, carousel, story, reel),
- write the caption — the counter shows the platform limit and where the caption folds,
- Add an image or video; Adjust moves and zooms it inside the frame that post type will show, with Instagram's safe zones on top for stories and reels,
- tick the accounts it goes to,
- Publish now, or leave the switch off and pick a time, then Schedule.
The post is written as a document and handed to Zernio in one step. Everything else — the calendar, the list of what has been sent, the templates — is in the other tabs of the same tool.
Posts can be written before any of the above; they just cannot be sent.
Options
zernio({
  name: 'socialPost', // document type name
  title: 'Social post',
  templateType: 'zernioTemplate', // template document type
  templateTitle: 'Post template',
  relatedTypes: [], // document types a post may reference
  timezone: 'UTC', // default for new posts
  toolTitle: 'Zernio', // label in the Studio navigation
  documentAction: true, // adds "Send to Zernio" to the document menu
})
If your dataset already has a socialPost type, give this one another name —
zernio({name:
'zernioPost'})The tool, screen by screen
| Screen | What it is for |
|---|---|
| Compose | Write a new post or edit an existing one on a single screen that does not scroll. Post type, template, caption with a character counter that names the fold, first comment, media strip, account chips, and a bar with the time and the send buttons. The preview stands next to it, one frame per platform, stacked. |
| Calendar | Month and week view of everything scheduled — yours and what lives only in Zernio. Drag a post to another day to move it, keeping its time. Hover a day for its + to compose for that date. |
| Posts | Every post in this Studio with thumbnail, platform icons, status and time, filterable by status and account. Below it, the posts that exist only in Zernio, as cards with their picture and a link. |
| Post detail | Opened from the calendar or the list. Caption, first comment, media, accounts, schedule, Zernio id, and what Zernio reported per platform — with Edit, Duplicate, Check status, Send and Delete. |
| Templates | Write, change and delete templates: name, caption, first comment, hashtags, and whether the hashtags go into the caption or the first comment. |
| Settings | API key, profile filter, connected accounts, default timezone. |
How a post travels
- Compose in the tool — or press + on a day in the calendar, which opens the composer on that date.
- Pick the post type, write the caption, apply a template if there is one.
- Add an image or video. Adjust moves and zooms it inside the frame that post type shows; for stories and reels the safe zones show what Instagram covers up.
- Tick the accounts. The preview redraws for every platform you picked.
- Publish now, or leave the switch off, pick a time and Schedule.
The document is written and handed to Zernio in one step. Media added in the tool is uploaded to Sanity's asset store first, so it lands in your media library like any other image — the tool never sends a file to Zernio, only a URL.
Afterwards the post has its own page, reachable from the calendar and the list: check what Zernio reported, send it again, duplicate it as the starting point for the next one, or delete it. Save in the composer only touches the fields the composer owns, so anything a project added to the post type stays untouched.
Through the document, when a post needs review
The document form is a full editor too, with the same preview and template picker, for teams that want posts to go through review before they are sent. It needs the post type to be reachable in the desk, so leave the structure filter from step 2 out if you want this route.
- Create a
socialPostin the desk, write it, have it reviewed, publish the document. The plugin sends the published version, never the draft — what goes out has to be what was reviewed. - Hit Send to Zernio, from the document menu or from the list in the tool.
Either way Zernio schedules or publishes it, the document keeps the Zernio post id, and while the tool is open the status is refreshed every 30 seconds until it settles — every published post gets a link.
Nothing is polled while the tool is closed; the status then updates the next time somebody opens it. Webhooks would be the alternative, and they need a server, which this plugin deliberately does not require.
Templates
Templates are written in the tool's Templates tab — name, caption, first comment, hashtags and where the hashtags go. Behind it is an ordinary document:
{
  "_type": "zernioTemplate",
  "title": "Album release",
  "caption": "Out now: {{title}} — everywhere from {{date}}.",
  "firstComment": "All links in the bio",
  "hashtags": ["metal", "newrelease"],
  "hashtagPlacement": "caption"
}
Caption and first comment are replaced when applied, hashtags are appended — to the caption or to
the first comment, whichever the template says. Tags are cleaned up on the way in: a leading # is
optional, spaces are removed and duplicates are dropped, because a repeated tag is a shadowban risk
on Instagram.
What is stored
{
  "_type": "socialPost",
  "title": "Album announcement",
  "kind": "carousel",
  "content": "Out on 5 March…",
  "media": [{"_type": "photo", "asset": {"_ref": "image-…"}}],
  "targets": [{"accountId": "66b2…", "platform": "instagram", "label": "Main account"}],
  "scheduledFor": "2027-03-05T10:00:00.000Z",
  "timezone": "Europe/Berlin",
  "status": "scheduled",
  "zernioPostId": "66c3…",
  "results": [{"platform": "instagram", "status": "published", "url": "https://…"}]
}
Media handling
Images are delivered as Sanity CDN URLs with the image pipeline doing the work:
https://cdn.sanity.io/images/…jpg?w=1080&h=1350&fit=crop&rect=600,0,800,1000&auto=format&q=90Feed and carousel get 1080×1350, story and reel 1080×1920. What is cropped away is decided in this
order: the crop you set with Adjust (rect=), otherwise the image's hotspot
(crop=focalpoint), otherwise the pipeline's own guess (crop=entropy). The crop is stored in
Sanity's own crop shape, so the image field's crop tool and the tool's editor change the same
thing.
Videos are passed through untouched — the image pipeline cannot transcode them, so they have to arrive in the right format.
The preview says when an image will be cropped, and the validation blocks files above the platform's limit (8 MB on Instagram, 4 MB on Facebook).
Look and feel
The tool brings one stylesheet, injected once and written against the Studio's own CSS variables
(--card-bg-color, --card-border-color, …), so it follows your workspace theme in light and dark
instead of painting over it. It carries only what component props cannot express: hover, focus,
transitions, and the Zernio accent on active navigation, selected chips and today's date.
The building blocks are exported, in case you want the same look in your own panels:
import {
  Section, // titled block with a small-caps label
  Field, // label, description, hint on the right
  Chip, // toggle shaped like a tag
  Segmented, // exclusive choice
  StatusPill, // dotted status with a colour per state
  EmptyState,
  Toolbar,
  PlatformFrame, // one post as Instagram or Facebook draws it
} from 'sanity-plugin-sgntech-zernio'
PlatformFrame is self-contained: give it a platform, a kind, a post value and a width, and
it draws the app's own chrome around it. Everything inside is sized in em against one root font
size, so a frame is the same design at 150 px and at 400 px.
Two entry points
The Studio side is the default entry. Everything that has nothing to do with the Studio — the
rules, the payload builder, the API client, the calendar maths — also lives under /logic, which
imports neither sanity nor @sanity/ui and therefore runs in a plain Node process or a
serverless function:
// in the Studio
import {zernio, PostPreview} from 'sanity-plugin-sgntech-zernio'

// anywhere else — no Studio, no CSS, no React
import {
  validatePost,
  postPayload,
  ZernioClient,
  monthGrid,
} from 'sanity-plugin-sgntech-zernio/logic'
That is also the seam for moving the key off the browser: new ZernioClient({apiKey, baseUrl})
points at your own proxy just as happily as at Zernio.
Known limits
- Only Instagram and Facebook are validated and previewed. Zernio speaks to twelve more platforms; posts to those are not blocked, they simply get Instagram's stricter rules applied.
- No webhooks, so no status updates while the Studio is closed.
- Carousels and stories share one caption per post; per-account captions would need one post per account.
- Videos are sent as they are: no transcoding, no cover frame, no trimming.
- The preview draws the app's chrome, not the app: no like counts, no comments, no fonts from Meta.
Develop
npm install
npm test            # rules, payload, media, crop and template logic
npm run lint
npm run build
npm run link-watch
Built with @sanity/plugin-kit.
Not affiliated with Zernio, Instagram or Meta. The Zernio mark in the plugin icon identifies the service this plugin talks to; all rights to it remain with Zernio.
License
MIT © SGNTech