Overlays and click-to-edit
Enable overlays with enableVisualEditing(), understand the five content detection methods, integrate your router, and handle refreshes when content changes.
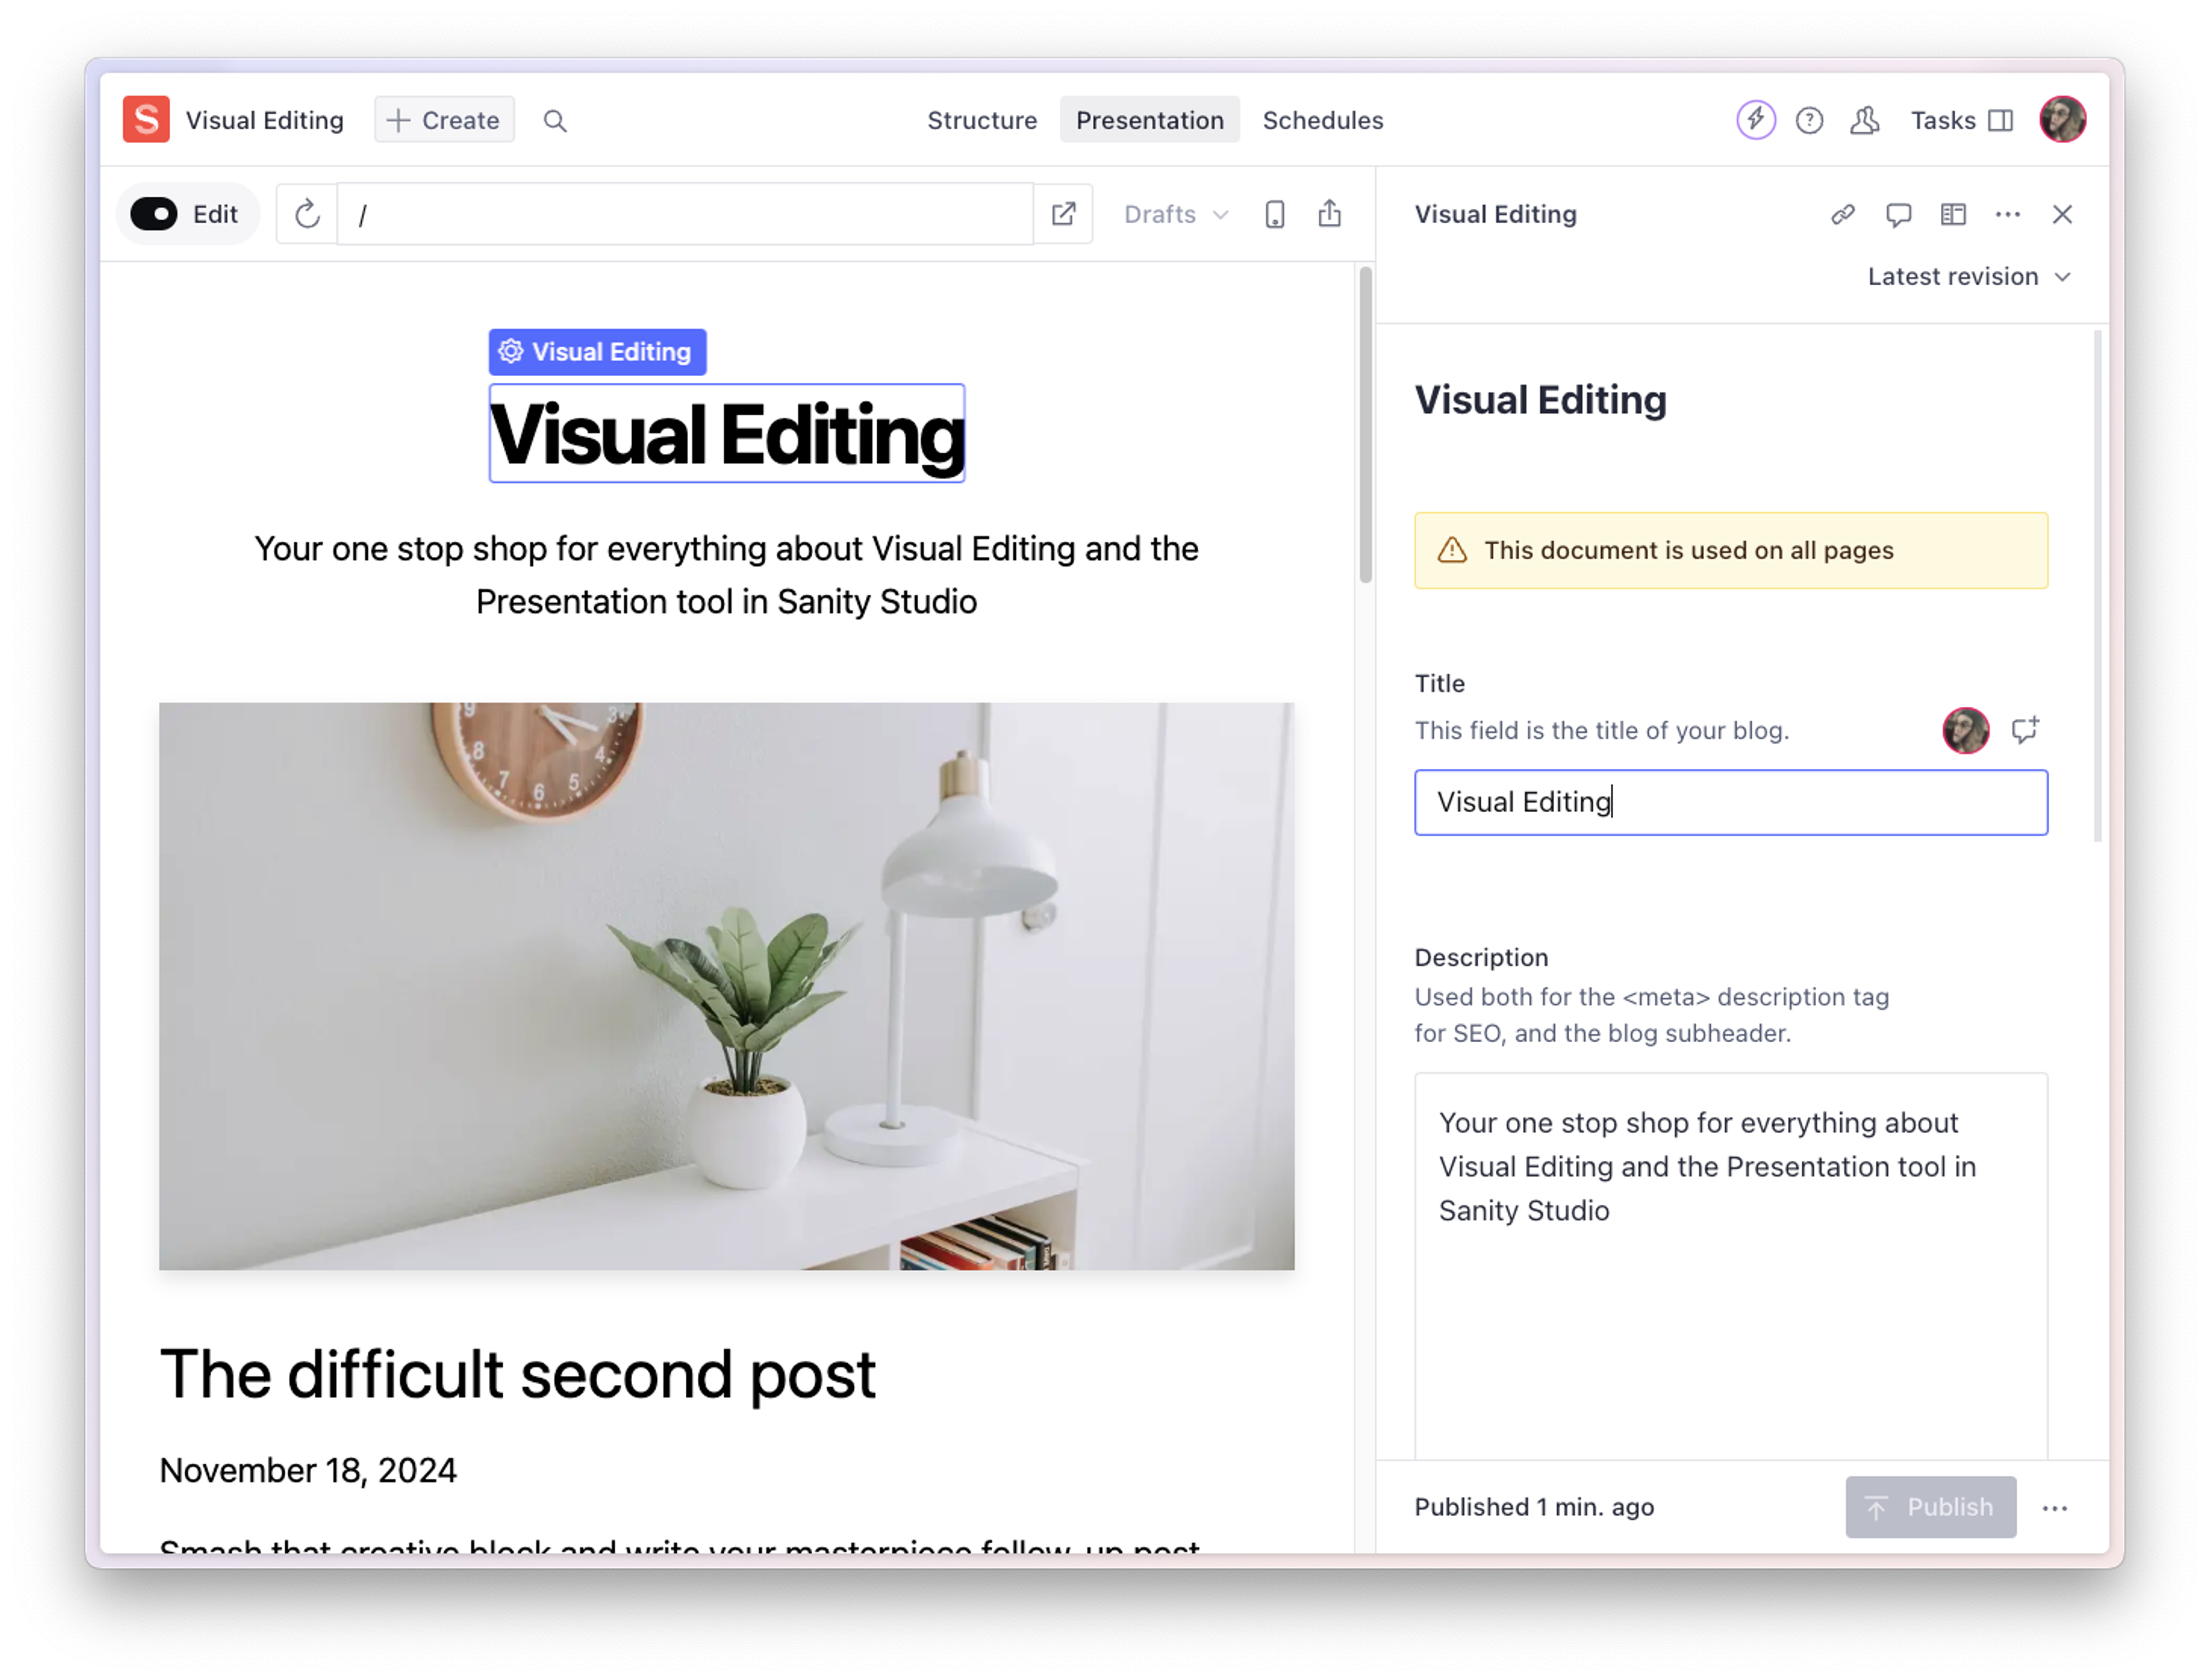
Overlays are the interactive layer that makes visual editing work. When an editor previews your site in the Presentation Tool, overlays appear on content elements, letting the editor click any piece of content to jump directly to the corresponding field in Sanity Studio.
This guide covers how to integrate @sanity/visual-editing into any frontend, how the overlay system detects content elements, how to annotate non-string content with data attributes, and how to wire up router integration for navigation sync.
How overlays work
The overlay system follows this sequence:
- Your frontend renders content with stega-encoded strings (invisible metadata embedded by the Sanity client).
enableVisualEditing()scans the DOM for stega-encoded text nodes anddata-sanityattributes.- For each detected element, a transparent overlay is drawn on top of it.
- When an editor clicks an overlay, the system decodes the source metadata and sends the document ID and field path to the Studio via the Comlink protocol.
- The Studio navigates to the document and focuses the field.
The overlay controller is framework-agnostic JavaScript. It uses a MutationObserver to watch for DOM changes, an IntersectionObserver (with a 0.3 threshold, meaning elements must be at least 30% visible) to track which elements are in the viewport, and a ResizeObserver to keep overlay positions accurate. Only visible elements get event handlers attached, which keeps performance stable on content-heavy pages.
Prerequisites
- A Sanity client configured with stega encoding enabled (see setting up the Sanity client)
- Preview/draft mode implemented so stega encoding is active during preview (see implementing preview/draft mode)
- The Presentation Tool configured in your Studio (see configuring the Presentation Tool)
Install the package
npm install @sanity/visual-editingpnpm add @sanity/visual-editingyarn add @sanity/visual-editingbun add @sanity/visual-editingThis package includes the overlay controller, data attribute utilities, and framework-specific integrations. Note that react and react-dom are required peer dependencies. Install them alongside @sanity/visual-editing.
Basic setup
Call enableVisualEditing() when your application enters preview/draft mode:
import { enableVisualEditing } from '@sanity/visual-editing'

// Call this when draft mode is active
const disableOverlays = enableVisualEditing()

// Later, to clean up:
disableOverlays()
This single function call:
- Dynamically imports the overlay rendering system (which uses React internally)
- Creates a
<sanity-visual-editing>custom element outside<body>to avoid layout interference - Scans the entire DOM for stega-encoded strings and
data-sanityattributes - Draws transparent overlays on detected content elements
- Establishes Comlink connections with the Studio (when running in the Presentation Tool iframe), including the live mode channel for real-time content updates
Important
because enableVisualEditing() manages the live mode Comlink channel internally, do not also call enableLiveMode() from @sanity/core-loader. Calling both creates duplicate Comlink nodes, which breaks the Presentation Tool handshake. See real-time content updates for when to use enableLiveMode() independently.
The returned function cleans up all overlays, observers, and event listeners.
Conditional initialization
Only initialize overlays when draft mode is active. Your server should conditionally include the visual editing script when it detects the draft mode cookie (or your framework's equivalent). This keeps the overlay code out of production bundles entirely.
For example, in a server-rendered page, only include the <script> tag that calls enableVisualEditing() when the server confirms draft mode is active. See the complete integration example for a full pattern.
The overlay setup itself doesn't need a client-side draft mode check. It only runs because the server included it:
const disable = enableVisualEditing({
  history: {
    subscribe: (navigate) => {
      const handler = () => navigate({ type: 'pop', url: location.href })
      addEventListener('popstate', handler)
      return () => removeEventListener('popstate', handler)
    },
    update: (update) => {
      if (update.type === 'push') history.pushState(null, '', update.url)
      if (update.type === 'replace') history.replaceState(null, '', update.url)
    },
  },
})
Content detection methods
The overlay system detects content elements using five methods, checked in this priority order:
1. The data-sanity-edit-target attribute
Add this attribute to any element to make it a click-to-edit target. The overlay system looks for stega-encoded content within the element's subtree and creates a single overlay for the container:
const section = document.querySelector('.post-header')
section.dataset.sanityEditTarget = ''
This is useful when you want a larger click target than individual text nodes. For example, marking a card component as an edit target creates one overlay for the entire card, even though it contains multiple stega-encoded fields. When the element's subtree contains multiple Sanity nodes, the system computes the common ancestor path across all child fields.
2. Stega-encoded text
When stega encoding is active, string values rendered in the DOM contain invisible zero-width Unicode characters that encode Content Source Map metadata. The overlay system scans text nodes using a regex pattern and decodes the metadata to identify the source document and field.
This is automatic. If your Sanity client has stega: { enabled: true } and you render the fetched content in the DOM, the overlays detect it without any additional markup.
3. The data-sanity attribute
For content that can't carry stega encoding (images, numbers, booleans, or values used in non-text contexts), use the data-sanity attribute with createDataAttribute():
import { createDataAttribute } from '@sanity/visual-editing'

const attr = createDataAttribute({
  id: 'post-123',
  type: 'post',
  path: 'mainImage',
  baseUrl: 'YOUR_STUDIO_URL',
})

// Use as a string value for the data-sanity attribute
const element = document.querySelector('.hero-image')
element.setAttribute('data-sanity', attr.toString())
The createDataAttribute() function returns a builder with several capabilities:
const attr = createDataAttribute({
  id: 'post-123',
  type: 'post',
  path: 'content',
  baseUrl: 'YOUR_STUDIO_URL',
  workspace: 'default', // optional: omitted if "default"
  tool: 'default',      // optional: omitted if "default"
})

// Call with a sub-path to target a nested field
attr('title')     // targets content.title
attr('body')      // targets content.body

// Scope to create a new builder with an extended base path
const bodyAttr = attr.scope('body')
bodyAttr('0.text')  // targets content.body.0.text

// Combine to merge additional properties
const withWorkspace = attr.combine({ workspace: 'staging' })
The attribute value is a semicolon-delimited string encoding the document ID, type, field path, Studio base URL, and optional workspace and tool:
id=post-123;type=post;path=mainImage;base=https%3A%2F%2FYOUR_STUDIO_URL4. The data-sanity-edit-info attribute (legacy)
This is a legacy attribute format that is still supported by the scanner for backward compatibility. New integrations should use data-sanity instead.
5. Special element attributes
The system also checks specific element attributes for stega-encoded data:
altattributes on<img>elementsdateTimeattributes on<time>elementsaria-labelattributes on<svg>elements
These are checked automatically as part of the DOM scan.
Making images editable via altText
The alt attribute fallback enables a useful pattern for images: add an altText field to your image schema, then render its value as the alt attribute. The stega-encoded text in the alt attribute makes the image clickable, and clicking jumps to the image field in the Studio.
// Schema: add altText to your image type
defineField({
  name: 'picture',
  type: 'image',
  fields: [defineField({ name: 'altText', type: 'string' })],
})
<!-- Render: use the altText value as the alt attribute -->
<img src="${imageUrl}" alt="${image.altText}" />This is the recommended approach for editable images because it also produces accessible alt text. For images without alt text (decorative images), use createDataAttribute() with the image field path instead.
Edit groups
Group related fields under a single overlay using data-sanity-edit-group:
const card = document.querySelector('.product-card')
card.dataset.sanityEditGroup = ''
Child elements with Sanity metadata within a group are collected as targets of the group element. When the editor clicks the group overlay, the system computes the common ancestor path across all child fields. For example, if a group contains fields at content.0.title and content.0.body, clicking the group targets content.0.
Router integration
The history option connects your application's router with the Presentation Tool, enabling bidirectional navigation sync:
- Preview to Studio: when the user navigates in the preview, the Studio updates its URL bar and resolves the corresponding document.
- Studio to preview: when the editor clicks a document location link in the Studio, the preview navigates to the corresponding page.
const disable = enableVisualEditing({
  history: {
    subscribe: (navigate) => {
      // Called once during setup. Register a listener for navigation events
      // in your app and call navigate() when the URL changes.
      const handler = () => {
        navigate({
          type: 'pop',
          url: location.href,
        })
      }
      addEventListener('popstate', handler)

      // Return an unsubscribe function
      return () => removeEventListener('popstate', handler)
    },
    update: (update) => {
      // Called when the Studio wants to navigate the preview.
      // Update your router accordingly.
      switch (update.type) {
        case 'push':
          history.pushState(null, '', update.url)
          break
        case 'replace':
          history.replaceState(null, '', update.url)
          break
        case 'pop':
          history.back()
          break
      }
    },
  },
})
If your application uses a client-side router (for example, a single-page application), you need to call navigate() whenever the router changes the URL. The popstate event only fires for browser back/forward navigation, not for programmatic route changes.
For routers that expose a subscription API, integrate directly:
subscribe: (navigate) => {
  // Example: generic router with onChange callback
  const unsubscribe = router.onChange((url) => {
    navigate({ type: 'push', url })
  })
  return unsubscribe
},
Handling content refreshes
The refresh option lets you control how the preview updates when content changes in the Studio:
const disable = enableVisualEditing({
  refresh: (payload) => {
    if (payload.source === 'mutation') {
      // A document was edited in the Studio.
      // payload.document contains { _id, _type, _rev }
      return refetchContent(payload.document._type)
    }

    if (payload.source === 'manual') {
      // The editor clicked the refresh button in the Studio.
      return refetchAllContent()
    }

    // Return false to use the default behavior (full page reload)
    return false
  },
})

async function refetchContent(documentType: string): Promise<void> {
  // Re-fetch content for the given document type
  // and update the DOM
}

async function refetchAllContent(): Promise<void> {
  // Re-fetch all content and update the DOM
}
The refresh callback receives a payload with a source field:
mutation: a document was edited in the Studio. The payload includesdocumentwith_id,_type,_rev, andslugfields, plus alivePreviewEnabledflag indicating whether the core loader's live mode is active (iftrue, query stores are already updating automatically and you may not need to trigger a manual re-fetch).manual: the editor clicked the refresh button in the Presentation Tool. The payload includeslivePreviewEnabled.
Return a Promise<void> to signal when the refresh is complete (the Studio shows a loading indicator until the promise resolves). Return false to skip custom handling and fall back to the default behavior.
The system automatically performs a second refresh one second after a mutation to handle Content Lake eventual consistency.
Filtering mutations by document
Without filtering, every mutation in the Studio triggers your refresh handler, even edits to documents that aren't visible on the current page. For server-rendered applications without a live streaming data layer, filter mutations by comparing the mutated document to the current route:
enableVisualEditing({
  refresh: (payload) => {
    if (payload.source === 'mutation') {
      const currentSlug = window.location.pathname.split('/').pop()
      if (payload.document.slug?.current === currentSlug) {
        window.location.reload()
        return new Promise<void>(() => {})
      }
      return false // Mutation on a different document, ignore
    }
    // ...
  },
})
Frameworks with live streaming take a different approach. For example, next-sanity returns false for mutations when livePreviewEnabled is true. The Live Content API streams updates to query stores directly, so no reload is needed. Choose the pattern that matches your data layer:
| Data layer | Recommended mutation handling |
|---|---|
| Live streaming (`@sanity/core-loader` live mode, Live Content API) | Return `false` and let the stream update the UI |
| Server-rendered without live streaming | Filter by document slug, reload on match |
| Client-side rendered with refetching | Call your refetch function, return the promise |
Overlay appearance and interaction
Visual states
Overlays have three visual states:
- Default: transparent and invisible. A brief flash animation highlights all overlays when they first appear (1.5 seconds).
- Hovered: a colored border appears around the element. An actions bar shows "Open in Studio" and a tab displays the document title.
- Focused: a thinner border indicates the element is selected. The element scrolls into view if needed.
Keyboard shortcuts
- Alt key (press and release): toggles overlay visibility
- Cmd+\\ (Mac) or Ctrl+\\ (Windows/Linux): toggles overlay visibility
- Escape: unfocuses the current element
Z-index
The overlay root element uses z-index: 9999999 by default. Override it if this conflicts with your application's stacking context:
enableVisualEditing({
  zIndex: 50000,
})
Perspective change callback
Use onPerspectiveChange to update your server-side state when the editor switches perspectives in the Studio (for example, switching to a different content release). The perspective value may be a string like 'drafts' or a stacked array like ['summer-drop', 'drafts', 'published']:
enableVisualEditing({
  onPerspectiveChange: async (perspective) => {
    // Serialize the perspective (arrays become comma-separated strings)
    const value = Array.isArray(perspective) ? perspective.join(',') : perspective
    // Update the server-side perspective cookie
    await fetch(`/api/draft-mode/perspective?perspective=${encodeURIComponent(value)}`)
    // Reload to re-render with the new perspective
    window.location.reload()
  },
})
This is the framework-agnostic equivalent of next-sanity's server action pattern. Frameworks with partial re-rendering (like React Server Components) can do an in-place refresh instead of a full page reload. See the complete integration example for the server-side endpoint that handles this request.
Low-level API: createOverlayController()
For advanced use cases where you need direct control over the overlay system, @sanity/visual-editing exports createOverlayController(). This is the pure JavaScript DOM controller that powers the overlay system, without the React rendering layer.
Note
most integrations should use enableVisualEditing() instead. The overlay controller is a low-level API that requires managing additional state (frame detection, popup detection, and optimistic update readiness) that enableVisualEditing() handles automatically.
import { createOverlayController } from '@sanity/visual-editing'

const controller = createOverlayController({
  handler: (message) => {
    // Handle overlay messages (element/register, element/click, etc.)
    console.log(message.type, message)
  },
  overlayElement: document.createElement('div'),
  // Required: whether the app is running inside an iframe
  inFrame: window.self !== window.top,
  // Required: whether the app is running in a popup window
  inPopUp: !!window.opener,
  // Required: signal when optimistic updates are ready
  optimisticActorReady: Promise.resolve(),
})

// Activate the controller (starts observing the DOM)
controller.activate()

// Later, to clean up:
controller.destroy()
Most integrations should use enableVisualEditing() instead. The low-level controller is useful if you're building a custom overlay rendering system or need to process overlay events without the built-in React UI.
Framework-specific integrations
While enableVisualEditing() works in any framework, the package also exports framework-specific components for tighter integration:
| Export path | Framework | Usage |
|---|---|---|
| `@sanity/visual-editing/react` | React | `<VisualEditing />` component, `useDocuments()`, `useOptimistic()` hooks |
| `@sanity/visual-editing/react-router` | React Router / Remix | `<VisualEditing />` with automatic router integration |
| `@sanity/visual-editing/next-pages-router` | Next.js Pages Router | `<VisualEditing />` with Next.js Pages Router support |
| `@sanity/visual-editing/svelte` | Svelte | Svelte-native integration |
These components wrap enableVisualEditing() with framework-native lifecycle management and router integration. If you're using one of these frameworks, the framework-specific export provides a smoother developer experience. For custom or unsupported frameworks, use enableVisualEditing() directly.
The click-to-edit flow in detail
When an editor clicks a content element in the Presentation Tool:
- The overlay controller detects the click on the topmost element in its hover stack (nested elements are handled correctly, with the most specific element taking priority).
- The controller reads the Sanity metadata from the element (decoded from stega or the
data-sanityattribute). - The metadata is sent to the Studio via Comlink as a
visual-editing/focusmessage containing the document ID, type, field path, and Studio base URL. - The Studio receives the message and navigates to the document, focusing the specified field.
- The Studio sends back a
presentation/focusmessage, which the overlay system uses to visually mark the element as focused.
The "Open in Studio" link in the overlay actions bar constructs a direct URL to the document field:
{studioBaseUrl}/{workspace}/intent/edit/mode=presentation;id={id};type={type};path={path}[?perspective={perspective}]Troubleshooting
Overlays don't appear on any elements
- Check stega encoding: verify that your Sanity client has
stega: { enabled: true }and that you're fetching with thedraftsperspective. Inspect the rendered HTML for zero-width characters in text content. - Check initialization: confirm that
enableVisualEditing()is called after the DOM has rendered content. If called too early, the initial scan may find nothing (though theMutationObserverwill catch later additions). - Check the iframe context: overlays are designed to work inside the Presentation Tool iframe. If testing outside the iframe, overlays still render but click-to-edit navigation won't reach the Studio.
Overlays appear but clicking does nothing
- Check the Comlink connection: the overlay system needs a Comlink connection to the Studio. This is established automatically when running in the Presentation Tool iframe. Check the browser console for connection errors.
- Check
allowOrigins: your frontend origin must be in the Presentation Tool'sallowOriginslist for Comlink messages to flow.
Overlays appear on wrong elements or are mispositioned
- Check for CSS transforms: the overlay system uses
getBoundingClientRect()to position overlays. CSS transforms on parent elements can cause misalignment. - Check for dynamic content: if content loads asynchronously after the initial render, the
MutationObserverdetects it automatically. However, if elements change size without a DOM mutation (for example, image loading), theResizeObserverhandles repositioning. - Check font loading: overlay positions update automatically after fonts finish loading (
document.fonts.ready), but custom font loading strategies may cause temporary misalignment.
Stega encoding breaks non-display values
Use stegaClean() to strip invisible characters before using values in non-display contexts:
import { stegaClean } from '@sanity/client/stega'

// Clean values before using in URLs, comparisons, or logic
const slug = stegaClean(post.slug.current)
const url = `/posts/${slug}`

// Clean values before date parsing
const date = new Date(stegaClean(post.publishedAt))
Overlays don't appear when frontend is embedded in the Studio
If your Sanity Studio is embedded as a route inside the same frontend application (for example, /studio mounted alongside your content routes), do not call enableVisualEditing() from your root or layout component. The Studio runs its own Comlink connections, and a top-level enableVisualEditing() call attaches them to the Studio's own iframe context, breaking the connection between the Studio and your content pages.
Use dedicated layouts to keep the Studio route isolated from visual editing initialization. Only mount enableVisualEditing() on the content routes that the Presentation Tool previews.
Next steps
- Architecture overview: understand how overlays fit into the broader visual editing system
- Setting up the Sanity client for visual editing: configure stega encoding that powers automatic overlay detection
- Real-time content updates: keep the preview in sync with Studio edits
- Configuring the Presentation Tool: set up the Studio plugin that hosts the preview iframe