Installing and configuring widgets
How to install and configure widgets for the Dashboard tool for Sanity Studio
Installing widgets for Studio’s dashboard tool
You install Dashboard widgets the same way you'd install any studio plugin, or indeed any other package, using your preferred package manager.
You can find some popular widgets at the Sanity Exchange.
For example, if you want to install the cats example widget mentioned below, proceed as follows:
1. Install the widget in the root folder of your project.
npm install --save sanity-plugin-dashboard-widget-cats
# OR
yarn add sanity-plugin-dashboard-widget-cats
2. Update your sanity.config.js file to include the widget in your plugins array.
import { dashboardTool } from "@sanity/dashboard";
import { catsWidget } from "sanity-plugin-dashboard-widget-cats";

export default defineConfig({
  // ...
  plugins: [
     dashboardTool({
             widgets: [
                 catsWidget(),
             ],
         }
     ),
  ]
})
3. You've now got a cat in your Studio!
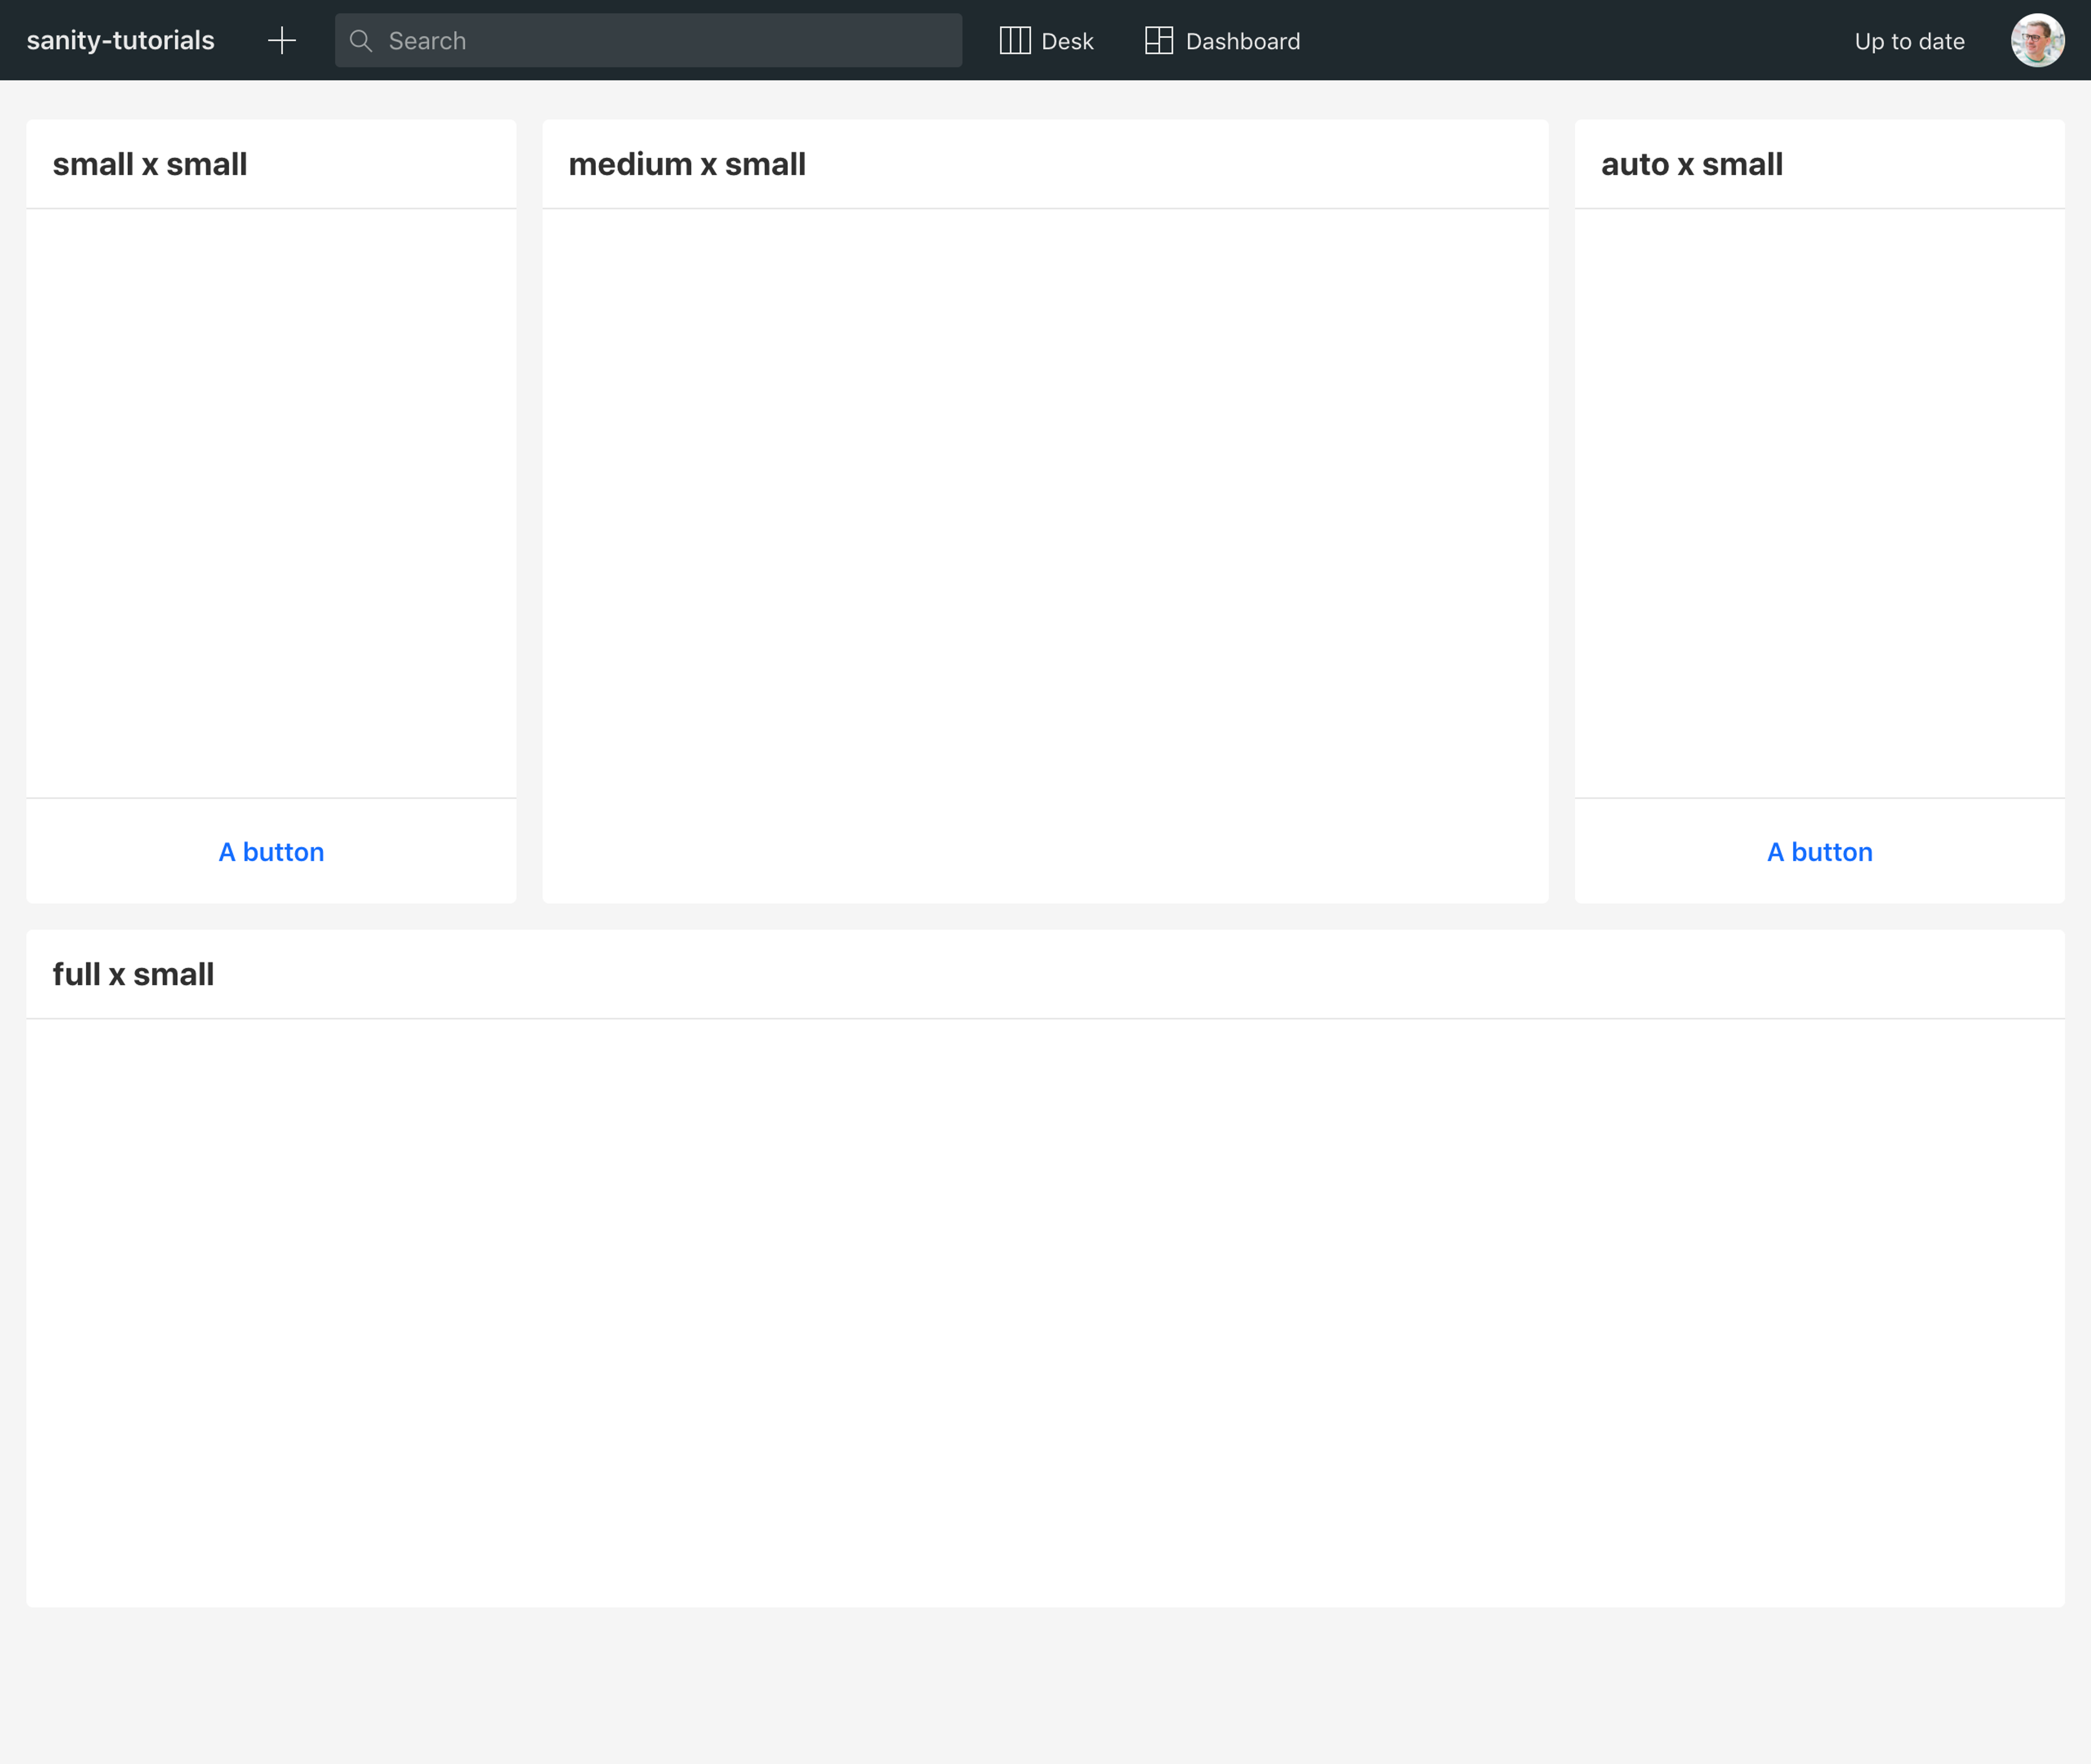
Changing layout
A widget’s size can be defined by adding a layout key to the widget entry:
dashboardTool({
        widgets: [
            catsWidget({ layout: { width: "small" } }),
        ],
    }
)
The accepted values for width and height are:
autosmallmediumlargefull
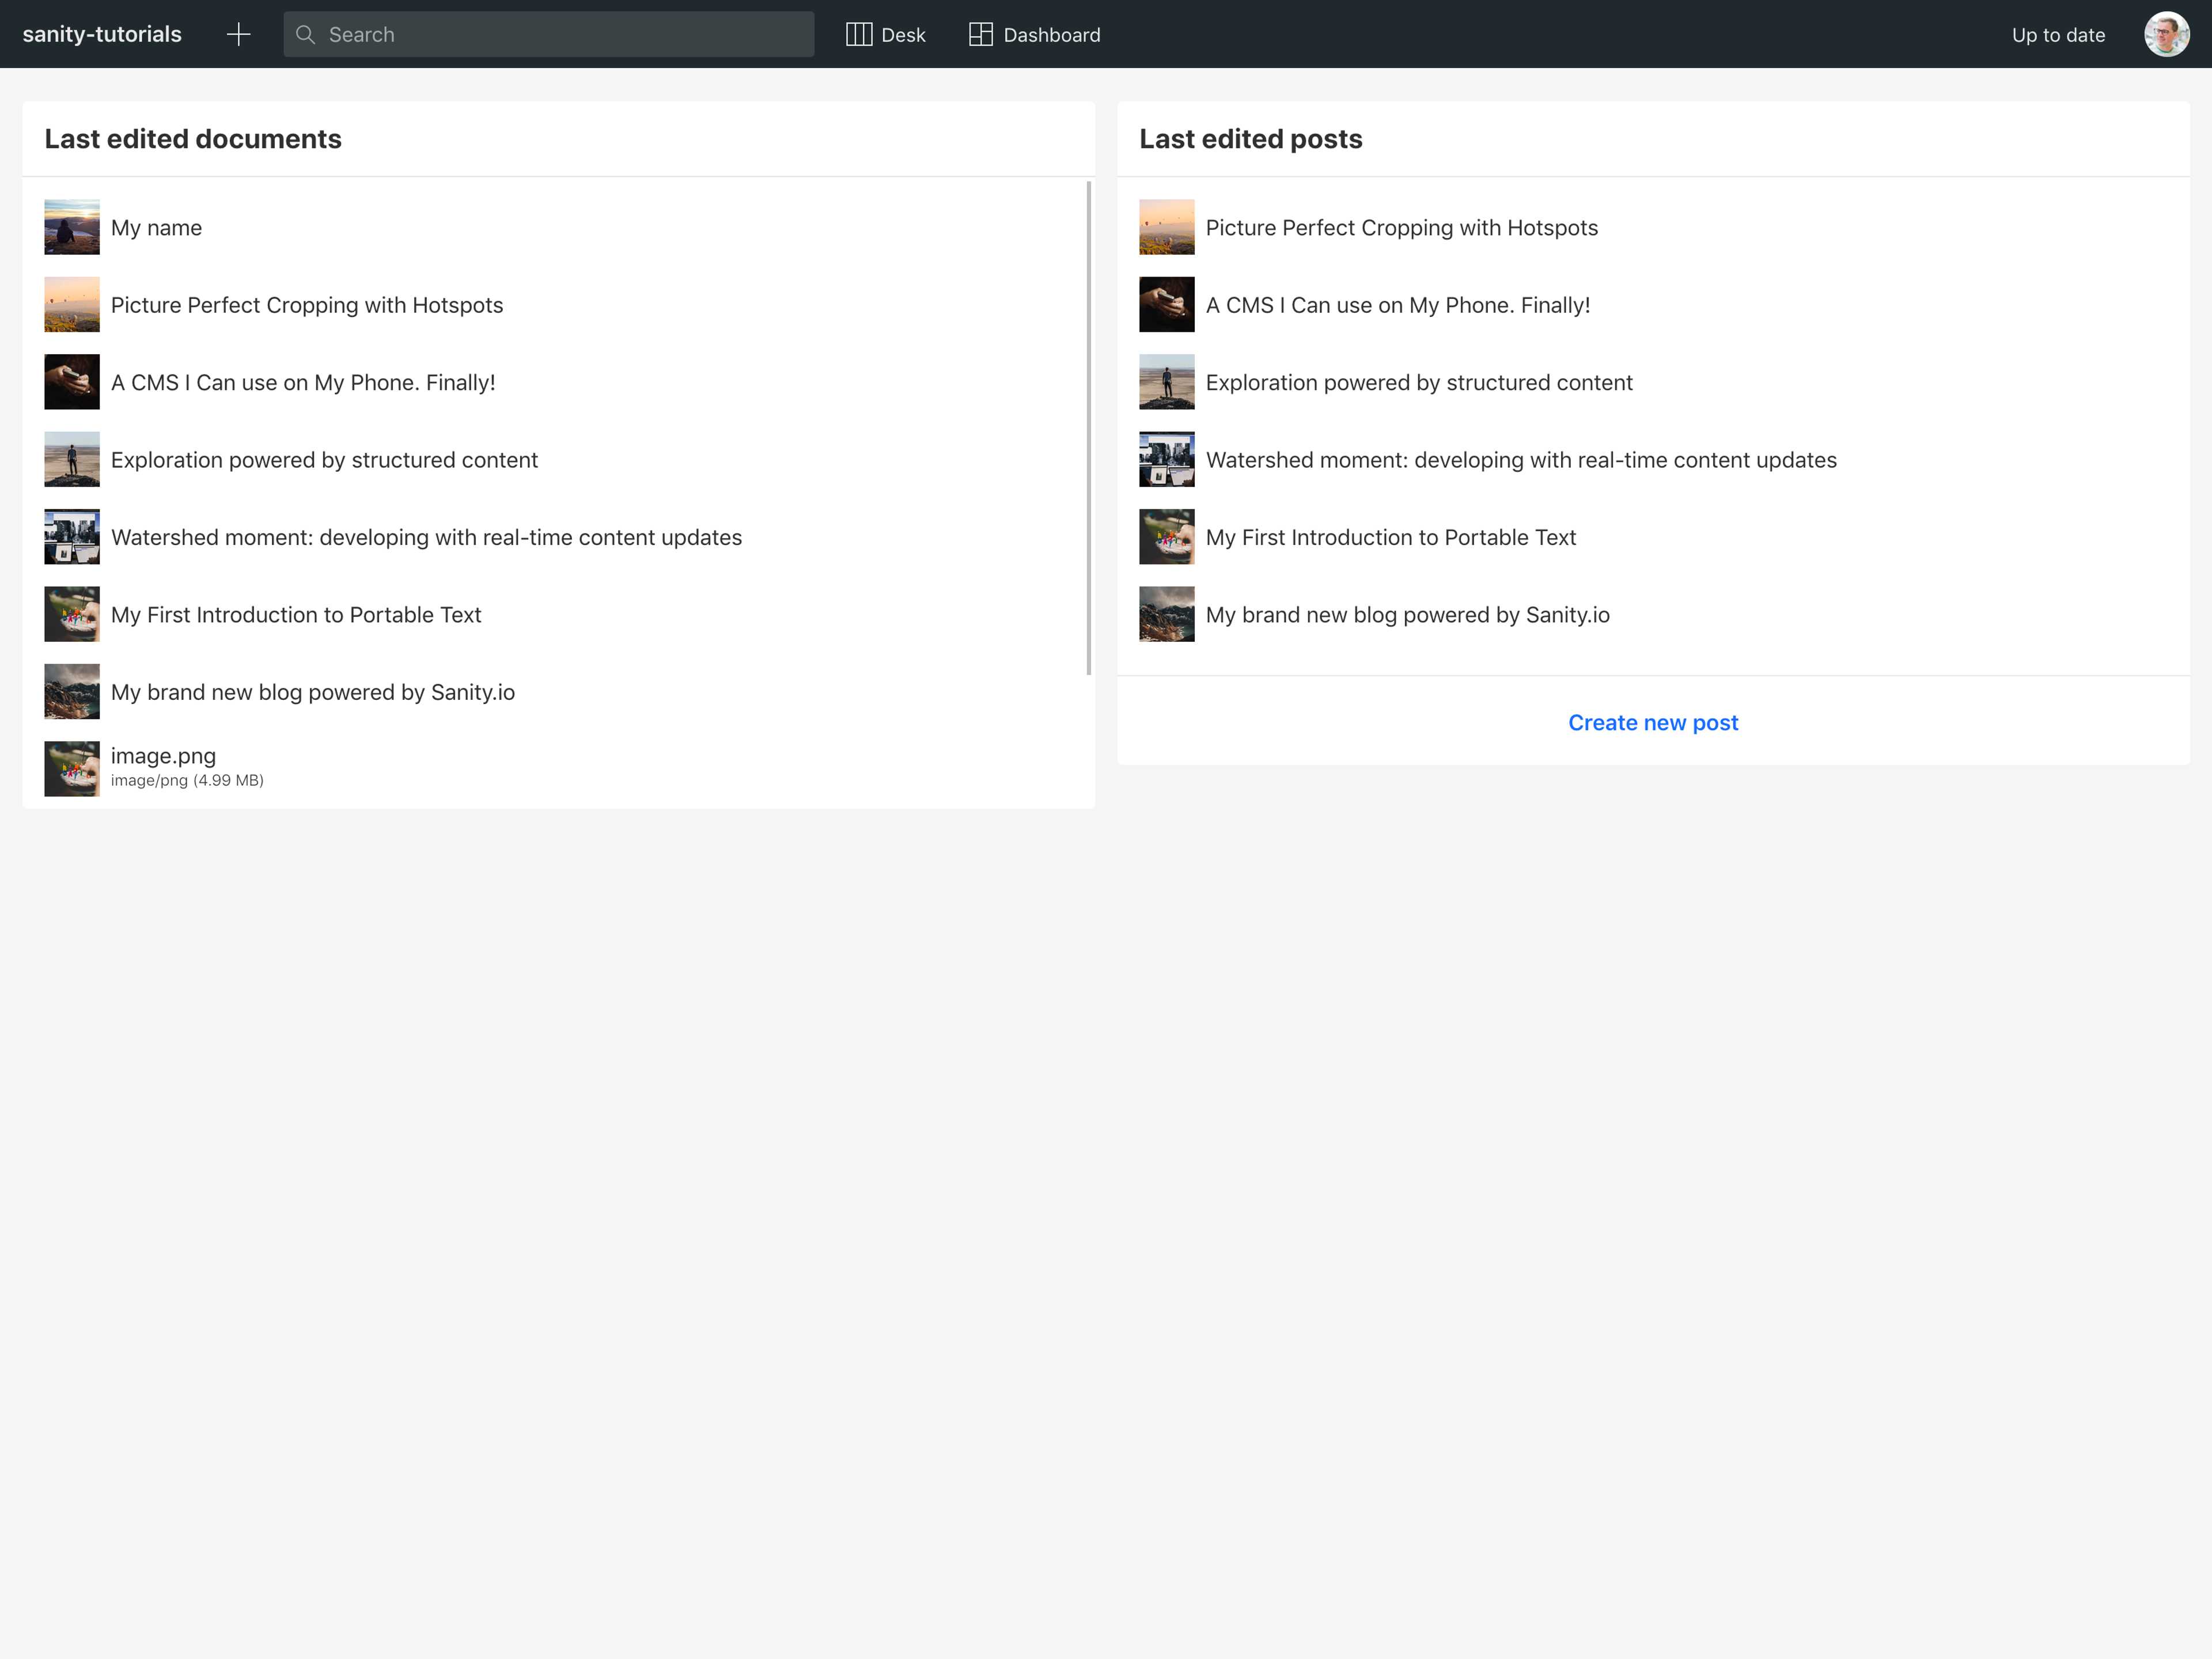
Configuring widget options
Some widgets allow options to change aspects of their behavior. The configuration options should be part of the widget’s documentation found in its README.md. If you install the document-list widget (install sanity-plugin-dashboard-widget-document-list with npm or yarn as shown above), it can be configured with:
documentListWidget({
  showCreateButton: true,
  limit: 5,
  types: ["my-document-type"],
})
Thus, if you want your dashboard to display both newest documents across all document types and another widget showing the last edited books, your dashboard config would look like this:
export default {
  widgets: [
    documentListWidget({title: 'New', order: '_createdAt desc'}),
    documentListWidget({title: 'Last edited books', order: '_updatedAt desc', types: ['book']}),
  ]
}