My First Plugin™
Our first baby steps making a custom logo for the studio
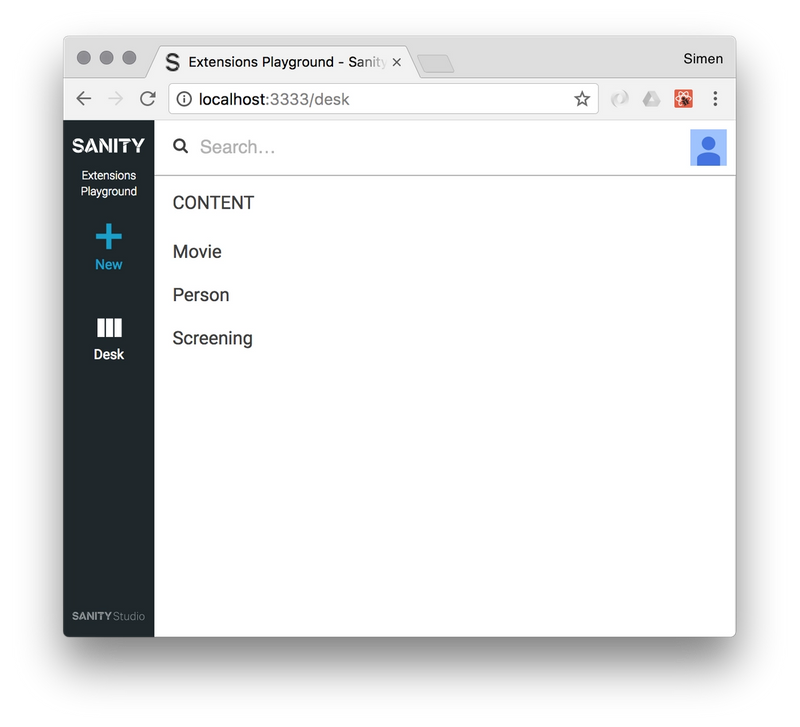
When you initialize a new studio, it defaults to showing the informal project name as the "logo" of the studio, like this:
Let's make a very very simple plug-in to replace that homely placeholder component with our own custom logo.
The sanity command line tool can scaffold a (growing) number of typical plug-ins for us. Let's use it to kick-start a logo-plug in:
$ sanity init plugin

? Select template to use (Use arrow keys)
❯ Studio logo
  Basic, empty tool
  Tool with basic routing
  ...
Pick the "Studio logo" template. Give it a descriptive name (in this example we'll use my-studio-logo). Then it asks whether you want to to enable this plugin immediately in the project at hand, and we want that.
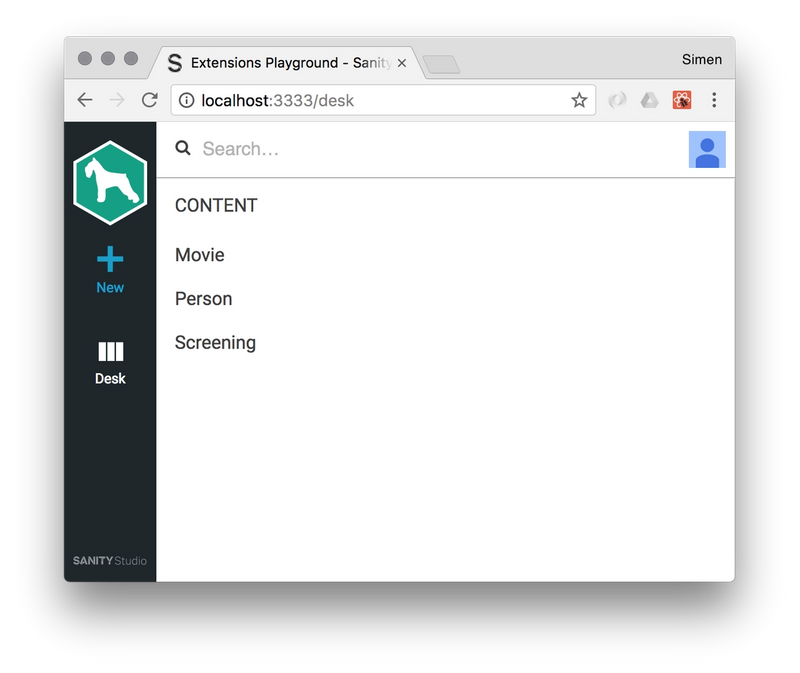
You may need to restart the studio at this point to load the new plugin. The studio should now look something like this:
The plugin was generated in the /plugins folder of your studio under the my-studio-logo folder. The sanity.json-file of this plugin describes how the plugin ties into the studio. At this point it looks like this:
{
  "parts": [
    {
      "implements": "part:@sanity/base/brand-logo",
      "path": "./Logo.js"
    }
  ]
}
This tells Sanity that this plugin implements the "part:@sanity/base/brand-logo" part using the file "./Logo.js". This means that when this plugin is installed, anywhere in the studio code where someone imports this part, it will get our component rather than the default placeholder.
Since we asked the sanity tool to enable our plugin it has also been added to the sanity.json-file in the root studio folder like this:
{
  "root": true,
  "project": {
    "name": "Extensions Playground"
  },
  "api": {
    "projectId": "ktfaklix",
    "dataset": "production"
  },
  "plugins": [
    "@sanity/base",
    "@sanity/components",
    "@sanity/default-layout",
    "@sanity/default-login",
    "@sanity/desk-tool",
    "@sanity/google-maps-input",
    "my-studio-logo"
  ],
  "parts": [
    {
      "name": "part:@sanity/base/schema",
      "path": "./schemas/schema.js"
    }
  ]
}
The actual implementation of the plugin is elegantly simple:
// Logo.js
import React from "react"

const Logo = () => (
  <svg>
  // ... an svg graphic, omitted here for brevity ...
  </svg>
)

export default Logo
You can implement any React component you like. Some ideas; show a different logo for each environment the Studio is running in, use a weather API and change the logo accordingly or become a google-style doodle on the birthday of your dog.
You've now learned how to customize the Studio logo, and more importantly: we made our first plugin!
Let's look at some of the mechanics going on behind the curtains before we do any more extending!