Install and configure Sanity AI Assist
How to install and configure the AI Assist plugin for Sanity Studio.
Sanity AI Assist puts the power of large language models (LLMs) right at your fingertips in the Studio, where your content lives. Write reusable instructions in natural human language to a document-aware AI assistant that can handle chores and repetitive tasks while you focus on the creative stuff.
Paid feature
This article is about a feature currently available for all projects on the Growth plan and up.
If you're interested in running programmatic AI instructions, check out Agent Actions.
Installing the AI Assist plugin
AI Assist is a plugin for Sanity Studio and is installed using your favorite package manager, such as npm, yarn, or pnpm. It’s a good idea to ensure your studio is up to date while you’re at it. AI Assist requires your studio to be v3.26.0 or later to work.
npm install sanity@latest @sanity/assist
pnpm add sanity@latest @sanity/assist
yarn add sanity@latest @sanity/assist
bun add sanity@latest @sanity/assist
Add the plugin to your studio configuration
Once installed in your project, you must activate the plugin by importing it and adding it to your main studio configuration. In sanity.config.ts, add assist to the plugins array:
import { defineConfig } from 'sanity'
import { assist } from '@sanity/assist'
/* other imports */

export default defineConfig({
  /* other config */
  plugins: [
    /* other plugins */
    assist(),
  ]
})
We’ll look at some configuration options for the assist plugin further on in this article, but for now, this is everything you need to get started.
Additional configuration settings
You can also configure AI Assist for more control.
assist({
  // Showing defaults
  assist: {
    localeSettings: () => Intl.DateTimeFormat().resolvedOptions(),
    maxPathDepth: 4,
    temperature: 0.3
  },
})localeSettings: Enables the AI to understand natural language date and time, and know what timezone the language refers to. See the next section for more details.maxPathDepth: The max depth for document paths AI Assist can write to. Increase if you need deeper traversal, but large and complex schemas may result in decreased performance.temperature(from 0 to 1): Influences how much the output of an instruction will vary between runs. Higher values result in more varied results, while lower values are more repeatable.
Date and datetime
Starting from v3.0.0, AI Assist can write to date and datetime fields. Instructions can use language like "tomorrow at noon" or "next year," and when AI Assist writes to the field, it will be converted to a field-compatible value.
Language about time is locale and timeZone dependent. By default, instructions will use the locale and timezone provided by the browser (Intl.DateTimeFormat().resolvedOptions()).
Alternatively, you can configure the plugin per user with an assist.localeSettings function that should return LocaleSettings.
Example
assist({
  assist: {
    localeSettings: ({user, defaultSettings}) => {
      if (user.roles.some((role) => role.name === 'administrator')) {
        // forces locale and timeZone for admins
        return {
          locale: 'en-US',
          timeZone: 'America/New_York',
        }
      }
      // defaultSettings is the same as using:
      // const {locale, timeZone} = Intl.DateTimeFormat().resolvedOptions()
      return defaultSettings
    }
  }
})
For a list of allowed values for these parameters, see the following resources:
locale: Mozilla on IntltimeZone: Wiki on time zones
Enabling the AI Assist API
After installing the AI Assist package and importing and adding the plugin to your studio configuration, you need to create a token to allow the plugin to access the AI Assist API. This needs to be done by a project member with token creation permissions (typically someone with an admin or developer role):
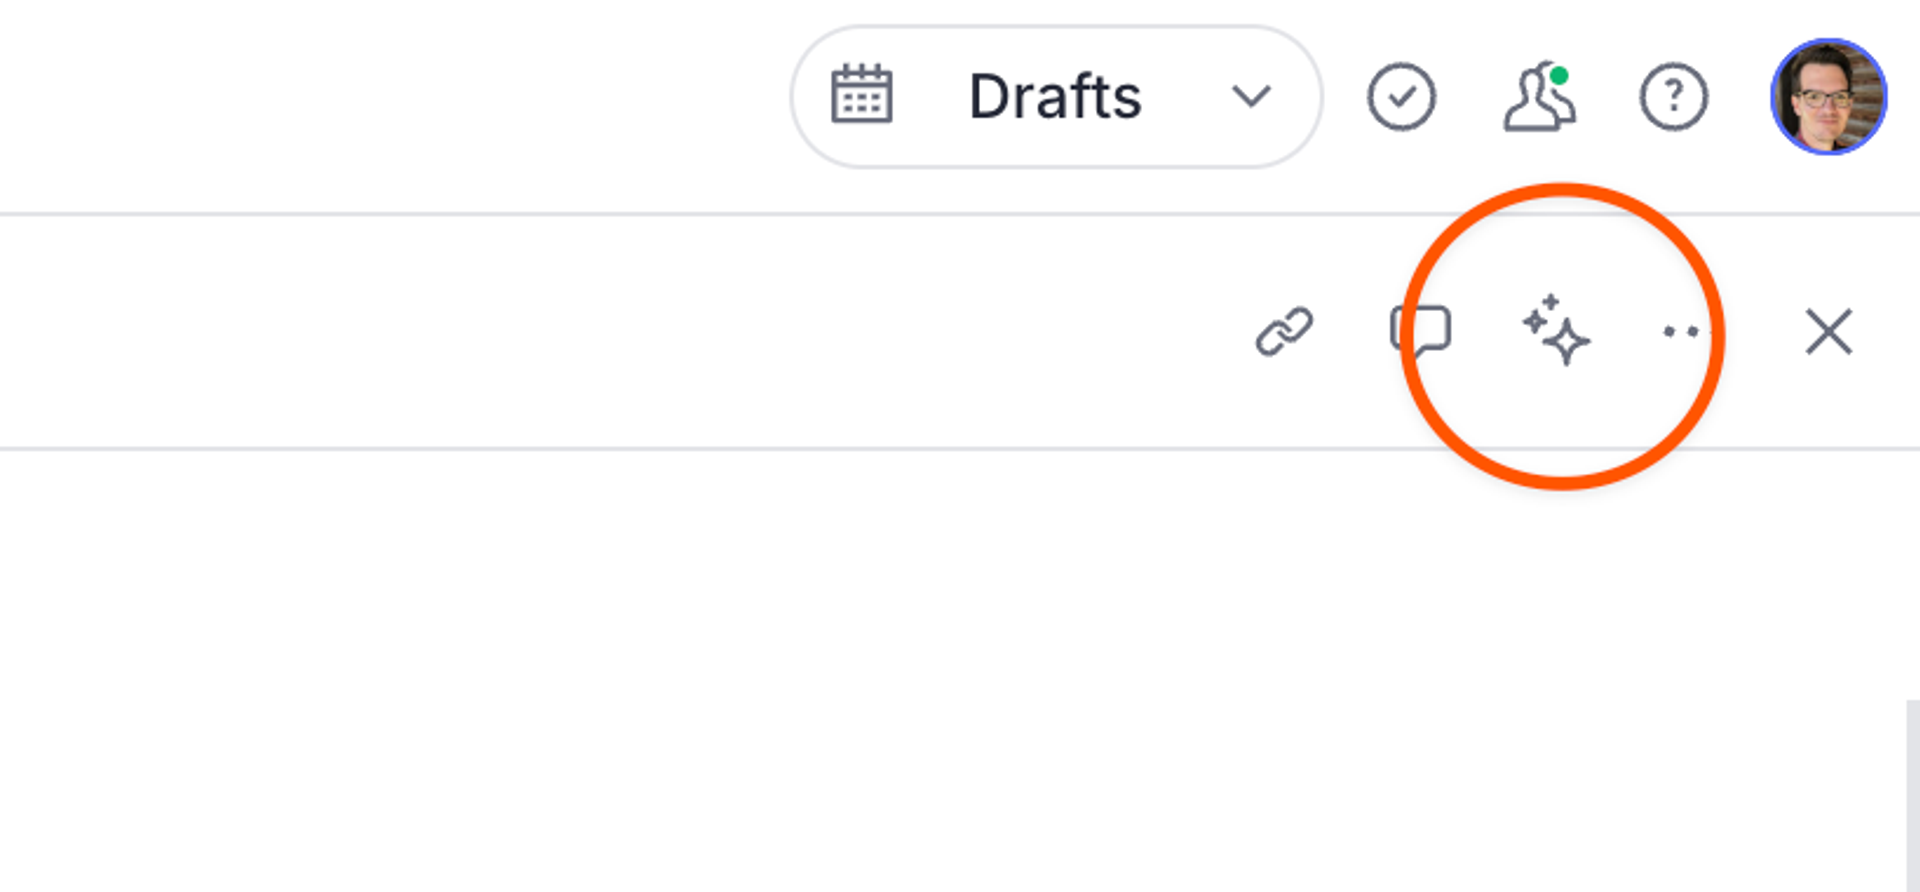
- Start the Studio and open any document.
- Select the sparkle icon (✨) in the document header near the close document button, or in the top-right corner of any field when hovering the field. If you have custom actions enabled, you may see a popup where you must then select manage instructions.
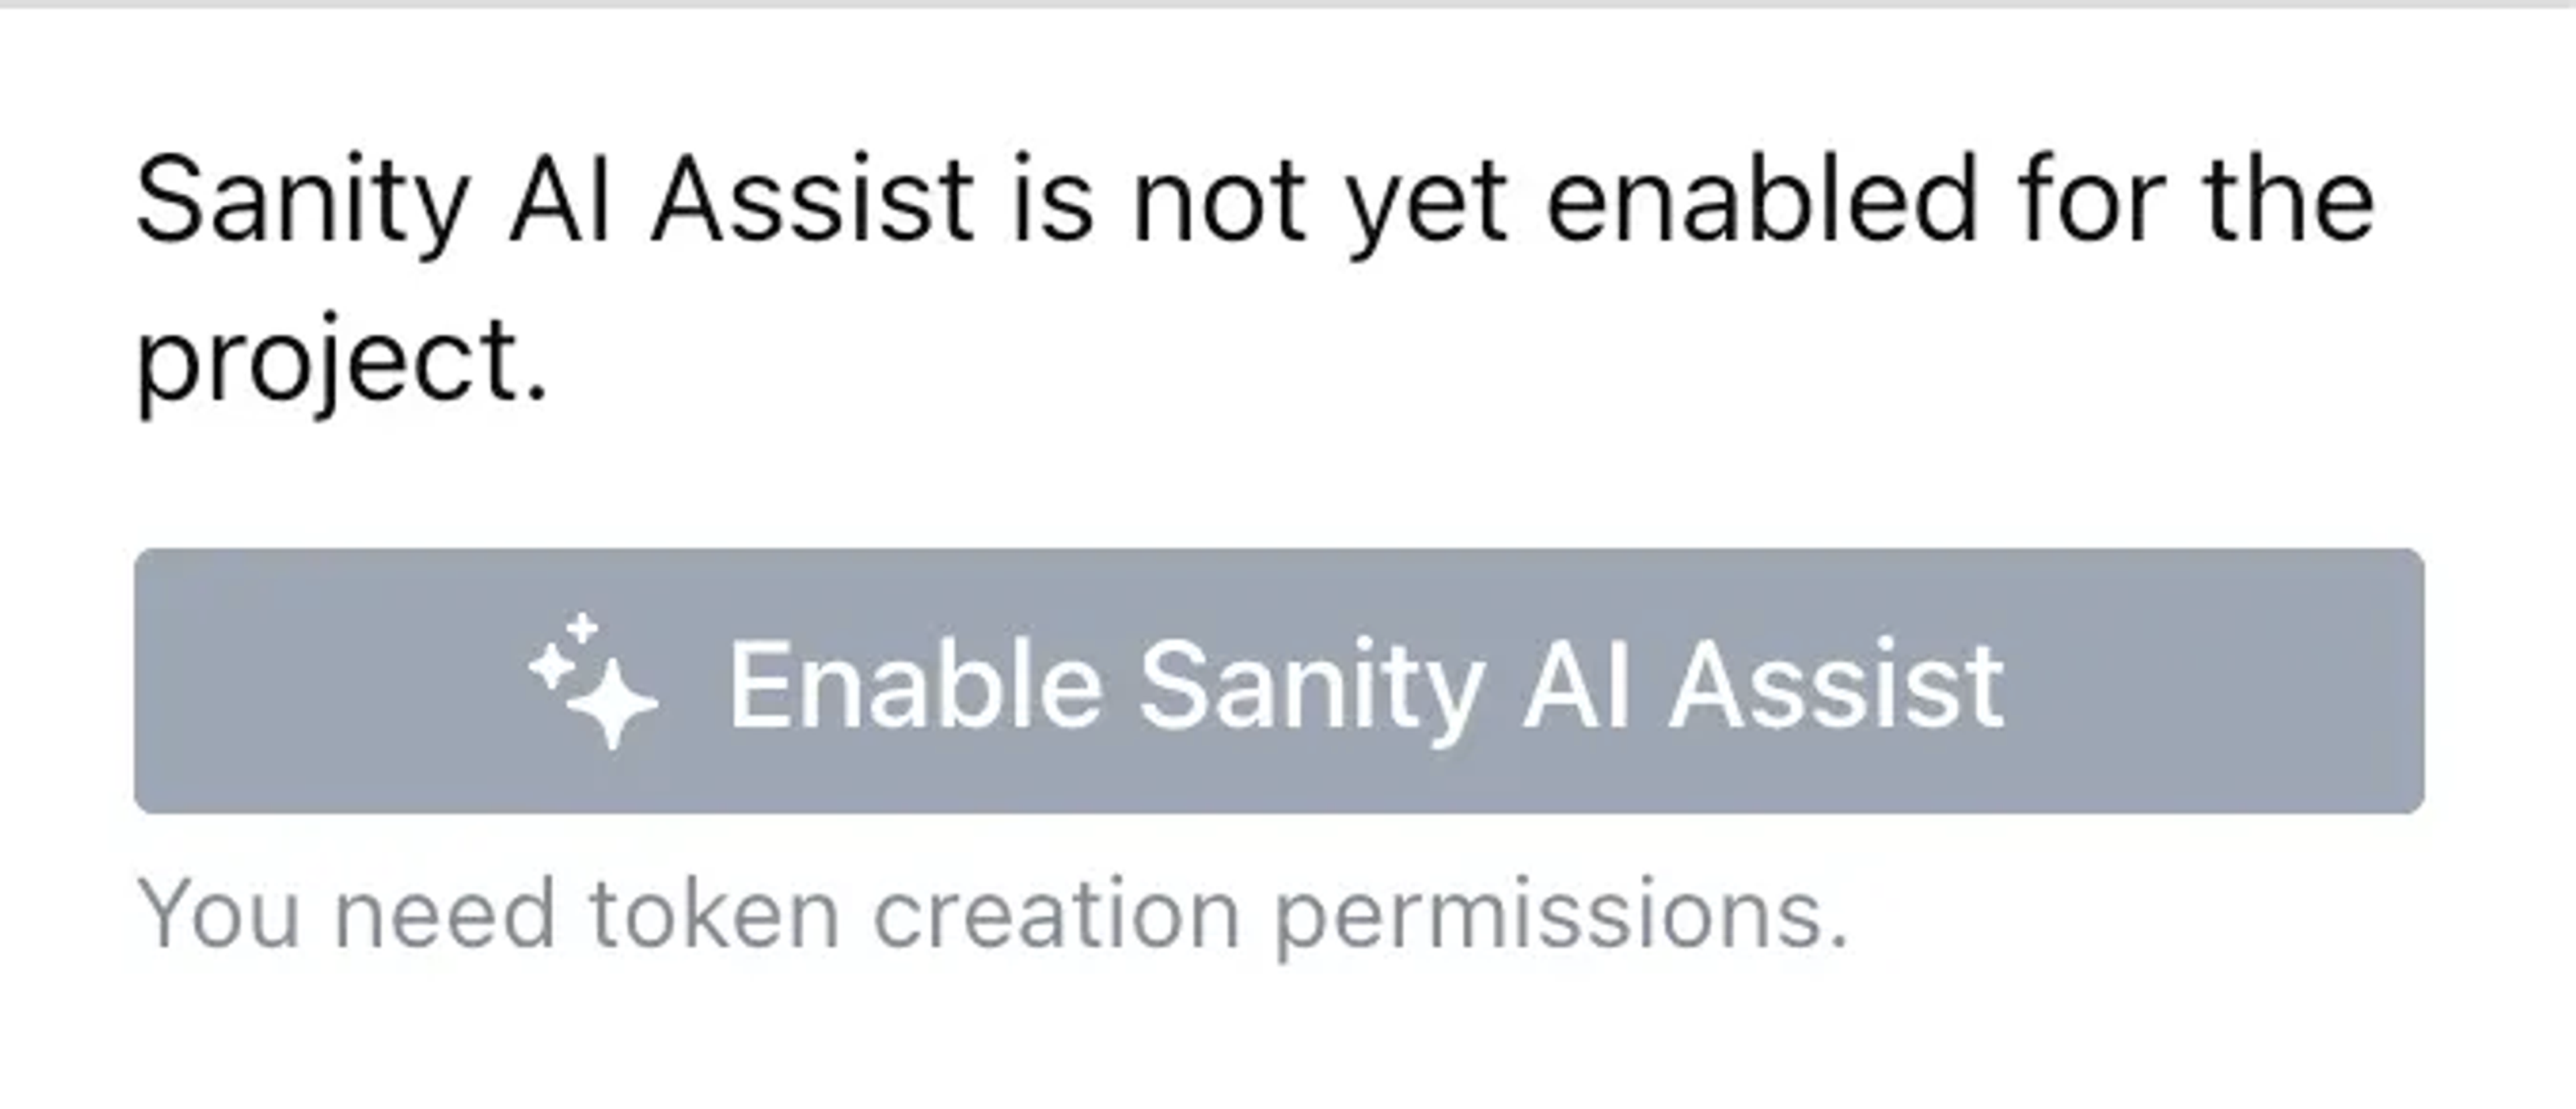
Selecting the AI Assist button will open an inspector pane to the right side of the current document with a button prompting you to Enable Sanity AI Assist.
Click the Enable Sanity AI Assist button to create a token and enable AI Assist for everyone accessing the project.
You will find that a new API token entry for your project named “Sanity AI” has been created in your project's API settings, which you can examine at sanity.io/manage.
AI Assist will now work for any dataset in your project.
Protip
You can revoke this token at any time to disable the Sanity AI Assist service. A new token has to be generated via the plugin UI for it to work again.
At this point, AI Assist should be operational and ready for your perusal. You might want to take a detour and check out the article linked below for a closer look at where and how you can interact with the assistant in the Studio interface, or keep reading to learn more about how AI Assist works.

Schema configuration
By default, unless otherwise specified, AI Assist is enabled for all compatible fields and document types. We will look at how you can selectively exclude fields or document types from being affected by the assistant further on in the article.
Supported field types
AI Assist can use most fields in your schema as a context in an instruction.
These are the field types it can write content to, including custom schema types based on the following:
- String and text
- Objects and the fields within them
- Arrays with inline objects and references
- Portable Text, including formatting and custom blocks
- Image assets (and image fields)
- References (requires additional configuration)
- Booleans
- Numbers
- Slugs
- URLs
- Date and DateTime
Conditionally hidden and read-only fields
Any field that has hidden or readOnly set to true when the relevant instruction starts running will be skipped. An important word in that previous statement is “starts.” If a field has its hidden or readOnly value changed while the assistant is doing its thing, the new value will not be considered for that running process, even if the assistant has yet to reach that field.
AI Assist does not re-evaluate the hidden and readOnly status of fields after the instruction has started running. This means that even if a field has its hidden property changed from true to false as a side effect of something the assistant does, it will still regard that field as hidden, even if the status was changed before the assistant "gets to it."
Fieldsets with hidden and readOnly states are also accounted for.
Unsupported fields
There are some field types that AI Assist can use as context but not write content for:
- Geolocation
- Cross Dataset References
- File assets
Image asset generation
AI Assist can create assets for images configured with a prompt field.
Image generation can be done directly using the Generate image from prompt command on the prompt field or indirectly whenever an AI Assist instruction modifies the image prompt field.
To enable image generation for an image field, you must:
- Set
options.aiAssist.imageInstructionFieldto a child-path relative to the image - Have a
stringortextfield that corresponds to theimageInstructionFieldpath
This will add a "Generate image from prompt" instruction to the image prompt field. Executing this instruction will generate an image.
defineType({
  type: 'document',
  name: 'article',
  fields: [
    defineField({
      type: 'image',
      name: 'articleImage',
      fields: [
        defineField({
          type: 'text',
          name: 'promptForImage',
          title: 'Image prompt',
          rows: 2,
        }),
      ],
      options: {
        aiAssist: {
          imageInstructionField: 'promptForImage',
        },
      },
    })
  ]
})
An image will be generated each time an AI Assist instruction modifies the image prompt field. This modification could come from a document instruction, an instruction for the image field or parent object, or directly on the image prompt field.
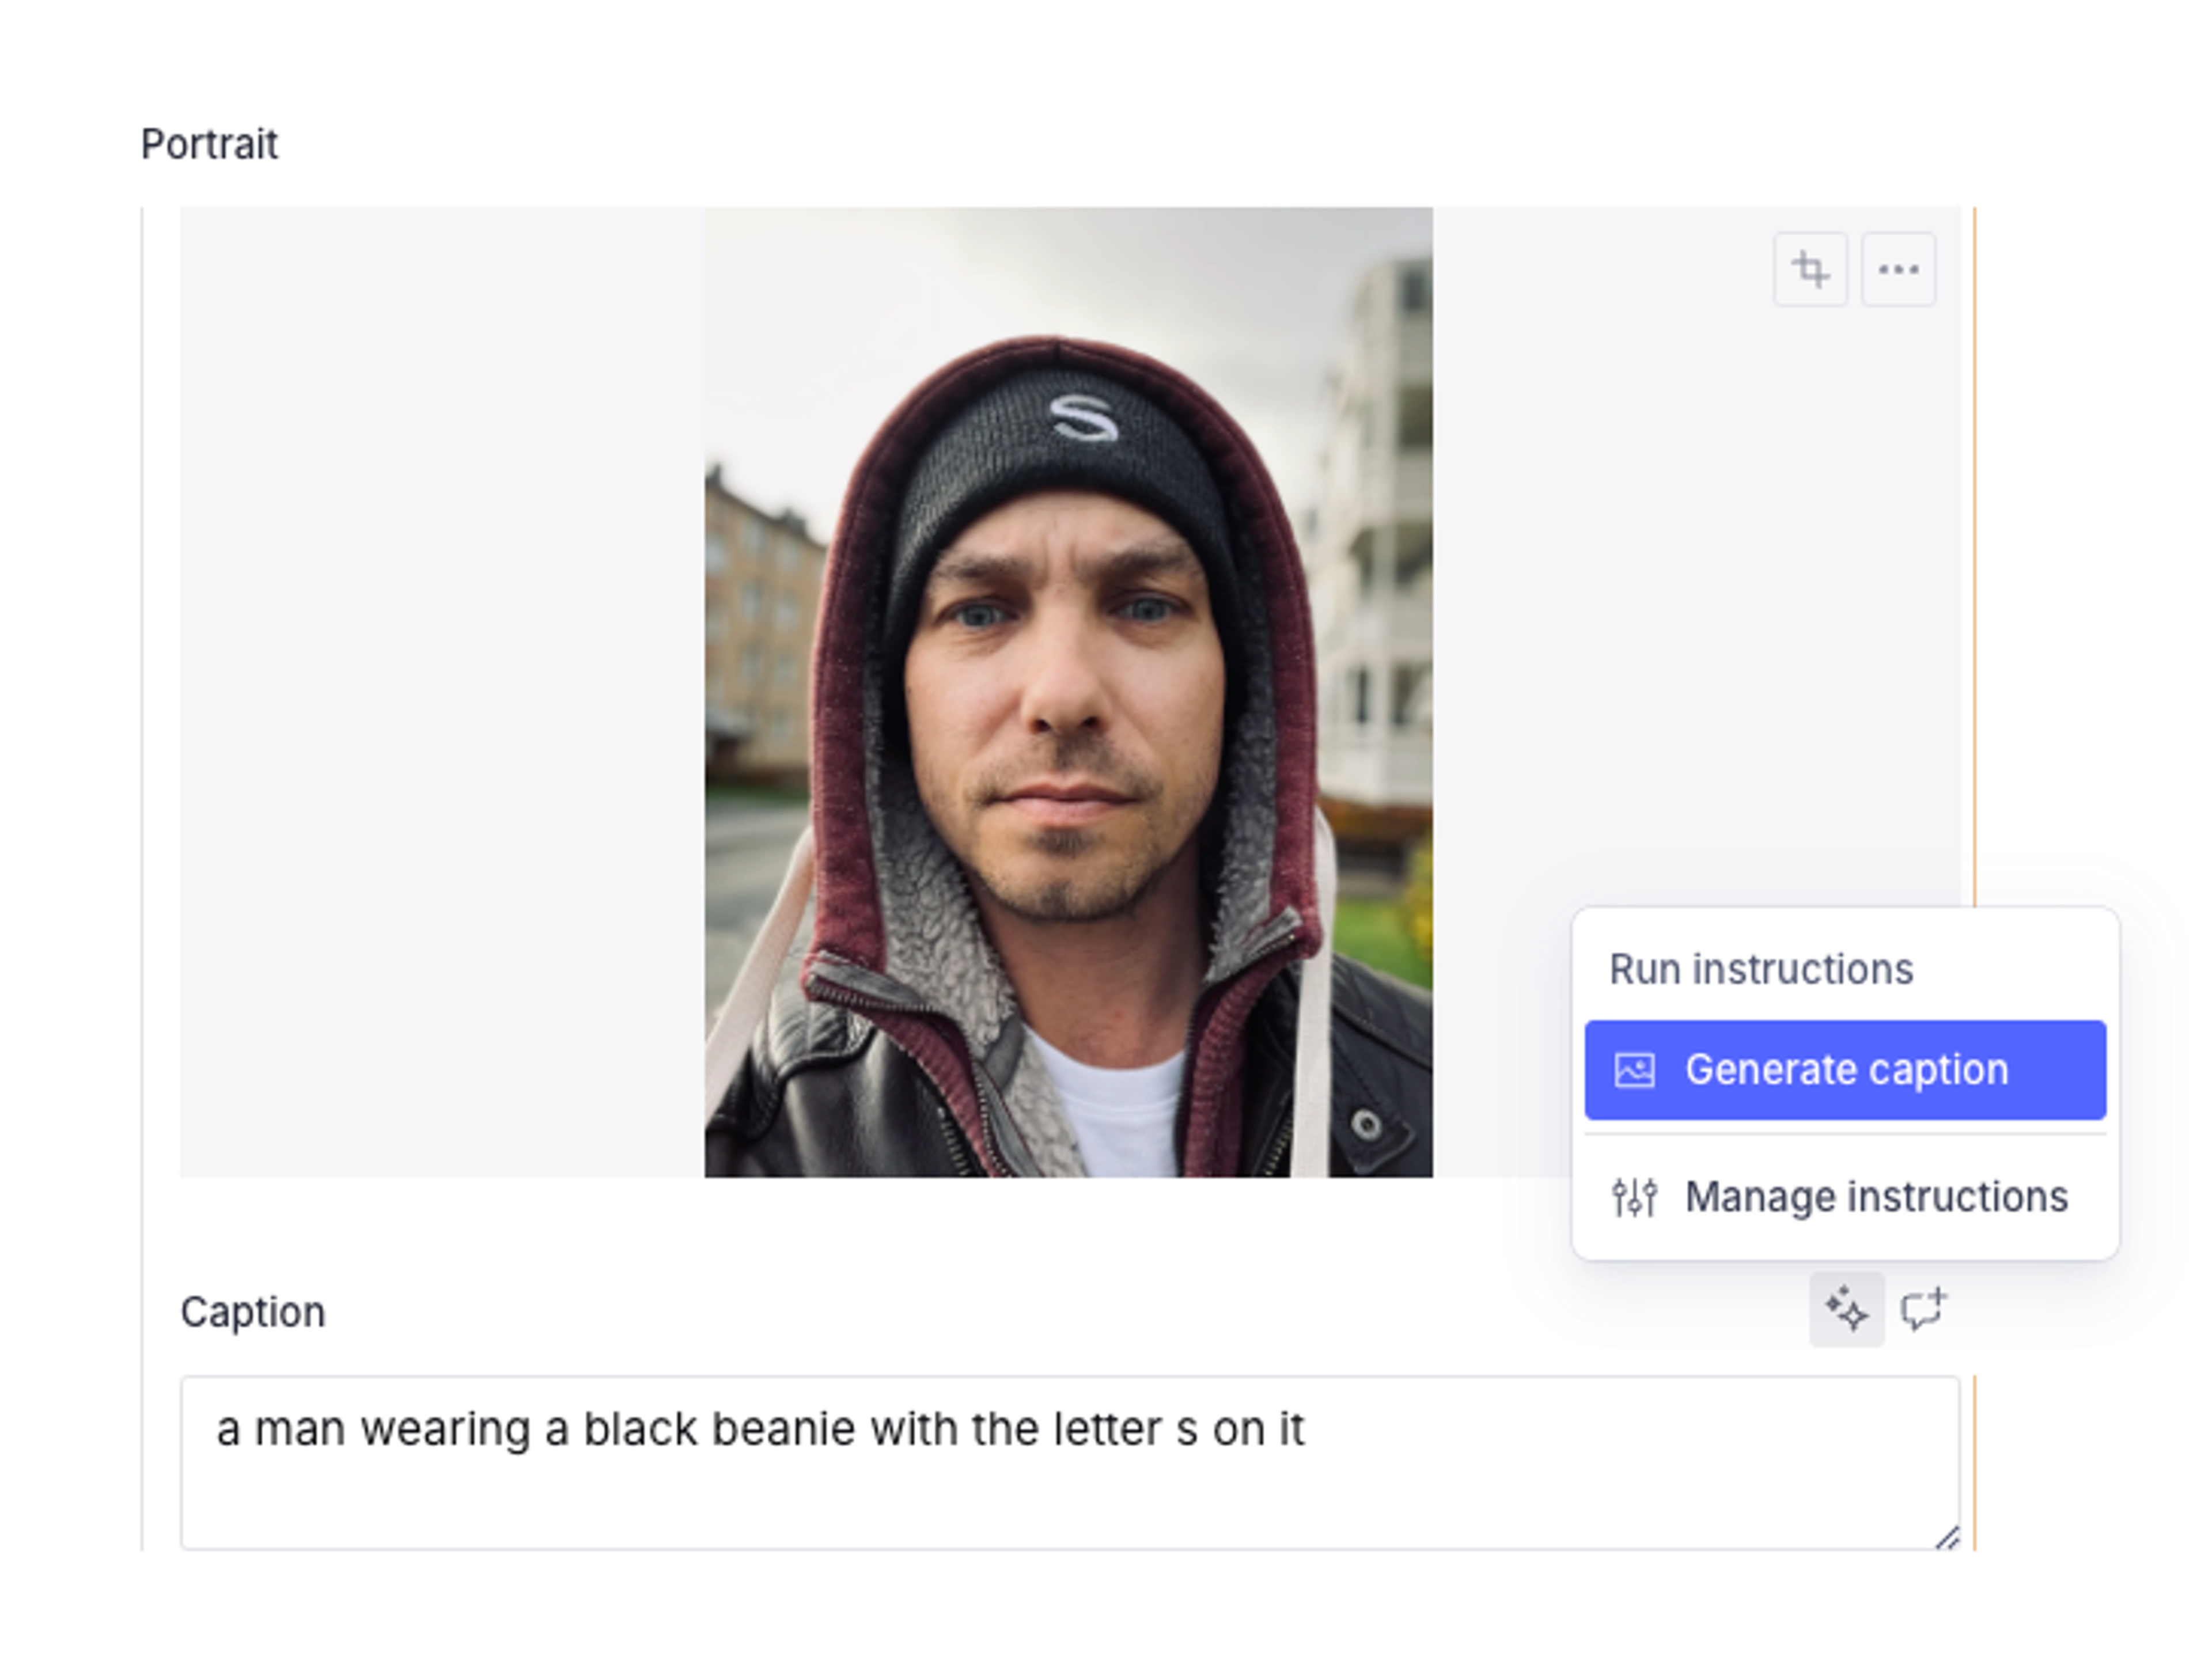
Enabling automatic image captions
In addition to generating images from a prompt field, the assistant can also be set to generate descriptions from image assets. To enable the assistant to auto-generate descriptions that can be used for alt text or captions, supply a valid field path in options.aiAssist.imageDescriptionField.
defineType({
  type: 'document',
  name: 'article',
  fields: [
    defineField({
      type: 'image',
      name: 'articleImage',
      fields: [
        defineField({
          type: 'text',
          name: 'alt',
          title: 'Alternative text',
          rows: 2,
        }),
      ],
      options: {
        aiAssist: {
          imageDescriptionField: 'alt',
        },
      },
    })
  ]
})
This will add a Generate image description instruction to the configured field (alt in this example) that will produce a description of the image.
Limited by AI Assist's caption defaults?
If AI Assist's default behavior is too limiting for your needs, you can also describe images with the Transform Agent Action. Use Transform with the image-description operation to prompt the AI with additional instructions.
Enabling support for related content in references
Deprecation notice
The Embeddings Index API is deprecated and will be sunset in a future release. It has been replaced with the new Embeddings feature, now natively available within Sanity datasets.
At this time, we do not have a replacement solution available for using references with AI Assist.
To work with a reference field, the AI Assist plugin must consult an embedding index that includes the types it will refer to. To learn about embedding indexes and how to set them up, visit this article.
You can manage your indexes directly in the Studio using the Embeddings Index Dashboard plugin. Once you have an index configured, you can enable reference fields for AI Assist by setting options.aiAssist.embeddingsIndex to whatever you named your index.
import { defineField } from 'sanity'

defineField({
  type: 'reference',
  name: 'articleReference',
  title: 'Article reference',
  to: [{ type: 'article' }],
  options: {
    aiAssist: {
      embeddingsIndex: 'all-our-stuff-index'
    },
  },
})
Reference fields with this option set can have instructions attached and will be included when running instructions for object fields and arrays. An example instruction might look like this:
Given <Document field: Title> suggest a related articleAI Assist will use the embeddings index, filtered by the types specified in the field declaration, to look up contextually relevant references. One or more references can be added for arrays or Portable Text fields with references.
Selectively exclude fields and document types
AI Assist defaults to inclusivity and will target every supported field it comes across. This may not always be desirable, so it comes with the option to exclude fields and document types selectively by setting the options.aiAssist.exclude option to true.
Disable AI Assist for a schema type
// disable AI assistance wherever it is used,
// ie: as field, document, array types
defineType({
  name: 'policy',
  type: 'document',
  options: {
    aiAssist: {exclude: true}
  },
  fields: [
    // ...
  ]
})
Disable for a nested field type
// this disables AI assistance only for the specific field
defineType({
  name: 'product',
  type: 'object',
  fields: [
    defineField({
      name: 'sku',
      type: 'string',
      options: {
        aiAssist: {exclude: true},
      },
    }),
  ],
})
Disable for an array type
// disables AI assistance for the specific array member
// if all types in the `of` array are excluded, the array type is also considered excluded
defineType({
  name: 'myArray',
  type: 'array',
  of: [
    defineArrayMember({
      type: 'someType',
      options: {
        aiAssist: {exclude: true}
      }
    })
  ]
})
The AI Context document type
This plugin adds an AI Context document type.
If your Studio uses Structure Builder to configure the studio structure, you might have to add this document type to your structure.
The document type name can be imported from the plugin:
import {contextDocumentTypeName} from '@sanity/assist'

// add to your structure
S.documentTypeListItem(contextDocumentTypeName)
Troubleshooting
Caveats
Large Language Models (LLMs) are a new technology. Constraints and limitations are still being explored, but some common caveats to the field that you may run into using AI Assist are:
- Limits to instruction length: Long instructions on deep content structures may exhaust model context
- Timeouts: To be able to write structured content, we're using the largest language models. Long-running results may time out or intermittently fail
- Limited capacity: The underlying LLM APIs used by AI Assist are resource constrained
There are limits to how much text the AI can process for an instruction. Under the hood, AI Assist will add information about your schema, which adds to what's commonly called “the context window.”
If you have a very large schema (many document and field types), it can be necessary to exclude types to limit how much of the context window is used for the schema itself.
We recommend excluding all types that would rarely benefit from automated workflows. A quick win is typically to exclude array types. It can be a good idea to exclude most non-block types from Portable Text arrays. This will ensure that AI Assist outputs mostly formatted text.
Third-party sub-processors
A list of third-party sub-processors, as well as details on the terms of use for our AI products are available here.